Chapter 1: The Liberation War
**Free Time**
At the start of the new chapter, you’ll have your free time to explore the city. There’s only five areas available in the city. The Promenade is the central hub where most of the shops are located. The Headquarters is where you deploy your team to story Missions and free missions. Basil’s Factory is where you can upgrade your secondary weapons and grenades, as well as upgrade your team’s weapons Mana Engine. The cemetery and the pub are only worth visiting when there are Circle events available so the first three locations mentioned above will be the ones you’ll be visiting the most.
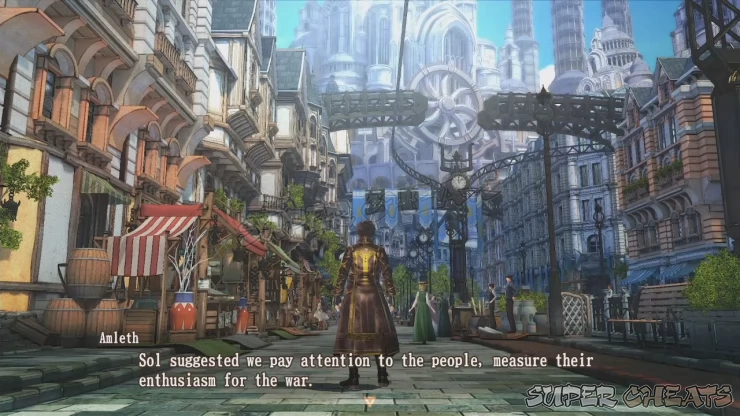
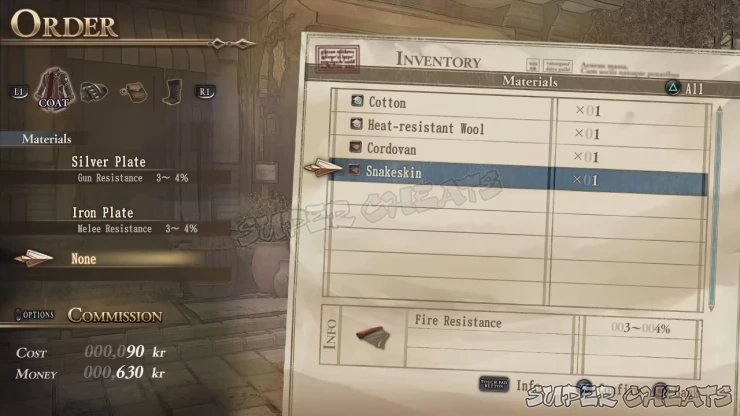
Roam the Promenade and check out the shops. As you complete story Missions and liberate new territories, the goods sold in the shops will also improve. For the first task, check out the newspaper stand and press X to check the headlines. You can check out the other shops but don’t bother buying anything from them yet; instead, head to the workshop and consider commissioning a new armor using the available materials at hand. Don’t worry since what you have right now are common materials that can be obtained as battle spoils or can be bought cheaply. It’s better to commission your equipment than buying them since you can decide which beneficial effects to appear in the final product depending on the materials you included in the order.
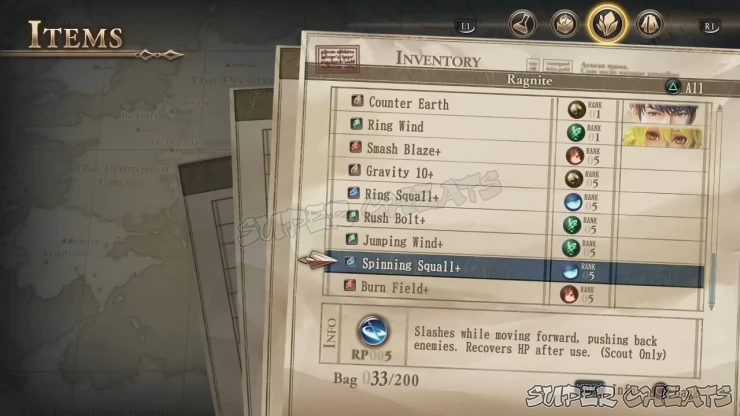
While in the Promenade, you can check out the other shops as well. If you have downloaded the free DLC ragnites from the PS Store, then you don’t need to bother checking out the Ragnite merchant for now. Her inventory will carry Rank 1 ragnite crystals though the variety will increase over time. The best place to farm new and powerful ragnites are through completion of different Missions. You don’t need also to equip your entire team with the best ragnite crystals at the same time. Consider equipping your favorite party members with the best ones, then give hand-me-downs to the non-priority characters. Also consider equipping those ragnite crystals that they are proficient with. Take note that outdated ragnites can be used as EXP fodder for your weapons’ mana engine.
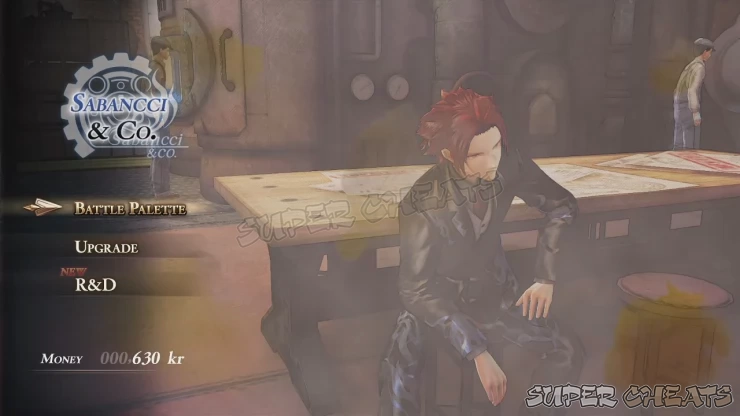
If you head to the cafe, you’ll get a tutorial about Community Circles. More details about that is discussed in this guide’s Basics section. Next, head to Basil’s Factory and consider upgrading your grenades then rifle first. You’re not required to equip the same weapon to everyone. In fact, it is recommended to have a good variety of weapons and grenades amongst your teammates to give you more tactical options in battle. You can check out the Upgrade option but don’t bother using the scarce amount of ragnite crystals you have right now. You’re better off giving them to your teammates for now. Access the Battle Palette also to edit your individual team members’ loadout. You can also do this prior to deploying for a mission.
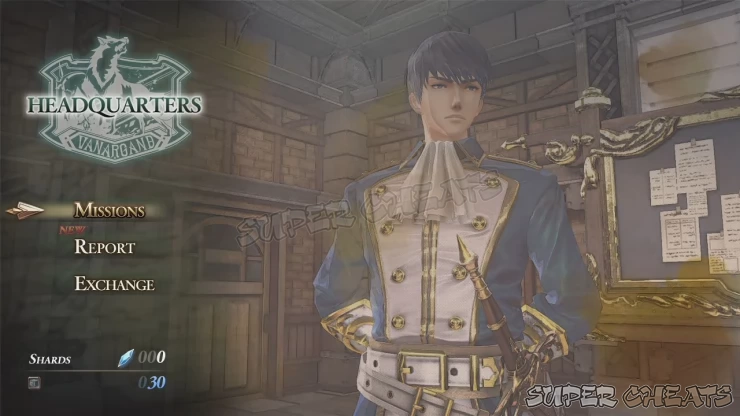
Next, head to the Headquarters this time. You can buy your consumables from the Supply Officer on the right while Godot manages the mission deployment. From Godot’s HQ menu, you can deploy to Missions, turn in completed tasks for rewards, and exchange ragnite shards for usable ragnite crystals. Ragnites that you’ll get through Exchange is random so I recommend saving your game before making an exchange so you can reload your save if ever you don’t like the ragnite you got. You can get free 30 ragnite shards via free DLC in the PS Store. Make your preparations then continue with the story mission.
Operation: Squad Training
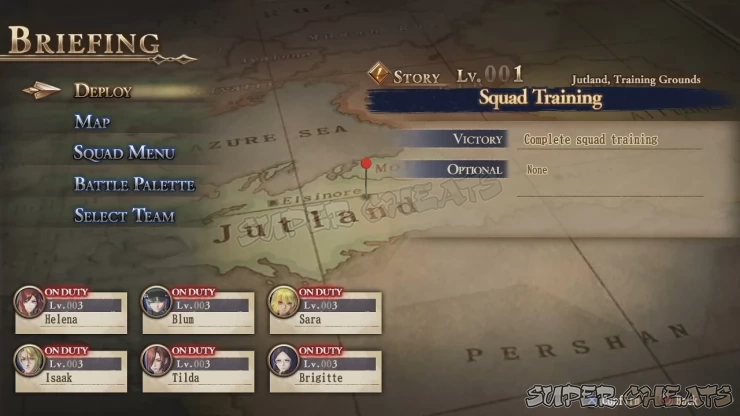
For this particular mission, the party members are fixed but in the future, you’ll have the freedom to select which squad members to bring in a particular operation. There will be Missions however where key characters like Amleth and Ophelia are required so you can only edit the slots for your other squadmates.
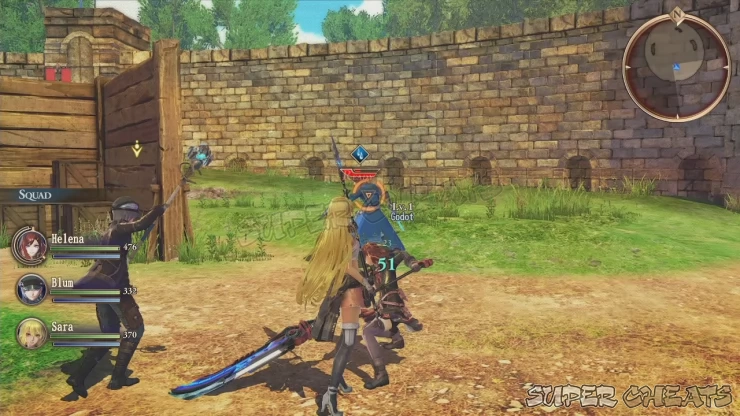
For the first part, you have to defeat Godot with Helena, Sara, and Blum. This should be pretty easy, considering that you have two sappers. Helena will be your main damage dealer since Blum and Saras attacks are quite negligible. Godot will have his guard up most of the time so make sure to flank him from the side or behind. You can also issue direct orders to Blum or Sara if you need healing or for them to distract Godot and allow you to flank him.
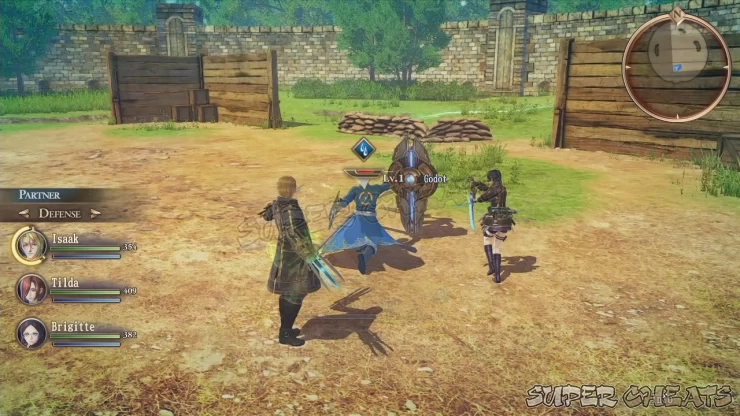
After defeating him, the second part of the training begins. Here you’ll get a brief tutorial about the formations as well. Set your team’s manifest to Offense and take control of Isaak or Brigitte. Tilda will act as your tank and pull Godot’s attention towards her. Godot is weak against wind spells so you can use Isaak or Brigitte’s wind attacks to deal bonus damage against him. Reduce his HP to complete the mission.

Operation: Azure Dawn
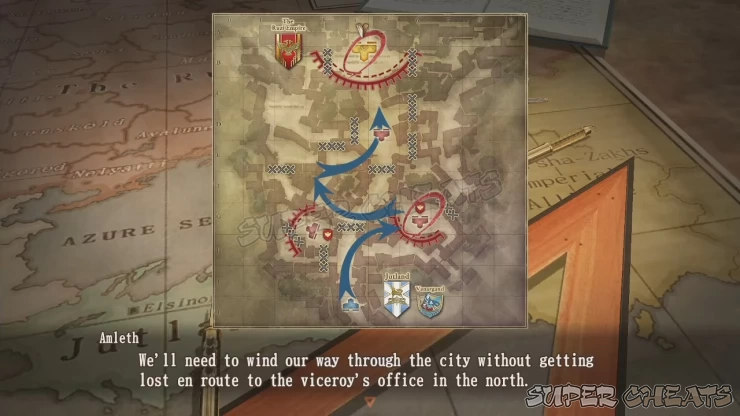
Before taking this mission, you can spend some time in the available free Missions to earn more funds, additional exp, and more importantly, new ragnite crystals. After completing missions, always check the available circles so you can view them and unlock new Potentials. Make sure to edit your team’s potentials as well to make them even more efficient in battle. After finishing your preparations, deploy your team to tackle the next mission.
Upon starting the mission, go forward along the street and wipe out the first group of enemies. Next, head through the alley east while taking out enemies along the way. Upon reaching the stairs, you should be near the first enemy base. You can attack them from the front by going upstairs or sneaking from the narrow alley further east and attack the base from within. Don’t hesitate using secondary weapons and grenades here since taking over the base later will replenish them. As you approach the base, you’ll also get a tutorial about the state of war and maintaining your advantage. In summary, always take out enemy commanders first whenever you get the chance and take over bases to change the state of war gauge to your favor. Some of the enemies are entrenched behind the sandbags so use your grenade or AoE spells to flush them out. Eliminate all enemies to take over the base.
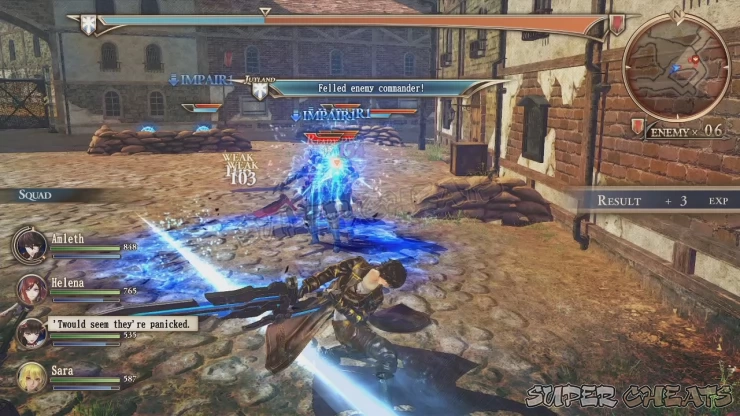
Continue to the northwest back to the streets and engage the enemies there. Continue along the side street to the west where more enemies are waiting. After taking them out, you’ll find a fork in the street. Instead of going north, continue further west then south to find an optional enemy base to capture. There’s a light tank there as well so make sure to use grenades and AoE spells to take out multiple infantry units quickly. You can divide your team to partners so you can take out the remaining soldiers hiding in cover while your other teammates engages the tank. As you’re engaging the rest of the base, more enemies will arrive as reinforcements. Concentrate on taking out the nearby enemies before engaging the additional troops. Don’t hesitate to heal up as needed and destroy all hostiles to successfully take over the base. There’s also a supply cache here that you can loot.
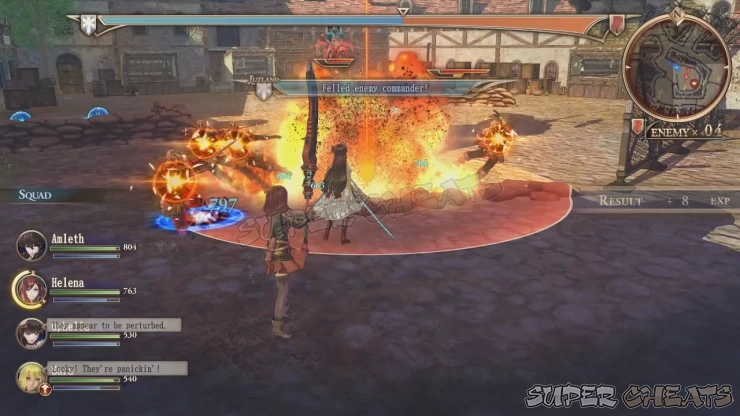
Backtrack to the fork earlier and head north this time. You’ll encounter more enemies along the way, including a shieldbearer commander. Defeat them and loot the supply cache along the way. Continue east to the main street and walk to the open space to trigger a cutscene and finally, a boss fight.
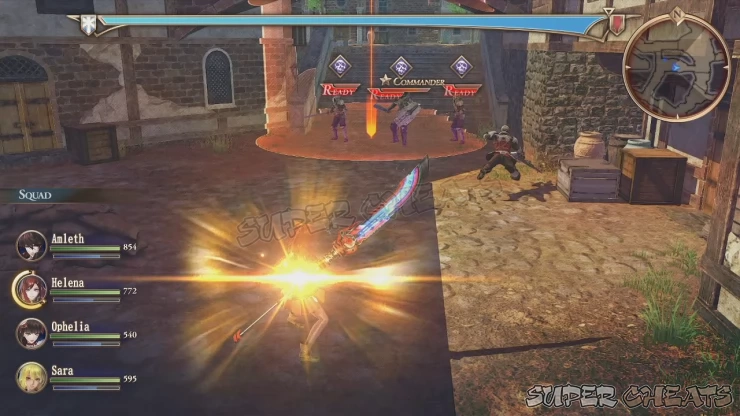
Boss: Maxim
In this battle, Godot will join you to protect the princess. Maxim is quite agile but his damage isn’t that dangerous. However, you may need to control Sara if your characters’ HP drops rather quickly. Otherwise, concentrate your attacks and use strong spells to interrupt his charge actions. Maxim is surprisingly laughably easy once you get to corner him and where you can continuously hit him with consecutive spells. Just keep at it and you should be able to defeat him with ease.
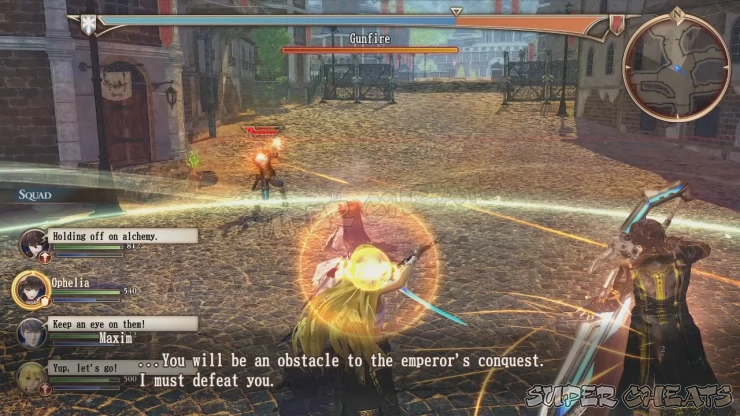

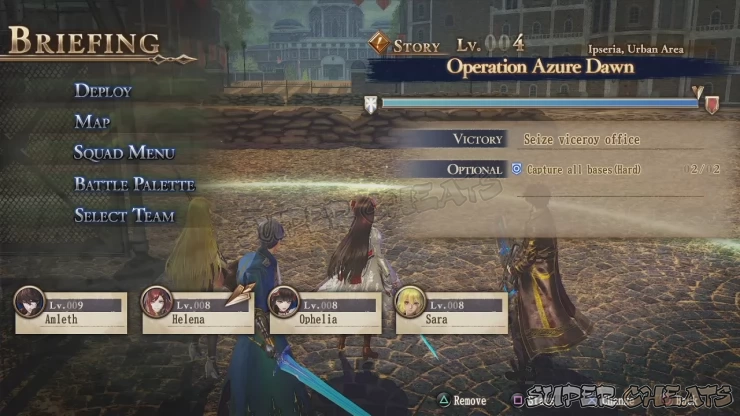
After defeating Maxim, you’ll have to do one more push to take over the viceroy’s office. Before deploying, you’ll be given a chance to re-organize your party. You can use the same team as before or deploy a new party.
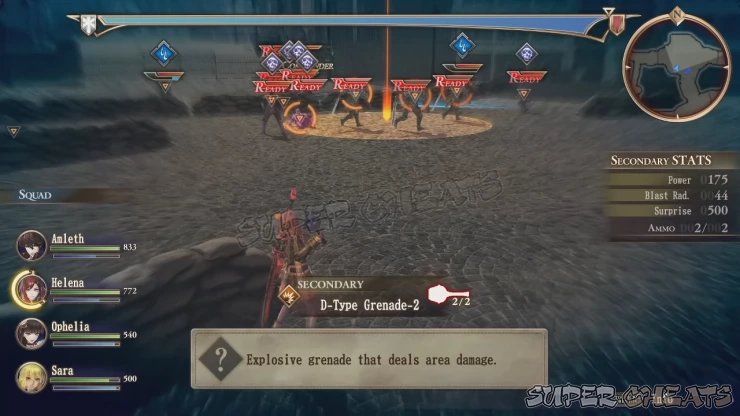
There’s a medium tank waiting ahead so don’t go rushing in blindly. Your secondary weapons and grenades will be completely replenished at this point so you don’t need to hold back. Use frag grenades against enemy troops close to each other and try to finish most of them using guns. You can also use a smoke grenade to get into melee range without getting ripped by the enemy gatling fire. Eliminate all foot soldiers first before finally focusing on the tank. Its heavy guns will rip through your HP pretty quickly so make sure to use your healing items and spells as needed. Take down the tank to finish the mission.

Anything missing from this guide?
ASK A QUESTION for Valkyria Revolution
Comments for Chapter 1: The Liberation War
Add a comment
Please log in above or sign up for free to post comments- Basics - Combat
- Basics - Game Mechanics
- Walkthrough (Operations)
- Circles
- Archives of the Revolution
- Extras
 Join us on Discord
