Chapter 6: Defeated
Miranda Vilfort Enlistment Exam
Recommended Level: 17
Victory: Complete Miranda’s exam
Optional: None
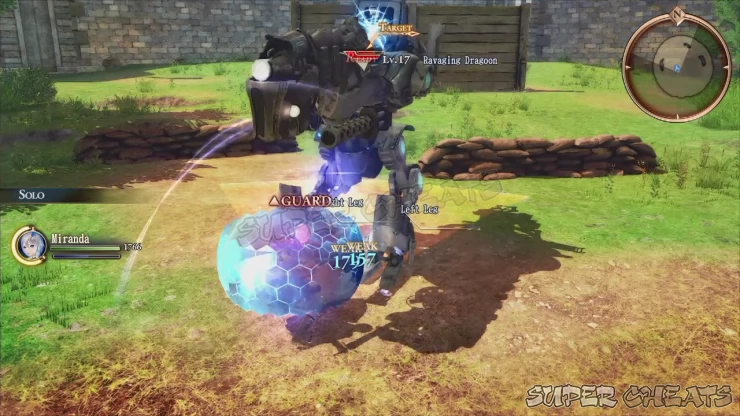
This mission starts immediately as soon as you head to the HQ. Miranda handles exactly like Godot. Since she’ll inherit his sword and shield, whatever upgrades you applied to Godot before will be carried over without any fuss. For this mission, you’ll have to control Miranda and help her pass the practical exams to join Vanargand. For the first test, she’ll be up alone against a light tank. You’ll get the chance to modify her weapon wheel. Give her Spear Freeze and an anti-personnel launcher.
Spear Freeze is a good skill that she can use at this point since the target is weak against it while also boosting your speed gauge recovery at the same time. Take time to evade and block attacks since her Action Gauge fills slowly. She has quick attacks for a shield-bearer so use that to your advantage and replenish your RP. Repeat the process until you finally defeat the tank.
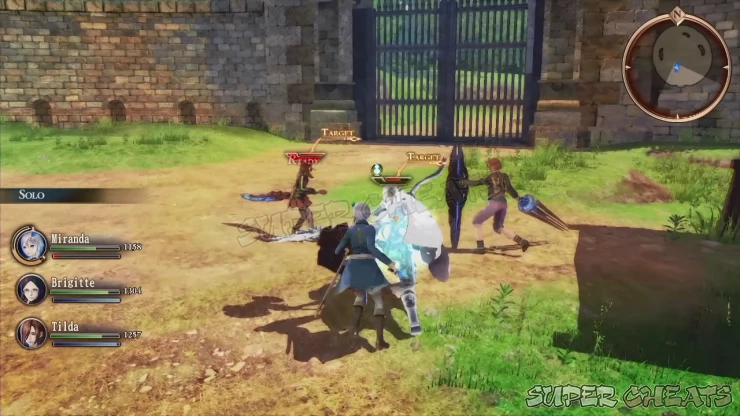
Next, you’ll be up against some squad members. Brigitte and Tilda will join you in this battle. Since you’ll be up against two shocktroopers and another shieldbearer, your team will have lesser offensive firepower. That said, you have to focus your attacks on one target at time. Spear Freeze will work well against the aggressive shocktroopers since you can stop them in their tracks by freezing them. When the targets are clumped together, don’t hesitate to use frag grenades and launchers to damage them at the same time. Just make sure to save a few rounds or grenades for the next fight after this. Keep doing this until you whittle their numbers and secure victory.
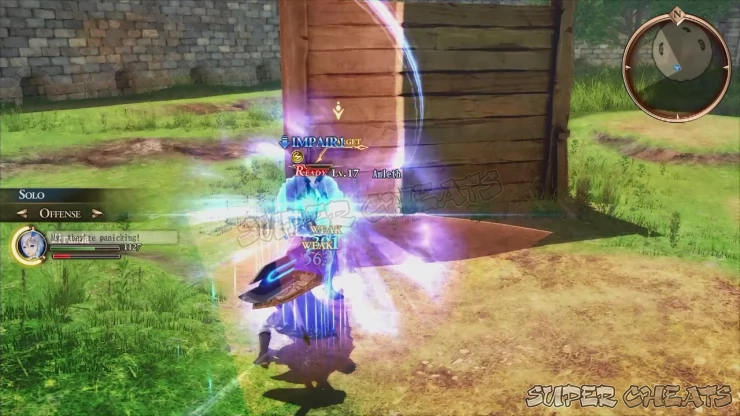
Finally, Miranda will be facing Amleth alone. Amleth’s attacks are quite hard-hitting so keep your shield up while facing him. Your Action Gauge will replenish slower when defending but it will increase your survivability against him. Use Spear Freeze to impair Amleth and boost your action gauge as well. You can further enhance your advantage by using launchers from a distance. Amleth can utilize the ragnite spells you have him equipped so take that into consideration as his spells may pack a punch as well if you’re caught by surprise. If you happen to have shock grenades, it will work well against Amleth since the shock will interrupt his attacks or even make him open for free hits. After defeating him, the mission will be complete and Miranda will be an official member of the squad. On top of that, Ophelia’s Naive negative potential will transform to Warrior Princess.

Mission: Aid Avalune
Recommended Level: 23
Victory: Rout infiltration team
Defeat: Exceed time limit
Optional:
- Rout all aces (Hard) 0/1
- Retrieve Supply Caches (Medium) 0/1
Miranda will be a fixed party member here. Deploy with sapper or if you’re confident, just bring Ophelia and at least two shocktroopers to maintain your offensive force. Start by engaging the lone patrol ahead then engage the next group of enemies. A well-placed AoE skill or grenade will take out most of them before they can even react. The other paths are blocked so continue to the north and take out the lone guard by the ladder. Go down the ladder to the open field below.
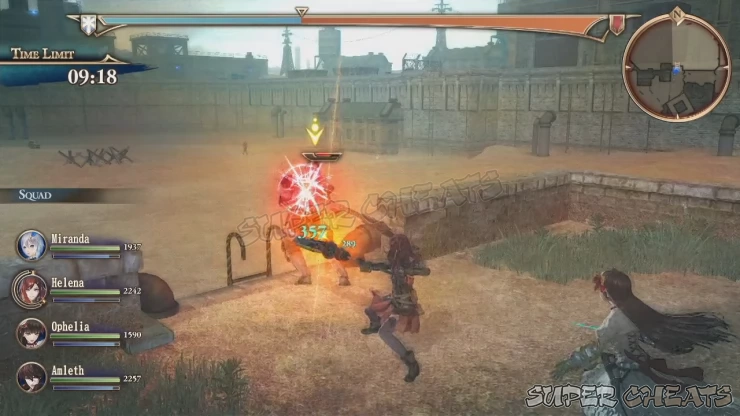
Before going north towards the objective, keep heading east to find an open ledge with a ladder. This leads to the two optional objectives, conveniently placed near each other. Before going up the ladder, loot the supply cache right beside it. (1)
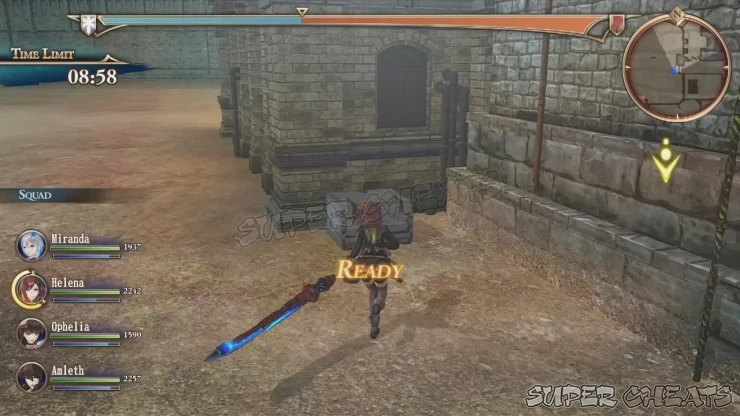
Climb the ladder next to find the lone enemy ace (2). It’s not much of a threat but you have to avoid its powerful cannon nonetheless. Gang up on it to disable its legs and continue your assault. If you don’t kill it quickly, it will be able to use the close-range flamethrower. Once done, both of your optional objectives are now complete so go back to the field and head to the middle north where your main objective lies.
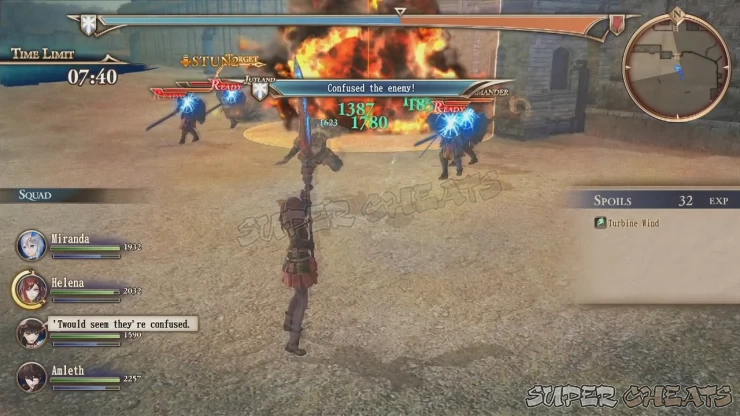
Engage the two patrolling soldiers along the way then push towards the group of shieldbearers. Pre-emptive grenade or AoE spell will catch them off guard before they can raise their shields. The shieldbearer commander is somewhat sturdy enough to survive your initial assault so gang up on him until he’s down.
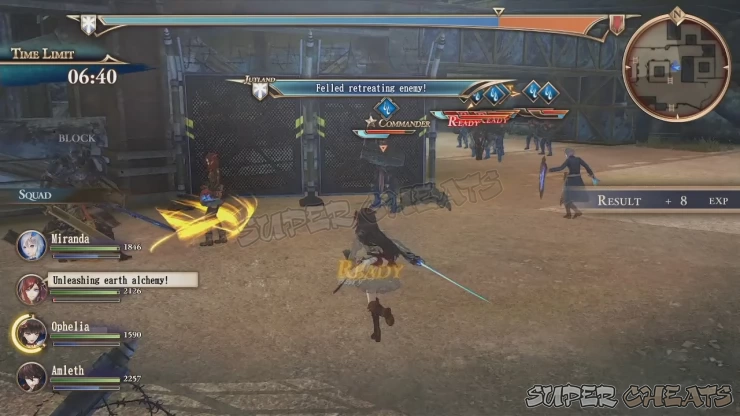
After taking him out, climb the ladder nearby. Proceed north to engage more patrols and reach one of the target groups (4). Like before, pre-emptive AoE or grenade will be good measure to damage/kill most of them before they even scatter. Continue working your way through the remaining enemy groups until you reach the last target squad. They’ll pose no threat anymore so just use up all your grenades and secondaries to finally complete the mission.
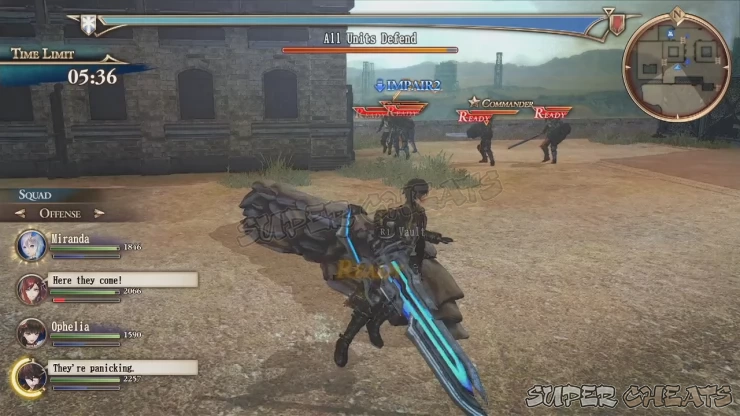

Mission: Aid Vonskold
Recommended Level: 25
Victory: Rout all heavy Tanks
Optional:
- Rout all aces (Hard) 0/1
- Destroy enemy cannons (Medium) 0/1
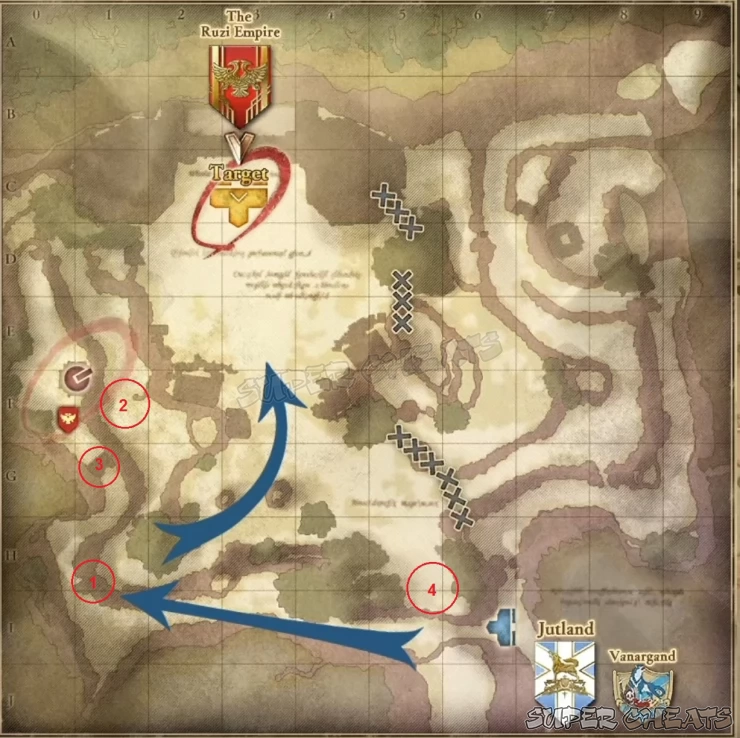
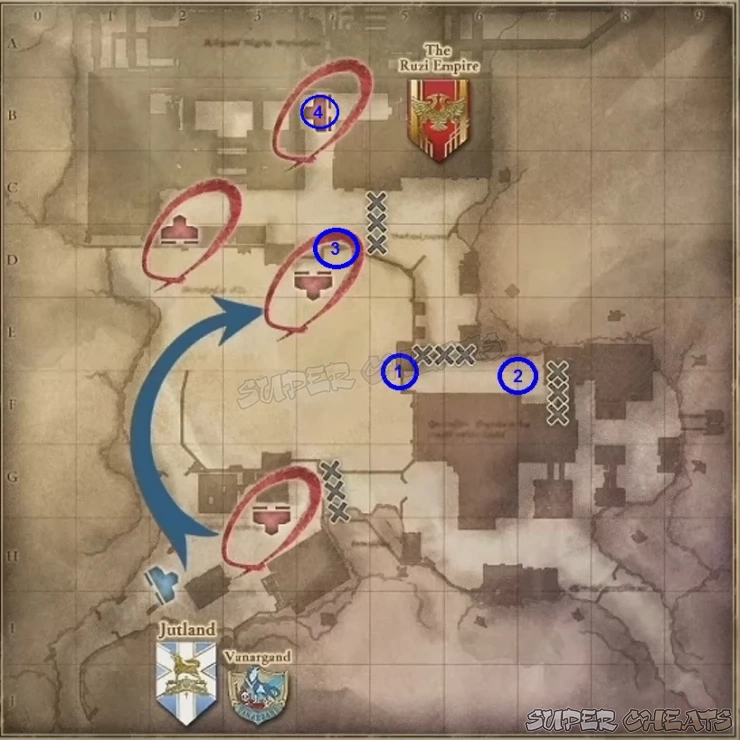
Your target is the dragon-type tank that’s immediately visible from your starting point. It will help taking out the cannon first to prevent unnecessary AoE damage from it. Fortunately, it’s also an optional objective so doing it will give you two benefits. From the starting point, continue along the passage and take out the enemy patrols. You can detonate the mines prematurely or have your sapper disarm them. Once you’ve reached the very first ladder (1), use it to go down then continue north instead where you’ll find more enemy troops guarding the ladder that leads to the cannon. Eliminate them to clear your path.
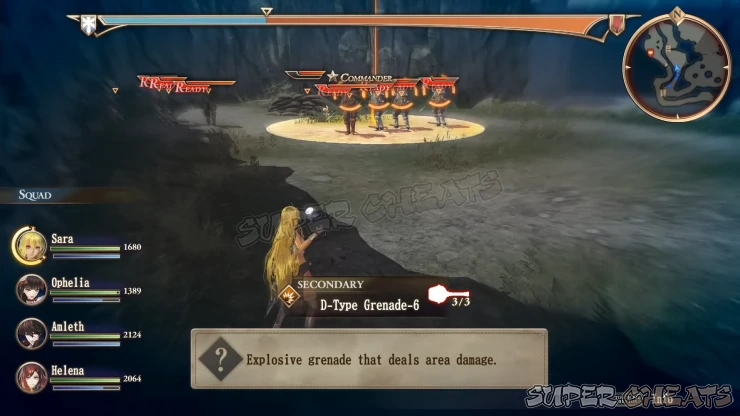
Once this group has been cleared, continue up the ladder. You have to take out the lone enemy here to remove the detection and allow you to loot the supply cache beside the previous ladder (2). After looting its contents, go up the ladder once more and continue north to find another ladder again. Here, you’ll find a huge enemy detachment guarding the cannon and the base. The cannon won’t be able to shoot you once you get close enough.
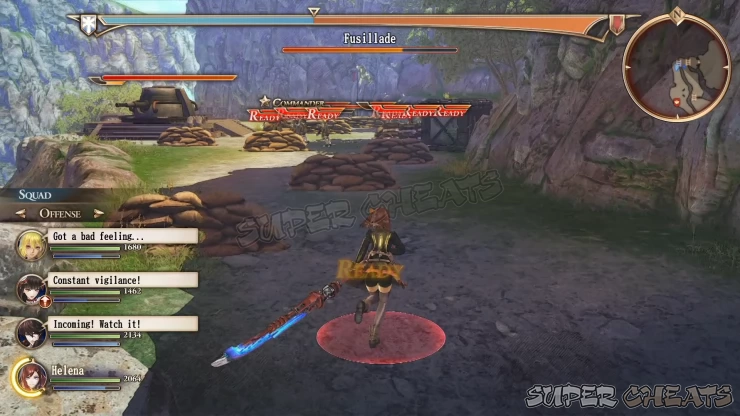
Use AoE spells, launchers, or grenades to take out or damage multiple enemies while also removing the sandbags protecting them. Make sure to take cover yourself if they start concentrating their fire. After defeating all soldiers in the vicinity, attack the weak point behind the cannon to destroy it. First optional objective done.
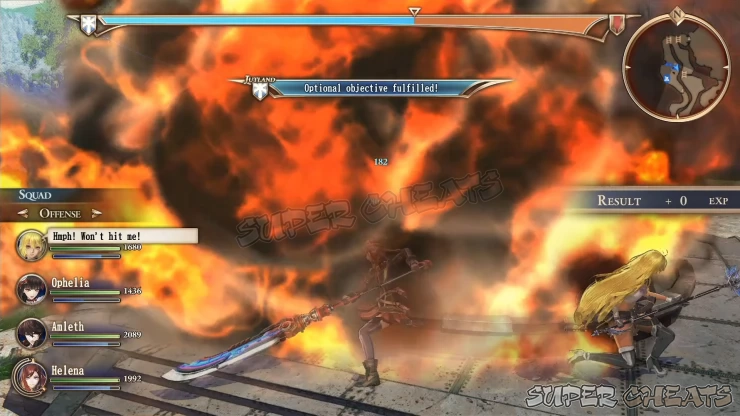
Continue heading south and jump off the ledge (3) to quickly reach the nearby ladder that leads back to the lower ground. This time, continue heading east to the grassfield. There’s a lone enemy waiting there so dispatch him. More enemies are waiting ahead behind sandbags and a line of mines behind them. Eliminate them quickly with a grenade or AoE skill but don’t push north yet. Instead, head to the southeast end of the area (4) to find the ace that you need to take out for the other optional objective. This is a lone target so you shouldn’t have problems taking it out.
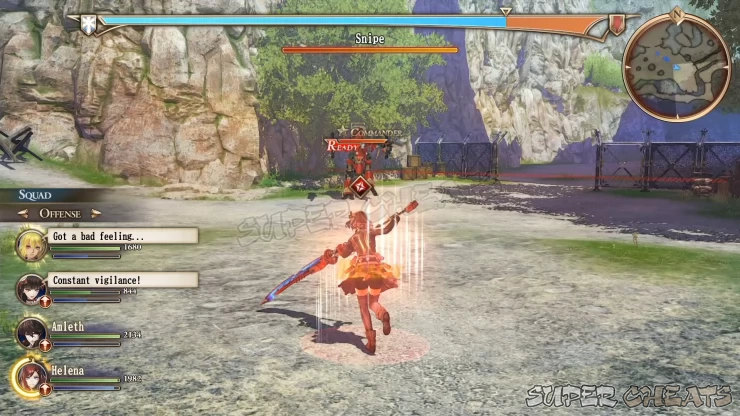
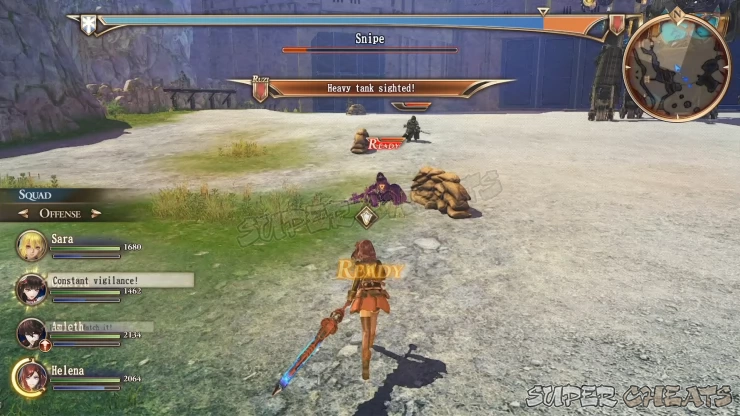
After eliminating the ace, you can now push towards the heavy tank. Before engaging it, make sure to take out the snipers and enemy sappers hiding behind the sandbags around the tank. Use your guns to quickly eliminate them from a distance. Once they’re taken out, you can now finally focus your attacks on the tank itself.
Similar to the other Dragoon-type heavy Tanks you encountered during the very first mission, you’ll have to destroy legs first to “stun” the tank and lower its vulnerable head cannon. You just need to repeat the pattern of destroying any of its leg part to stun the tank. Make sure to stay away from its attacks’ area of effect to avoid getting stunned and heavily damaged. You’ll always have a good lead / warning before the boss performs its attacks so use these indicators properly.
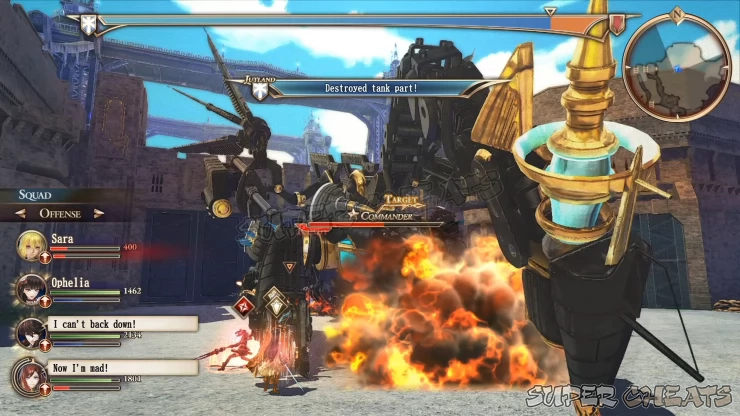
Also, always prioritize taking out the flame stars it summons. They pesky buggers will keep shooting accurate, piercing fire projectiles at your team which can stack up damage enormously with the tank’s own attacks. Use water attacks to destroy them quickly. Repeat the steps mentioned above then focus your attacks on the head until the target is destroyed. Mission complete!
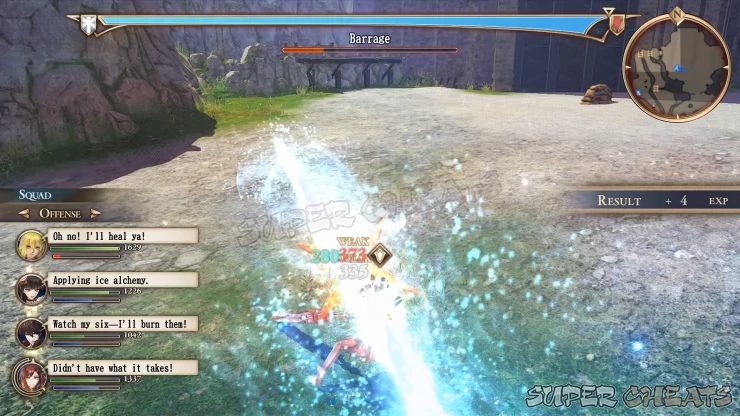

Mission: Liberation of Mugan Ruz
Recommended Level: 27
Victory: Seize Mugan Ruz
Optional:
- Rout all aces (Medium) 0/1
- Capture all bases (Severe) 0/1
This is a major operation in this chapter with a lot of enemies so make sure to do some free Missions to grind up levels, get new ragnite crystals for upgrading your weapons’ mana engine, and money to upgrade your squad’s secondary weapons. If you check the mission map, you’ll notice that the bases are conveniently placed along the way so you should be able to complete the second optional objective quite easily. Bring your best team members here, just make sure to bring a sapper like in most missions.
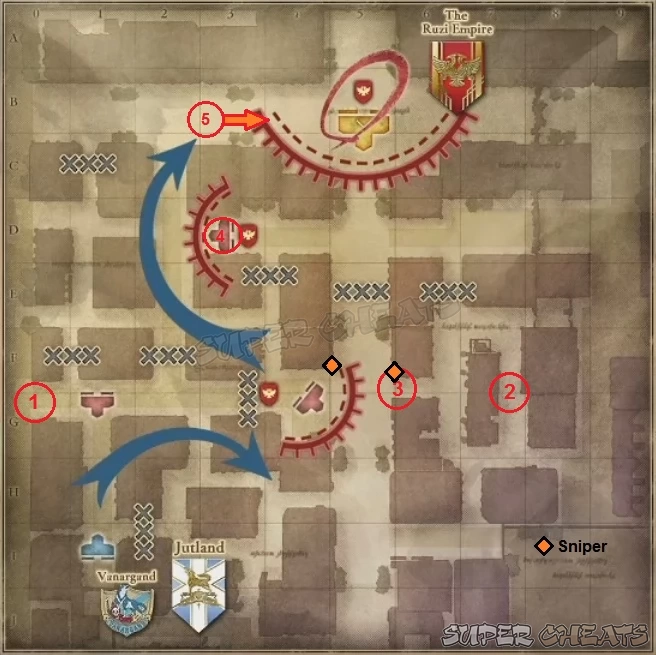
Once the mission starts, rush towards the large enemy group ahead and open up the assault with an AoE or grenade attack to rattle the enemies. There’s a supply cache to the western end of that street (1) so loot it after clearing the initial enemy group.
Follow the straightforward path through the alleys, taking out the lone enemy patrols along the way until you reach the main street. However, don’t go up north yet. Continue heading to the backstreets to the southeast (2) and clear the patrols there to trigger the arrival of reinforcements, which includes the target enemy ace for the first optional objective.
From that location, make your way westward towards the enemy base to be able to attack them from behind (3) and gain the advantage. Take note that there are two enemy snipers on the rooftops overlooking the base so take them out to capture the first base. Loot the nearby supply cache before moving to the alleys to the northwest.
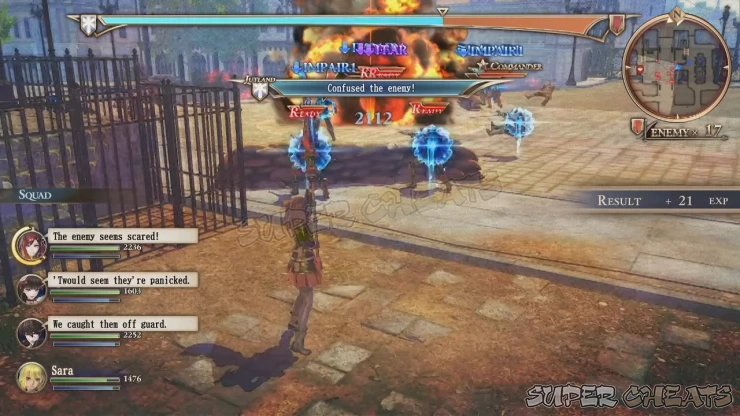
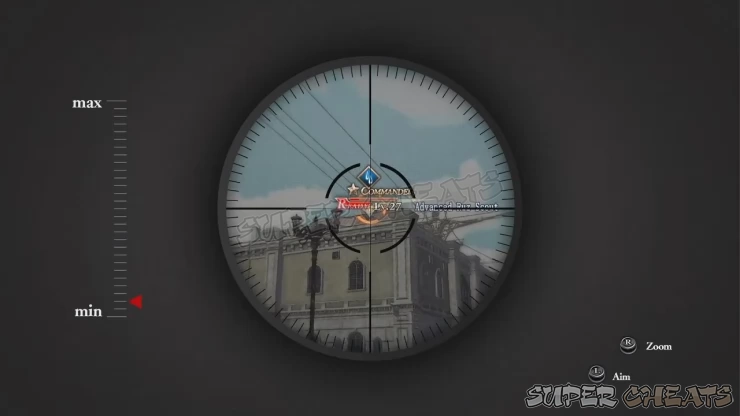
Continue clearing the path ahead and make your way to the second base (4). This is a particularly smaller one so you don’t have to fight a lot of enemy troops compared to the previous base.
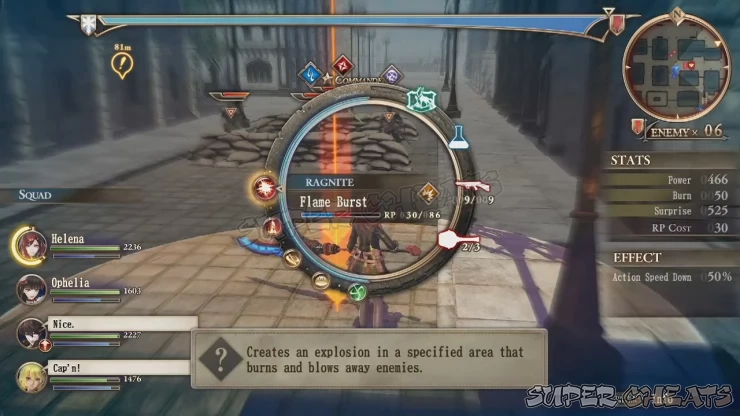
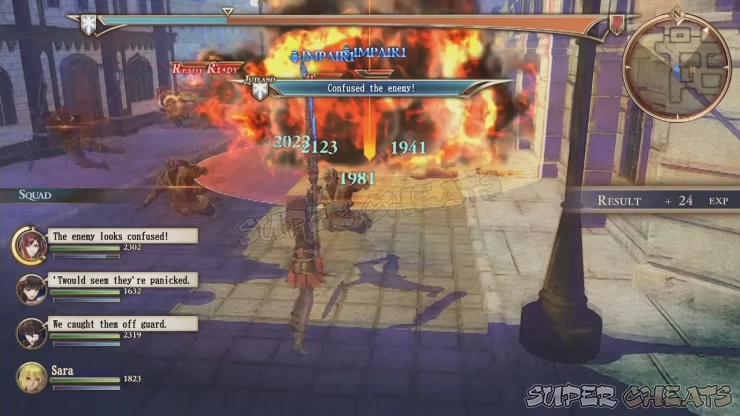
Now instead of going straight east to the main street, you can perform a surprise attack by continuing northwest and get behind enemy lines from the west (5). Use grenades and AoE spells to take out multiple weaker targets and to throw the entire enemy force in confusion.
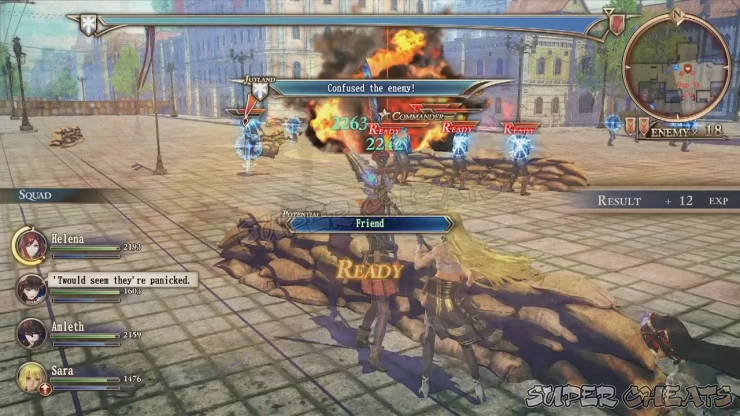
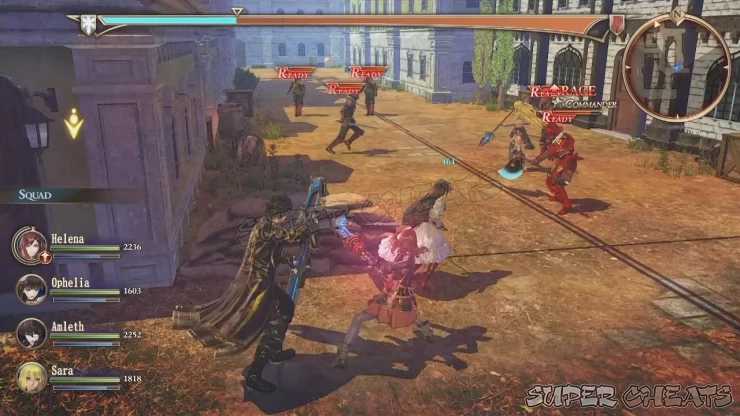
Use this upper hand to take out more enemy soldiers. Once their numbers have dwindled enough, a medium armored tank will appear. Ignore it for now and continue eliminating the remaining enemy forces then focus your attention to the tank. Defeating it will secure the last base. Cutscene will follow.
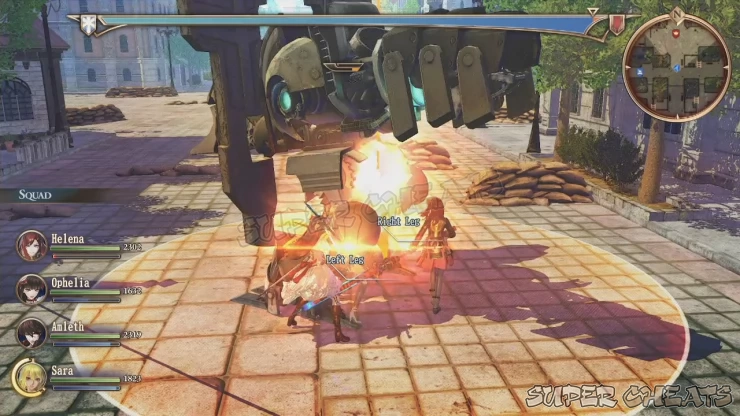

Your ordeal is far from over since there will be tank squad reinforcements. The first squad will arrive from the south. Use AoE attacks to eliminate the foot soldiers quickly before they scatter then focus your attacks on the tank. After destroying the tank, a small squad of foot soldiers will appear from the east.
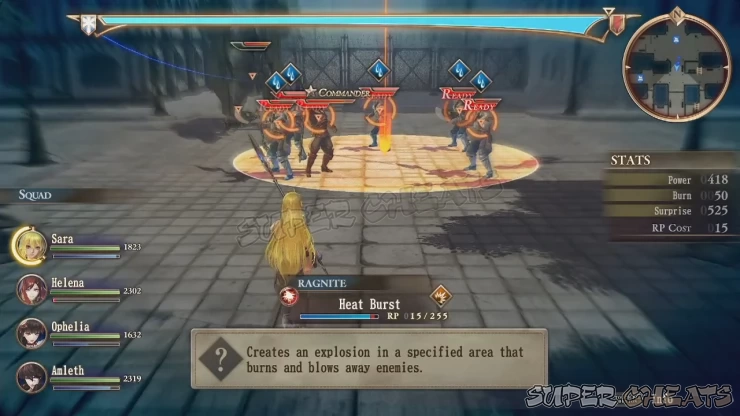
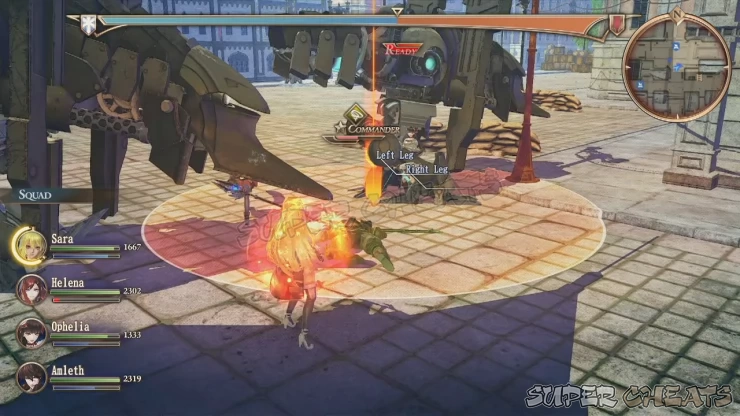
Defeat them as well for the second and third tank squads to appear. Like before, take out the foot soldiers first but since you’re dealing with two Tanks at once, have your team set on offense then focus on one tank at a time. Use AoE against them should they get close to each other. Make sure to eliminate all foot soldiers to prevent them from taking potshots at your team. One the first tank is down, the other one should go down quickly as well. Destroying the second tank will complete the mission.

Anything missing from this guide?
ASK A QUESTION for Valkyria Revolution
Comments for Chapter 6: Defeated
Add a comment
Please log in above or sign up for free to post comments- Basics - Combat
- Basics - Game Mechanics
- Walkthrough (Operations)
- Circles
- Archives of the Revolution
- Extras
 Join us on Discord
