Chapter 4: When Shadows Fall
Operation Dunfalst Liberation
Recommended Level: 14
Victory: Capture enemy base
Optional:
- Rout all aces (Medium) 0/1
- Disarm all mines (Hard) 0/30
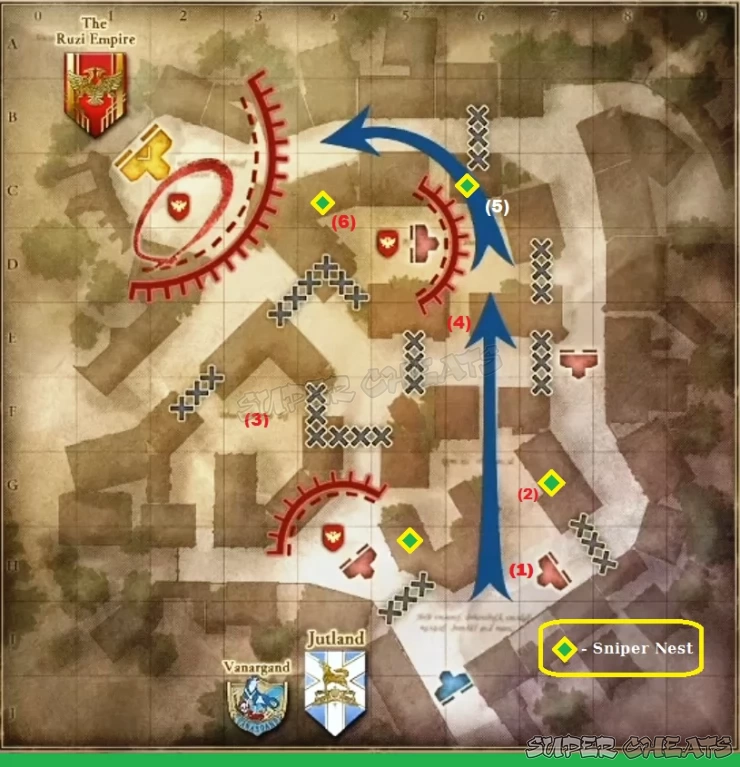
If you want to secure the optional objective to disarm all mines, bring a sapper since they’re the only class capable of doing it. Also, completing this secondary objective can be easily ruined since the mines can be triggered by your teammates, destroyed by gunfire, or get caught up in grenade or alchemy spell blasts. There are several mines deployed across the map as well as snipers stationed on rooftops.
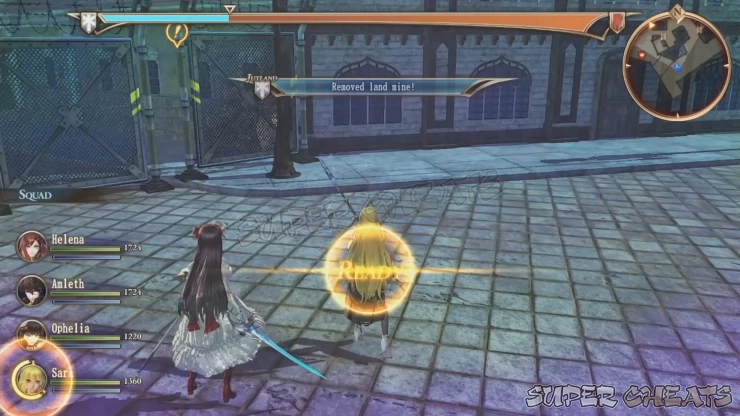
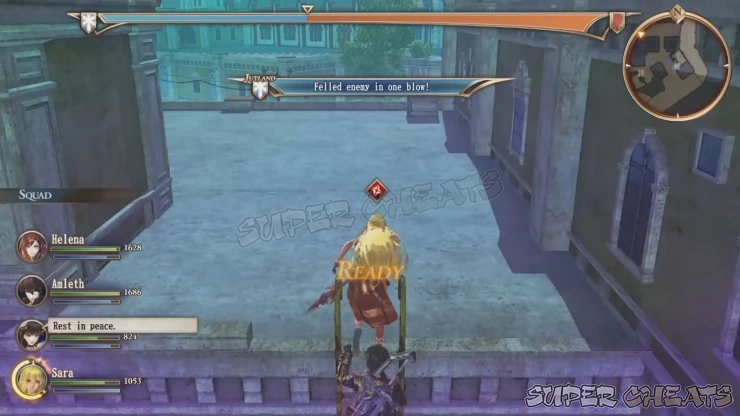
As soon as the mission starts, disarm the first three mines then engage the first enemy group (1) to the northeast. Next, take the alley to the west where are more enemies hiding behind sandbags (2). There are more mines along the way so make sure to disarm them as well. There’s a ladder leading to the first sniper nest so climb it and take out the sniper. There’s a supply crate in the same rooftop as well.
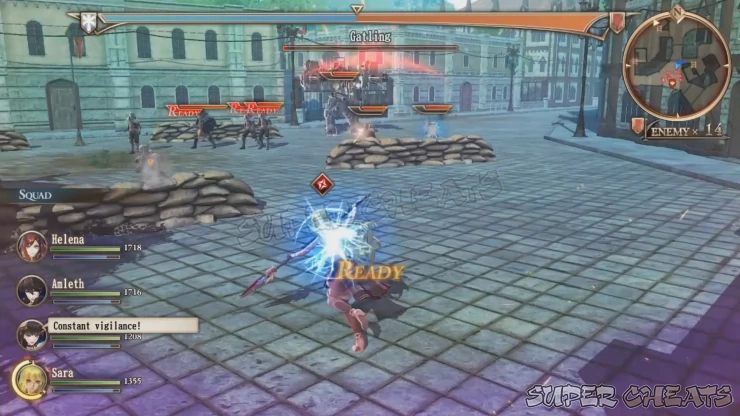
Climb down then proceed west towards the first enemy base. There’s a medium tank in the fray as well. Charging head first is possible as long as your team members can withstand the damage thrown at them. The enemies are clumped together so grenades and AoE alchemy spells can get rid of the foot soldiers quickly before concentrating your effort in taking out the medium tank.
After capturing the base, continue to the backlot of the buildings to the northwest to find the enemy ace (3). This shieldbearer ace is alone so get rid of him to complete the first optional objective.
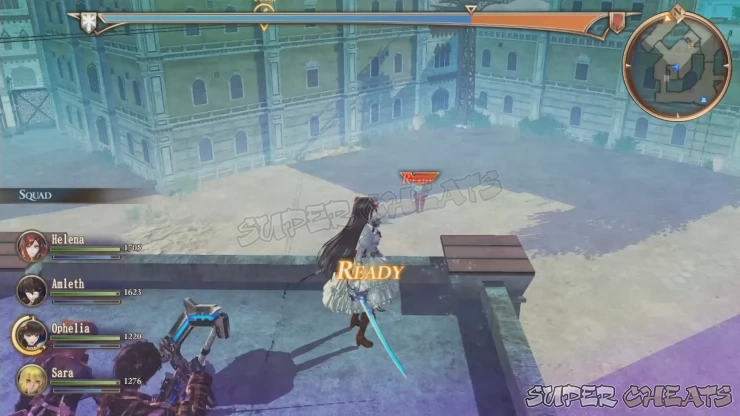
Now backtrack and head towards the next enemy base (4). The alley leading to the base has mines so make sure to disable them first before heading forward. There are also sniper nests on the rooftops further north so if you have a squad member with his/her own sniper rifle, you can snipe them pre-emptively. There are also several more mines scattered across the base’s vicinity. Concentrate on taking out all enemy forces first before sweeping all of them. Like the other base, there’s also a stationary gatling medium tank here so keep your guard up as you make an approach. Don’t forget to loot the supply caches in the northeast and northwest corners of this lot, beside the ladders leading to a sniper nests. (5) (6) Climb up the sniper nest at (6) to loot another supply cache on the rooftop itself.
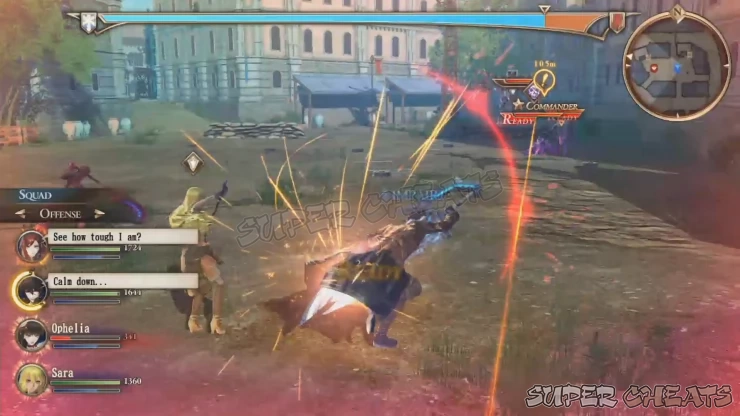
Finally, heal up then make your way to the main base. A heavy tank is waiting for you alongside a handful of melee soldiers. The tank will lob cannonfire as you approach so make sure to stay out of the blast area. The battlefield is in a wide, open area so there’s no other choice but to rush in. Take out the foot soldiers then set your team to offense and focus attack on the heavy tank.
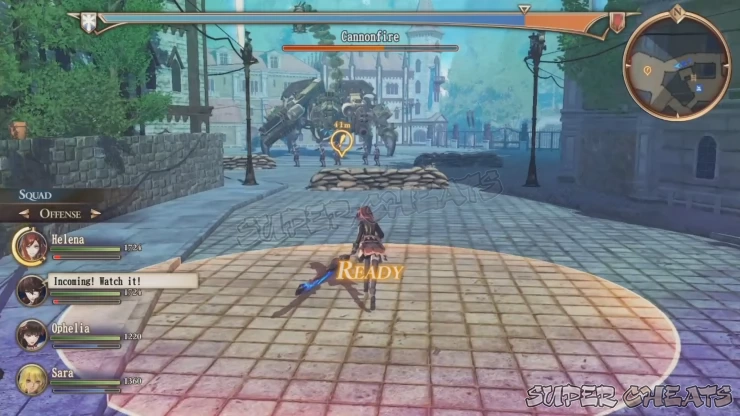
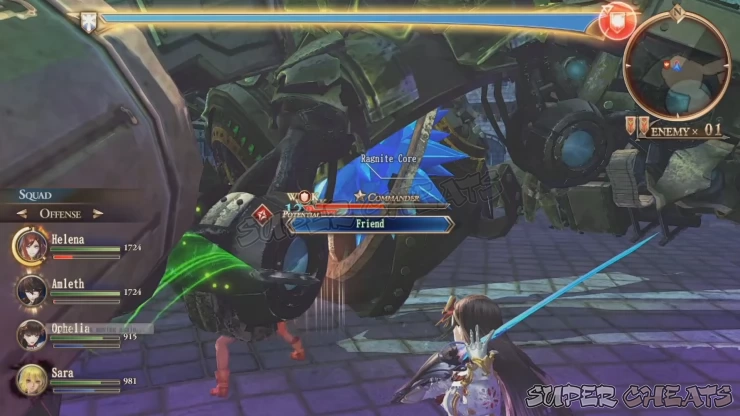
You should already know the strategy needed to defeat this type of tank since you have already faced one in the previous chapter. Like the other heavy tank, keep an eye of it’s multi-stomp or jump attacks; make sure to get out of the impact range to avoid getting stunned and heavily damaged. Beware of its other wide-area attacks. Grenades and launchers are excellent damage dealers against single targets such as the heavy tank’s legs, as well as interrupting its actions so use them when you can. After one of its legs gets disabled, you’ll have to attack its central core. AoE spells and multi-hit attacks are excellent against the core. Repeat the process until you finally defeat the heavy tank. Mission complete!

Test Improved Weapons
Recommended Level: 15
Victory: Complete squad training
Optional: None
This training mission is needed to gain access to the upgraded blueprints for your squad. This will improve your weapons’ mana engine, unlocking more upgrade nodes connected to your weapons’ original nodes. There are no optional objective and all members are pre-selected for this mission.
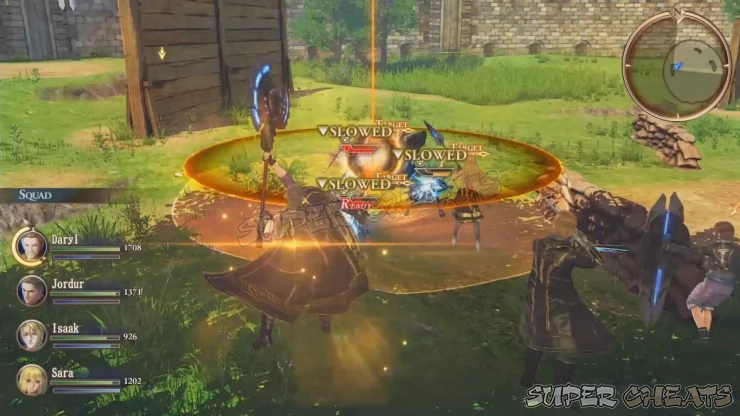
For the first group, you’ll have Brigitte, Helena, Tilda, and Blum and you’ll have to destroy all Tanks that will be deployed in the training arena. After defeating them, the second squad composed of Daryl, Jordur, Isaak, and Sara will enter the fray. However this time, you’ll be controlling the second team and fighting the first team.
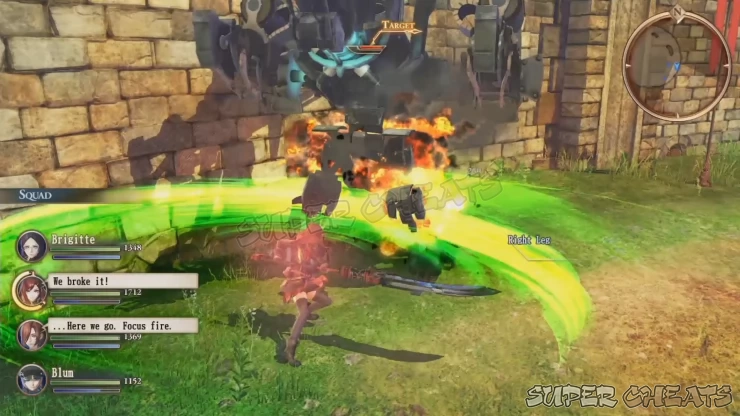
As a general strategy, the first thing you need to do is take out the healer. Prioritize taking out Blum first to cut off the first team’s lifeline. He should go down easy since he’s such a fragile wuss. Next, prioritize taking out Helena since she’s the team’s main damage dealer, followed by Brigitte and finally Tilda. Manually control Sara if needed since the other team might target her as well. This will also allow you to heal your teammates as needed. Otherwise, if you’re confident with your current team’s skills, you can just pummel them with your own AoE spells, grenades, and secondary weapons. After defeating the first team, the mission will be complete.

Destroy Advanced Imperial Weaponry
Recommended Level: 17
Victory: Destroy new weapon
Defeat: Amleth or Ophelia defeated
Optional:
Route all aces (Hard) 0/1
Retrieve supply caches (Hard)
Amleth and Ophelia will be fixed members in this mission. Like before, take a sapper and preferably another shock squad member. Since this is a night battle, there will be spotlights in certain points of the map. Getting spotted means several enemy troops called to your position. Aside from that, there’s no repercussion for deliberately or accidentally getting spotted by searchlights. This is fine and all if you’re planning to farm for additional exp and possible ragnite crystal drops.
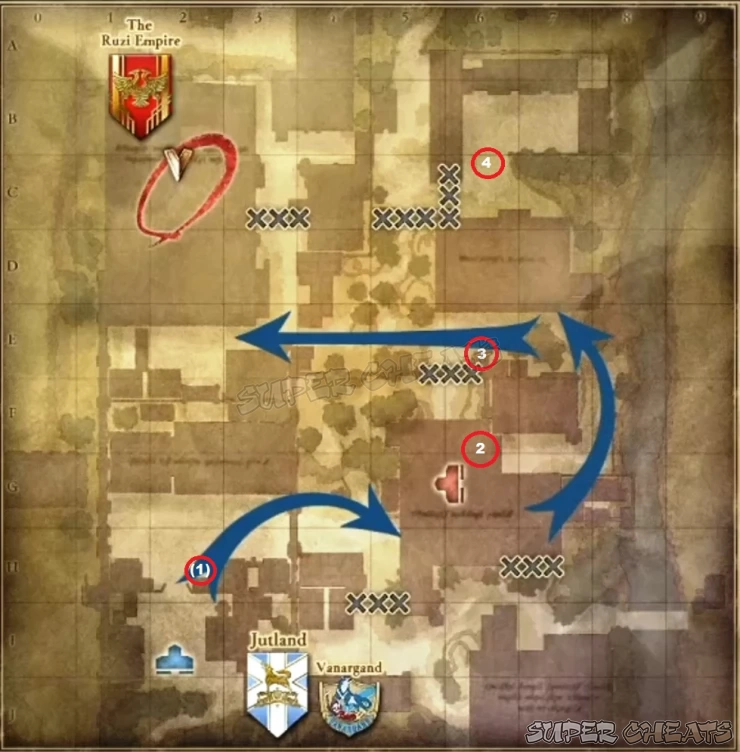
As soon as the mission starts, continue forth and take out the first small patrol ahead. There’s a searchlight as well so just avoid it for now and proceed forward. The first supply cache is found to the immediate right, after passing the first spotlight (1). You may need to take out the enemy position ahead in order to loot the cache.
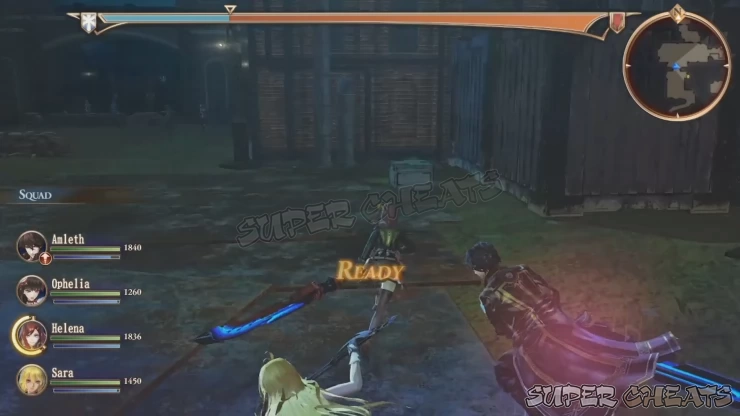
Next, you have to go through a narrow passage further east with another searchlight. You can avoid it by simply moving into the conveniently-placed notch in the fence as the searchlight passes by.
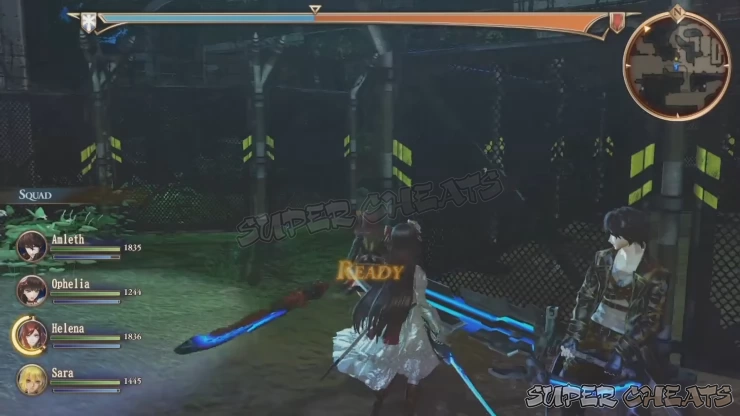
Continue forth inside the factory building to the east and eliminate all enemies inside. Take the stairs leading to the upper catwalk inside the building, where the next supply cache is waiting (2). Approach it to trigger a short cutscene. After the scene, loot the cache then exit to the building to the east again.
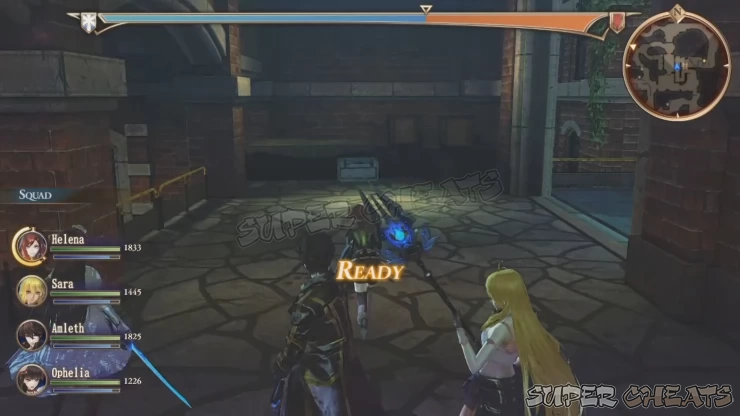
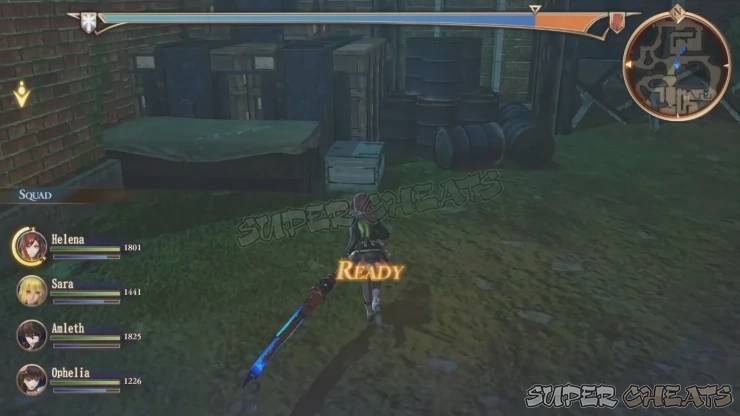
Pass through the searchlight section again and follow the path heading northwest. Take out enemies along the way until you reach the second building. Don’t go all the way to the west towards the main objective for now. The last supply cache is found across this building’s entrance, beside some crates and barrels. (3)
The enemy ace is hiding in the enclosed area north of the building. (4) To reach it, you have to go through the factory building. Defeating it will complete all optional objectives in this mission.
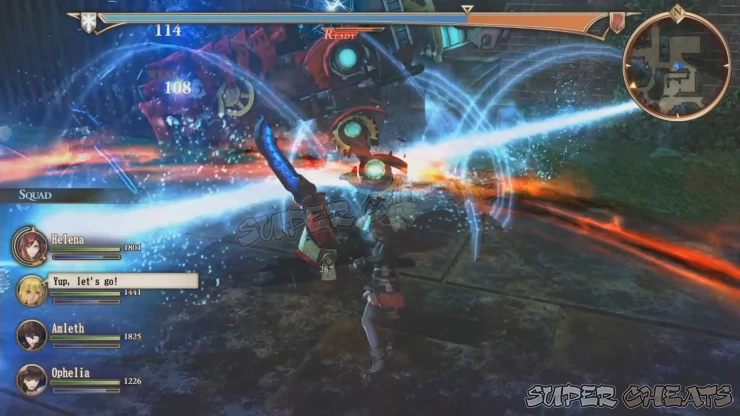
Now, you’re free to continue to the main objective. Continue further west and eliminate all enemy soldiers along the way outside the main factory building to trigger another cutscene. After the scene, you’ll be controlling Amleth alone and you’ll have to make your escape while drawing the enemy’s attention. Since you’ll only rely on cover and items for healing, I suggest heading to the escape point and engage only the enemies blocking your path. Continue heading east until you reach the escape point.
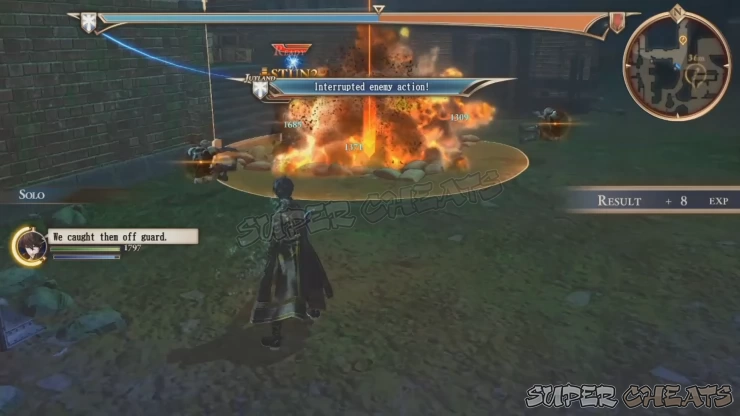
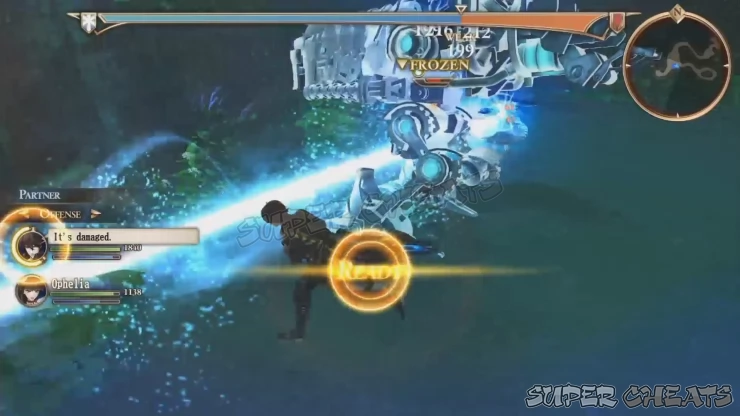
The last part of the mission will start after the cutscene. You’ll have to eliminate the remaining pursuers with Ophelia’s help. Ophelia should have at least her Galdr of Love equipped for healing; there’s no reason not to equip her exclusive skill anyway. You’ll be fighting Tanks so focus your attacks on one of them at a time then use AoE attacks when they’re grouped together. Defeat the two tanks to finally complete the mission.

Anything missing from this guide?
ASK A QUESTION for Valkyria Revolution
Comments for Chapter 4: When Shadows Fall
Add a comment
Please log in above or sign up for free to post comments- Basics - Combat
- Basics - Game Mechanics
- Walkthrough (Operations)
- Circles
- Archives of the Revolution
- Extras
 Join us on Discord
