Privacy Invasions (PS)
Thank you for printing this page from www.SuperCheats.com.
Remember to come back to check for updates to this guide and much more content for Watch Dogs
Follow this guide to hear about updates
Last Updated:
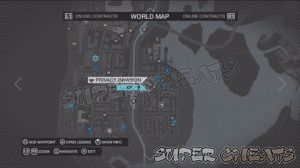
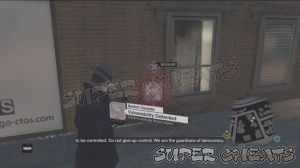
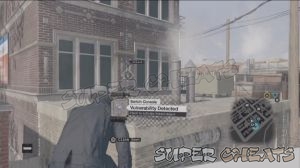
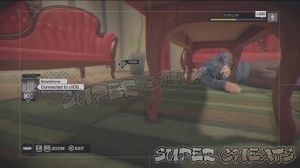
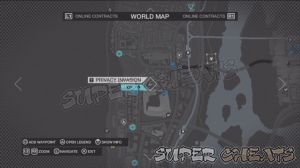
#1: Head to the marker in the map then find the building's security router by taking the stairs from the back. Once you start the intrusion, you'll have to manually move some of the conduits to complete the circuit. There's nothing much to do here; just hack the device on the table to get some cash and you're good to go.
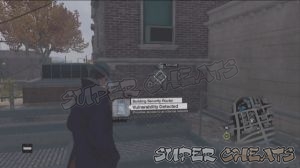

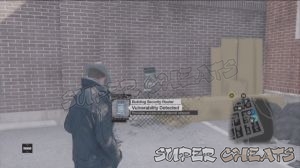
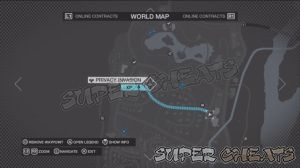
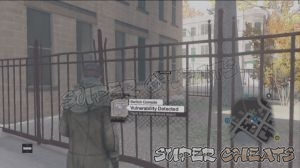
#2: In this location, find the security router at the back of the building, by the alley. However, it's not accessible yet so activate your Profiler and trace the line connecting the router to the rooftop of the pizzeria. Since you can't reach the roof, find a vehicle, park it beside the wall and climb on it to reach the roof. Unlock the Switch Console there then backtrack to the security router and hack it.
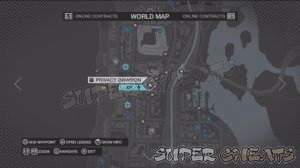

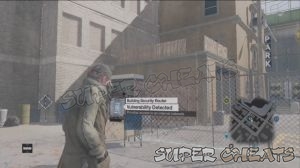
#3: The security router will be located at the back of the building as always. Activate your Profiler to reveal the line that you should follow. This line will lead you to the roof of nearby building (which happens to be the building where the Weapon Trade investigation is found). There should be a parked truck nearby that you can climb on to reach the roof.

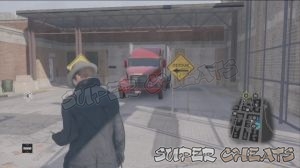
If you follow the trail, it will lead to another switch console in another nearby building. Go back to the ground and use the same truck to create something you can climb on to reach the other switch console. This should be enough to render the security router vulnerable.

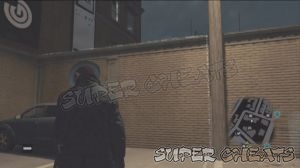
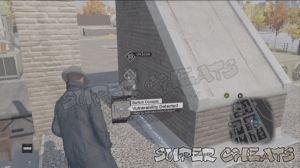
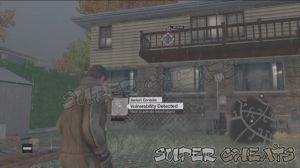
#4For this P.I., you have to locate the switch console at the end of the line. Just open your Profiler and follow the line until you locate the console on the porch at the back of a house. Now backtrack will following the line and unlock the second switch console. Finally, intrude through the security router of your target home.
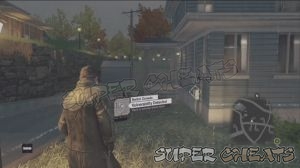
#5: This particular P.I. is easy. Head to the marked location, open your Profiler and locate the Switch Console on a building northwest of P.I. Building. It's in the ground level for your convenience.
Next, you have to find another switch console. Follow the activated line and you should see where it stops on top of the building behind the P.I. Marker. Cling on the doorway to boost yourself up and to reach the Switch Console.

Anything missing from this guide?
ASK A QUESTION for Watch Dogs
Comments for Privacy Invasions (PS)
Add a comment
Please log in above or sign up for free to post commentsNo comments yet. Tell us what you think to be the first.
Table of ContentsClose
- Basics
- Skill Tree
- Act I
- Act II
- Act III
- Act IV
- Act V
- Activites: Parker Square
- Activites: The Loop
- Activities: Brandon Docks
- Activities: The Wards
- Activities: Mad Mile
- Activities: Pawnee
- Collectibles
- Investigations
- Sidequests
- Trophies / Achievements
Guide Updates
Get notified of updates to this guide
Many of our guides get updated with additional information. To get an email when this guide is updated click below.
 Join us on Discord
Click to close