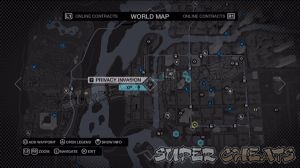
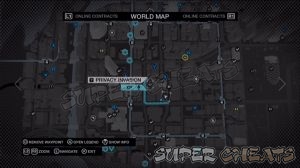
Privacy Invasion
Thank you for printing this page from www.SuperCheats.com.
Remember to come back to check for updates to this guide and much more content for Watch Dogs
Follow this guide to hear about updates
Last Updated:
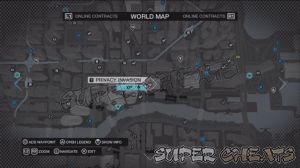
There are a total of 30 of these activities found in the city. These activities will allow you to break in and invade a property. You can hack through the building's security to find out and observe the events inside. For some locations, you'll need to use the Profiler to reveal the wireless signals then hack all ctOS boxes in sequence. For other locations, you need to hack the security router to breach the system. There are also other locations where you need to break through the firewalls. Completing all 30 Privacy Invasion activities will unlock the trophy "System Mangler".
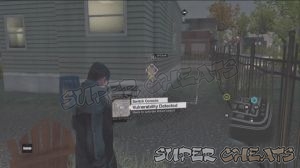
Brandon Docks
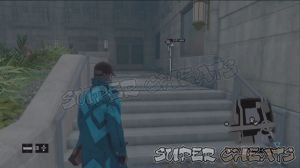
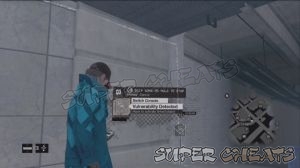
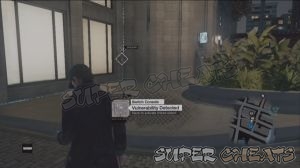
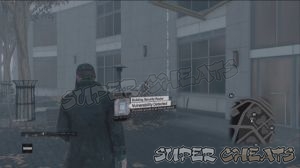
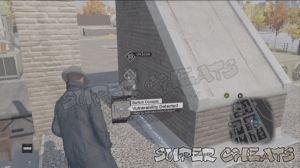
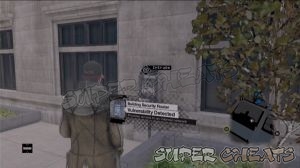
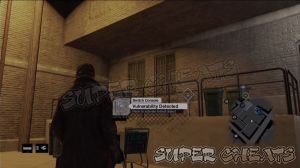
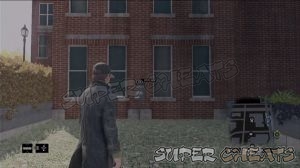
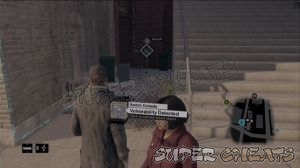
1: From the security router, trace the signal line to the switch console. After finding the first switch console, take control of the camera near it and look to the right to find another camera. Switch to that camera and look down to the right to find the second switch console.


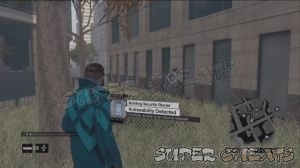
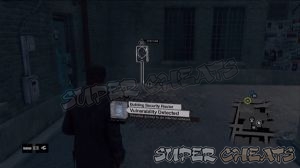
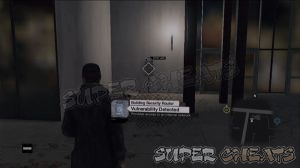
Unlock the switch then exit out of the camera view so you can unlock the second one nearby. There are no security layers on the building router so you can see the treat waiting for you inside easily.


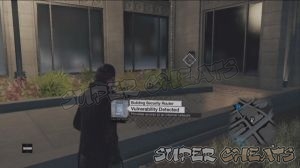
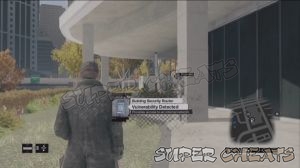
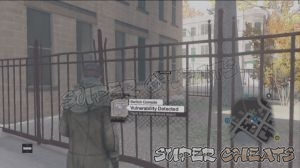
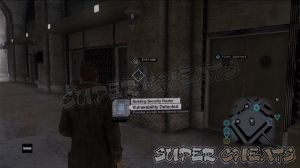
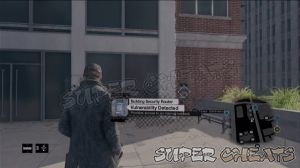
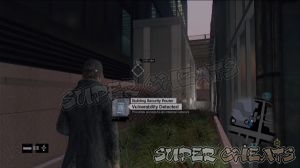
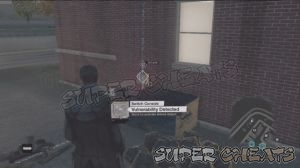
2: This security router can be intruded immediately but you need to pass through an easy security layer.


Mad Mile
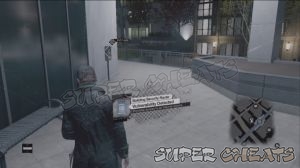
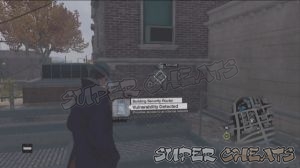
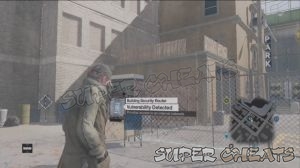
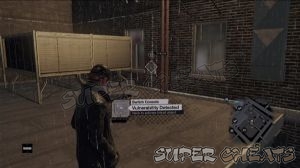
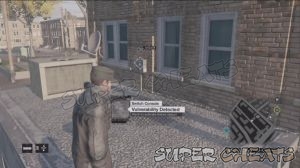
3: The security router is found in the side of the building. There's an easy firewall layout that you need to break through.
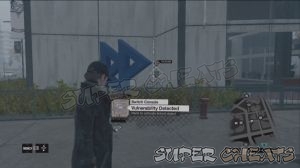
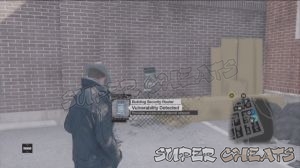
4: The security router is found on the side of the building, near the underpass entrance. It is unpowered so trace the signal leading to the first switch console found in a small parking lot in the underpass. Trace the activated signal to find the second switch console along the sidewalk leading to the underpass.


5: The security router is found in the underpass of the John Hancock Center. You can just hack it immediately since there are no switch consoles enabled.


6: Trace the signal to the balcony of the building to the south. Use one of the cameras on the adjacent building to see the console and hack it remotely. Follow the activated line to the second switch console near an ATM. Unlocking this should allow you to hack the security router.


7: This router doesn't have any switch consoles to be activated so just head over to the location and use the forklift to get to the same level where the router is located. After Hacking it, you just need to break through a simple firewall.


8: This router doesn't have any switch consoles to be activated so just head over to the location and find it in the open, by the stairs of the building.


9: First, you have to find the last switch console. It is located outside the office space to the south, behind the building's logo. Next, trace the activated line as it leads you to a balcony above ground. You have to hack the nearby camera in the corner to view the console and unlock it. Finally, you're free to hack the security router.


10: This router doesn't have any switch consoles to be activated so just head over to the location and find within the building's courtyard. Break through the firewall to get in.


Parker Square
11: Head to the marker in the map then find the building's security router by taking the stairs from the back. Once you start the intrusion, you'll have to manually move some of the conduits to complete the circuit. There's nothing much to do here; just hack the device on the table to get some cash and you're good to go.


12: In this location, find the security router at the back of the building, by the alley. However, it's not accessible yet so activate your Profiler and trace the line connecting the router to the rooftop of the pizzeria. Since you can't reach the roof, find a vehicle, park it beside the wall and climb on it to reach the roof. Unlock the Switch Console there then backtrack to the security router and hack it.


13: The security router will be located at the back of the building as always. Activate your Profiler to reveal the line that you should follow. This line will lead you to the roof of nearby building (which happens to be the building where the Weapon Trade investigation is found). There should be a parked truck nearby that you can climb on to reach the roof.


If you follow the trail, it will lead to another switch console in another nearby building. Go back to the ground and use the same truck to create something you can climb on to reach the other switch console. This should be enough to render the security router vulnerable.


14: For this P.I., you have to locate the switch console at the end of the line. Just open your Profiler and follow the line until you locate the console on the porch at the back of a house. Now backtrack will following the line and unlock the second switch console. Finally, intrude through the security router of your target home.


15: This particular P.I. is easy. Head to the marked location, open your Profiler and locate the Switch Console on a building northwest of P.I. Building. It's in the ground level for your convenience.

Next, you have to find another switch console. Follow the activated line and you should see where it stops on top of the building behind the P.I. Marker. Cling on the doorway to boost yourself up and to reach the Switch Console.

The Loop
16: This one’s pretty easy to find and intrude. However, breaking it can be a bit of a hassle. You have a minute to route the connections to unlock the two locked conduits on both sides and divert the connection to the final lock. It will be hard to explain it via text so refer to the video below.

17: The security router is in the open but you need to re-arrange the data connection to reach the backdoor. There is no timer so you can take your time.


18: The Security Router is found in the open in the parking lot. You can intrude immediately without tracing for a switch console. You need to route the connection again to install a backdoor. You can examine the layout without triggering anything yet. The red switch has a timer once activated you have to work fast to remove the other locks. If you want to reset the timer to the red switch, simply cut the power and restore it whenever you want.


19: The router is located in the alley. You need to trace the line to the switch consoles. The first switch console is found in the alley southeast of the Privacy Invasion marker in your mini-map. Unlock it and trace the blue line to the second switch console on top of a warehouse. Unlock it to finally access the security console earlier.


20: The security router is found in the alley behind the pawnshop. You can intrude it immediately but you also have to route the connection through a series of locks.

21: The Switch Console is found in the alley southeast of the Private Invasion icon in the map. From there, follow the activated line which will lead you to the other switch console near a gas tank. The security console doesn’t have any security you need to break through.

22: The security router of this building is located in the side. You won’t have to trace any signals from switch consoles and you just need to get through an easy security layer.

23: The security router is installed outside the building, behind some hedges. You only need to get through a thin security layer before you can intrude successfully.

24: The security router is located beside a bench in the northern side of the building. You have to trace the line which will lead you to an underground parking lot. It’s on the left. After activating it, backtrack and unlock the second and third switches located beside the stairs. You don’t need to break in some security measures so you should be able to intrude easily.


25: The security router is located in the narrow area between Willis Tower’s lobby and main building. There is no switch consoles needed to unlock but you have to get through an intricate but easy security layer.


The Wards
26: The security router is found at ground level of the marked aparment. There are no switches to be unlocked and the router can be hacked easily as well.


27: The security router is at ground level but you need to find the switch consoles before you can unlock it. The first switch console is located at the rooftop of the building southwest of the marker. You need to view it using a camera. There should be one camera from the building across it that you can control and use to unlock the switch console.


The second switch console is located at ground level, beside some dumpsters. After unlocking the second one, you have to hack the camera from the other building so you can find the last switch console on the rooftop of the building where the activated line leads to.

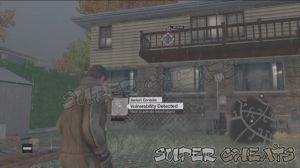
28: The first switch console for the security router is found to the west, in the corner of a house. Follow the activated line and it will lead you to the second console. Finally you can intrude the security router with ease.

29: The first switch console for this security router is found to the east, in the corner of the buildings beside an electric post. Follow the activated line and it lead you to the second console on the balcony of a building. Unlock it to finally be able to intrude the building marked in the map.


30: There are two switch consoles you need to hack. The first one can be unlocked by using the corner camera installed on the building to the west of the P.I. marker. Follow the data connection to the second switch console on top of a small shed and unlock it.


Anything missing from this guide?
ASK A QUESTION for Watch Dogs
Comments for Privacy Invasion
Add a comment
Please log in above or sign up for free to post commentsNo comments yet. Tell us what you think to be the first.
Table of ContentsClose
- Basics
- Skill Tree
- Act I
- Act II
- Act III
- Act IV
- Act V
- Activites: Parker Square
- Activites: The Loop
- Activities: Brandon Docks
- Activities: The Wards
- Activities: Mad Mile
- Activities: Pawnee
- Collectibles
- Investigations
- Sidequests
- Trophies / Achievements
Guide Updates
Get notified of updates to this guide
Many of our guides get updated with additional information. To get an email when this guide is updated click below.
 Join us on Discord
Click to close