A Risky Bid
Thank you for printing this page from www.SuperCheats.com.
Remember to come back to check for updates to this guide and much more content for Watch Dogs
Follow this guide to hear about updates
Added:
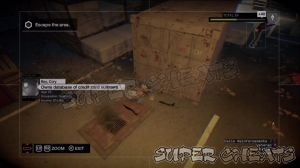
Once inside and after the security check, enter the room to the left to find an audio log. (Lucky Quinn 02) Continue to the next room to find the main bidding room.
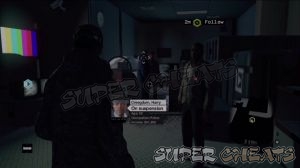
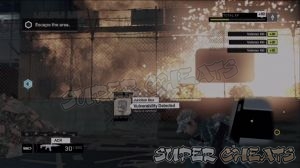
Follow the guard and continue upstairs until a scene is triggered. Scan Iraq's dog tag. After the scene, quickly head to the next room to avoid detection. Since you don't have your weapons with you, you have to take down enemy guards instead.

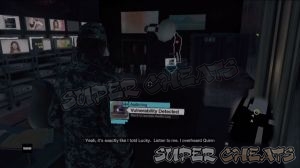
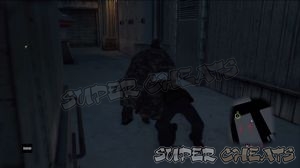
Go downstairs to find another audio log. (Lucky Quinn 01) Continue to the sewers where more of Mr. Quinn's men are waiting. Take down the guards and get their weapons. Continue to the next stairs and climb up. Quickly get to cover to avoid getting seen then open the gate. Proceed along the covers and take down any guards that you may encounter along the way.
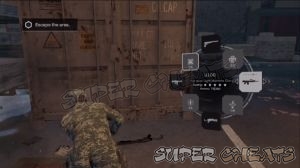
Continue forth until you reach the bag containing your weapons. From there, hack the camera ahead to unlock the switch console. Go through the gate and continue to the marker to trigger a scene. Once outside, overload the junction to make the nearby tanks to explode. You'll have to fight your way through armed enemies to escape the area. Make sure to use environmental objects to take down multiple enemies faster.

Unlock the gate and continue to the next area. The enemies won't be aware of your presence so move from cover to cover and take them out as you see fit. You can use your Hacking skills or objects to distract or kill them.

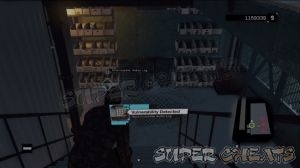
Continue to the next area until more reinforcements, including enforcers to find you. Hide in a cover and use the nearby camera so you can see the other enemies. You can also use the crane to drop on the enforcer once he's in range. That enforcer carries a U100 full-auto machine gun. Make sure to pick it up to add it to your weapon wheel permanently. Be careful of the sniper in the room nearby as well. You can flank him by using the scissor lift placed beside the room he's in. After clearing the first set of enemies, you have to move to the next warehouse.
If you have a ctOS scan, use it now so you can track the enemies position. There's a sniper in the far end of the warehouse so be careful. There are a lot of materials and ammo you can pick here as well. After clearing the warehouse, open the next warehouse door and take out the enemies outside. Once done, ride any of the vehicles there and escape the area. After Pearce's 911 call, the mission will be complete.
Human Traffic activities will be unlocked as well.
Anything missing from this guide?
ASK A QUESTION for Watch Dogs
Comments for A Risky Bid
Add a comment
Please log in above or sign up for free to post commentsNo comments yet. Tell us what you think to be the first.
Table of ContentsClose
- Basics
- Skill Tree
- Act I
- Act II
- Act III
- Act IV
- Act V
- Activites: Parker Square
- Activites: The Loop
- Activities: Brandon Docks
- Activities: The Wards
- Activities: Mad Mile
- Activities: Pawnee
- Collectibles
- Investigations
- Sidequests
- Trophies / Achievements
Guide Updates
Get notified of updates to this guide
Many of our guides get updated with additional information. To get an email when this guide is updated click below.
 Join us on Discord
Click to close