The Menu Scheme
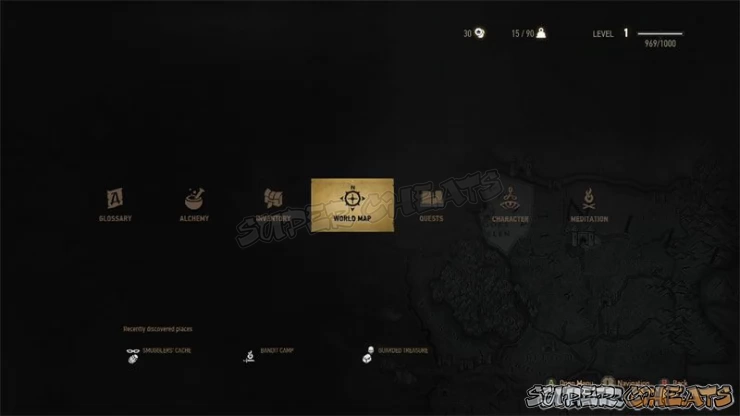
So open the Main Menu using the Start Button and you will see the following choices:
- Glossary
- Alchemy
- Inventory
- World Map
- Quests Book
- Character
- Meditation
Let's examine them in that order...
[img=w3-menu1.jpg title=Perhaps the most useful tab of them all is the Meditation Menu - it allows you to both wait out specific time and it restocks your potions for you as well! Talk about two birds here!
Glossary
When you select this tab you gain access to the entire Glossary that you have revealed so far, which is broken up into sections titled Bestiary (for animals), Tutorial, Characters, and Crafting.
In addition to being a valuable resource for helping you understand what some of the more obscure items and objects are, this can also aid you in rapidly mastering combat tactics against monsters as well as other opponents.
If you open up the Bestiary and then examine the first entry - Necrophages > Ghouls -- you will learn that Ghouls are largely a night-based animal, and that they eat practically anything. They are human-like but NOT human, and they seem to be driven not by intelligence but by hunger - and human flesh is their preferred meal!
You will also learn that Ghouls are a Necrophage that is particularly vulnerable to Necrophage Oil - a fact you should tuck away for future reference!
You navigate these menus using a combination of the D-Pad and Action Button as well as Joysticks.
Glossary > Tutorials -- Now back out to the Main Glossary Menu and then select Tutorial and down on the D-Pad and you open the Tutorial Main Menu (Note: You can page between sections here using the RB and LB buttons).
Let's take a look at the first entry here: Alchemy Ingredients.
This entry teaches you to loot bodies and gather ingredients (reagents) which is what we just did when the combat was over! The reason we emphasize this is that it is a really VERY important part of getting the Kit you need to play effectively.
Pay particular attention to the last paragraph of this entry: “The bodies of particularly dangerous opponents sometimes contain rare mutagens. You can use these to enhance Abilities or prepare special mutagen decoctions.
For the record the Mutagen are the special potions that are used to enhance and alter the body, mind, and powers of a Witcher, while a Decoction is basically a potion that may - or may not - be part or all mutagen.
Note that any Tutorial Entry here that you have NOT read is marked with a Gold Star. Now is a great time to take a few minutes to read the entries that your play so far has unlocked. You stand to learn quite a bit about the world, the game, and your place in it by doing so, and this is worth learning!
Among the more significant entries are the ones for Boats, Bombs, Combat (this includes the enhanced controls and actions), Horses, and Swimming.
The reason that those are significant is that the commands (buttons) and conditions are spelled out in them. As you WILL be using a lot of these as you play the game this is all very important to know NOW.
The Dialogue Entry not only fully explains how dialogue works, but also reveals that at some points you can actually employ Axii to enhance the results of a conversation DURING that conversation. Bet you did not know that.
You also get a briefing on the meaning of the different symbols that can be present in dialogue options - including the Gwent Game Trigger, and Shop prompts.
Another significant one is the Characters Entry because that teaches you about leveling up skills and your character - and specifically HOW that works - which is something you need to know!
The Items Entry not only gives you a basic idea of how items work - think durability - but also what you need to do to get items repaired or have new items made.
The Signs Entry includes a detailed description of each of the Signs that you can cast and is worth study.
Finally there is the Weapons Entry - which in addition to covering the Sword again, reminds you that Right-D-Pad will draw your Silver Sword (used for killing Monsters) and Left-D-Pad your Iron Sword, which is used for killing human and non-human enemies. Use the same command to sheath them.
This entry also includes basic information about the Crossbow - a weapon that you may or may not decide you like and prefer.
Tutorial > Characters
It may not be immediately obvious to you but this is one of the more significant tabs because in addition to refreshing you on the details of each of the characters you meet when you unlock an entry here, you can also learn information from the entries you did not know. Some of it very significant and even helpful to you!
Now is a good time to examine these since it will remove the Gold Star from each so that later you will be able to see any updates to entries and of course detect new entries to this tab.
Examples of new things you can learn is just how important - and powerful - Cirilla is (Cilla - Geralt's adopted daughter). Or perhaps the fact that these records are created and maintained by none-other-than THE Dandelion!
Another entry you really should read - even if you do not read the others - is the one for Geralt.
Finally the entry on Yennefer is worth reading as it gives you in a very general sense the essence of their relationship and why it is so important to Geralt.
Tutorial > Crafting
It cannot be overstated just how important Crafting is to you and your adventure. For one thing, most of the resources you will need are obtained via this skill, for another it gives you something to do with the resources you collect.
Take a look at the entry now present:
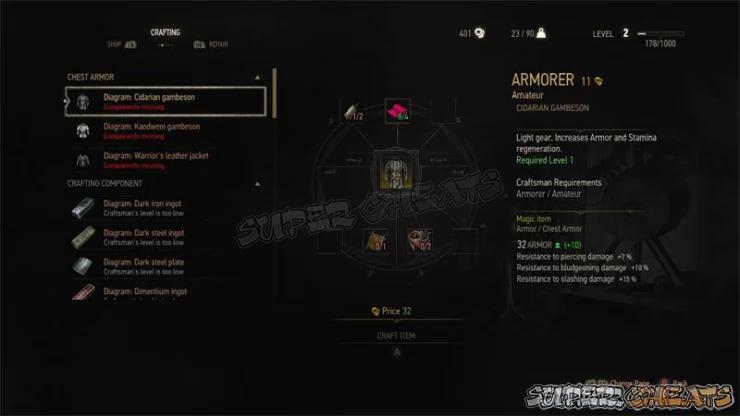
Diagram: Warrior's Leather Jacket
Okay first you see that you lack all of the components for this craft. But if you had them you would still need to seek out an artificer and have them craft this for you, from those components. Examine the components and you will see that this craft requires the following:
x2 Wire
x1 Cured Leather
x1 Kaer Morehen Armor (Chest Armor)
x2 Leather Scraps
Only Armorers can craft armor - which the tute clearly explains - so you will, once you have all of the components, need to use the map to seek out such and artificer.
Below the Crafts list is the Crafting Components List. You should possess the following if you have been looting and Collecting as covered above:
NOTHING
That's right, a big fat Goose Egg. Because we have not yet been in the sort of battle - or environment - in which this sort of resource is obtained. But we WILL be shortly and, when that happens, you need to remember to take advantage of this sort of resources Collection. All right then?
Alchemy
The Alchemy Section basically covers all things Alchemy and many of those things you will want to pay attention to!
If you gathered reagents after the fight with the Ghouls you should have the following reagents:
x1 Balisse Fruit
x1 Celandine
Now granted these are not sufficient reagents to actually craft any alchemy object, but they are a start. Gathering reagents is a very very good idea and something you should do whenever you can.
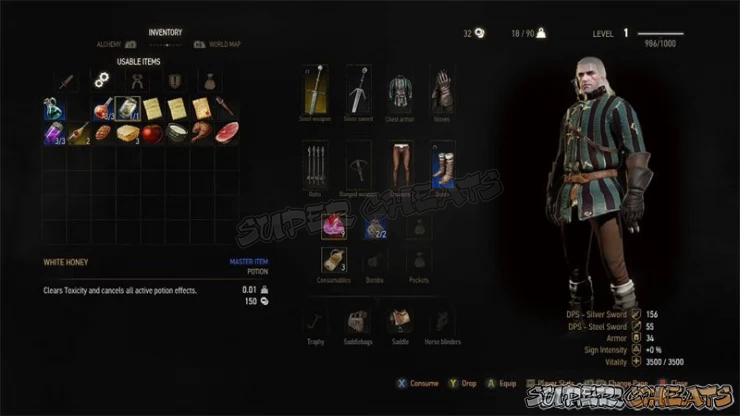
Inventory
This tab may be the most exciting - well potentially - of them all, because it shows you what you have and allows you to equip it.
A quick look through is in order here - and when you do you learn that some of the objects in this tab are interactive. That is to say you can manipulate or use them.
Inventory > Usable Items > Yennefer's Letter
Using the Left Joystick or the D-Pad select Useable Items and then Yennefer's Letter, then use the Action Button (A) to read it. There! See! Interactive!
In addition to the letter this section includes a Torch and three units of Tawny Oil.
Inventory > Alchemy and Crafting
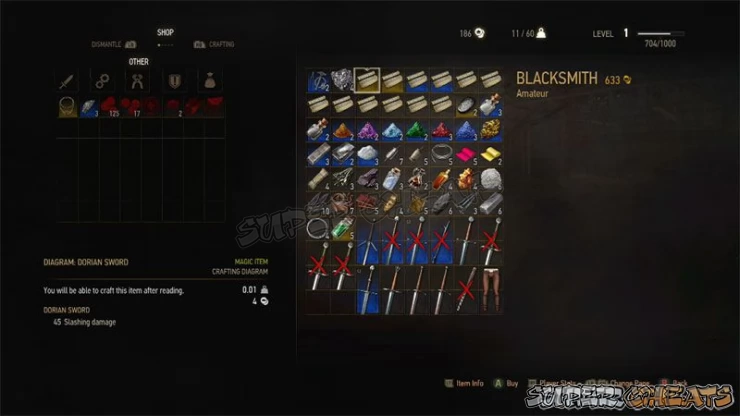
Examine the next section titled Alchemy and Crafting and you will see many of the objects you obtained after the battle with the Ghouls.
x4 Venom Extract
x2 Ghouls Blood
x1 Hellebore Petals
x1 Balisse Fruit
x1 White Myrtle Petals
x1 Verbena
x1 Celandine
x1 Blowball
Not a huge selection but it is more than you had BEFORE you collected it. Just saying.
Now check out the center area and in particular the Consumables - which you can fill with what you like top and bottom for use in healing.
You can examine each element of Geralt's Kit and get a general sense of his stats here as well. And you should.
World Map
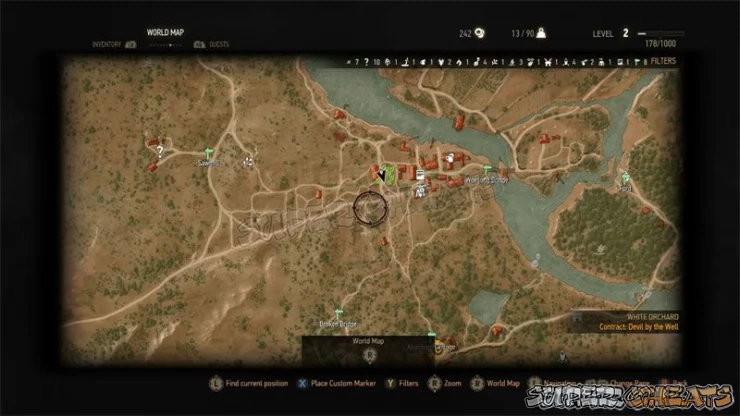
The World Map is really a combination of World and Local Maps. Open it now and you will see that it shows you the area around the campsite. Among the objects on it are Geralt's horse - Roach - and the object being tracked for the White Orchard Quest - Lilac and Gooseberries - which you will recall are the two primary ingredients in Yen's bathing supplement.
You can move around this map using Left Joystick, and zoom out and in with the Right Joystick. Tap the Right Joystick to zoom out to the World Map, and you can then use that to view any of the other areas that are marked - tapping in to zoom in on their respective detail maps.
Note that there is a Fast Travel Scheme in the world, but to use it you have to have already visited the destination. Once you have you can use the sign system in the world for travel quickly between the points that are part of the scheme.
Quests Book
The Quest Book shows not just your active and available quests but also the ones you have completed. Each in their own section.
For example under completed quests - which is the COMPLETED tab - you can see that you have done Kaer Morhen - and selecting it with the action button will show you the details of the quest including all of its required steps.
For the MAIN QUESTS tab you can select and open Lilac and Gooseberries - which is part of the White Orchard Quest Line. Its primary requirements are to Follow Vesemir - and secondary and completed are Kill the Ghouls. On the right side when it is selected you see the description.
The Quest Book will be important later on since it will let you know if you have any quests open BEFORE you choose to flag the quest that ends the Prologue. Just saying.
Character
The Character Menu Screen is actually wicked important as it not only gives you key stats for your character, it is also where you place special abilities into the unlocked slots. And of course see which slots ARE unlocked.
Right now there is only one slot unlocked - the top left - but you can place any of the following in it:
Combat Abilities
Fast Attack - Muscle Memory
Strong Attack - Strength Training
Defense - Arrow Deflection
Marksmanship - Lightning Reflexes
Battle Trance - Resolve
Signs
Aard Sign - Far Reaching
Igni Sign - Melt Armor
Yrden Sign - Sustained Glyphs
Quen Sign - Exploding Shield
Axii Sign - Delusion
Alchemy Abilities
Brewing - Heightened Tolerance
Oil Preparation - Poisoned Blades
Bomb Creation - Steady Aim
Mutation - Acquired Tolerance
Trial of the Grasses - Frenzy
General
Sun and Stars
Suvival Instinct
Cat School Techniques
Griffin School Techniques
Bear School Techniques
Steady Shot
Rage Management
Adrenaline Burst
Focus
Metabolic Control
Mutagens
None right now.
Every ability is at Zero at the moment and so you cannot add anything yet. But soon you will!
The remaining Slots are unlocked as follows:
Level 2 - Mutagen and Ability Slots
Level 4 - Ability Slot
Level 6 - Ability Slot
Level 8 - Ability Slot
Level 9 - Mutagen Slot
Level 10 - Ability Slot
Level 12 - Ability Slot
Level 15 - Ability Slot
Level 16 - Mutagen Slot
Level 18 - Ability Slot
Level 22 - Ability Slot
Level 26 - Ability Slot
Level 28 - Mutagen Slot
Level 30 - Ability Slot
Meditation
This final tab allows you to Meditate to heal (assuming that you are not on the two highest difficulties) and of course cause time to pass - so if you wanted it to be daylight rather than night this is the way.
Anything missing from this guide?
ASK A QUESTION for The Witcher 3: The Wild Hunt
 Join us on Discord
