Madarame Palace (Part 2)
Persona List and Map
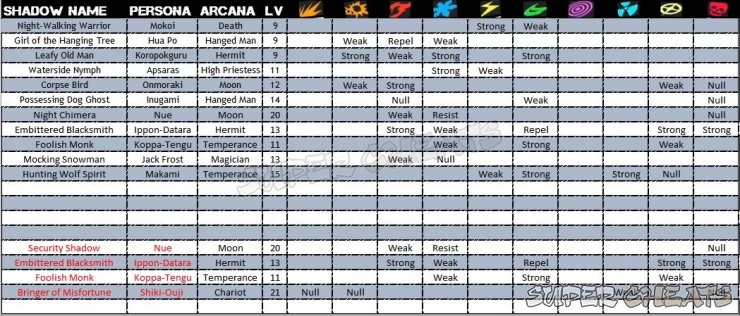
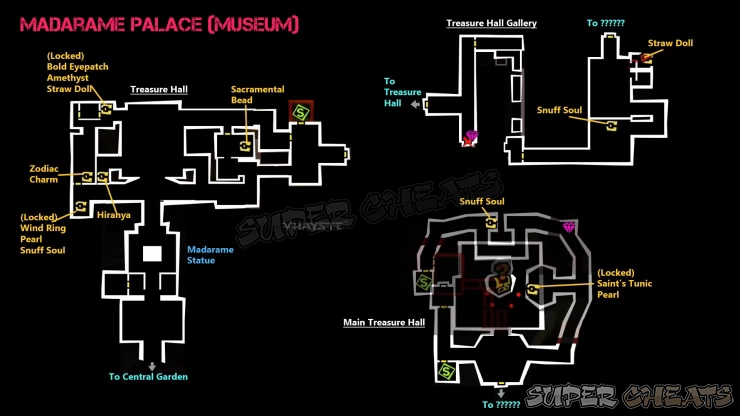
(After breaking the barrier)
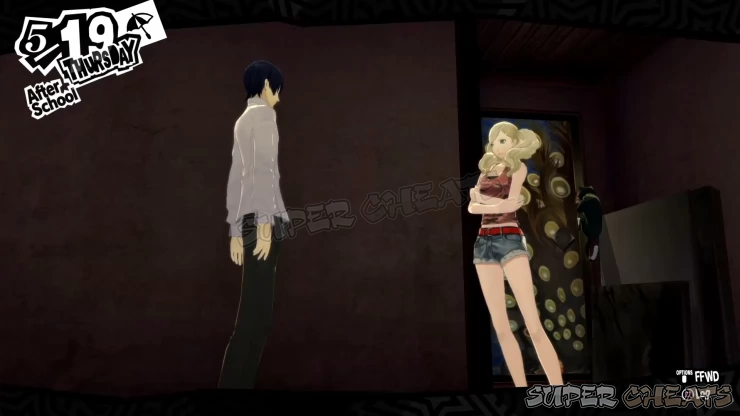
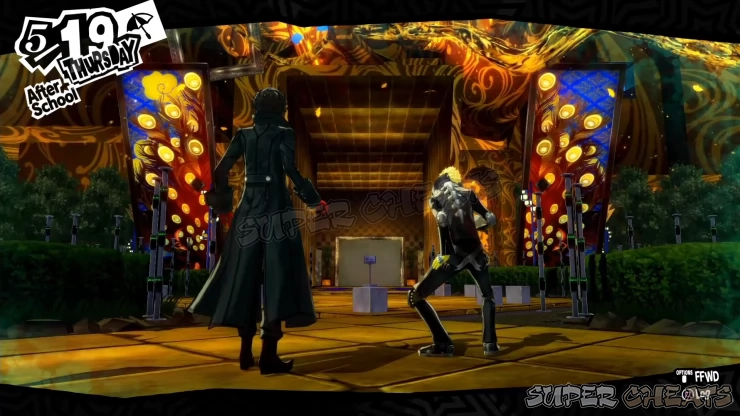
If you reached the barrier in Central Plaza during your last infiltration, Ann and Morgana will automatically execute their plan to open the locked door in Madarame’s home to disable the infrared barrier you encountered earlier. Ryuji and the MC will wait in the palace for a chance to break through once the barrier is down. Once the barrier is down, continue north to reach the Treasure Hall Lounge.

Treasure Hall Lounge
There’s a strong enemy waiting in the middle of the hallway. You’ll have no choice but to engage and defeat it.
Mini-boss: Security Shadow
This boss has high defense and HP. It’s weak against Fire so use that to your advantage. Don't prolong the battle unless you have the ability to heal since this boss can deal considerable physical damage.
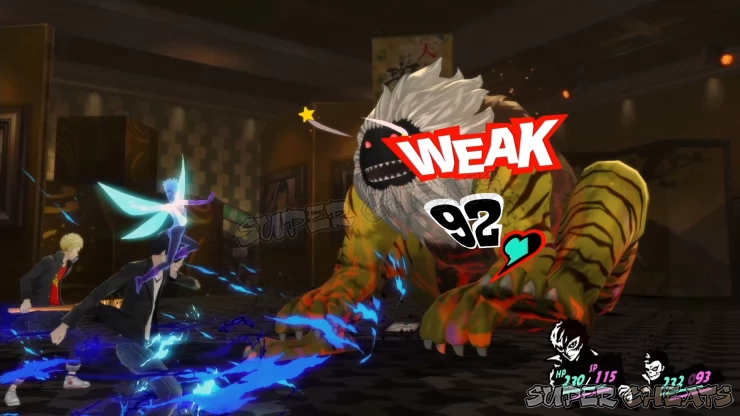
After defeating the boss, another cutscene will follow. After the scene, you’ll be back controlling MC and Ryuji. Enter the security room to the left and interact with the terminal to permanently disable the infrared lasers. Leave the room and you’ll be forced to leave the area. Another cutscene will follow.
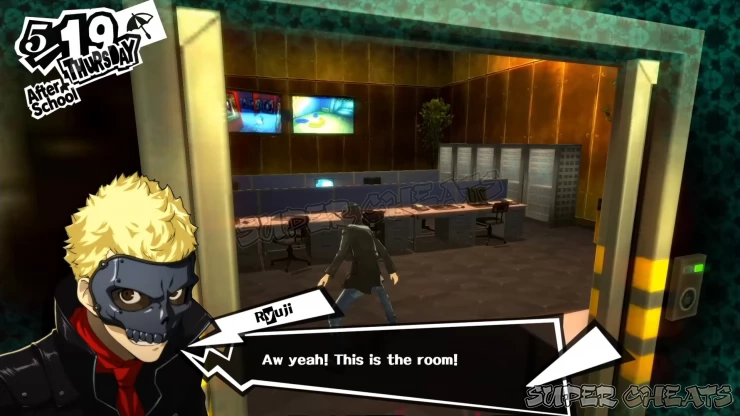
Once in control, you have to run all the way back to the previous floor. You’ll be taken automatically to the SP Exhibition Room/ Lobby area. Here, another cutscene will play and you’ll be thrown in another mini-boss battle.
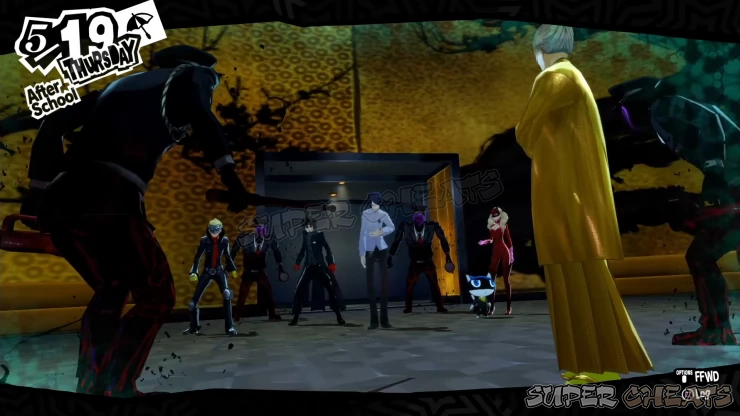
Mini-boss:
- Embittered Blacksmith (Ippon-Datara)
- Foolish Monk (Koppa Tengu) x4
Yusuke’s newly awakened powers will help you a lot in this battle. Use his bufu/ ice attack against all targets then perform an all-out attack to heavily damage them. This should quickly end the battle without too much fuss.
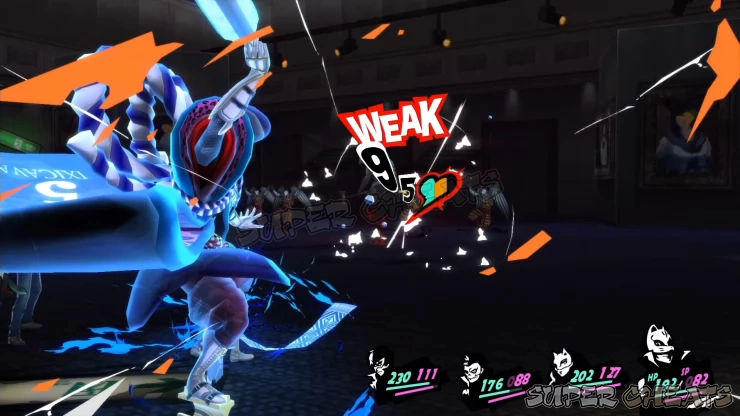
Spoiler:
After the battle, another cutscene will take place. This time, you’ll be out of the palace.
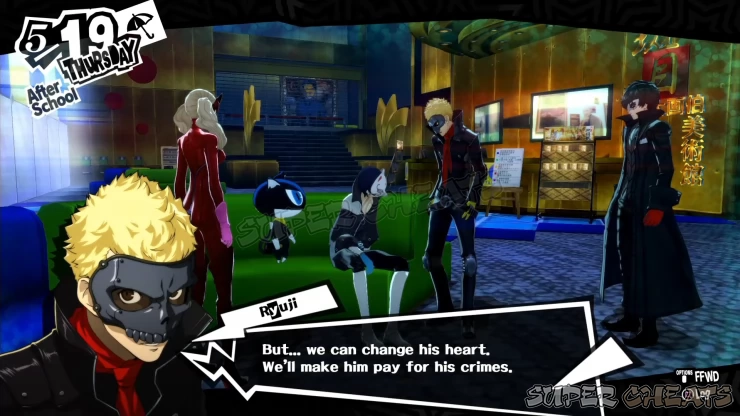
(After Yusuke joins the party)
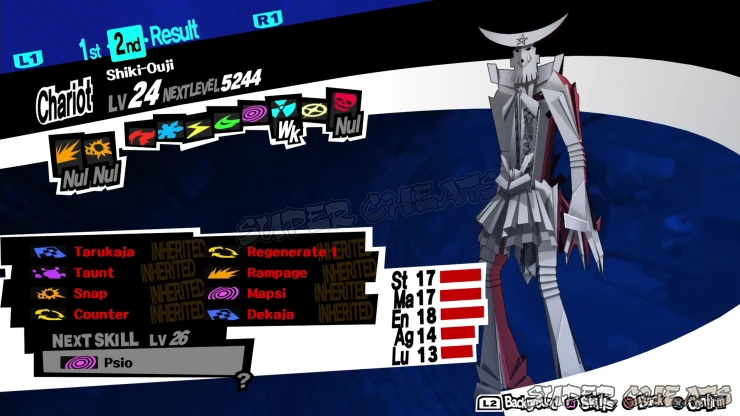
On your next visit, you’ll have a new party member. You can only carry three other characters with you but you can freely switch them out by accessing the Stat option in the menu. Before continuing with your exploration, I suggest heading to the velvet room and checking what new personas you can fuse or create. One of the best ones you can get is Shiki-Ouji if you’re at least LV24, with immunity to physical, gun, and Curse attacks.
You can continue your exploration in the Treasure Hall Lounge. Continue along the middle hallway to find another brochure/ map. This should complete the map for this palace.
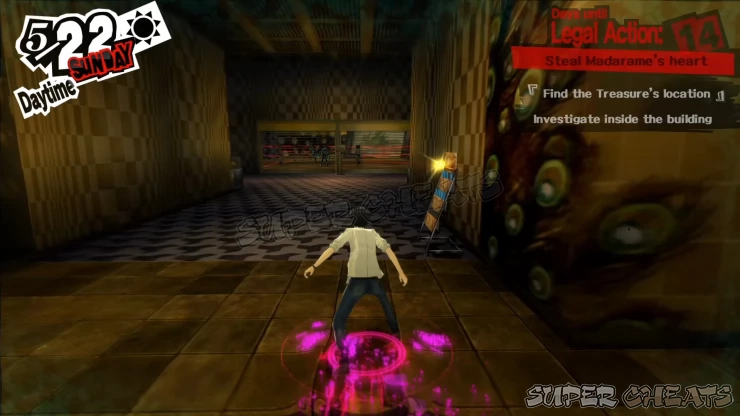
Continue to the next hallway and turn to the left. The door there is locked and you can find a locked chest in the southwest corner of the floor. Open it to loot a Wind Ring, Pearl, and Snuff Soul.
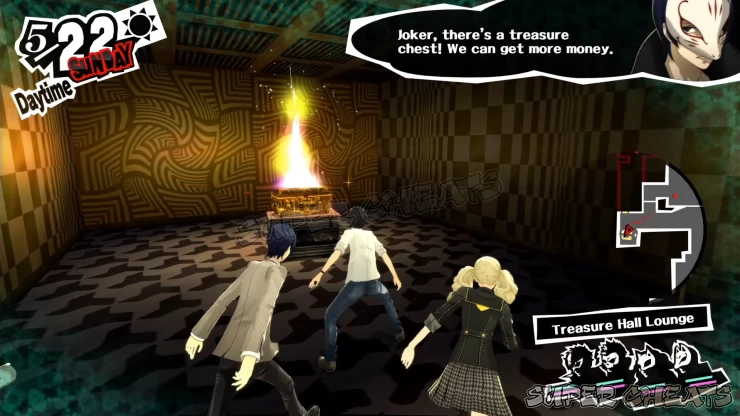
Next, continue to the eastern part of the floor. You won’t be able to go through the narrow corridor with multiple infrared sensors so you have no choice but to go to the small room to the north. There are two shadows here so depending on how close they are to each when you engage them, you may have to fight two consecutive battles. After clearing the room, loot the Sacramental Bread from the chest.
https://resource.supercheats.com/library/2017/1495363823palace_madarame5d.jpg
Exit to the north, and you’ll be forced to head to the large hall to the west since the eastern corridor is impassable as well. The large hall has barely visible infrared fences so use your third eye to know where you can hop and slide. Make your way to the southwest corner of the hall to find a chest containing a Hiranya.
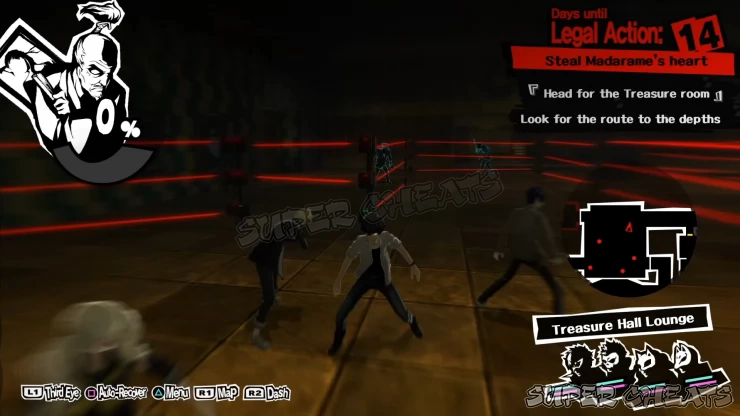
Next, head to the northern part of the big hall and examine the painting then enter it. You’ll be inside the painting. You can use your third eye to identify the points and direction where you can exit. Make your way to the left on both paintings to exit to the upper ledge on the western side of the big hall.
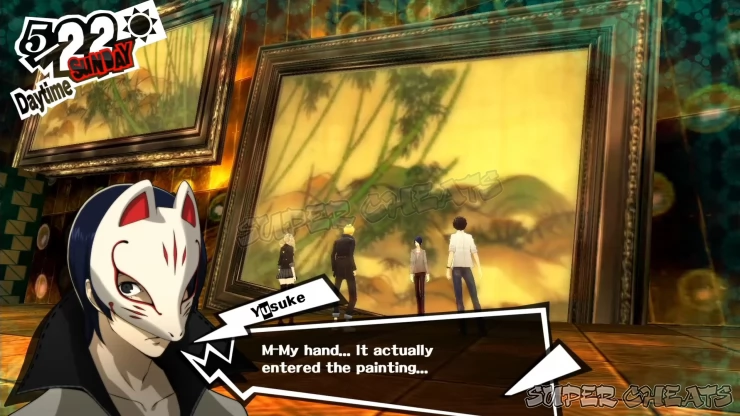
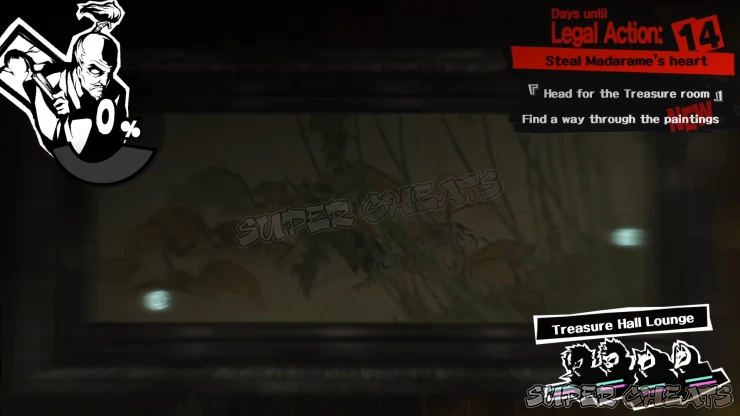
From there, you can enter through the ventilation shaft. Follow the shafts until you emerge from the room to the westernmost side of the floor. Jump down and loot the Zodiac Charm from the chest. You can also press the blue button to unlock the door.
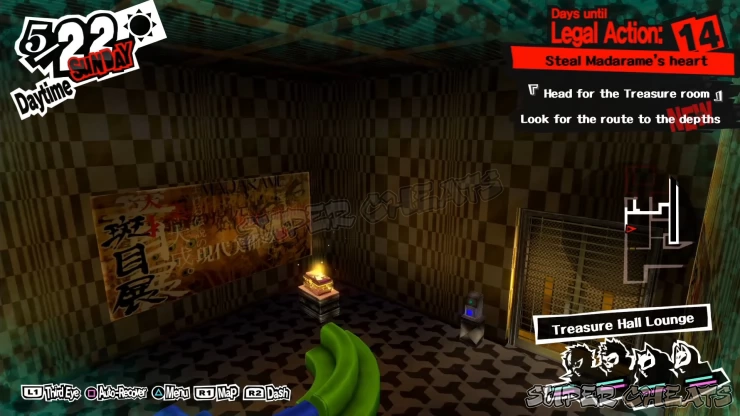
Heal up and prepare for battle. You have to defeat the strong shadow ahead to gain access to the security room behind it.
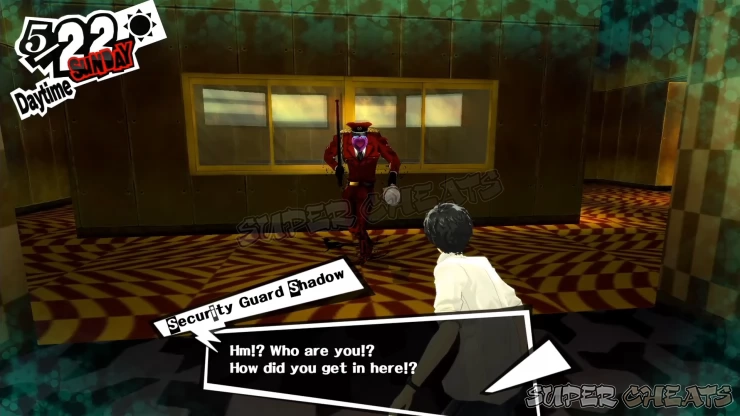
Mini-boss: Bringer of Misfortune (Shiki-Ouji)
This boss has immunity against physical, gun, and Curse attacks but weak against Nuclear. At this point, you should have access to at least one persona with that skill. Otherwise, you’ll have to rely on your magical/elemental attacks to triumph over this boss. Its attacks are quite powerful so make sure to at least mitigate its attack up buff if you can. Ann’s Dekaja is pretty useful in this situation.
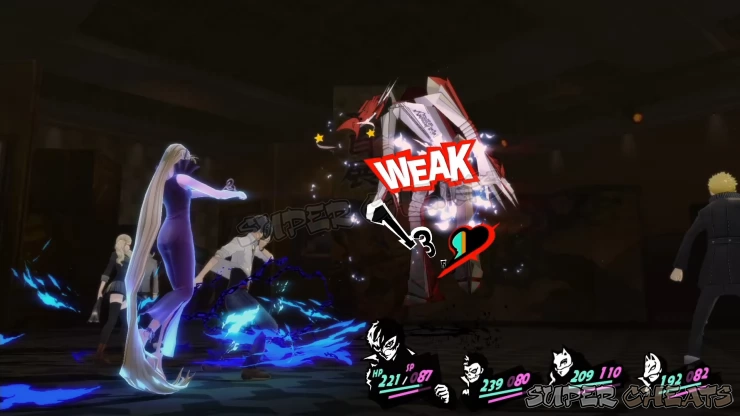
After defeating the boss, you’ll also obtain a Media skill card as well as a tutorial about it. Before heading inside the security room, loot the locked chest on the right side to get a Bold Eyepatch, Amethyst, and Straw Doll. Enter the security room and examine the illuminated laptop. This requires another password so leave the room and exit via the corridor to the south.
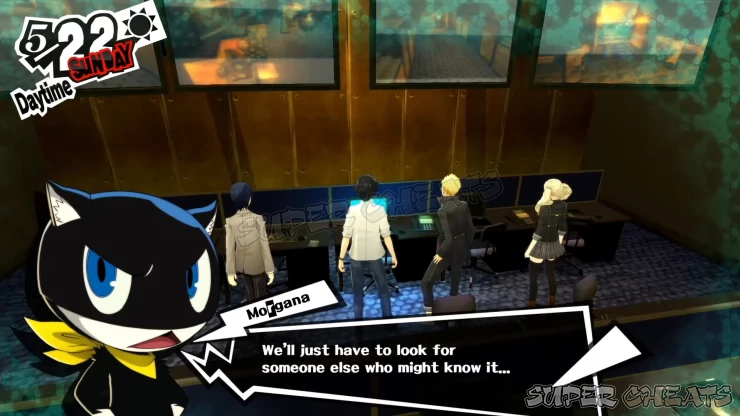
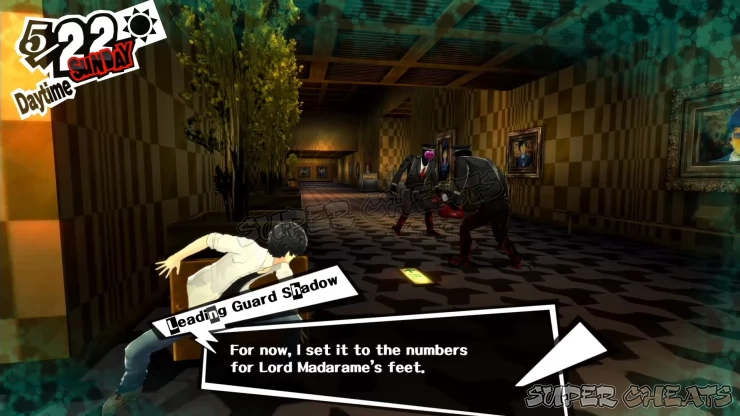
Turn left and you should be able to eavesdrop on a couple of guards again about the password. Defeat them and head to Madarame’s statue near the entrance of this floor. Examine the plaque to get a hint about the password. It’s 1120.
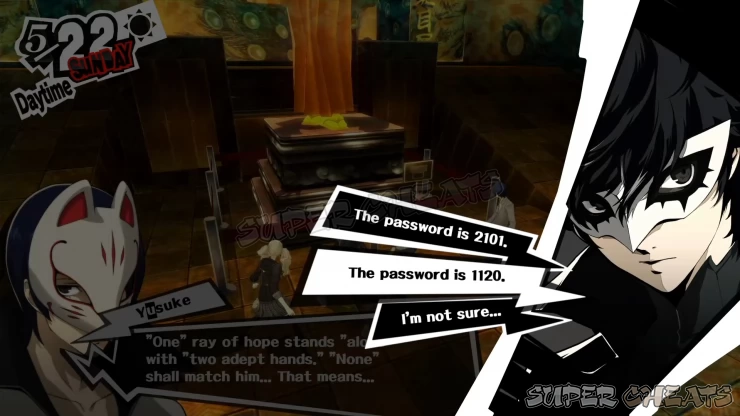
Backtrack to the security room and interact with the terminal again to enter the password you just discovered. This will remove the roll-up gates and disable the infrared sensors in the corridors on the eastern side of the floor. This should give you access to the safe room and the doorway to the next floor.
Treasure Hall Gallery
Turn to the right to find a breakable object that may contain a treasure demon. The door beside it is inaccessible so ignore that. Head north then go to the right. Go up the wooden ramp to reach the scaffolding. There’s a strong enemy at the bottom floor but there’s no treasure chest here or anything so you can just ignore it or defeat it for extra experience. Either way, you have to enter the desert painting first.
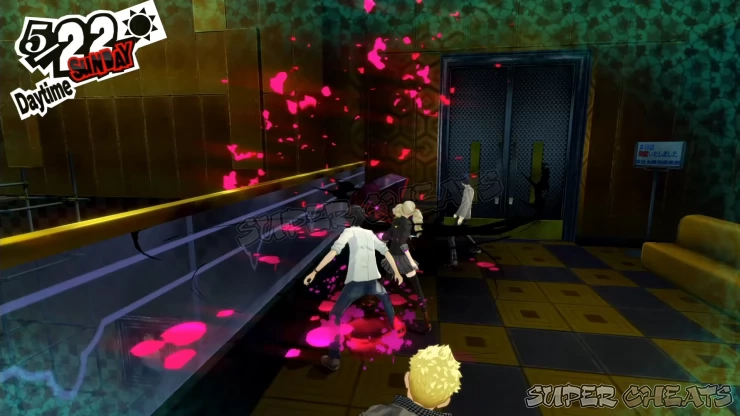
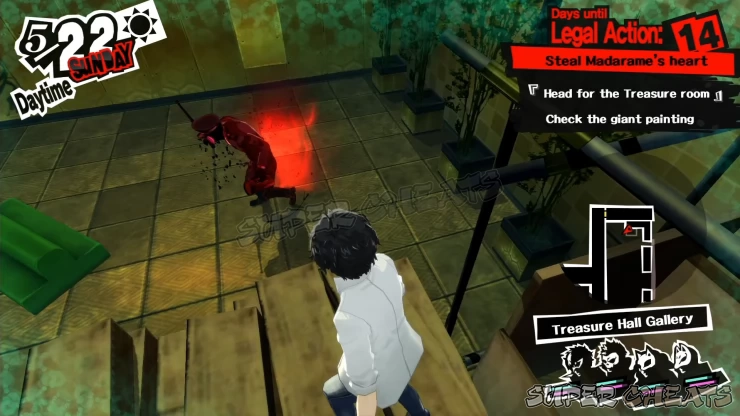
Head to the right to transfer to the shrine gate painting. Go through the shrine gate to reach the cave/rock pillar painting. Jump out of the painting through the lower-right point. You’ll emerge on a platform with a button. Press it to make another painting appear.

Jump back to the cave/rock pillar painting and exit using the point on top of the rock. This will bring you back to the desert painting. Exit to the right again to go to the shrine gate painting. This time, exit to the right to reach the sea painting.
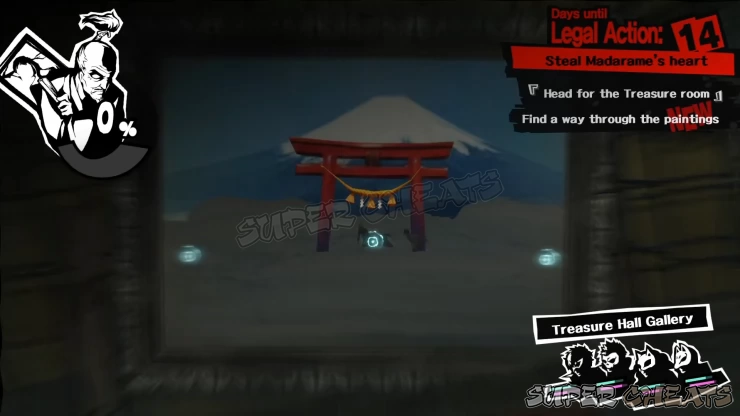
While in the sea painting, jump down the net to land on another platform with another button. Press that button again to activate the last painting. Jump down the platform and enter the desert painting again. Exit to the right. In the shrine gate, exit through the middle. In the cave / rock painting, exit through the top of the rock again to reach the newest painting. From there, you just need to exit to the right to reach the other end of the corridor.
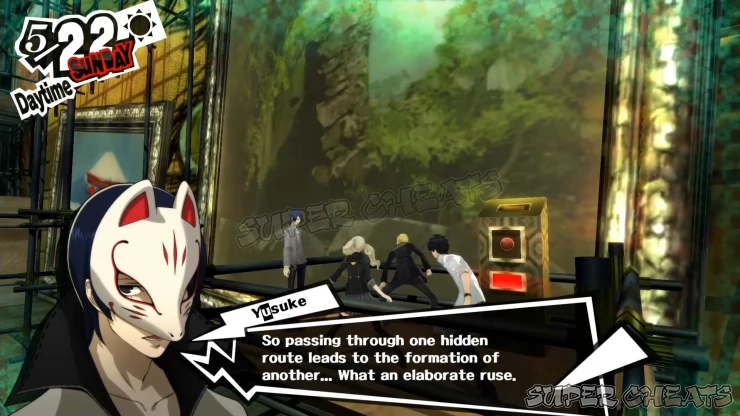
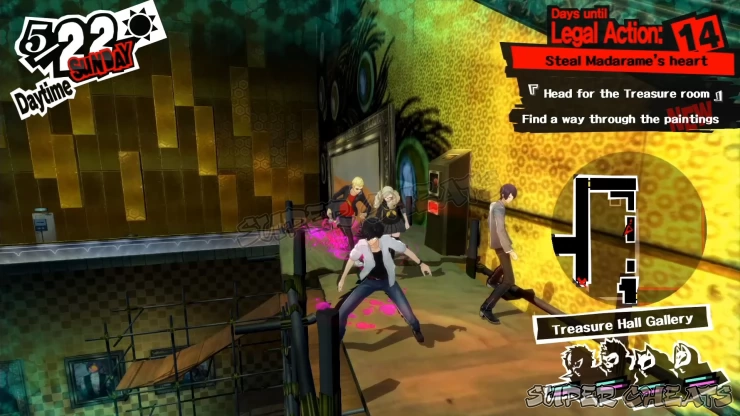
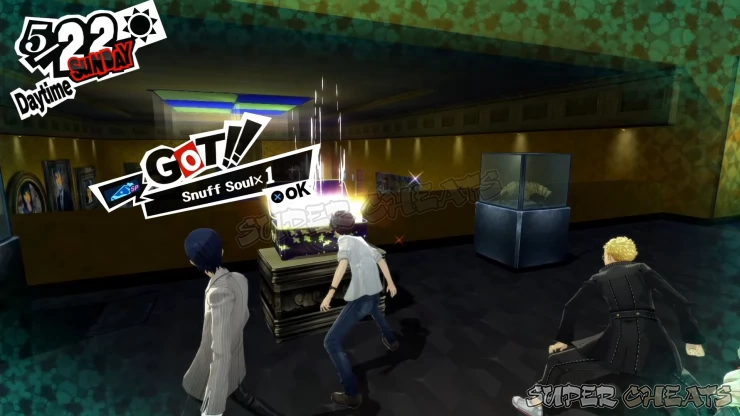
From there, continue to the east to the next room. There are more shadows patrolling the area so eliminate them all so you can safely loot the Snuff Soul from the chest. Follow the corridor to the next room. There’s a chest inside the male bathroom containing a Straw Doll. The women’s bathroom has a lone shadow. Loot the other breakable objects in the room then exit to the next area.
??????????
The paths in this area is very straightforward so you won’t get lost. Drop down on the first path then continue forth. Before engaging the lone shadow in the next ledge, follow the stairs to the right to find a chest containing a Witch Amulet.
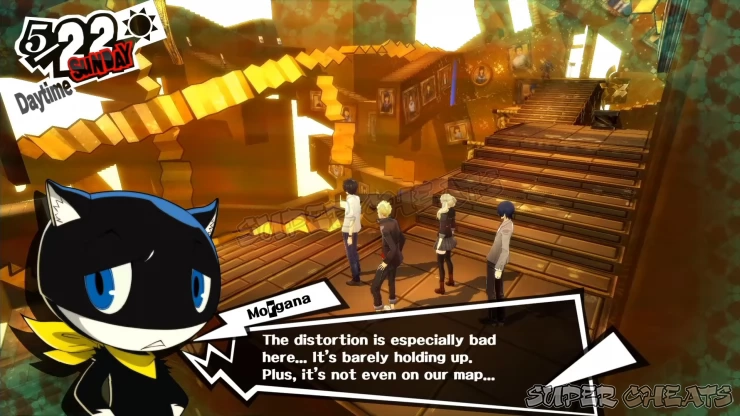
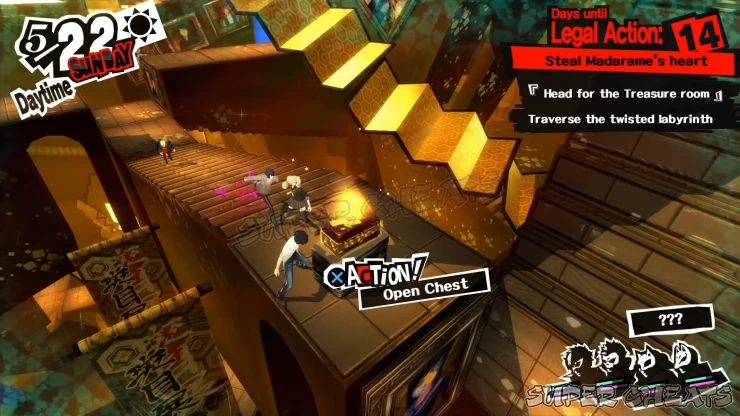
Follow the main path this time and exit through the blue-colored doorway. When you get warped, exit to the next doorway. In the third area, you’ll find two Sayuri paintings. Examine the one with red dress and answer that it’s real. This will reveal the correct path so head through that doorway with the golden light to reach the next area. In the next area, there are four paintings. The one with the branch is the real one; mistakenly identifying the other paintings will throw you to combat.
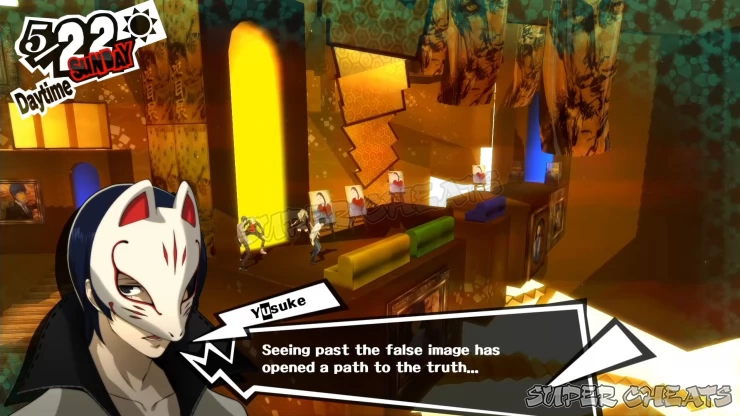
In the next area, ignore all the other paintings and continue until you see the doorway. Drop down and you’ll find two copies of the “real” Sayuri. Once the ball of light flies down, exit through the blue doorway to return to the previous area.
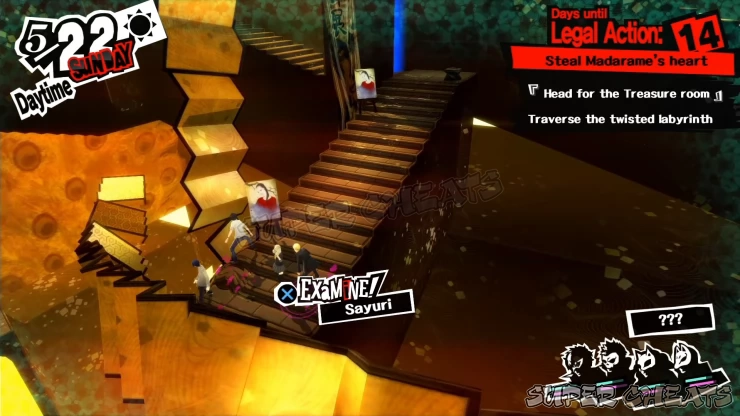
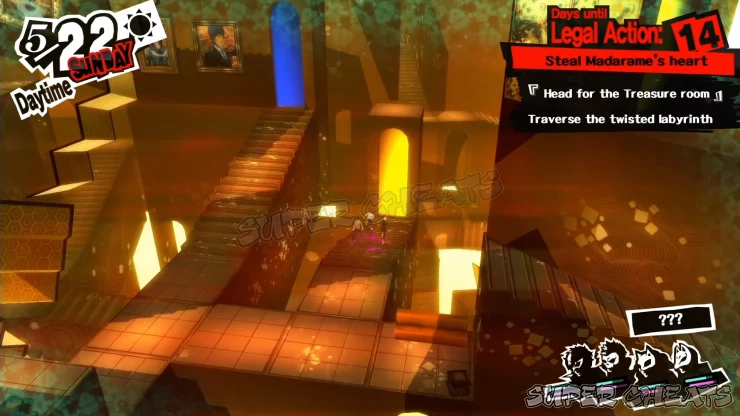
This time, go downstairs towards the gold-lit doorway. This will lead you to the last path in this area. Go downstairs to the left to find another chest. Loot the Crimson Ring from it. Finally, head through the door to reach the next area.
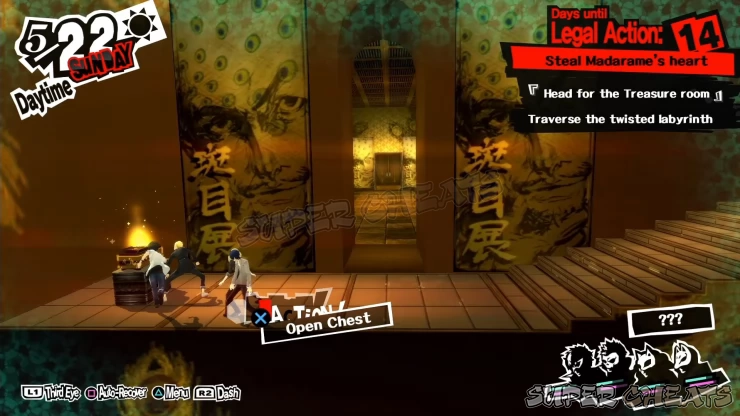
Main Treasure Hall
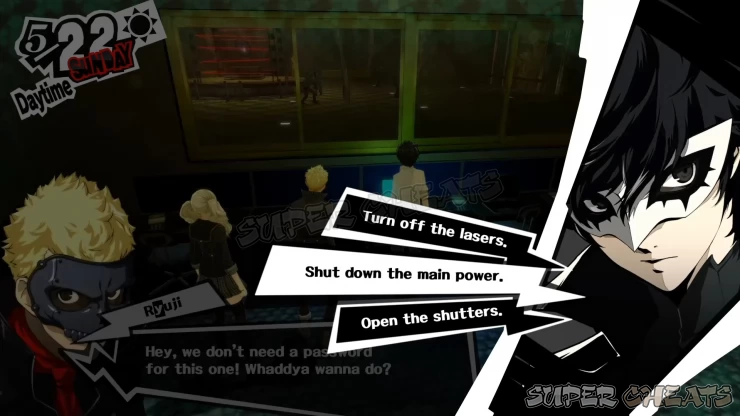
You have to go to the event marker in the middle to trigger a cutscene. Once in control, access the savepoint first in the southwestern corridor. Save your game then continue north to the security room. Examine the control panel to see your options. Turning off the lasers or shutting down the power are not possible; you can only open the shutters. If you attempted to shut down the power earlier, a guard will arrive and you’ll have to defeat it in order to continue.
Take the corridor to the right and follow the straightforward path until you see a balcony. Defeat the shadow and open the locked chest to obtain a Saint’s Tunic and Pearl. Continue along the corridor and defeat the guard along the way. There might a treasure demon in the breakable object along the way.
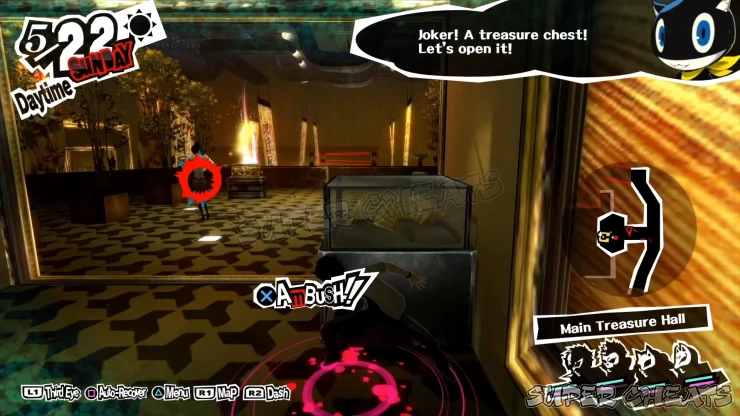
Continue along the corridor and defeat enemies along the way. There’s a chest containing a Magic Ointment in the last corridor leading to the control room. Continue straight ahead to find the last safe room in this palace. Save your game.
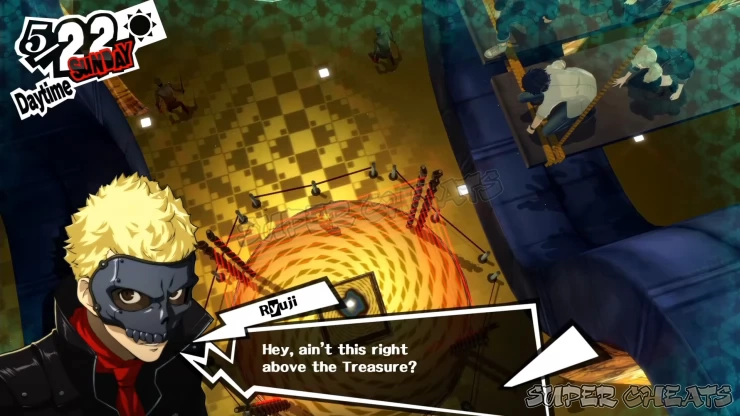
Enter the control room then climb up the ledge to reach the catwalks above the treasure. Approach the edge of the catwalk to get an overhead view of the treasure. Go back to the control room and activate the lever to lower the crane. After the scene, the route will be secure and you can now leave the palace. If you want to maximize your time, you can also grind here for extra funds and exp. For the next step, you just need to send the calling card and finally, steal Madarame’s heart himself.

Note 1: You may want to clear Madarame’s palace as early as possible so you can unlock the Temperance Confidant. Getting access to her confidant abilities will save you a lot of time or allow you to complete more activities, social or confidant-related in the following months to come simply by ranking up her confidant rank.
Note 2: Before clearing Madarame’s Palace, make sure that you collected all locked treasure chests and captured and fused all available personas you can get. Do any last minute farming you need to do as well.
Anything missing from this guide?
ASK A QUESTION for Persona 5
Comments for Madarame Palace (Part 2)
Add a comment
Please log in above or sign up for free to post comments- Basics
- Confidants
- April
- May
- June
- July
- August
- September
- October
- November
- December
- Epilogue
- Palaces
- Persona List
- Skill List
- Extras (Trophies, Cheat Sheets, etc)

 Join us on Discord
