Kamoshida’s Palace (Part 1)
As part of the story, you’ll be visiting this place several times. To really get to explore it on your own, you have to continue to the story until April 18th, where your real time management starts. You have to clear this palace before May 2nd or it will be game over. Take note that time will automatically move to evening after visiting a palace so plan your excursions accordingly. Since you’re tired, you can’t do nighttime activities as well since Morgana will force you to go to bed.
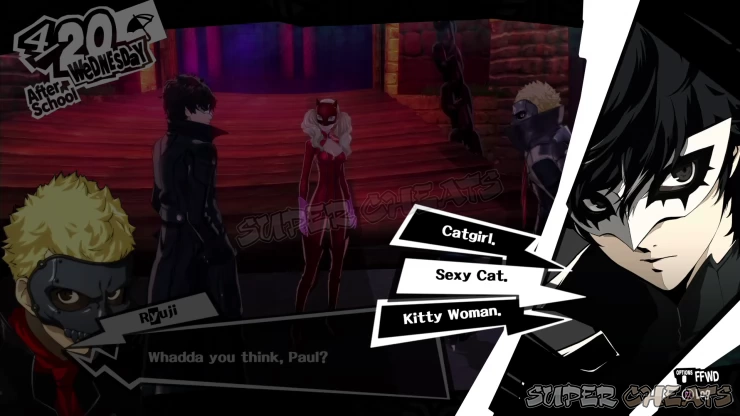
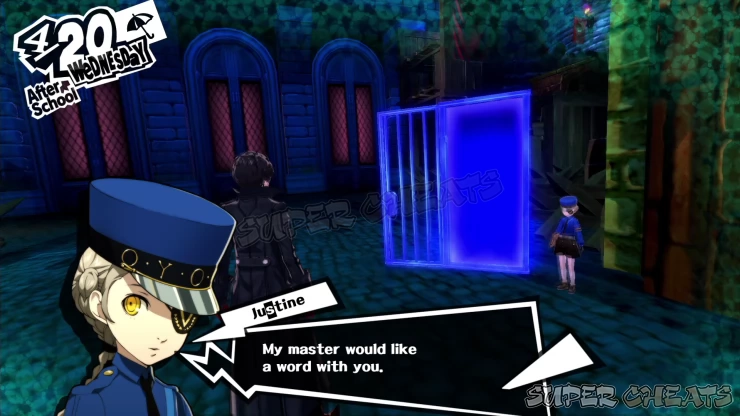
Upon revisiting the palace with the full party, Anne will choose the codename “Panther”. Before entering the palace, Justine will appear and will invite you to talk to Igor. During this scene, you’ll get a tutorial about “Executing” personas, which is basically the new term for P3 and P4’s Fusion mechanic.
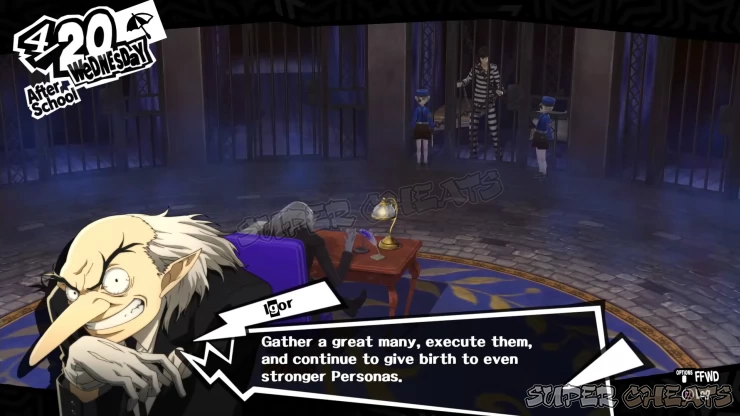
This is the process of sacrificing two or more personas to create more powerful personas. The good thing about this process is that the newly created persona will get an EXP bonus, based on the confidant rank that bears the same arcana as the persona. Another benefit of this process is that you’ll get to choose what Skills to inherit - unlike the previous iterations of the series where skill inheritance is random.
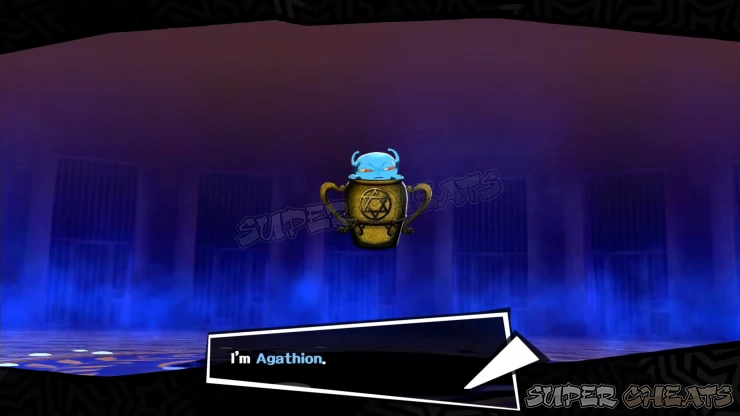

After the scene, the Fool Arcana will also rank up to LV2, unlocking the Third Eye thief skill. From here, you can talk to Igor again to check the new menus in Executions and Inmate Registry. Once you’re done checking it out, you can head back. You can always return to the Velvet Room by talking to Justine again by the palace entrance. From hereon, you can return to the Velvet Room after school or during the evening by accessing the alternative door near the gun shop in Shibuya Central Street. Visiting the Velvet Room during these times will not make time pass.
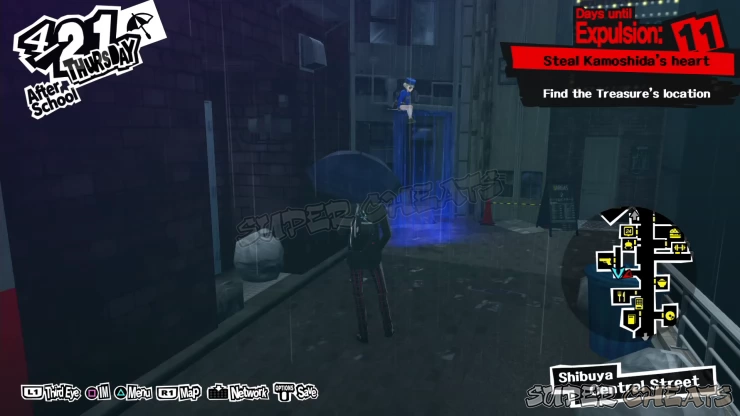
After heading back, you’ll get a tutorial about Quick Travel. This basically allows you to instantly travel between pre-designated points or locations in a Palace. You’ll also get another tutorial about the Thieves Guild, which is essentially asking for aid when you’re connected online. When ready, enter the palace from the vent near the gate.
Note: For your convenience, I’ll just list the shadows you can find in each area and their weaknesses. The treasures you can find are random so use your Third Eye to locate these items. Take note that these items respawn when you revisit the palace. I will not list them individually since you should be able to find them all with frequent usage of Third Eye.
Map and Persona List
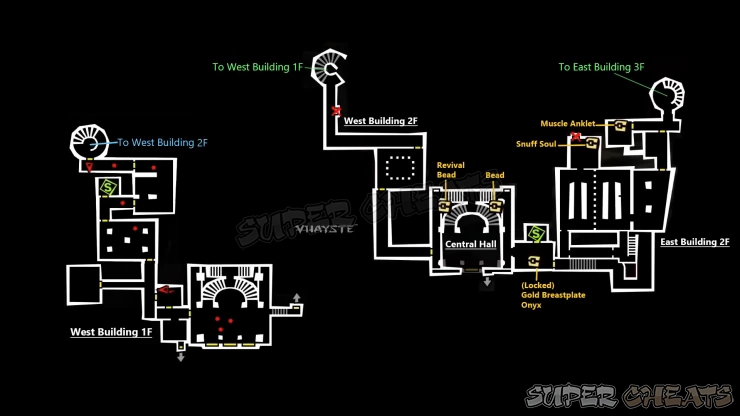

Old Castle: West Building 1F
From the entry room, use Third Eye in the next hallway to get an item from the urn by the door. Next, enter the next room to get treasure from a small vase in the corner. Leave the room and continue to the armory to the north. The room past the corridor with knight armors is locked so you can ignore that.
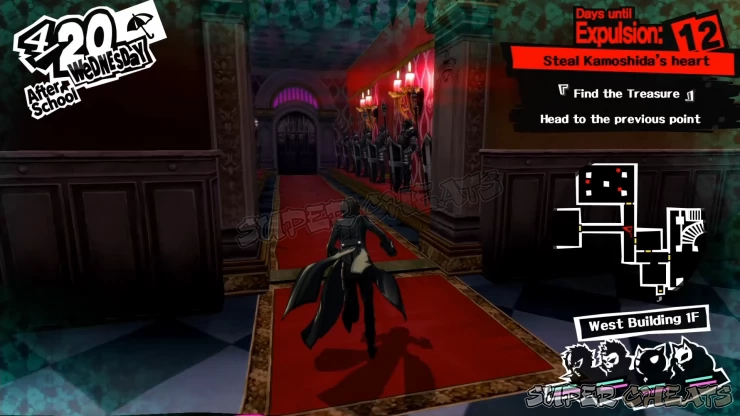
From the armory, proceed to the save point to the north where you hid before then continue to the previously unexplored room to the east. Inside this kitchen, defeat the two shadows then use your third eye to locate all lootable items in the kitchen.
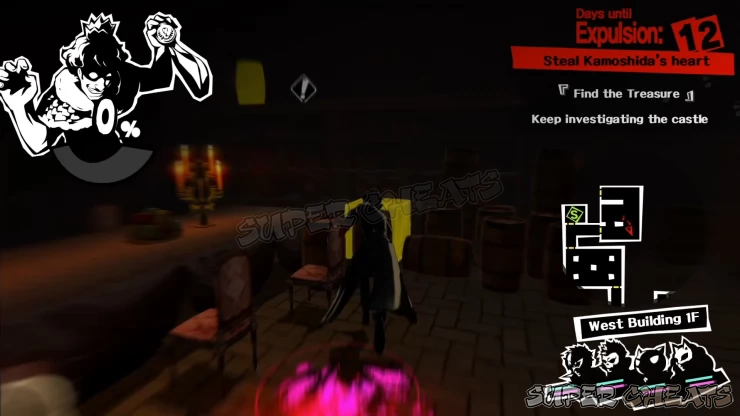
Next, open the door to the northwest and defeat the shadow along the corridor. Exit through the door to reach the stairwell leading to West Building 2F. Loot the item from the crate at the bottom of the stairwell then go upstairs.
Old Castle: West Building 2F
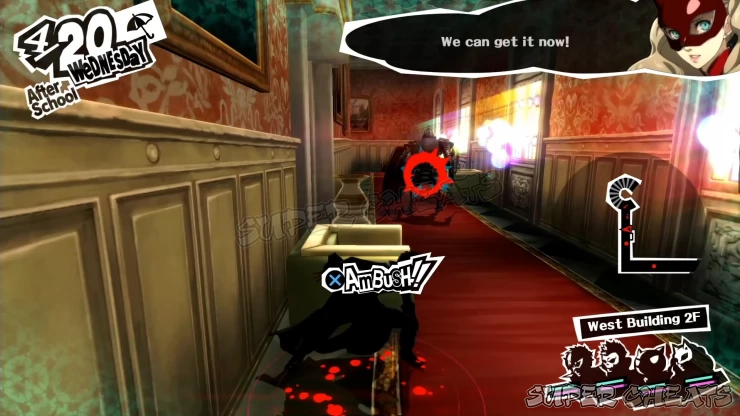
There’s another shadow in the bright corridor. Here, Morgana will teach about ambushing enemies from cover. Do as you’re told and defeat the shadow. The door nearby can’t be opened so you can just ignore it. There’s another shadow in the next corridor so take it out as well then exit to the next door.
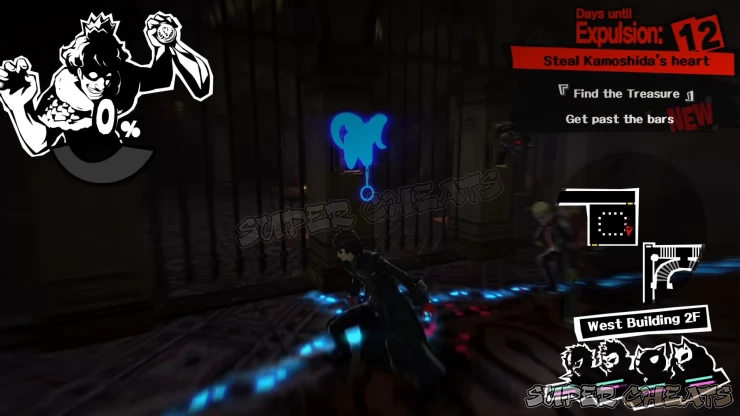
In this room, you’ll find the first map of the palace on the table in the middle of the room. To remove the iron bars, use your third eye to identify the goat head statues that you need to pull. They will appear as bright blue. Pull the two chains from the highlighted goat heads to remove the iron bars. Examine the map to mark areas you haven’t visited yet.
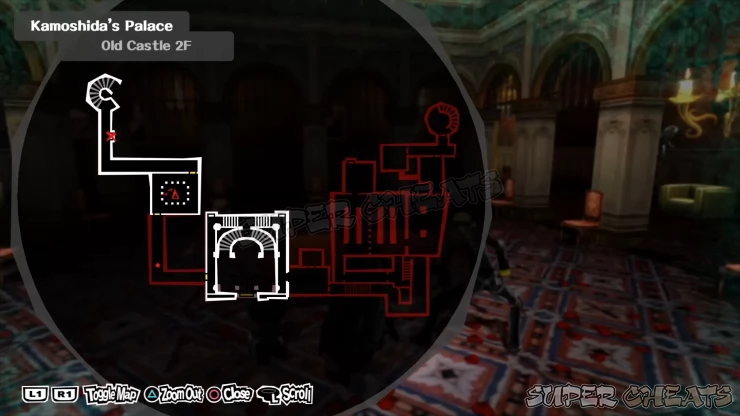
Tip: Should you encounter a group of Incubi here, use your guns to exploit their weakness. Their Life Drain skill is annoying and dangerous, especially in groups. Also, you should at least get a Silky at this point since her ice attacks will be helpful in the following battles.
Leave the room and defeat the shadows along the corridors to reach the Central Hall’s upper floor. There are iron bars to the north with the goat head located on the other side so you can’t go there yet. Instead, use the ledge above the bookshelf to reach the upper ledge.
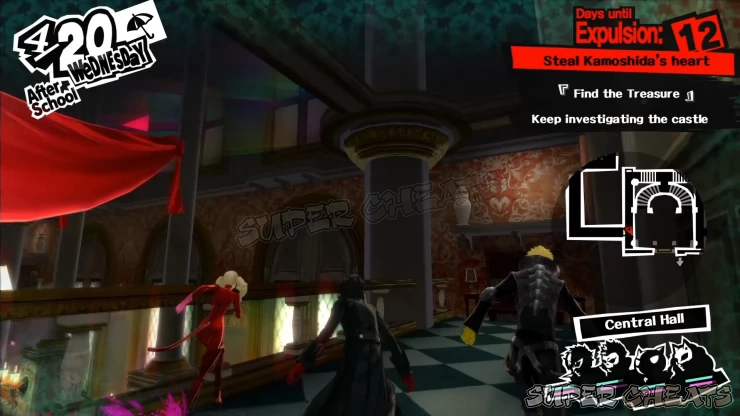
Follow the ledges and use the chandeliers to cross the hall. Be careful with the middle chandelier since there’s an enemy that will suddenly spawn there. Immediately attack it to avoid getting surrounded.
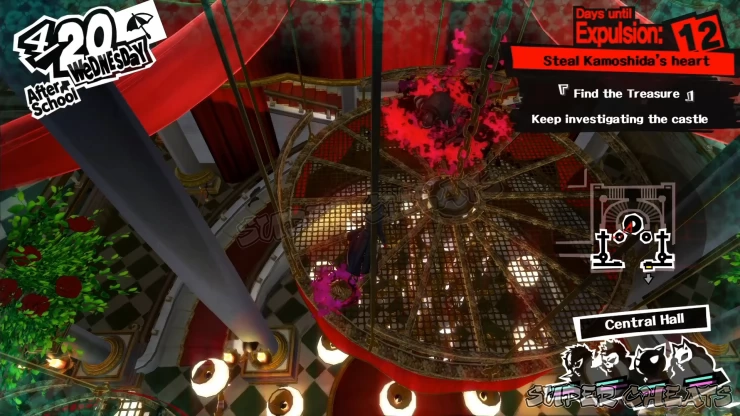
After defeating the enemy, continue to the eastern side of the hall. The northern passage is blocked again so no use going there yet. Enter the next room to the right instead and open the locked chest if you a lockpick. Obtain a Gold Breastplate and Onyx from it. There’s a safe room to the north of this room so make sure to use that as well. After saving your game, continue to the East Building next.
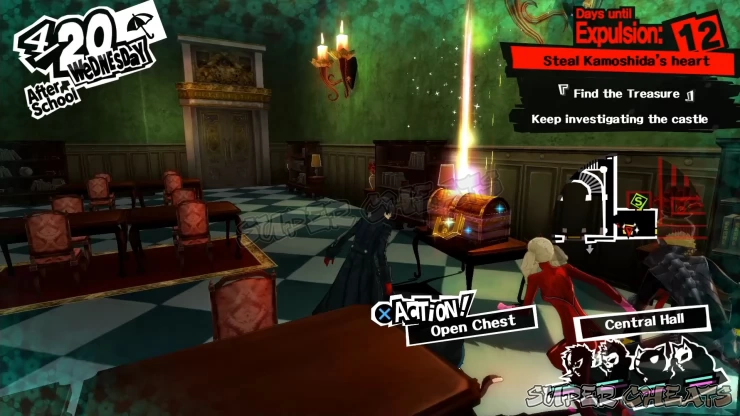
Tip: You can equip the Gold Breastplate for now since it offers a bit of protection than your default equipment. However, make sure to sell it later on when you have access to better gear since it’s worth 5,000 yen.
Old Castle: East Building 2F
Continue down the hallway while carefully navigating the corners to avoid being detected by the shadows. Among the new enemies you can encounter at this point is the Brutal Cavalryman (Berith). It’s cleave can deal huge amounts of damage, even take out a character with near full HP. It’s weakness is ice so make sure that you have at least Silky (Troublesome Maid) in your possession so you can overcome it with Bufu.
Follow the straightforward path until you reach the stairs. Defeat the shadow there and continue to the dining hall to the north. The room to the north has a chest containing Snuff Soul. The door north of that room doesn’t open so you can just ignore it. Make your way to the second kitchen past the dining hall and defeat the lone enemy there.
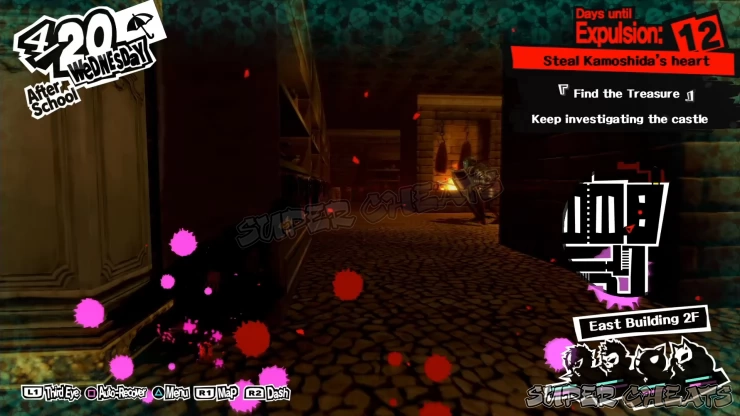
Enter the storage room to the north and defeat another enemy there. You can’t open the door to the north since it’s blocked from the other side. Instead, climb on top of the shelves and make your way to the opening on the wall to crawl to the next room.
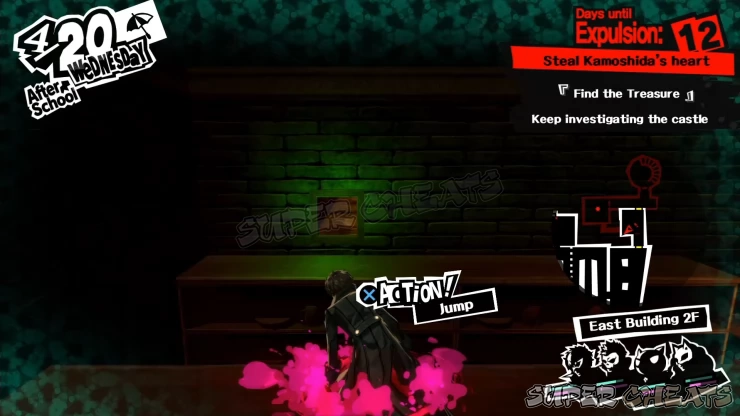
In the next room, there’s another lone guard. You’ll get a tip that you can ambush enemies while perched on higher ground so do just that and defeat the shadow. Open the chest to loot a Muscle Anklet. This accessory improves the character’s strength so equip it to your main character or Ryuji. When ready, leave the room and remove the bar from the door along the way. Continue to the stairwell to the northeast to reach East Building 3F.
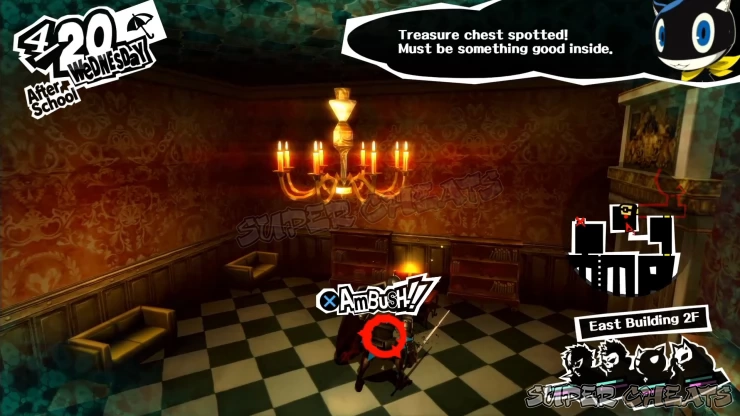
Old Castle: East Building 3F
There’s another safe room directly south of the stairwell. Use it then eliminate the lone shadow along the corridor. Continue forth until you reach a branching path. Check out the small room directly south of the safe room first. Loot the treasure from the urn then get the The Slave Book from the bookshelf.
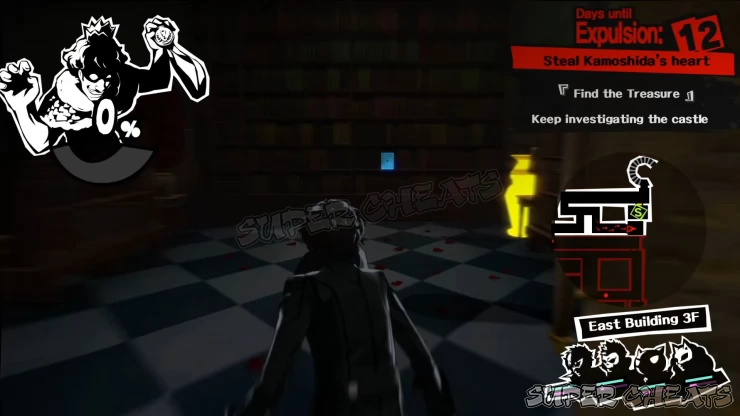
Backtrack and take the other path and defeat any enemy along the way. The path leading further south is blocked by a goat head mechanism but it requires a specific piece in order to operate it.
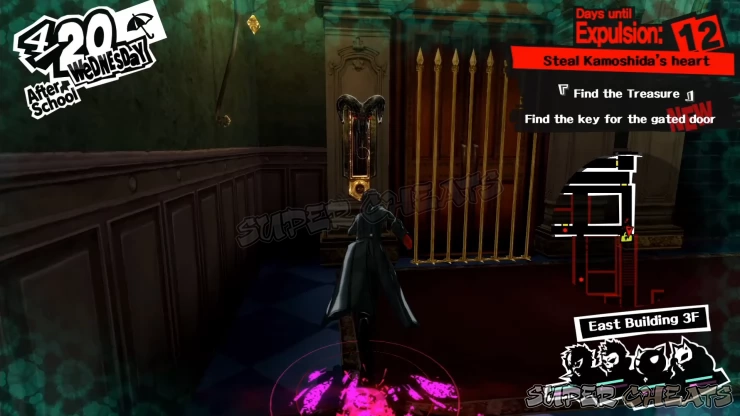
Head west for the meantime and enter the upper rectangular room to the west. An enemy will appear near the bookshelf so defeat it first then use your third eye to locate yet another highlighted book. Interact with it to obtain The Queen Book.
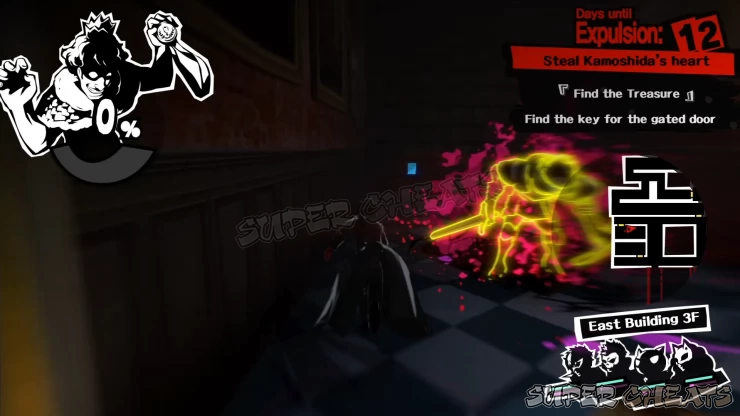
Next enter the lower rectangular room to the west. Use your third eye to find another highlighted book in the bookshelf. Interact with it to obtain The King Book.
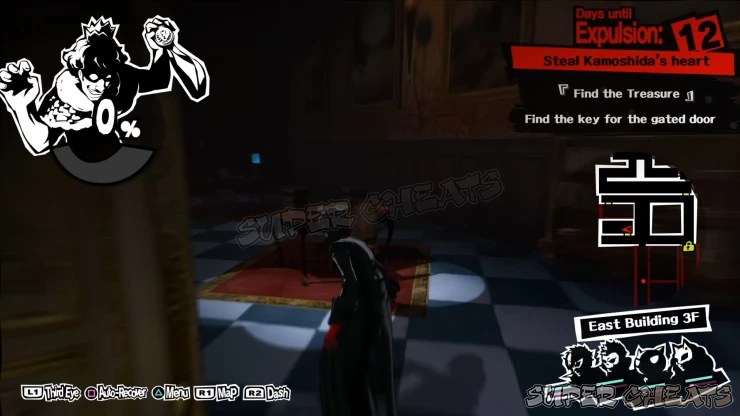
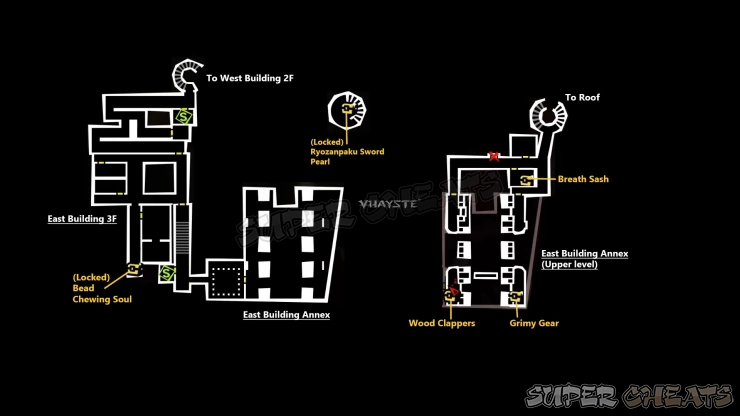
Leave the room then head down the corridor. There’s a locked chest at the end of the corridor that contains Bead and Chewing Soul. If you don’t have any more lockpicks, approach it to register its location in the map then come back for it later.
Enter the large library to the immediate left. To solve this, you must place the three books you acquired in the correct shelves. Examine the shelves to get a hint about what book you should place. Use your third eye to locate the spots where you need to place the books.
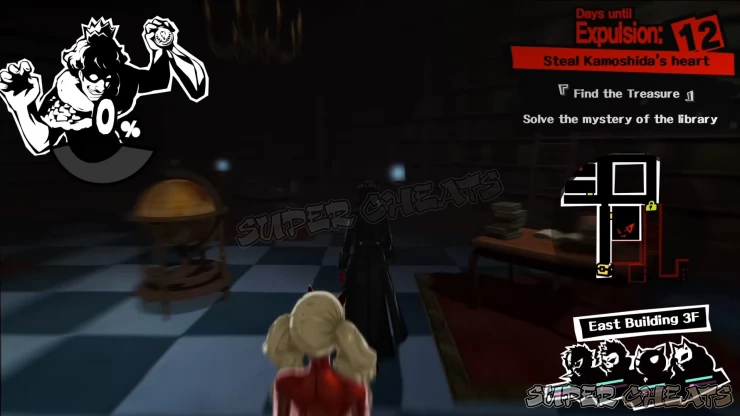
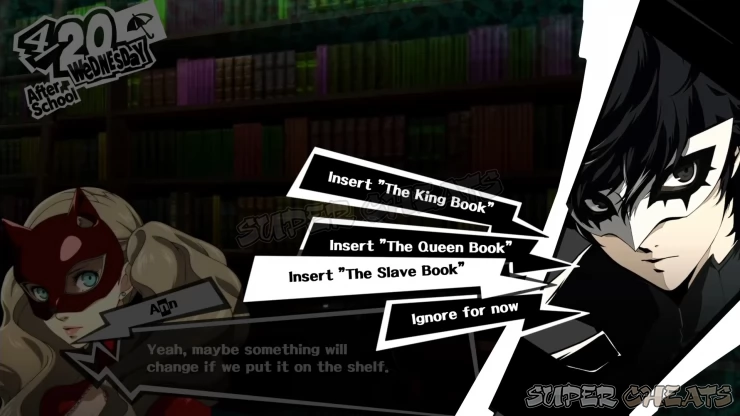
Ryuji Sakamoto: The Vulgar Ape - Slave Book
Ann Takamaki: The Charming Doll - Queen Book
(All Kamoshida) - The King Book
After placing the books, the secret chamber will open. Investigate the chamber then get Kamoshida’s Medal on the shelf to the left. You can also obtain the second map of the palace from the same spot. This should complete the entire map for this palace.
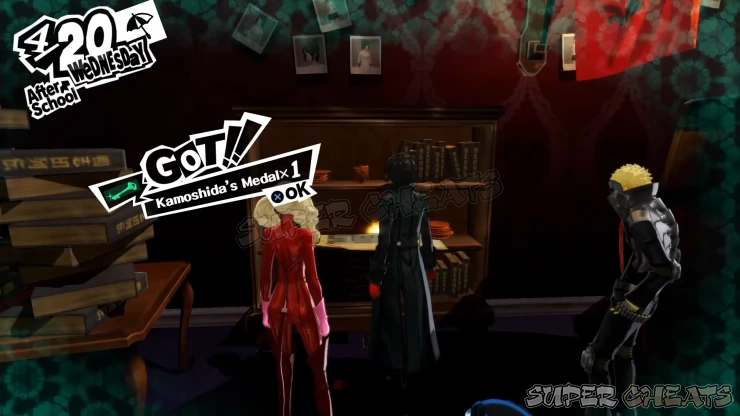
Now return to the goat head and interact with it to remove the bar and allow you to proceed. At the end of that corridor is another safe room. Use it to mark the halfway point of your infiltration.
Old Castle: East Building Annex
When ready, continue to the chapel to trigger a cutscene. You’ll be thrown in a mini-boss battle.
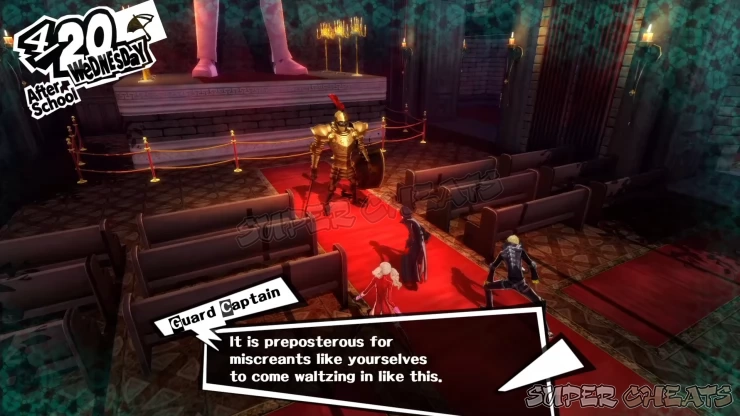
Boss: Heavenly Punisher
Weak: Elec
This boss will only do two moves for the entirety of this encounter; Charge and Cleave. You should normally Guard after it uses charge but since it can only target one character at a time, you can risk it by keeping on the offensive. If you’re low on SP for Zio attacks, you can still duke it out with it as long as you guard after it uses Charge then heal and attack after it uses Cleave.
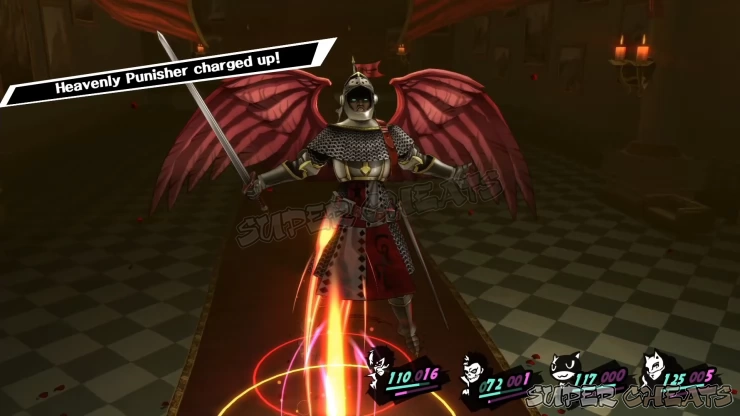

After defeating the mini-boss, more shadows will appear and they’ll immediately give chase. Take note that if you engage one group of shadows near another group, there’s a large chance that you’ll trigger a chain encounter, where the second battle with the other group will begin immediately after you defeat the first group you engaged. Run all the way back to the door where you came from to reset the shadows’ positions and use the Safe Room.
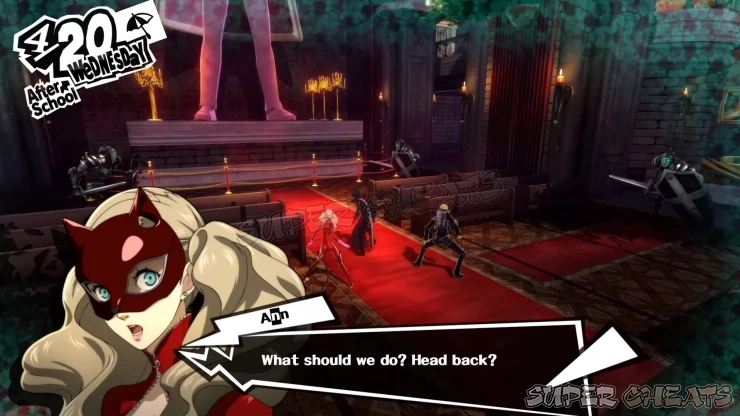
If you’ll push your team, it’s possible to continue up until the Chapel area with one run, including the fight with the Heavenly Punisher mini-boss. Going further than that will be asking for trouble, especially if you’re doing a single run from the entrance at this point and your supplies run out.
Moreover, there are at least four locked treasure chests in the castle. One of them can be unlocked using the lockpick you created during Morgana’s tutorial. The other two needs to be created using materials that you can farm from some common shadows or buy from the pawnshop (spoiler: they’re not cheap) so you’ll have to come back for them later.
At this point, it will be better to take a break and return after resupplying and resting. Finally, after leaving the palace, you’ll get an infiltration log, which will feature the milestones you’ve accomplished for this particular infiltration attempt. And since you can fast-travel to any safe rooms, you can immediately start close to where you left off. Due to the limited time of the game, it’s imperative to get as much stuff done as possible during your visits, preferably the second run to secure the route, then finally leave a calling card (necessary for the treasure or the desire to materialize) and face the boss.
Take note that after stealing the treasure will make the palace collapse and will prevent you from entering it again. That said, make sure to loot all chests, including the locked ones
Here are the recommended pacing:
1st run: Up to the Chapel area
2nd run: Up to the throne room (secure route)
3rd run: Final run to the boss (after sending the calling card)
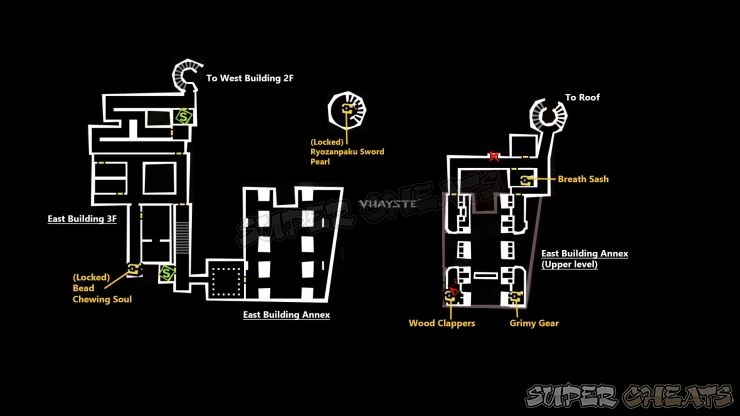
When you're ready to continue, starting from the chapel, you need to head to the northeast corner where there’s a pile of crates that you can use to reach the upper ledge. You can’t access the door yet so you have to jump across the ledges near the ceiling to traverse this hall.
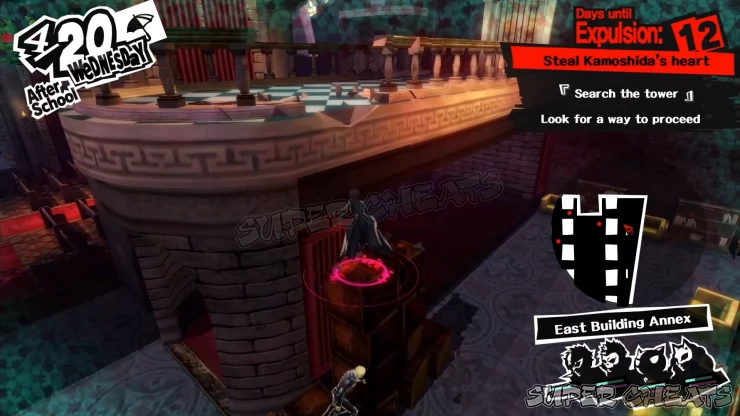
For the meantime, make your way to the far left (heading south based on the map) to reach a balcony with a chest. Get a Grimy Gear. This has no immediate use for now and you need to clean it first by using the laundromat near LeBlanc once you get back.
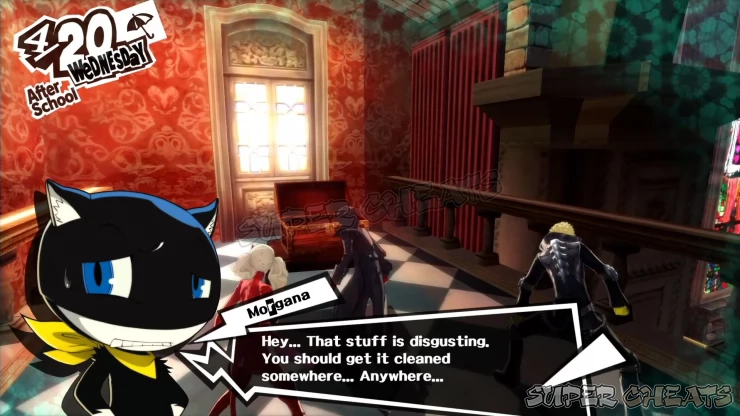
From your position, hop on the ledge and cross the metal beams to reach the western side of the chapel. Drop down in the southwest ledge and get the Wood Clappers from the chest. Climb up the ledges by the support columns again to reach the northwest ledge. Before dropping down, go around the last ledge and use the metal beam to reach a crate containing a treasure near Kamoshida’s statue. Backtrack and drop down in the northwest balcony then go through the doorway.
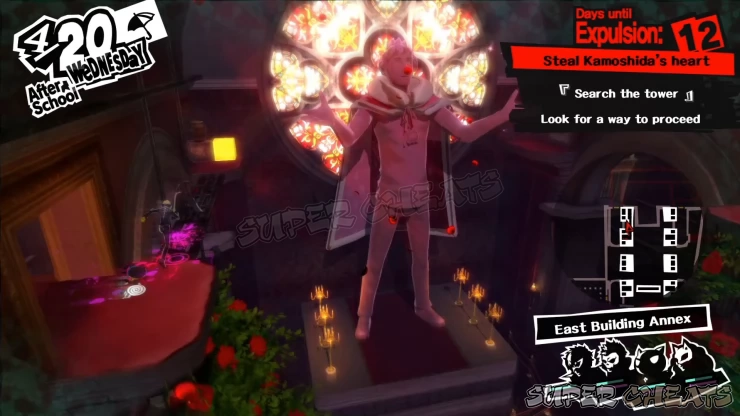
Continue along the corridor and ignore the door to the middle-north. Enter the lower small room to the east to find a chest containing a Breath Stash. The room north of it has a treasure vase and an enemy.
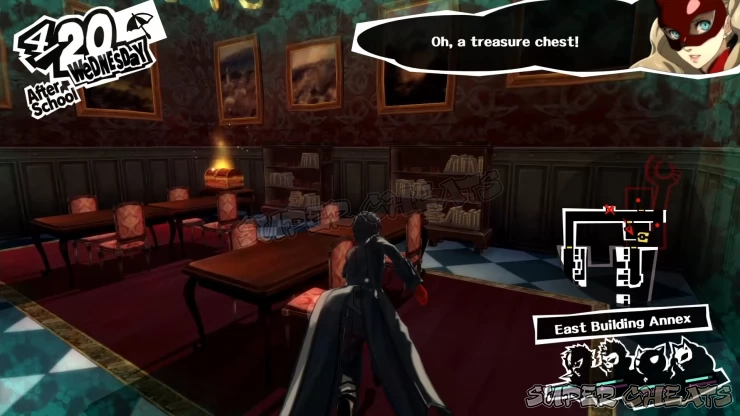
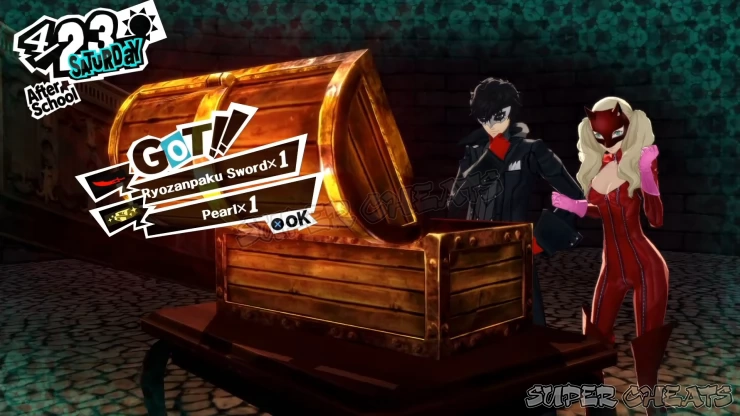
Go around the corner to the southeast and defeat the lone shadow patrolling it. Pull the chain by the goat head to remove the iron bar blocking the door. For now, head to the stairwell to the northeast. If you have a lockpick with you, you can go downstairs, defeat the lone shadow there and loot the Ryozanpaku and Pearl from it. Next, take the stairwell to reach the roof area.
Old Castle: Roof
After reaching the roof area, four shadows will appear guarding the entrance heading to the tower. Thankfully, there are wooden crates here that you can use as cover. Move from cover to cover and engage the guards. While it’s not necessary to defeat them all, it will make it easier for you to proceed with lesser risk if you take them down along the way. Just be careful of the last two shadows near the entrance since they can trigger a chain encounter if you happen to ambush of them while they’re close to each other.
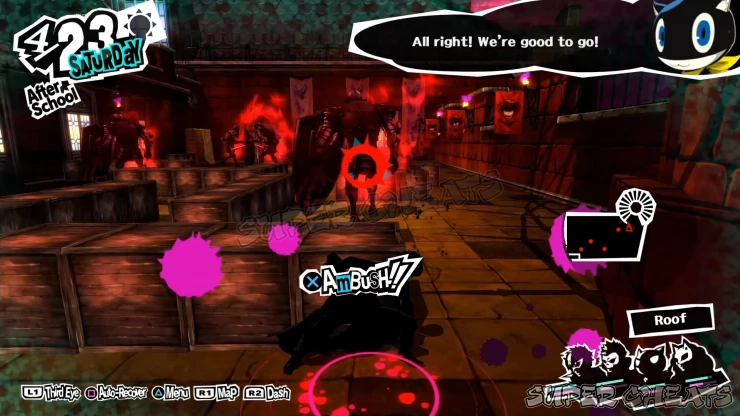
There’s also an enemy spawn point in the southeast corner of the roof area so prepare to attack immediately just in case you want to engage the enemy lurking underneath.
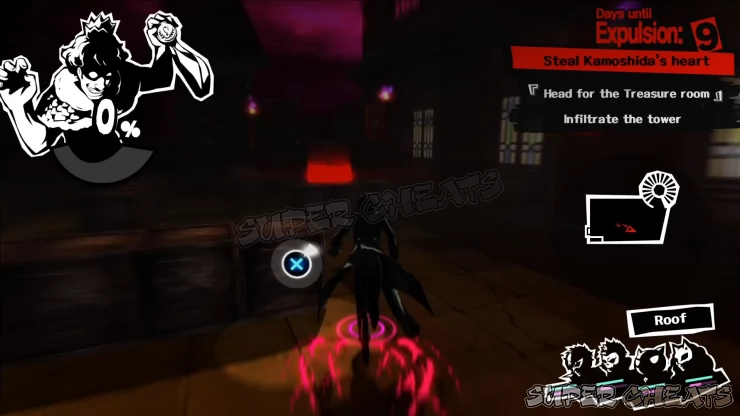
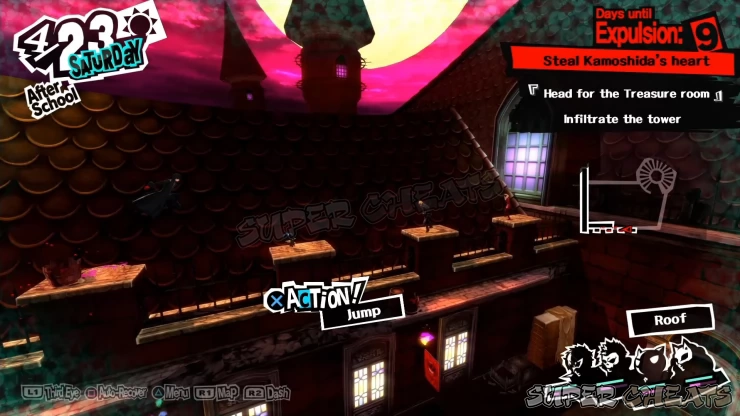
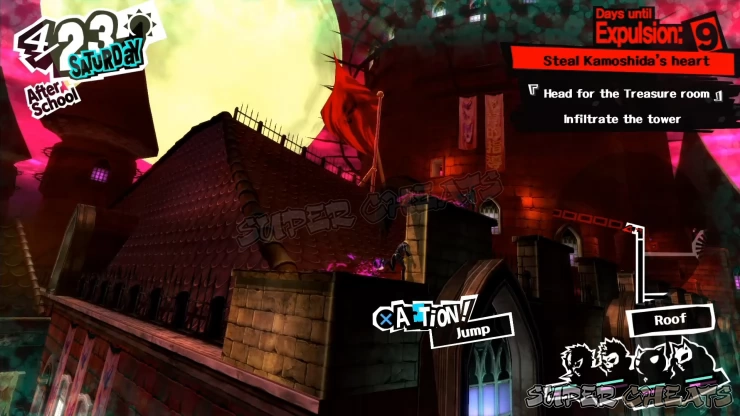
After defeating the enemies, you can use the stack of wooden gym vaults to reach the upper ledge since the door leading to the tower is inaccessible. Don’t forget to loot the treasure from the barrel to the far left ledge. From there, it’s just a matter of jumping across ledges to reach an open window in the tower itself.
-- Continued to Kamoshida’s Palace (Part 2)
Anything missing from this guide?
ASK A QUESTION for Persona 5
Comments for Kamoshida’s Palace (Part 1)
Add a comment
Please log in above or sign up for free to post comments- Basics
- Confidants
- April
- May
- June
- July
- August
- September
- October
- November
- December
- Epilogue
- Palaces
- Persona List
- Skill List
- Extras (Trophies, Cheat Sheets, etc)
 Join us on Discord
