The Brotherhood
Saint's Row 2 Walkthrough and Guide
Saint's Row 2 Guide
The Brotherhood
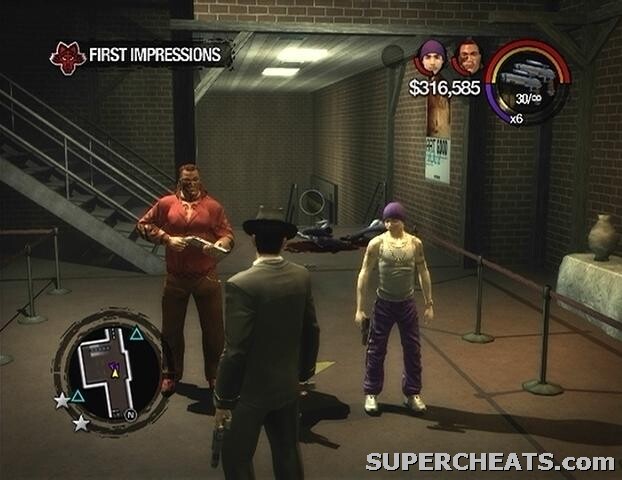
Mission 1: First Impressions
The starting point for this mission line is over in Black Bottom, which is part of the Factories District at the southeast end of the map
A legion of police officers appear and interrupt the Saints’ meeting with Maero, the leader of the Brotherhood gang. You must escape from the Stilwater Caverns with Maero and Carlos in tow. This objective can be met by simply following the cyan markers that appear on the GPS. Some of the officers in the caverns are armed with NR4 Pistols, but a good number are carrying shotguns, so you’ll want to keep your distance. They are also carrying pepper spray and stunguns, both of which can incapacitate you for a short while.
 |
When you reach the end of the caverns, there are two methods of escape you can choose from: Take the staircase at the south end of the room up to reach street level, or continue down the stairs north to escape by sea. Heading up the stairs to exit at street level is the quickest route, although you will meet considerable resistance from the police. Whichever means of escape you choose, take Maero back to his hideout to complete the mission.
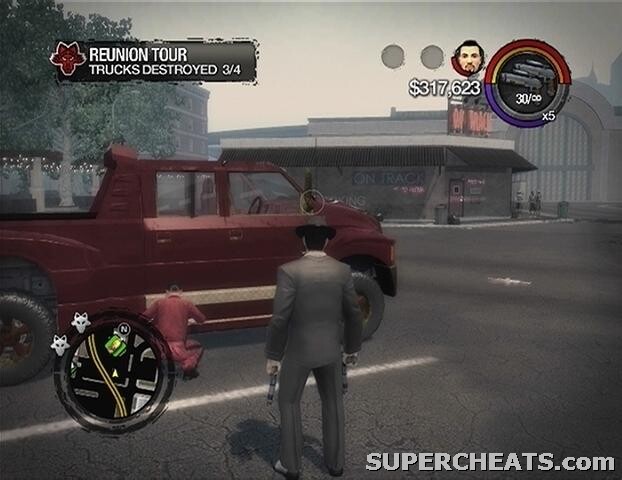
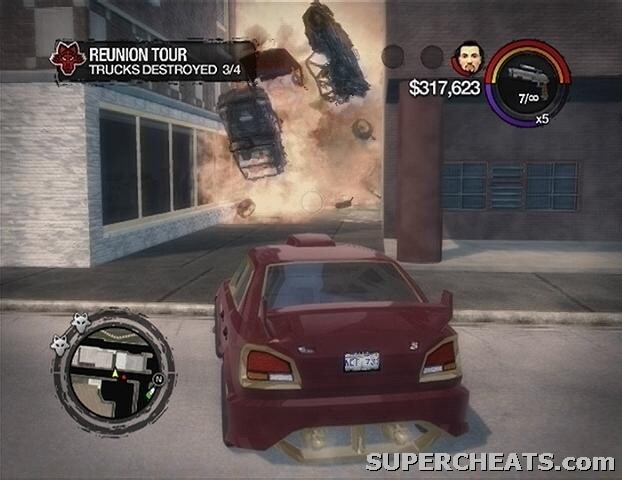
Mission 2: Reunion Tour
You’re taking Donnie to tamper with some Brotherhood trucks. There are four trucks to destroy here. Follow the marked route on the GPS to the first location, get out, and stand by Donnie while he tends to the truck there. You’ll gain some notoriety with the Brotherhood as soon as Donnie starts working, so you’ll have to fight them off as they come. Keep an eye on the GPS; the red dots denote enemies, so prepare for battle when you spot a red dot closing in on your location.
 |
When Donnie has finished rigging the explosive, get back in the car and drive it out of the red circle now visible on the GPS. The circle denotes the bomb’s blast radius, so you won’t be able to trigger the explosive until you’re at a safe distance from it. Turn your vehicle so you can see the rigged truck and then pull the trigger to set off the explosive.
There are two trucks at the second location. Step out of the car at the start of the alley and then lead Donnie over to the trucks. By now the Brotherhood will be sending vehicles with one or two gang members in them to try and stop you, so keep an eye on the GPS. When the two trucks have been rigged with explosives, get back in the car, move away from the blast zone, turn towards the trucks, and pull the trigger. If your car has been destroyed or is smoking excessively, you may want to take one of the vacant trucks to the next route instead.
 |
The last truck isn’t very far from the last two. This one is a little different, however; after rigging the explosive, the trigger ends up malfunctioning, which means you have to wait for the timer in the top-left corner of the screen to reach zero before the explosive will go off. This gives one of the Brotherhood gang members enough time to get in the rigged truck and start following you. Immediately take off down the street to avoid getting caught in the explosion when the bomb finally goes off.
It doesn’t appear that you have to be completely out of the blast radius when the bomb goes off to avoid getting caught in the blast; just be a good ways away from the red blip at its center when the timer reaches zero and you should still survive blast. You’ll unlock Donnie’s car (available at your crib garage) after completing the mission.
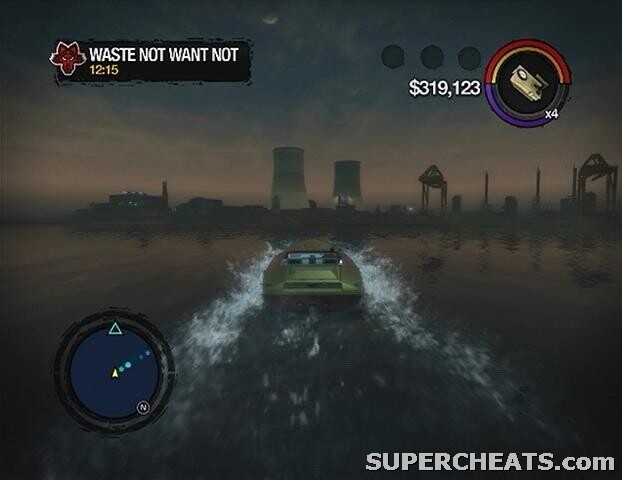
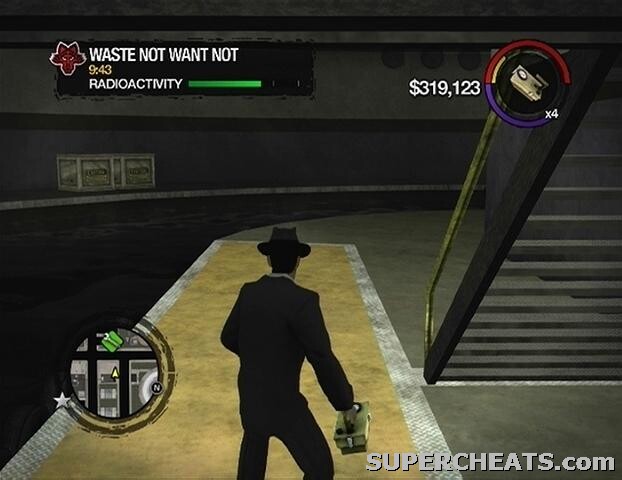
Mission 3: Waste Not Want Not
This is a timed mission, but you are given a generous amount of time to complete it. Start by visiting the Friendly Fire gun shop, which is marked on the GPS. When you reach the store, head inside and touch the shopping cart icon to purchase a Geiger counter. Next, follow the marked path on the GPS to reach a docked boat. Get in the boar and start towards the nuke plant, which is situated on the island at the southwest end of the map.
 |
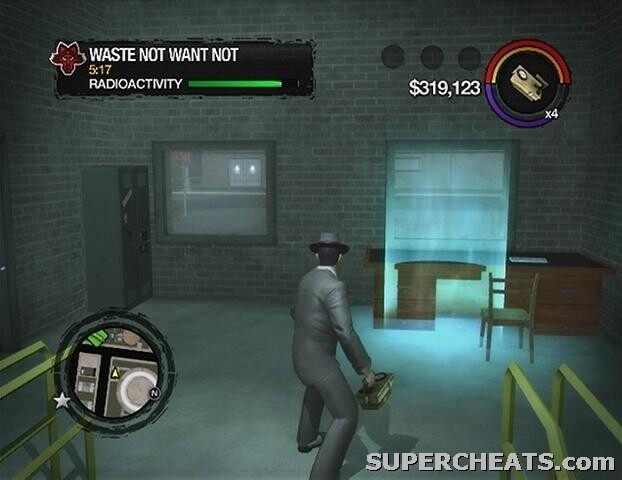
Your task once you reach the island is to track down some toxic waste with the Geiger counter, preferably without being spotted. Being seen does not mean the end of the mission, however; you can go in with guns blazing if you wish, though this probably won’t be necessary. With the Geiger counter equipped, start down the water tunnel by the dock at the east end of the island.
 |
The Radioactivity meter that appears in the top-left corner of the screen while you have the Geiger counter equipped indicates how far you are from the toxic waste. Continue down the channel until the Radioactivity meter begins to decline, at which point you’ll want to get on the catwalk and head through the doorway at its end. There are two guards sitting at the desk here, but you should be able to sneak past them if you crouch down and creep to the door.
Once you’re outside, look for the building marked “Water Tunnel Access 2,” which should be right across from the building you just exited. Enter the building, step into the blue marker in front of the desk, and press Y/Triangle to take the toxic waste. There are some stairs along the south side of the large building with the helipad on it. Head up these stairs and start taking out the security guards that are marked on the GPS.
 |
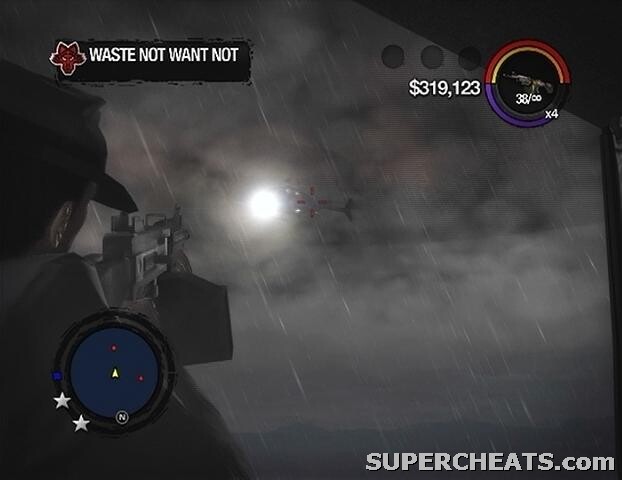
Kill all 10 of the security guards and then defend the helipad until the timer in the top-left corner of the screen reaches zero. When the helicopter arrives, get on the helipad to start the escape. You’re given an AR200 SAW with unlimited ammo to fight off the boats and helicopters that are pursuing you. Shoot down the police helicopters and eventually the helicopter you are riding in will start going down. After the crash, quickly steal a vehicle and start following the marked route on the GPS. You must get to the marker before the timer in the top-left corner of the screen reaches zero. If you don’t have enough time and end up failing the mission, reload from the last checkpoint and you should be given some more time.
 |
Hit the marker outside of the tattoo parlour to complete the mission.
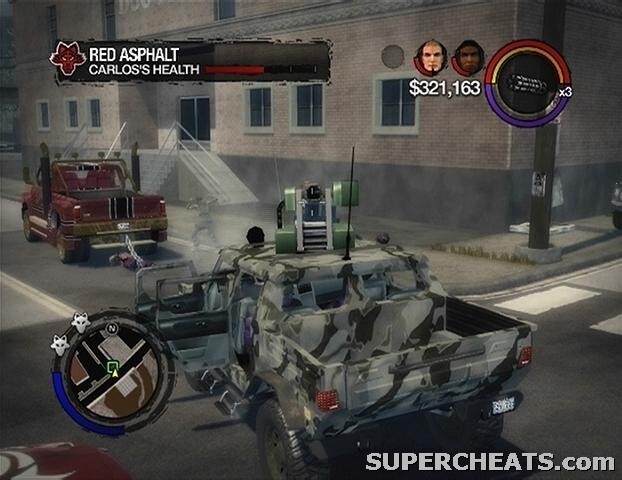
Mission 4: Red Asphalt
Head to Donnie’s and clear out the Brotherhood gang members outside. Enter the garage when the way is clear; you’ll find Donnie in the backroom. Hit him with melee attacks until he tells you where the Brotherhood is keeping Carlos. You must rescue Carlos before the health bar in the top-left corner of the screen is depleted. If there’s a Bulldog parked in the garage, be sure to take it before heading off.
Carlos is chained to the back of a truck and is being dragged through the city. Immediately start after the red marker on your GPS. You have to catch up with the truck and deal enough damage to force it to stop. If you managed to acquire a Bulldog at Donnie’s, this will be a simpler task since the turret attached to it is quite powerful, however the gang members that are constantly following you throughout this mission can make things a bit tough. If you don’t have a Bulldog, use a sub-machine gun instead.
 |
You can use Saints Row 2’s cruise control feature to make things a bit easier. When you’re traveling at a fast enough speed, press the LB button on the Xbox 360 version or the L1 button on the PS3 version to activate cruise control. While cruise control is active, your vehicle will remain accelerated at that set speed, leaving you to only have to concentrate on steering and shooting. Cruise control is best used on long stretches of road, as it can be difficult to turn corners if you’re traveling too fast.
When the truck stops, get out and approach Carlos to complete the mission.
Mission 5: Bank Error in Your Favor
Follow the marked route on the GPS to reach the bank. Step inside, make a beeline for Jessica, and press and hold the LB/L1 button to take her as a human shield. You don’t need to hold the button any longer once you have her, but be sure not to press it again because doing so will cause your character to launch her across the room.
You must keep Jessica between you and the armed guards in the bank, which means walking backwards if you must. Keep an eye on the GPS and look for red dots to avoid backing up and leaving yourself open to a guard. Take Jessica over to the switch up the stairs, stand in the marker, and press Y/Triangle to have her shut off the alarm. There’s now a SWAT team downstairs, so you’ll have to kill them off before sprinting to Jessica’s car. Back yourself against the wall across from the doorway and start picking them off. Use the GPS to make sure every single enemy has been dealt with before heading outside.
Sprint over to the marker behind Jessica’s car and press the Y/Triangle button to put her in the trunk. Your next task is to drive her car to the Stilwater University Arena, which is quite a ways off from the bank. You’ll meet some considerable resistance from the police force as well. Jessica’s car is quite speedy, however the police cruisers seem to have no trouble keeping up. You must make it to the marker outside of the arena with the car intact, otherwise the mission is failed.
You’ll come to several SWAT truck barricades along the way, so try and swerve around and keep moving. The barricades tend to just pop-up, so avoiding the barricades can be difficult sometimes. Keep moving and get to the marker outside of the arena to complete the mission.
 |
Mission 6: Thank You and Goodnight!
There’s a fireworks truck parked behind a warehouse in Harrowgate. Follow the marked route on the GPS to reach the warehouse. The place is being guarded by Brotherhood, so you’re going to have to fight your way to it. The fireworks truck is parked behind the warehouse, so be careful not to damage it during the firefight.
One or more of the enemies here may have an RPG Launcher which could potentially damage the truck, so don’t take cover behind it or anything. After killing all 12 of the gang members outside, you’ll appear in the back of the truck with a box of fireworks in hand. You’re headed to the Ultor Dome where the Feed Dogs are having a concert.
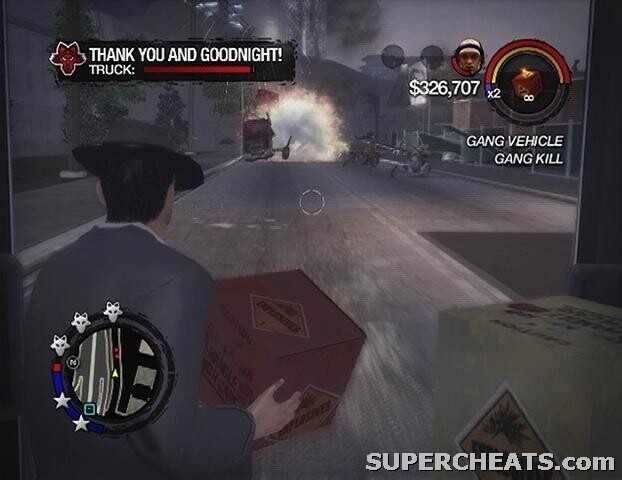 |
It’s your job to protect the truck from police and Brotherhood. The truck’s condition is indicated by the bar in the top-left corner of the screen; do not let this bar be depleted. You have access to an unlimited amount of explosives, so just throw them at the pursuing vehicles. The crates take some time to explode unless they hit a vehicle directly. Don’t hesitate to lob the crates at tailgaters, since the truck appears to be immune to explosions.
Make it to the Ultor Dome with the truck still intact to complete the mission. Completing this mission unlocks the Brotherhood melee style, which can be added to your character at a Plastic Surgeon.
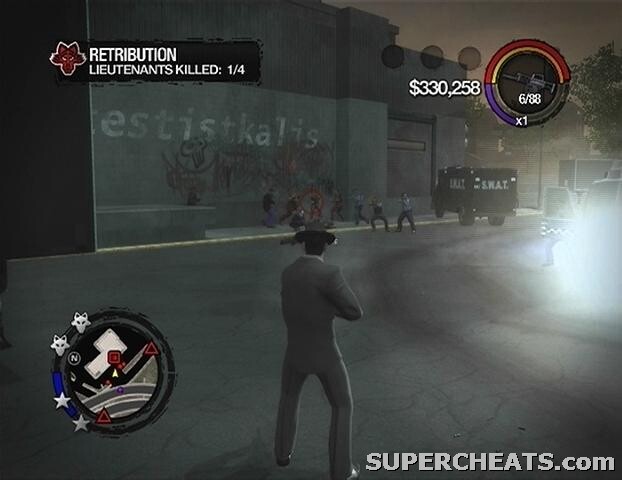
Mission 7: Retribution
There are four Brotherhood Lieutenants in the districts at the southeast end of the map. One group is in the Brown Baggers department store in Copperton. Here you must prevent the Brotherhood from damaging the store. A counter in the top-left corner of the screen indicates how much money is lost in damages. Do not let the counter reach $1000 in damages or the mission will be failed. The counter only starts when you reach the department store in question, so there’s no need to rush over to this location first.
The second lieutenant in Copperton is being arrested by the police. When you arrive he’ll be standing in a police line-up. Take him out. He’ll have a red arrow above him.
 |
Another lieutenant is driving around the Docks and Warehouses District in a truck full of explosives. Get a fast car and start trailing after the truck. Don’t drive directly behind it, however, since explosives are periodically dropped from the truck. Fire at the truck with your sub-machine gun until it explodes to take out the lieutenant.
A Brotherhood meeting is taking place on top of a parking garage in Encanto, which is part of the Barrio District. Enter the parking garage and drive up to the top level. The lieutenant flees by driving off a ramp and landing in the street below, so follow him down. You have to pursue the lieutenant and destroy his vehicle to kill him.
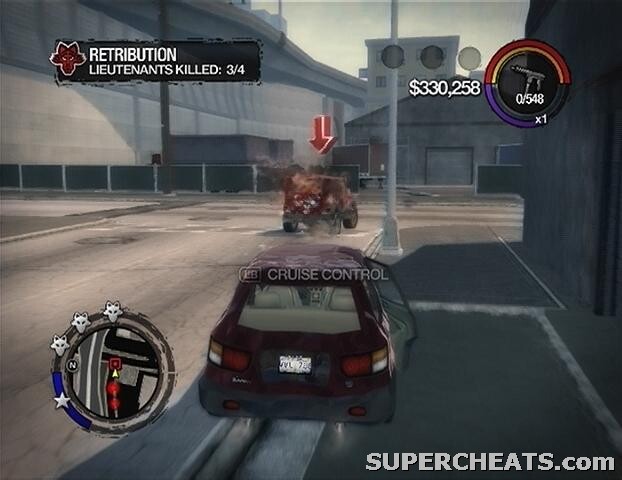 |
Kill all four marked lieutenants to complete the mission.
Mission 8: Jail Bait
You’re going to want plenty of SMG ammo and possibly some explosives before attempting this mission.
There are three prison buses marked on the GPS; you are to destroy each of them before they reach the drop-off point. If you’re quick enough, you can catch the buses together and take them all out, but if you’re too slow they’ll branch off and make things a bit more difficult.
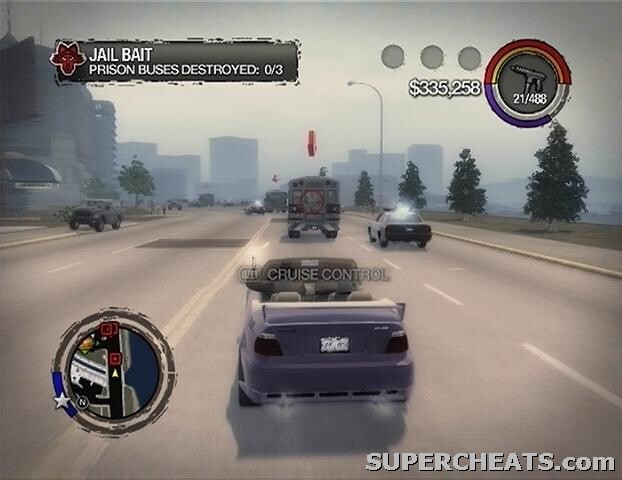 |
Saints Row 2’s cruise control feature will make things much easier here. When you’re traveling at a fast enough speed, press the LB button on the Xbox 360 version or the L1 button on the PS3 version to activate cruise control. While cruise control is active, your vehicle will remain accelerated at that set speed, leaving you to only have to concentrate on steering and shooting. Cruise control is best used on long stretches of road, as it can be difficult to turn corners if you’re traveling too fast.
When all three prison buses have been destroyed, you’ll get a call from Pierce informing you that more Brotherhood are being evacuated from the prison by boat. There’s a docked boat in Huntersfield, and two vacant fighters at the Wardill Airport. Taking one of the fighters isn’t really the best option, since they are a lot further than the boat, and very difficult to use since they can only shoot straight ahead.
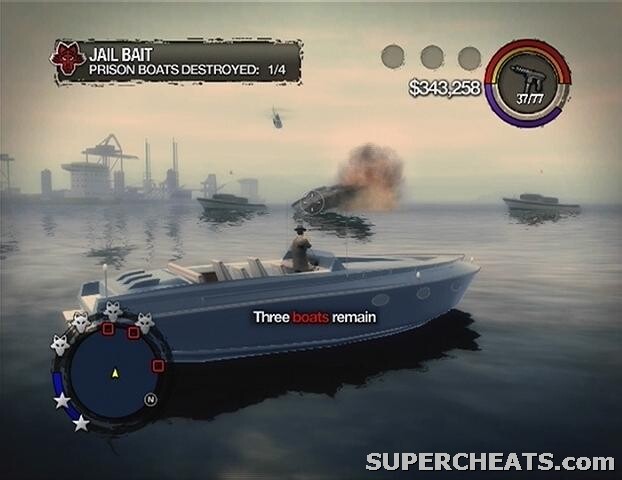 |
Get to the apartment dock and hop in the boat. Start towards the red markers on the GPS to locate the boats. You must destroy all four boats before they reach the coast to complete the mission. It doesn’t take much gunfire to destroy a boat; just stop shooting when your target catches fire to conserve ammo. Always target the boat furthest ahead first. The cruise control feature works with boats, too.
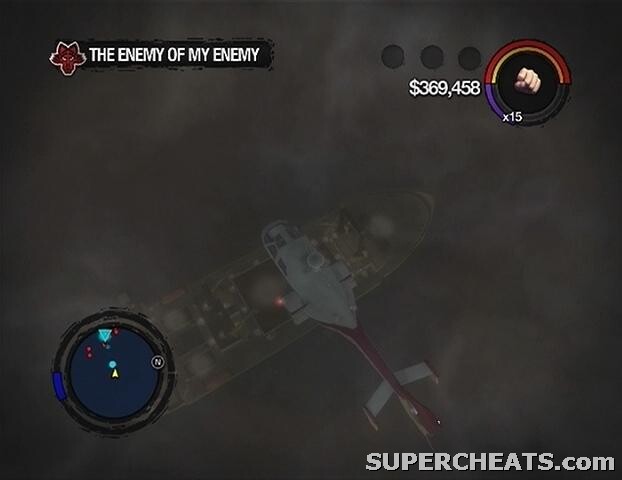
Mission 9: The Enemy of My Enemy
There are three markers on your GPS; each one is a means you can employ to board the cargo ship carrying the Brotherhood’s weapon shipment. Your best bet is to take the helicopter on top of the Crash Landing building in Huntersfield, which is part of the Airport District. Enter the Crash Landing building, take the elevator up to the rooftop, and get in the helicopter on the helipad. Ascend and then start towards the cyan marker on the GPS.
As your GPS will surely indicate as you hover above the cargo ship, the thing is packed with enemies. Don’t take too long with your landing, since one of the guys on the Ultor security team is packing an RPG Launcher. Your first task once onboard is to clear out the marked Ultor workers on the ship. Start by clearing the helipad, and then follow the markers on the GPS to the remaining workers.
 |
Make your way down to the ship’s hold to get your hands on some weaponry. After the cutscene, stand in each of the two cyan markers, mash the Y/Triangle button until you’re full up on RPG Launcher and assault rifle ammo, and then make your way back to the deck to defend the ship. You’ll be facing three separate waves of Brotherhood here, each consisting of ground troops and helicopters.
Since the helicopters flying above pose no threat, you’ll want to focus on taking out the ground troops first. There will be a lot of commotion outside, so hang back in the corridor that leads down to the weapon cache and wait for the Brotherhood to approach you. Blast them as they come to the door until they stop coming. When the way seems clear, step onto the deck and take to shooting down the helicopters flying overhead. There may still be some stragglers onboard, so don’t let your guard down.
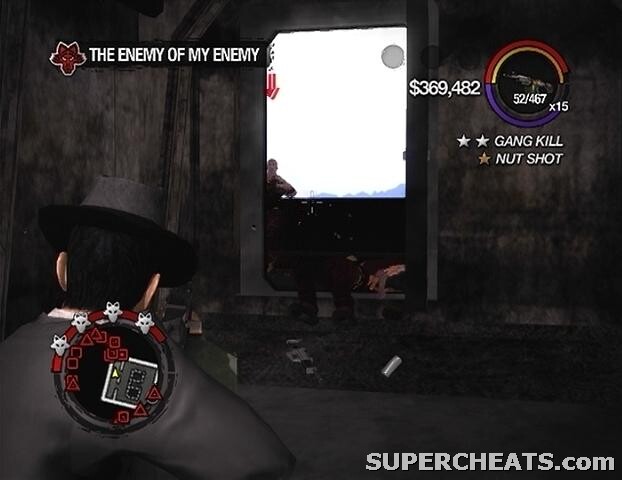 |
The assault rifle works well enough for this task, and it’s much easier to track the helicopters as they fly by. When all of the blips on the GPS have been extinguished, quickly return to the weapon cache in the ship’s hold and refill your RPG Launcher and assault rifle ammo in preparation for the next wave. Return to the corridor just before the doorway that leads out onto the deck and wait for the Brotherhood ground troops to come to you. When they stop coming, head outside and start firing at the helicopters.
After surviving the second wave, return once again to the weapon cache, and then hold out in the same corridor until Brotherhood stop coming at you. There are many helicopters flying around this wave, so this may take awhile. Before destroying the final target outside, return to the weapon cache one last time to refill both of your weapons for use after this mission.
 |
Survive the third and final wave to complete the mission.
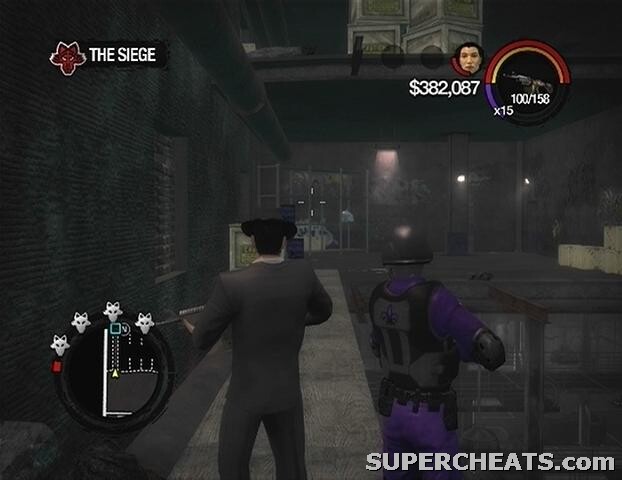
Mission 10: The Siege
Start following the marked route on the GPS. You are to meet some Saints near the Brotherhood hideout. When you reach the spot, your first task is to eliminate all 10 of the Brotherhood lieutenants marked on the GPS. Accomplishing this won’t exactly be a cakewalk, since as you kill more lieutenants, your notoriety with the Brotherhood increases, which means more will be sent after you.
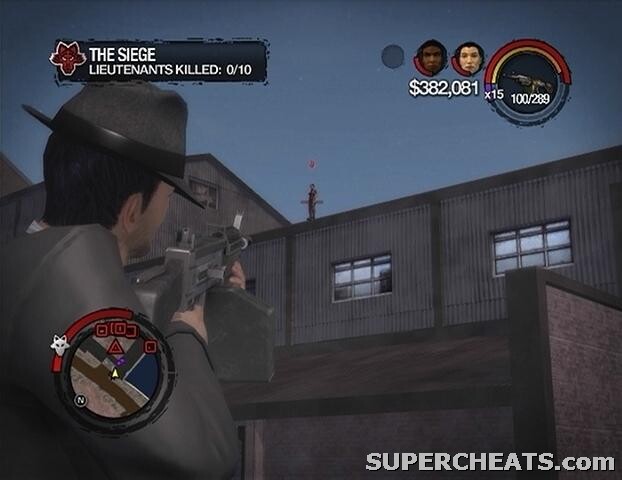 |
Be particularly careful of vehicles, as they tend to speed towards you in an attempt to make you roadkill. There is plenty of cover around the hideout, however, and you can even climb atop the crates to avoid being run over by the vehicles. When all 10 lieutenants have been dealt with, follow the cyan marker on the GPS and enter the warehouse you come to. The marker here is on the third floor, so find the stairwell and take the stairs up to the third floor. On the third floor, you’ll have to cross the plank on the west side of the warehouse to cross the gap.
 |
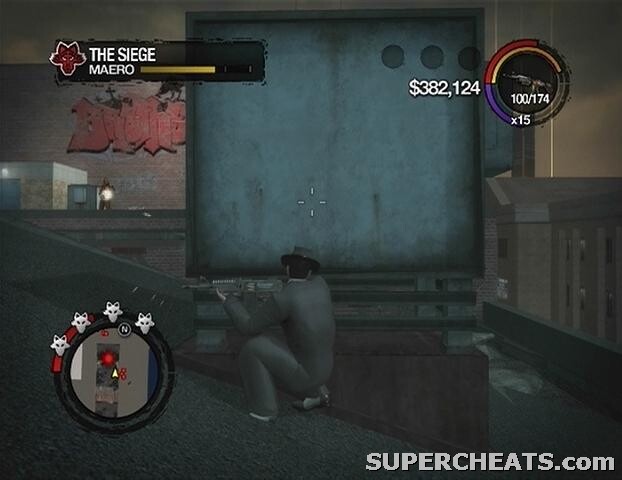
After stepping into the marker across the gap, follow the next one that appears on the GPS over to an unblocked stairwell. There are Brotherhood on the next few floors, so be ready for a fight. Continue following the GPS and eventually you will reach the sixth floor. Hit the marker there to confront Maero.
Maero is armed with a Mini-Gun, but fortunately there are plenty of pieces of cover on the rooftop. These pieces of cover can be destroyed by Maero, however, so you’ll have to shift around to avoid leaving yourself open. An assault rifle can take this guy down fast, so hopefully you still have plenty of ammo from the last mission.
 |
Wait until Maero is reloading before popping out from cover and filling him with lead. Duck back behind a piece of cover once he starts firing again. If you’re willing to take some damage, you can stand out in the open and fire at him while he’s shooting, but just be sure to get back behind some cover when your health begins to dwindle.
Once you’ve defeated Maero, you are given $25,000 for completing the mission, and the Mini-Gun is added to your crib weapon cache. You must now capture the four Brotherhood strongholds to unlock the next mission. See the “Gang Strongholds” section for more information.
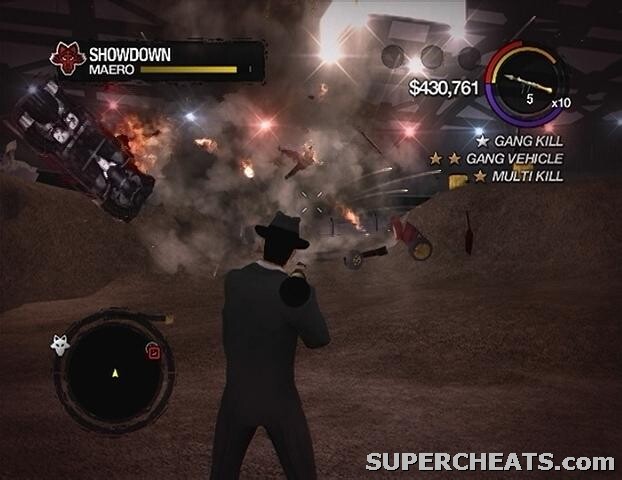
Mission 11: Showdown
It’s time for the final showdown with Maero at the Ultor Dome. This mission only becomes available once you have captured all four Brotherhood Strongholds. Definitely invest in an RPG Launcher and plenty of ammo before attempting this mission, as having that weapon in your arsenal will make succeeding much, much easier.
Here’s the setup: you’re on-foot, all by your lonesome, while Maero and a bunch of his friends ride around the arena in vehicles, with Maero himself in a monster truck. Hardly seems fair, but if you have an RPG Launcher, besting Maero here should be a cinch.
 |
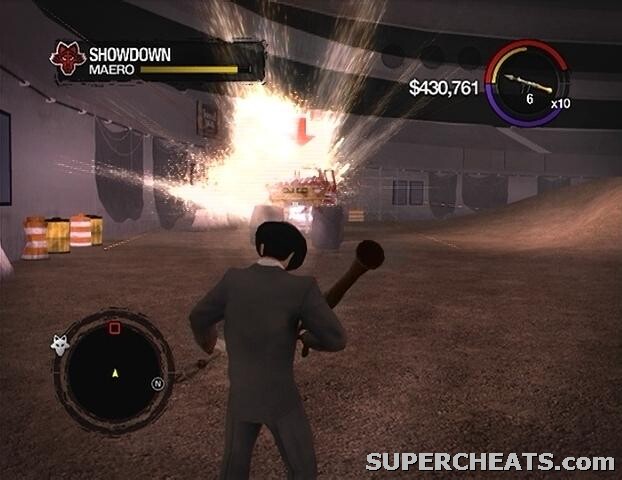
Maero is the only marked enemy on the GPS. You must deplete the bar in the top-left corner of the screen by damaging his truck. You’ll want to ignore his friends for the most part, since you’ll need to conserve around eight RPG shots to completely destroy Maero’s truck. Maero just circles around the trench throughout the match, and will try to run you over if you venture down there.
Move down to the side of the arena and wait for Maero’s truck to come by. As it’s approaching, blast it with the RPG Launcher as many times as possible before he continues down the track. Be sure to sprint out of the way if he’s about to run you over. Just remain where you are and use your other weapons to kill the unmarked Brotherhood until he comes back around.
 |
If you run out of RPG Launcher ammo, switch to another weapon and just fire at the truck while it passes by. Keep the reticule trained on Maero’s truck until it’s out of sight. Continue to damage the truck until the bar in the top-left corner of the screen is depleted to complete the mission.
You’re awarded $50,000 and the Little Shanghai neighbourhood for completing this mission. You’ll also unlock Maero’s Monster Truck and the Brotherhood vehicles (both now available at your crib garage), the Brotherhood Personality (taunts and compliments available at a Plastic Surgeon), and you can now call Pierce on your mobile phone to have him join you as a follower.
Xbox 360 | PlayStation 3 | PC
For Red Asphalt
The EDF Scout - (Ultor Exposed DLC Pack) is better than the Bulldog. It's the smallest of the
mounted APCs, so it's the best handling. Plus it has Rockets instead of a Mini-Gun. One blast
might be all that's needed to damage the truck.
During the siege mission there is a way to stay in one spot even if the cover is destroyed. You crouch down down behind the cover so you're right near the roof edge but looking at Maero diagonally across the cover then when just stand up and unload whenever. You might even be able to have a clear shot while crouched. It might take a few attempts to perfect though.
when i was watching a video of SR2 it said if you bring johnny gat with you he gets his butt kicked by maero
that worked thanks
I'm totally beast at Saints Row 2 so we should strt a beasting clan 4 it! My G-Tag for xbox-live is:CURS3D SH4DOW
I am a beast at this game. Juss sayin, if you need help, my xbox live Gamertag is MourningMercury. Catchya L8er!
BROTHERHOOD IS AWESOME
List of Spoilers:
Spoiler:
Spoiler:
Spoiler:
Spoiler:
Spoiler:
ENJOY!
yes i guess this is help unless you read the games tips b4 u read the website
that was soooooo coo
What is all the cheat codes for all cars for the chop shops list