A World of Echoes: Equal
You'll start the chapter again in the Caldislan Inn. After the scenes, you'll have to awaken the crystals again. A new party chat will be available (Nothing Brave About an Empty Stomach) and black glowing object on the floor to the right. Pick it up to receive a Chest Key. This will allow you to open the blocked blue chests. For a complete list of all the locked blue chests you've found so far, refer to this link.
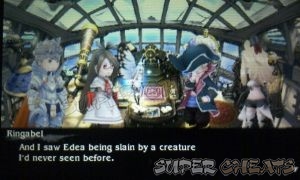
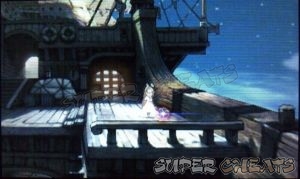
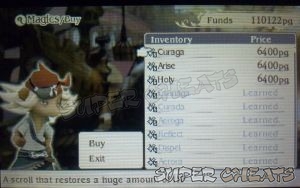
Inside the Grandship's tavern, there's a fox in front of the bulletin board that will enable you to change the names of your characters. Next, check out the ship's market place to purchase some LV6 Black, White and Time Magics. When you're ready to leave, return to the ship's bridge and take the wheel.

During this chapter, you can intentionally break the crystals by repeatedly pressing X and ignoring Airy's que. Ignore the following warnings and keep doing it until the crystal is destroyed. Doing so will end the game abruptly. You can also fight the same optional bosses that you fought during last chapter.
You can battle most of the asterisk bearers again in this chapter. The strategies against them pretty much stay the same, and the main difference is that some of them have much higher HP than the previous chapter. You’ll also find some interesting new scenes and party chats after defeating them. Refer to this link for more details.
The beasts guarding the crystals will be as strong as the last chapter so you just need to apply the same strategies you used before.
Temple of Wind
| Orthros (Blue) |
| HP: 65,000, Weakness: Fire, Immune: Water FAM: Beast |
| Orthros (Yellow) |
| HP: 65,000, Weakness: Water, Immune: Fire FAM: Beast |
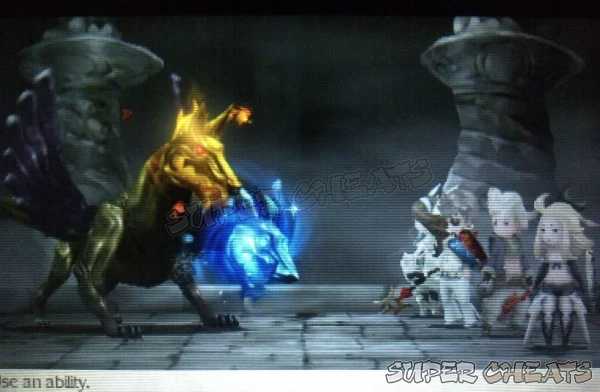 |
| This battle will be easier by equipping Iceflame Shields to your characters, especially your healer(s). You can steal one from Heinkel or from the Kobold Slashers in Caldisla overworld map. If you don’t have enough shields, you can rely on a spirit master since his/her skills will allow you to block or mitigate much of the fire and water damage from these bosses. They can still deal heavy damage with Deep Freeze or Hellfire, as well as Blazzard and their Bite and Flaming Fangs. It will be a good idea to stack up BP by defaulting and attacking all at once. Just heal up whenever necessary. |
Temple of Water
| Boss: Rusalka |
| HP: 65,000 Weakness: Lightning, Absorb: Fire, FAM: Aquatic |
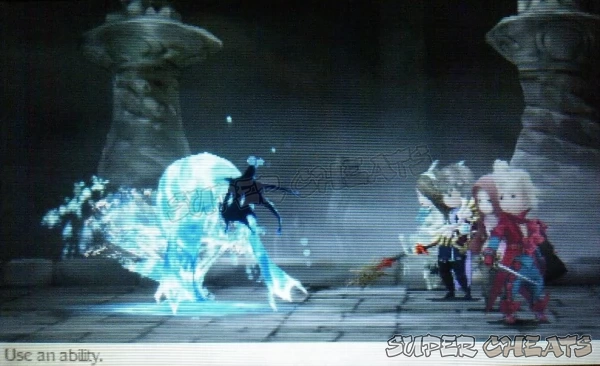 |
| Rusalka is still weak to lightning and can be exploited with the Hunter’s Aquatic Slayer. However, its clones will have more HP. It is important to Examine Rusalka at the start of the battle so that you can keep track of it once it replicates itself. The Iceflame Shield will still provide water immunity here against its Seep + Dark Flow and Aqua Regia attacks, and you should have your main attacker or healer equip an accessory that will provide charm immunity to keep them in the game. If you have a Summoner, you can deal even greater damage using Deus Ex. After taking out the original, clean up the remaining clones to finish the battle. |
Temple of Fire
| Boss: Chaugmar |
| HP: 75,000 Weakness: Lightning, FAM: Demon |
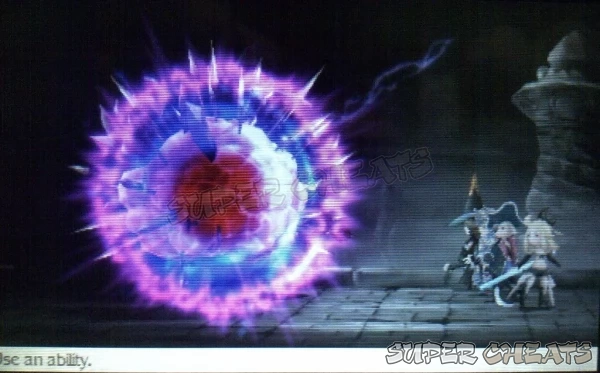 |
| Chaugnar has move that will steal HP, MP and even BP. That said, it will be risky to stack up BP like you normally do with the other bosses. When it is covered with energy, it will be resistant against any type of damage, even when hit by its elemental weakness. This is where you have to compound items or use the attack items as is. Like the other bosses, you have to use Default once you see it has positive BP. Play defensively when it is in its invulnerable state and heal up any damage you immediately receive. |
| Since you have access to more skills at this point, you have to put them to good use. Defensive skills like the Templar's Rampart or Spiritmaster's Stillness should protect you from the heavy damage of Energy Burst. You can also equip the Vampire job class' Absorb P.Damage to help you recover some of the damage. |
| Having a healer with Healing Lore or Holy One will allow you to heal your party much effectively. Hopefully, your stacked BP won't be stolen during the boss' previous attack; use the stacked BP to executive extra actions while the boss is in vulnerable state. Be careful of its Energy Burst as it can knock out several characters at once. If not, your characters will have critical HP. With the Salve-Maker's Healing Lore and Widen Area, you can use an X-Potion to heal 3000 HP to all your characters. Same goes with Phoenix Down that can resurrect multiple characters. |
| Since the boss has the tendency to drain your MP, an Ether deployed by the Salve-Maker's Widen Area is very effective and efficient. The Salve-maker's Auto-Phoenix ability will also help a lot in instantly reviving downed characters. |
Temple of Earth
| Boss: Gigas Lich |
| HP: 110,000 Weakness: Light, FAM: Undead |
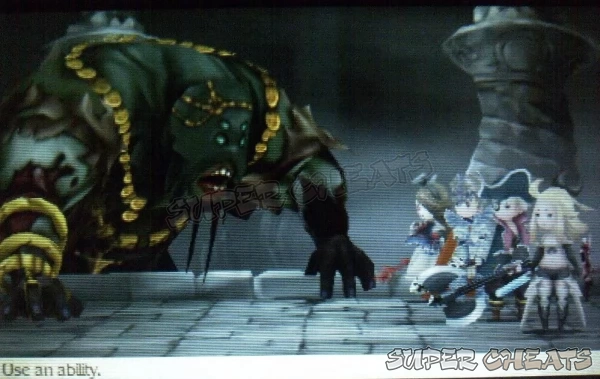 |
| This world's version of Gigas has increased stats and can cast Death. Make sure to equip your characters with Safety Rings to give them immunity against this. If you don't have enough Safety Rings, you can rely on the Salve-Maker's Auto-Phoenix or Widen Area + Phoenix Down skills and the Vampire's Rise from the Dead skill. |
| Gigas' Slam deals a lot of damage to everyone while it can use Quaga to deal high earth damage to a single target. Gigas can also use this move on himself to recover a bit of HP. It will use Negative Power to boost its p.attack and m.attack stats. You can use dispel to remove this boost. It will also use Fear to inflict the dread status. |
After awakening the third crystal, you have to consult the Sage again. Head to Yulyana Needleworks and make your way to the Vestment cave after talking to the sage. Agnes and Tiz will be alone again so make your way to the lowest level of the cave to find the Sage. After some new plot-revealing information, exit the cave to regroup with your other party members. A new sub-scenario will be available as well. Check out the link for more details.
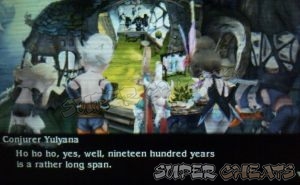
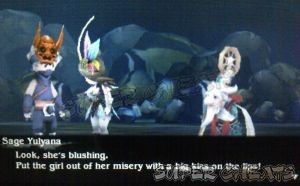
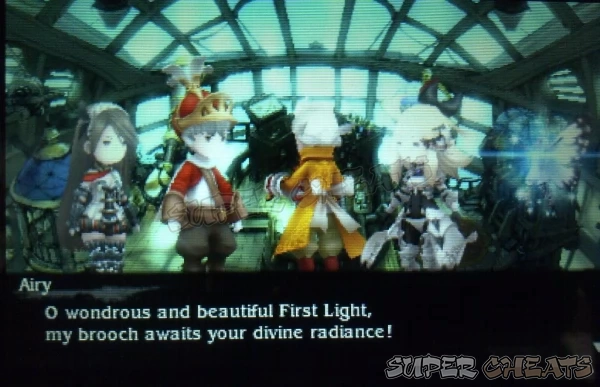
After doing the sub-scenario, head out and awaken the last crystal. The same pillar of light will appear in the same location. Fly towards it and enter it again. This time, you don't have to face Alternis Dim anymore. Watch the following scenes until the chapter ends.
Anything missing from this guide?
ASK A QUESTION for Bravely Default
Comments for A World of Echoes: Equal
Add a comment
Please log in above or sign up for free to post comments- Basics
- Asterisks / Job Classes
- Jobs Guide
- Extras
- Intro
- Chapter 1
- Chapter 2
- Chapter 3
- Chapter 4
- Chapter 5
- Chapter 6
- Chapter 7
- Chapter 8
- The End
- Sub-Scenarios (Ch1)
- Sub-Scenarios (Ch2)
- Sub-Scenarios (Ch3)
- Sub-Scenarios (Ch4)
- Sub-Scenarios (Ch5)
- Sub-Scenarios (Ch6)
- Sub-Scenarios (Ch7)
- Sub-Scenarios (Ch8)
 Join us on Discord

Just so you guys know, the Level 6 magic is available starting in chapter 5 in the Grandship's magic shop.