Bravely Default
Thank you for printing this page from www.SuperCheats.com.
Remember to come back to check for updates to this guide and much more content for Bravely Default
Follow this guide to hear about updates
Last Updated:
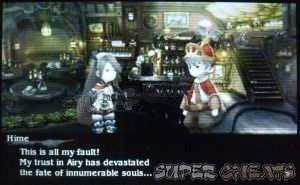
After the scene, a new party chat will be available. (Thanks to You) The celebration is brought to a halt after the (expected) plot twist is revealed. You'll have to fight again afterward.

| Airy |
| HP: 150,000, Weakness: Fire, FAM: Bug |
 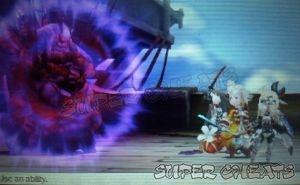 |
| Airy can use Tight Bind to stop multiple characters. Later on, she will also use Spike Guard which will enable her to counterattack with high damage. Fortunately she'll release this guard after a few turns. She can also use Slaughter which can damage everyone else and inflict poison. She will then follow up with Poison Punisher which deals heavy damage to any poisoned characters. Using Defang will lessen her counterattack damage and the Spiritmaster's Fairy Ward can protect your team from status effects for five turns. Keep attacking until she's critically wounded. She will then assume her second form. |
| Airy (Second Form) |
| HP: 99,999, Weakness: Fire, FAM: Bug |
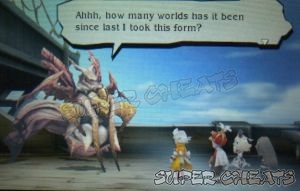  |
| She can cast Luxuria which can Charm multiple members of your party. Quickly heal it and use Fairy Ward. She can deal medium Earth damage to everyone using Quaga and heavy fire damage via Flare. It will help boosting your party's Magic Defense and use Skull Bash on her. Airy will be able to fully heal herself back to full health once in the battle so don't go under negative BP unless you're really sure that you can take her out within the turn. After that, she can heal herself for around 5000 HP a turn. |
| She can also make everyone weak against all elements so it is better to play it defensively while keep attacking her every turn. The Spiritmaster's Enigma can be a good counter-move against this status ailment for four turns. It will help casting Reflect to at least one of your allies to ensure that some of the spells are reflected back to her. Just keep healing every turn and keep your buffs and debuffs rolling as the situation changes. |
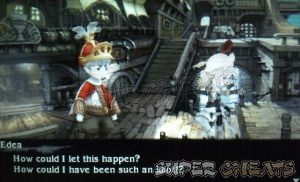
After the battle, a new party chat will be available. (Grandship). Tiz will be alone for now. Head to the deck and talk to Edea. Next, head to the tavern and talk to Agnes on the upper floor. Return to the bridge next to continue with the story.
You'll be in control of the Grandship again and you'll have to see the sage. A new party chat will become available as well. (Alternis's Memory) Travel to Yulyana Woods Needleworks to meet up with the Sage. After the scenes, you can now go to Norende Ravine. Viewing these scenes will also allow you to enter the optional dungeon in the game, Dimension's Hasp.
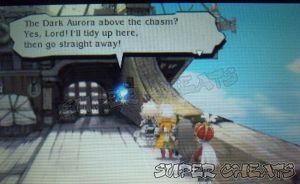
When you're ready to continue with the story, enter Norende Ravine and make your way to the chasm. Upon reaching the cliff, a new party chat is available. (Once This is All Done) Step in the magic circle to be transported to the Dark Aurora.
Anything missing from this guide?
ASK A QUESTION for Bravely Default
Comments for Bravely Default
Add a comment
Please log in above or sign up for free to post commentsTable of ContentsClose
- Basics
- Asterisks / Job Classes
- Jobs Guide
- Extras
- Intro
- Chapter 1
- Chapter 2
- Chapter 3
- Chapter 4
- Chapter 5
- Chapter 6
- Chapter 7
- Chapter 8
- The End
- Sub-Scenarios (Ch1)
- Sub-Scenarios (Ch2)
- Sub-Scenarios (Ch3)
- Sub-Scenarios (Ch4)
- Sub-Scenarios (Ch5)
- Sub-Scenarios (Ch6)
- Sub-Scenarios (Ch7)
- Sub-Scenarios (Ch8)
Guide Updates
Get notified of updates to this guide
Many of our guides get updated with additional information. To get an email when this guide is updated click below.
 Join us on Discord
Click to close
If I am stacking up on specials, which should I get and when should I use them; 1st or 2nd form