Conjurer Yulyana
After consulting the sage and learning more information about the crystals, the angel and a certain Evil One, you can come back to the Yulyana Woods Needleworks to find a note stating that the Sage is waiting on the Eternian Central Command’s Council Room. Head to the Council Room to find the Sage. Now backtrack to Edea’s room to find Alternis there. Defeat him in battle.

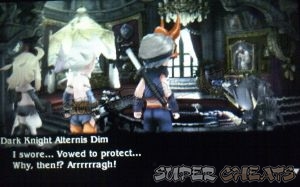
| Alternis Dim |
| 100,000 Weakness: None, FAM: Human |
| Reward: Dark Shield |
| Steal: Dark Matter |
 |
| Having a Dark Shield equipped will make you immune against his Dark-based attacks. Utsusemi will also allow you to evade Black Bane. Even without a Ninja or Swordmaster to counterattack, you can pretty much win the battle by using generic strategies like group-healing, buffing with a Performer/Singing job command or debuffing him using a Pirate or Piracy job command. |
Next, you have to head back to Eternia. You can rest up in Edea’s bed or just sleep at the inn in the city to fully replenish your party. Once ready, head to the Central Healing Tower and go to Mahzer’s room. You’ll engage him to battle afterward.
| Braev the Templar |
| 120,000 Weakness: Dark, FAM: Human |
| Reward: Ise-no-Kami, Excalibur |
| Steal: Rebuff Locket |
 |
| Braev's attack patterns remain the same. Since you have access to better spells now, you can pretty much endure and counter whatever he throws at you. He will store BP by Defaulting for a few turns before attacking consecutively with Heart Strike, Giant Slayer or Radiant Strike. His Default Guard also effectively reduces damage by 75%, making him a very sturdy wall whenever his guard is up. Use BP-negating attacks like Qigong Wave or Targeting to bypass his Default defense or store up BP yourself and attack consecutively once he finishes his move. |
| If you have access to the Performer's JLV13 skill Zero Sum, you can prevent Braev from executing his BP combos by lowering his positive BP to zero. |
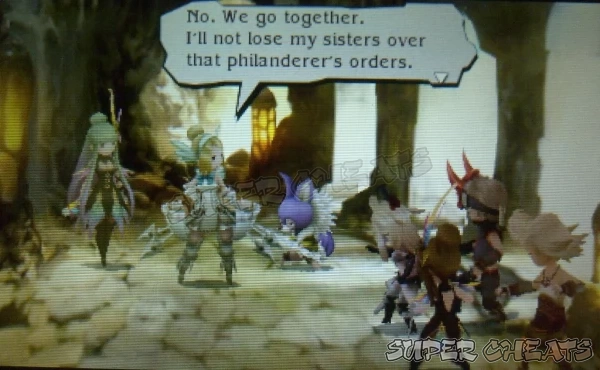
After defeating Braev, heal up and fly to the Twilight Ruins. Continue until you reach the hidden village at the end of the dungeon. You’ll be fighting the three Venus sisters here at the same time.


| Artemia |
| HP: 60,000 Weakness: Fire, FAM: Human |
| Einheria |
| HP: 85,000 Weakness: None, FAM: Human |
| Mephilia |
| HP: 60,000 Weakness: None, FAM: Human |
| Reward: Artisan Gloves, Turbo Ether, Power Bracers |
| Steal: Fairy Wing (Mephilia) |
 |
| You have to target Artemia first since her Targeting and Multi-burst abilities can be used almost every turn. Her HP is only 60,000 so it won’t take long to take her out as long as you use Piracy to debuff her defense and attacks and even more efficiently if you have a dedicated attacker that can deal thousands of damage per attack. A Performer/ singing ability is a must in this battle since you’ll need the buffs and extra BPs he/she can provide. Absorb Physical and Magic damage in tandem with Angelic Ward helps you mitigate most of the damage but if you want, you can also use the ever-useful Ninja-specialty, Utsusemi or the Swordmaster’s physical and magical counterattacks. |
| Mephilia’s Girtablulu is still a threat so it won’t hurt equipping Abate Earth support ability so you won’t have to equip an Earth Charm and use a better accessory instead. You also need a healer with access to White Magic LV5 (Curaga) and/or with Healing Lore/ Holy One. After taking out Artemia, target Mephilia next. Once the two of them are gone, Einheria’s excessive dependency in BP moves will be her downfall. |
 |
Heal up then make your way to the Norende Ravine. Head to the Chasm and find Tiz’s brother, Til near the cliff. You have to defeat six different Kobolds in the ensuing battle.


After the battle, heal up and return to the Yulyana Woods Needleworks to continue with the quest. You have to fight Conjurer Yulyana next.
| Conjurer Yulyana |
| HP: 150,000 Weakness: None, FAM Human |
| Reward: Elixir |
  |
| Yulyana will use Summons to boost his stats by a nifty 50%. You can remove these by using Dispel. Just make sure that the Dispel-user is faster; otherwise, the helpful debuffs you’ve inflicted will be removed as well. He can deliver heavy physical damage via Amped Strike or use Meteor to deal heavy non-elemental magic damage. Angelic Ward, Absorb Physical and Magical Damage will help mitigate a considerable amount of damage from these attacks. It will help having a Pirate or Piracy support so you can use Skull Bash or Defang to lower his attacks, then chain it with Shell Split and/or Scale Strip if you’re also relying on heavy magic damage as part of your offense. |
After the battle, you’ll obtain the Conjurer asterisk. Congratulations in getting all jobs in the game!
Anything missing from this guide?
ASK A QUESTION for Bravely Default
Comments for Conjurer Yulyana
Add a comment
Please log in above or sign up for free to post comments- Basics
- Asterisks / Job Classes
- Jobs Guide
- Extras
- Intro
- Chapter 1
- Chapter 2
- Chapter 3
- Chapter 4
- Chapter 5
- Chapter 6
- Chapter 7
- Chapter 8
- The End
- Sub-Scenarios (Ch1)
- Sub-Scenarios (Ch2)
- Sub-Scenarios (Ch3)
- Sub-Scenarios (Ch4)
- Sub-Scenarios (Ch5)
- Sub-Scenarios (Ch6)
- Sub-Scenarios (Ch7)
- Sub-Scenarios (Ch8)
 Join us on Discord

Is there any way to counter his comet attack? I've tried using rampart and utusemi, bt neither of those worked.
What is the recommended level for Yulyana and De Rosso in chapter 5? I accidentally skipped them in chapter 4.
I skipped it on 6 as well, fighting him on 7 looks tough
Uuuuuh... I skipped this sidequest in chapter 6, but I found Yulyana in chapter 7, and he challenged me alongside Mephilia and Barbarosa. Did I do something wrong?
Thanks this guide has been very useful