Magic and Summoning
Kingdom Hearts Walkthrough and Guide
by SPV999
Kingdom Hearts Guide - Appendix
Magic and Summoning
 Magic |
Magic has some form in almost every game anymore. Kingdom Hearts take it in a more traditional Element sense, in addition to summons. We'll look at all the different forms and how to get them.
Your magic power is donated by your MP gauge. The MP gauge is the blue bar(s) that surround your health gauge. The blue bars are your actual MP, while the orange bars that appear in them is your MP charge gauge. When you fill your charge gauge (through MP balls or general combat) you regain 1 MP unit. Some spells will just use charge units, meaning you have almost twice the MP for those spells, but this also makes it hard to calculate how much MP will have remaining after any given attack.
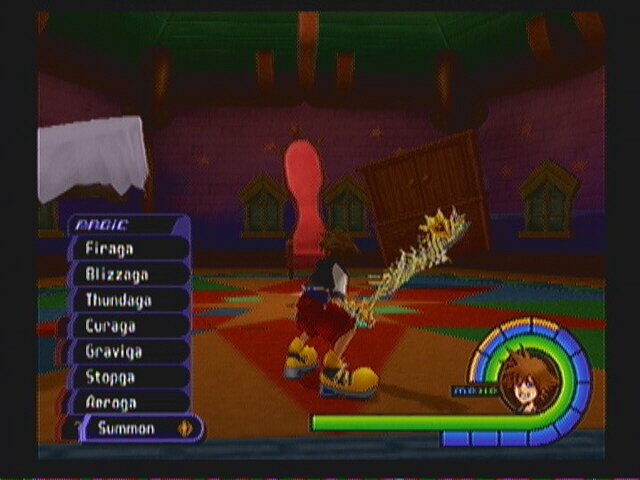
Magic is cast from the Magic Menu, the second selection in the command menu. You can also set up shortcuts in the pause menu that will allow you to quickly cast magic by holding down L1 and pressing either X, square, or triangle. Summons can not be set to shortcuts.
Summons also don't use your MP gauge (it costs a certain amount to summon them though) once they are on the field. Rather they have their own Summon gauge that appears and slowly drains as they fight. Once that is gone, the summon disappears. Further, you can dismiss them at any time by choosing the Dismiss command.
Further, summons take the place of your other party members, meaning both Donald and Goofy (or whoever) disappear while a summon is on the field.
To calculate how much damage a magic attack will do,
Damage = (MP ||* #) * # * enemy RES.
Put in English:
Damage done equals (total MP plus or multiplied by the magic attacks base power) multiplied by a number (sometimes) multiplied by the enemies RES stat.
RES is resistance. Resistance is to magic as Defense is to physical attacks. Every enemy has a set resistance for every magic attack.
Magic
Magic manifests in the four elements, plus 4 supernatural elements. Each attack has it's weaknesses and strengths.
Remember for the upgrades that it doesn't matter what order you do the requirements in, the progression is always -_, -ra, -ga. I just listed them in logical order. In the description, anything separated with a “/” is the difference between the higher levels (in order).
 --== Fire ==-- |
MP: 1 Charge Unit
Range: Long
Description:
Unleashes a small/potent/incredible burst of flame.
Found:
Fire – Defeat Guard Armor
Fira – Defeat Jafar (genie form) in Agrabah
Firaga – Talk to the princesses in Hollow Bastion after saving them
Stats:
Fire = MP 20
Fira = MP 24
Firaga = MP 30
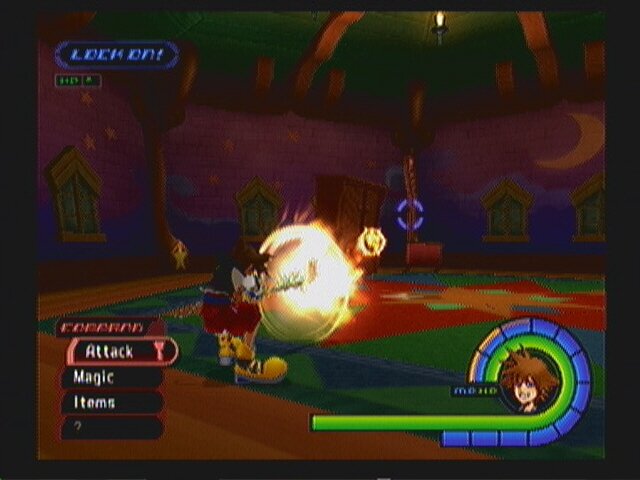
Breakdown:
Shoots one fireball from the end of your Keyblade. It has mild homing capabilities and does fair damage on impact. It can be successively fired till you run out of MP. It's a good attack against a single large enemy, but most smaller or fast enemies can dodge the shot.
 --== Blizzard ==-- |
MP: 1 Charge Unit
Range: Short
Description:
Unleashes a gust of frost. /Longer range/Longest range.
Found:
Blizzard – Find all four pieces of evidence in Wonderland
Blizzara - Defeat Jafar (human form) in Agrabah
Blizzaga – Complete Hades Cup Seed 40 (Behemoth)
Stats:
Blizzard = (MP 22) * # of flakes
Blizzara = (MP 26) * # of flakes
Blizzaga = (MP 32) * # of flakes
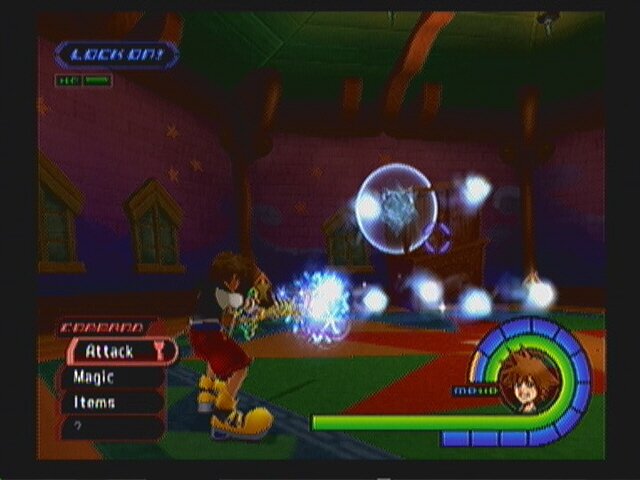
Breakdown:
Blizzard fires in a shot-gun pattern, that is a random spread of snowflakes. The good thing about this is that it's pretty certain to hit any enemy in front of you, the bad thing is it doesn't go very far. It is pretty powerful however, and the more flakes that hit an enemy the more damage it does. Further, it has good chance of confusing your opponent. It cant be rapid fired like Fire, but it's low MP cost means you can cast this a lot if you want.
 --== Thunder ==-- |
MP: 1
Range: Mid
Description:
Calls bolts of lightning /a powerful lightning storm /a great maelstrom of lightning to the target area.
Found:
Thunder – Complete Phil's training in Olympus Coliseum
Thundara – Defeat Ursula (giant form)
Thundaga – Complete Hades Cup Seed 30 (Cerberus)
Stats:
Thunder = [(MP * 2) 14] * # of bolts
Thundara = [(MP * 2) 18] * # of bolts
Thundaga = [(MP * 2) 22] * # of bolts
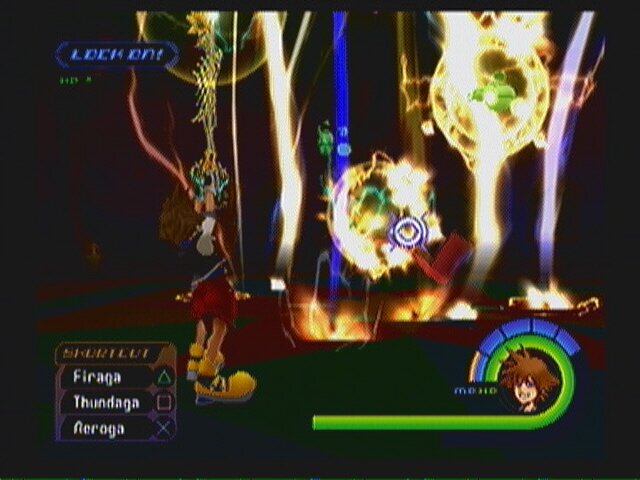
Breakdown:
As cool as this attack looks, and as powerful as it is, it's really not that great. While it does call down several (or a lot if at level 3) of bolts, only one of them normally hits something (that being the thing you're locked on to). The rest of the bolts are almost just for show. Now if you're targeting a large enemy and he happens to get hit with several of the bolts, this can do massive damage. Overall though it is a fairly good attack, I just tend to be more strategic about using it as opposed to spamming like Fire and Blizzard.
 --== Cure ==-- |
MP: 1
Range: None
Description:
Restores a little /lot /massive amount of HP to one character.
Found:
Cure – Defeat Clayton in Deep Jungle
Cura – Defeat Anti-Sora in Neverland
Curaga – Talk to Aerith in Hollow Bastion Library
Stats:
Cure = (MP * 3) 6
Cura = (MP * 3) 18
Curaga = (MP * 3) 30
Breakdown:
You'll probably find yourself casting this spell the most. And rightly so. It's cheaper and more easily refilled then potions. Don't be afraid to use this on even the slightest injury. Also remember that Donald can also cast this, and will often save you from death with it.
 --== Gravity ==-- |
MP: 1
Range: Long
Description:
Wrings a percentage of HP from the target. Effective against enemies with lots of HP. /Wider/Widest area of effect.
Found:
Gravity – Complete the Phil Cup (just defeat all enemies)
Gravira – Defeat Oogie Boogie (house form)
Graviga – Complete Hades Cup Seed 10 (Hades)
Stats:
Gravity = (MP * 5) 40%
Gravira = (MP * 5) 55%
Graviga = (MP * 5) 70%
Breakdown:
Donald likes to spam this on any airborne enemy. I personally see it as a waste of MP. It is a very powerful attack, but it takes so long to cast and later in the game it's almost impossible to kill anything with it (even early on its hard). This is because the attack power is based on the percent of enemy HP remaining. In other words, the weaker the enemy, the less damage it does, and it's nearly incapable of actually killing anything. To spell it out:
The stat section calculates the STR of the attack. You still have to factor in the RES of the enemy to find how much damage it does. Example: an Air Pirate has a *.5 resistance to Gravity magic and 120 remaining HP (full). Sora has 5 MP and casts Gravity. Therefore,
Damage = [(5 * 5) 48] * .5 = 36.5
In other words, you just did 36.5 HP worth of damage, which cost you 1 MP and a lot of time. Now tell me, was it worth it? And don't say “well no, but bosses have more HP...” because bosses generally have a resistance of .4 or better to Gravity.
 --== Stop ==-- |
MP: 2
Range: Short
Description:
Prevents targets from taking action for a limited time. /Wide /Widest area of effect.
Found:
Stop – Defeat Parasite Cage in Monstro
Stopra – Complete the Pooh's Swing mini-game in the Hundred Acre Woods
Stopga – Defeat the optional boss Phantom in Neverland
Stats:
(MP 2) = seconds
Breakdown:
This does not just stop an enemy from moving or attacking (even freezes them in mid-air), it also stops them from taking damage till the effects wear off. Now, that is to say, they take the damage, but they wont actually die until the effect wears off. This isn't a bad magic, it's just expensive for what it does. Even at level 3, the area of effect is still pretty much one enemy, and most enemies you'd want to use it on it'll only freeze for a second or two after factoring RES. Further, it has a chance of not working at all as well, which is what happens to most bosses.
 --== Aero ==-- |
MP: 2
Range: None
Description:
Deploys a barrier that absorbs damage /and damages enemies on contact /and deflects certain attacks.
Found:
Aero – Defeat Opposite Armor in Traverse Town
Aerora – Yellow Trinity # in Neverland
Aeroga – Find all 99 Dalmatians
Stats:
Time = (MP 18) = seconds
Damage (level 2 & 3) = (MP * 2) 6
Breakdown:
The higher forms don't seem to absorb more damage, rather they add more functionality. I've never personally had to actually use this in any fight, but it could come in handy I guess, especially if you're under-leveled.
Summons
 Summons: Give me strength! |
Summons are at the bottom of your magic menu. Summons cost a certain amount of MP to bring to the field, and they take the place of both your other party members.
They are obtained throughout the game, sometimes through special events, but more so you have to find the summon gem and take it to the Fairy Godmother in Merlins house.
The time limit on summons can be calculated:
seconds = (MP cheers) * 8||5
That is,
Number of seconds equals Sora's total MP plus the number of cheers equipped to the party multiplied by either 8 or 5
Any one summon can only be called once per battle regardless of any other circumstance.
I personally do not find summons worth the cost or time. Cool as they may be, they just aren't worth it.
Lets look at the individual summons.
 --== Simba ==-- |
Cost: 2 MP
Time: seconds = (MP cheers) * 8
Found:
Talk to Leon in the Secret Waterway in Traverse Town after obtaining the Red trinity.
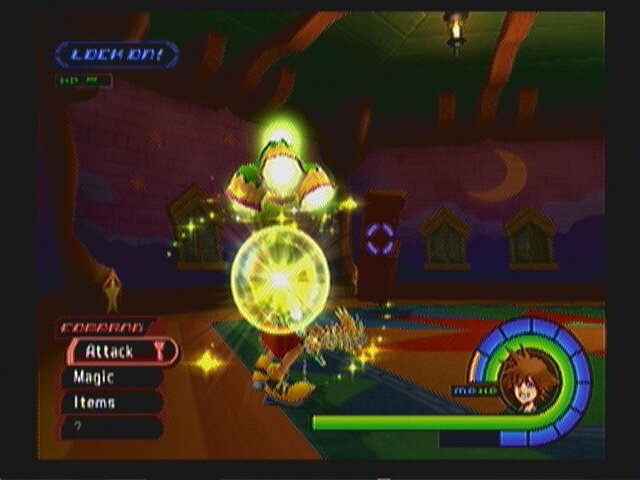
Attack: Proud Roar
- The bottom bar will read Charge Up. Press and hold X to start the charge. Every time Sora's Keyblade flashes, you've charged up one unit to a total of 6. Upon releasing the X button, every enemy currently on the map takes damage. The amount depends on how much you've charged up (all six units [a full bar] is near instant death for most enemies).
Breakdown:
You never face enough enemies for this to be worth while. Further, it takes forever to charge up a full attack, and you're totally vulnerable during that time. Further, if you get hit while you're charging, you lose the charge all together and have to start over.
 --== Genie ==-- |
Cost: 2 MP
Time: seconds = (MP cheers) * 8
Found:
Seal Agrabah's keyhole.
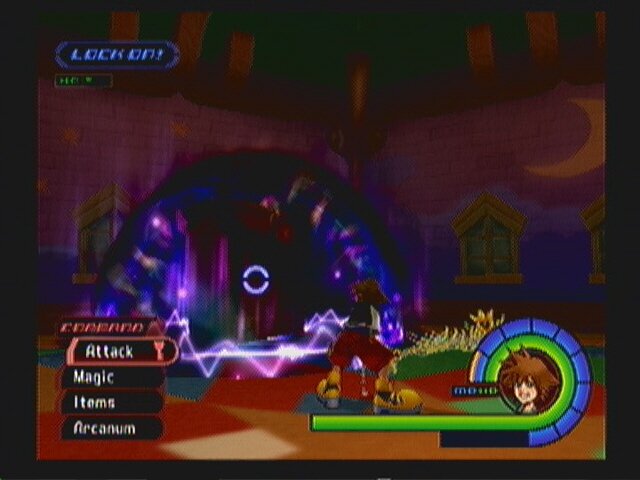
Attack: Showtime
- Lock on to an object (it doesn't matter what) and select Showtime. Genie will cast random magic attacks on all enemies within viewing range.
Breakdown:
The one big problem with this is RANDOM magic attacks. He just randomly spams all available magic, only in it's weakest (level 1) form. Now, he does do this at no cost to you, but still. And the targeting seems messed up, as sometimes he'll get stuck attacking an inanimate object for the entire attack.
 --== Dumbo ==-- |
Cost: 3 MP
Time: seconds = (MP cheers) * 5
Found:
Chest in Monstro's mouth.
Attack: Splash
- Dumbo shoots a vortex of water out his trunk doing fair damage to everything it hits.
Breakdown:
Dumbo isn't bad in that he allows you to fly. When on Dumbo you can fly just like in Neverland (circle is up and square is down). You're invincible while riding him to boot. This attack leaves a little to be desired (not that powerful, it drains his MP gauge, and it's kind of hard to hit with), but not bad. Dumbo cant be dismissed however. You have to drain his MP gauge.
 --== Bambi ==-- |
Cost: 1 MP
Time: seconds = (MP cheers) * 5
Found:
Complete Pooh's Honey Hunt in the Hundred Acre Woods.
Attack: Item Drop
- Prances around the field dropping MP/HP/Munny. The more enemies you defeat, the more his charge gauge fills. When his gauge is full, Bambi will drop rare items. The more times you charge it, the better the items, up to the third charge being Shards and Gems.
Breakdown:
Bambi MOSTLY drops MP balls, which aren't all that useful, but it does fill you up for more then what it cost to summon him and then some if you need it. Though, the battles where you might need so much MP (like the coliseum or during the Phantom fight) you cant summon him. The charge gauge is very very hard to fill, and you don't start getting much of a pay off till you fill it the third time, even then its only a 40% chance of being a Gem.
 --== Tinker Bell ==-- |
Cost: 3 MP
Time: Till dismissed or revives Sora
Found:
Seal Neverland's Keyhole.
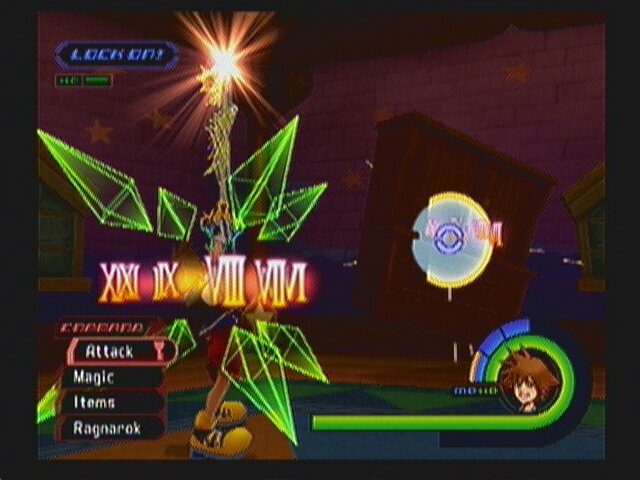
Attack: Restore
- Heals all party members one at a time, for about 2 seconds a piece. She can fully revive Sora from a fatal hit, but only once per summon.
Breakdown:
Tinker Bell is the more useful summon. She doest cost anything extra, not even party members, and she'll continually heal all your party for until the battle is over. She'll even revive you once. I've actually considered summoning her for several battles, including Maleficent and Kurt.
 --== Mushu ==-- |
Cost: 3 MP
Time: seconds = (MP cheers) * 8
Found:
Defeat Dragon Maleficent.
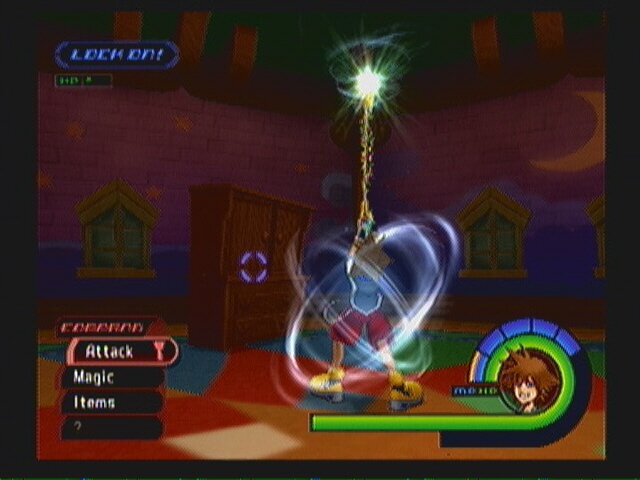
Attack: Fire Breath
- Select and hold Fire Breath for Mushu to fire off a machine gun of fireballs.
Breakdown:
There is a delay between starting and stopping the attack, but the cost for continuous fire is his MP gauge goes down faster. Mushu isn't a bad summon, but his fire is pretty weak and can at best distract a boss.
PS2 Index
i've been using both bambi and tinkerbell as my regular summons, having used tinkerbell in the boss fights as above has stated "is the absolute est thing you can do" that statement is pretty much accurate to the letter, though bambi in traverse town (before rescue) is amazing as in district 3 can net you 4 mega-potions and 1 hi-potion along with the drops the enemies have naturally (lucky strike and lady luck are useful to heighten the rates). though since the rescue up until a level where i'm comfortable with not getting hurt so much (required items not yet met for my build) i have been using tinkerbell for a large portion but not yet tested bambi out on my runs, so will probably put a later post up to let others know the responses.
i'm surprised that you under-rate a lot of the summons, the temp-invulnerability given by dumbo to run, the spell spams from genie, i use these regularly (though the drawback of genie is correct). however if sora is attacking for majority then agreed.
you need to beat the dragon at hollow bastion then talk to the fairy god mother
how do u get mushu
you are right
You might not have gotten Cura.
I talked to aerith and she only gave me the reports not curaga. What did I do wrong?
I just want to say, Tinkerbell in every single boss fight is the absolute best thing you can do. Pull out right at the beginning and she will heal you till the end. It's a full fight hot plus revive that you don't have to lose anything for.
Also, when going into big maps, Bambi drops MP balls so fast it is impossible to not be full magic at all times, meaning, you can spam your spells like crazy!!!! constant Thundaga with bambi out will aoe everything, don't target anyone and it just hits around you. Get in the middle of a group and you can drop group after group and quickly charge bambi's bar while staying full health, mana, and getting free potions, elixers, and possible gems and such. I feel that one or the other should be summoned every single fight.