The Cavaliero
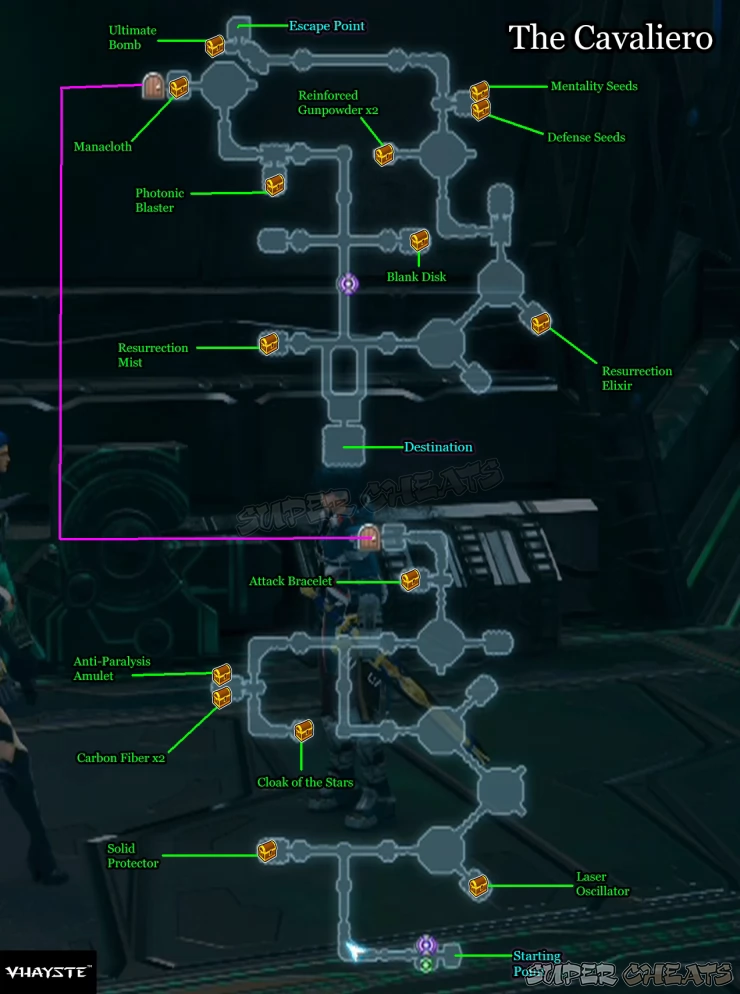
You’ll be thrown in a middle of an enemy group as soon as you get transported inside the ship, Defeat them then use the healing point and save point to the right if you need to. Continue north and take out the next set of enemies along the catwalk. Once done, loot the container to the left that has a Solid Protector inside.
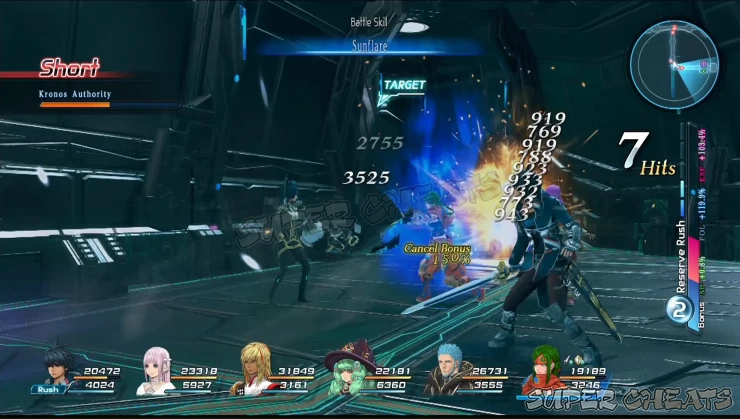
Head to the east and defeat the next group of enemies there. Loot a Laser Oscillator from the container in the small room to the southeast. Exit the room and continue to the next group of enemies to the northeast. You’ll encounter Toy Soldier enemies here that resemble the agile and backstabbing scumbags. You can farm Carbon Fibers from them, which is kinda rare at this point. Just use the ocarina specialty to respawn them.
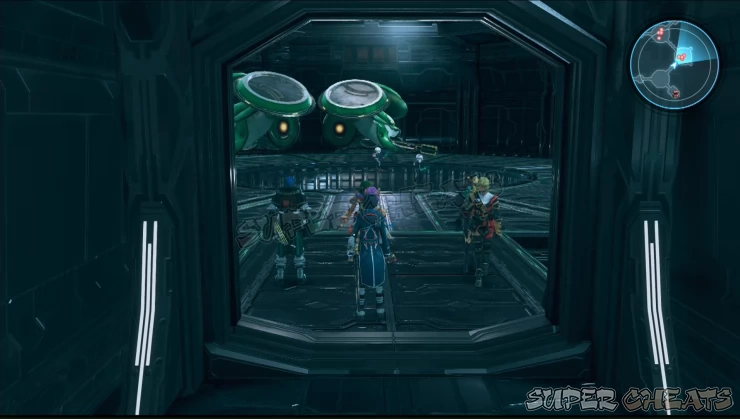
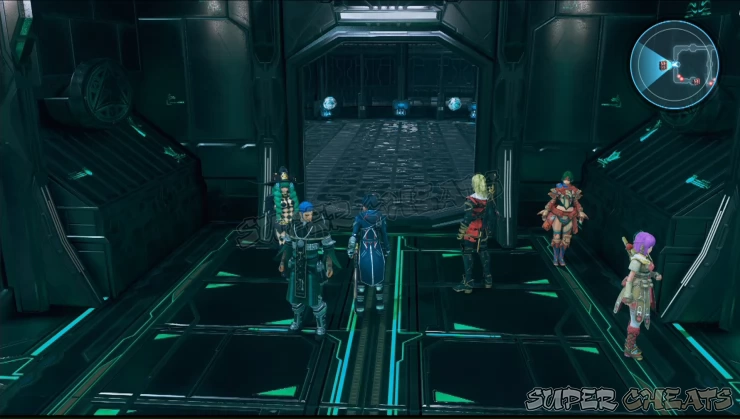
Clear the next two rooms until you reach the narrow catwalk in the middle. Take the path to the left first and clear the way to reach a small room containing an Anti-Paralysis Amulet and Carbon Fiber x2. Continue to the dead end to get a Cloak of the Stars. Backtrack to the intersection and head east this time. Fight your way through the next room then collect the Attack Bracelet from the chest in a small room to the left, along the way. Defeat the last two enemies there then use the teleporter to reach the northern half of the map.
Get the manacloth in the same teleporter room then defeat the Guardian Beast in the next room. Continue along the narrow corridor then loot the Photonic Blaster along the way. Follow the path until you reach the catwalk in the middle. Loot the Blank Disk from the container in the small room to the east then head south to use the savepoint. Continue south afterwards to learn that one of the twins is located inside the room ahead and the other one is in the shuttle.
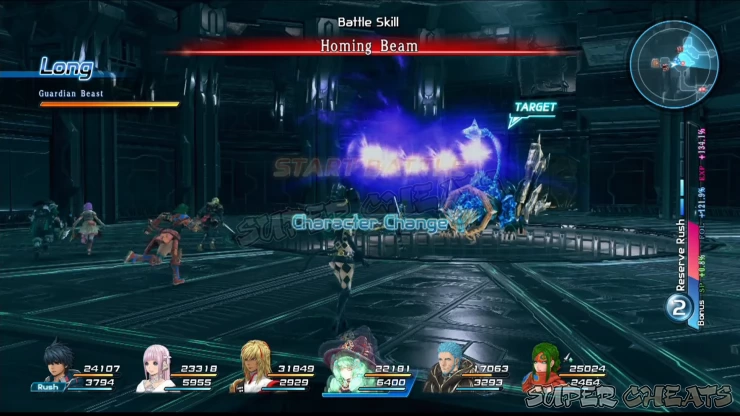
Before heading there, loot the Resurrection Mist from the container to the west. Once done, head south and fight off the large group of Kronos personnel there. After defeating the group outside, head inside the find Relia. Approach them until Victor successfully rescues Relia out from nowhere. Once done, eliminate all the enemies and Relia will join your party once again. Set the non-combat roles and equipment to her then leave the room. You’ll learn that a silent self-destruct sequence has been initiated and that you only have around 27 minutes to escape the area. You can’t use the savepoint now so move to the northeastern path.
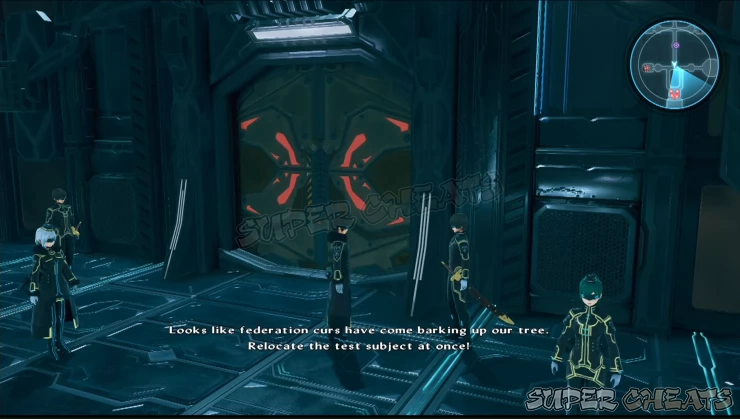

Clear the two round rooms then loot the Resurrection Elixir inside a small room to the southeast of the second round room. Proceed north until you reach a round room with a couple of Eliminators. Defeat them and loot the Reinforced Gunpowder from the small room to the west. In the following room to the north, loot the Defense and Mentality Seeds from two containers before pressing forward.
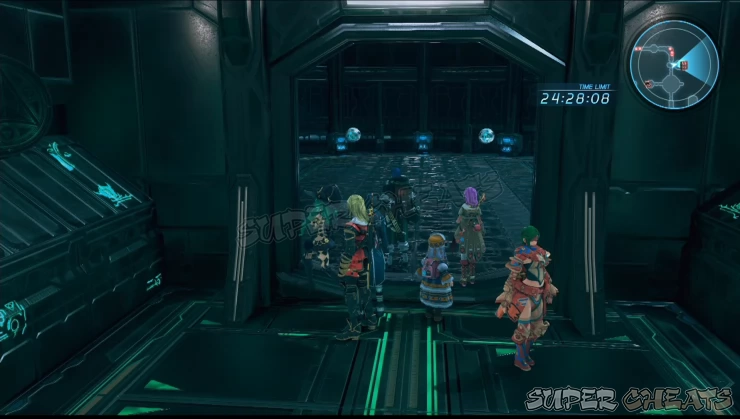
Moving on, default the last set of enemies along the way then grab the Ultimate Bomb in the corner. Finally, exit through the cargo hatch to trigger a cutscene. Mission complete.

Anything missing from this guide?
ASK A QUESTION for Star Ocean 5: Integrity and Faithlessness
Comments for The Cavaliero
Add a comment
Please log in above or sign up for free to post comments- Basics
- Walkthrough - Chapter 1
- Walkthrough - Chapter 2
- Walkthrough - Chapter 3
- Walkthrough - Chapter 4
- Walkthrough - Chapter 5
- Walkthrough - Chapter 6
- Walkthrough - Chapter 7
- Walkthrough - Chapter 8
- Walkthrough - Chapter 9
- Walkthrough - Chapter 10
- Walkthrough - Chapter 11
- Walkthrough - Chapter 12
- Sidequests
- Maps
- Optional
- Battle Skills
- Roles
- Specialties
- Creation Menu
- Item Creation
- Encyclopedia
- Trophies
 Join us on Discord
