Breakthrough
Alcazar of the Golden Age
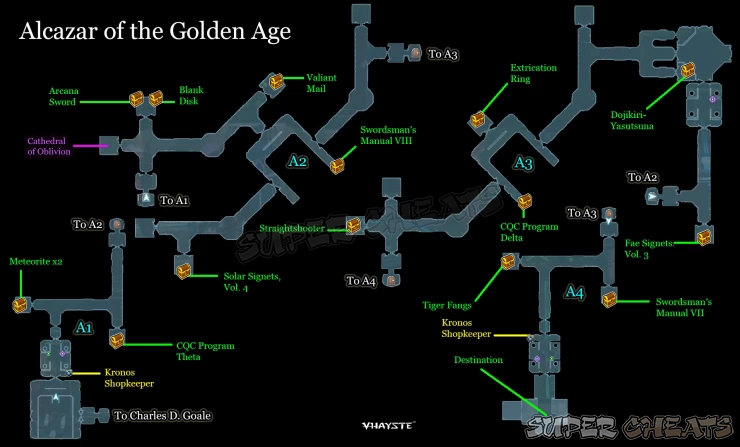
A1
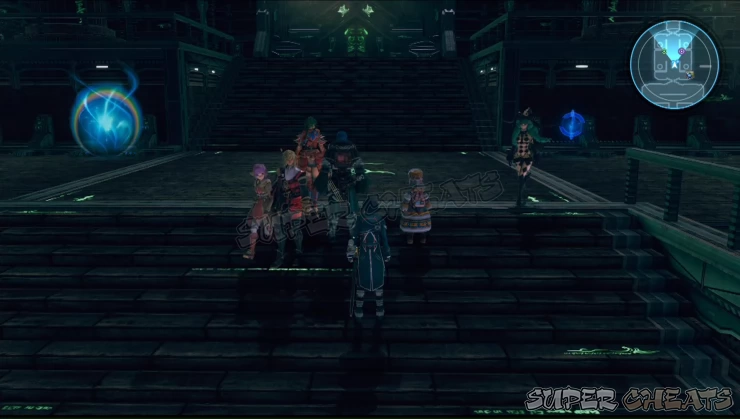
Go upstairs and you’ll find a shopkeeper on the immediate right. He sells various medicines and equipment. They can be upgrades if you didn’t spend much time farming Materials and Crafting your own powerful equipment. There’s also a savepoint and healing point after the first set of stairs.
Continue to the north and take out the first set of enemies. Head to the left to find a chest in a small room. Loot Meteorite x2 from it. Now head east and eliminate the next set of enemies then loot the CQC Program Theta from the chest in the small room to the south.
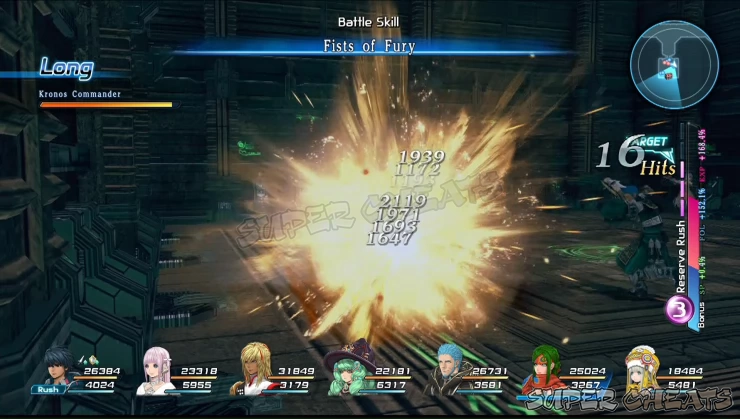
Tip: Kronos Commanders drop Heroism Potions which can be used to augment Weapons with +30% Critical. This is a good upgrade for heavy hitters like Anne or critical builds like Emmerson. Head north this time then use the transporter to reach the next area.
A2
Clear the first group of enemies ahead then loot the chests in the northern room to get an Arcana Sword and Blank Disk. Continue along the main hall then get the Valiant Mail in the room to the northeast. Backtrack then head southeast this time. In this large hall, head south first then enter the doorway leading southwest. There’s a chest containing a Solar Signets, Vol. 4 from the chest in the small room to the south.
Backtrack to the large hall with the Kronos shuttle/ship then loot the Swordsman’s Manual VIII in the dead end past the door leading northeast. Continue forth and fight your way through the next hallway until you reach the transporter to reach the next area.
A3
Head south to obtain Fae Signets, Vol. 3 from the small room. Head north this time to reach a savepoint. Heal up and save then proceed to the next room. You’ll be facing a mini-boss called the Shrouded Gaze at this point.
The Shrouded Gaze has dangerous moves against melee fighters that can deal multiple damage at once and also cause paralysis to multiple targets so it will be better to manually control your ranged characters. Like always, you can have Fiore cast Sacred Pain to inflict elemental weakness to it and when your melee fighters are paralyzed, have Miki heal them while using basil to lessen their downtime. The boss also has a ranged beam attack, which seems to be a staple move for this enemy type. Overall, the battle shouldn't be that hard.
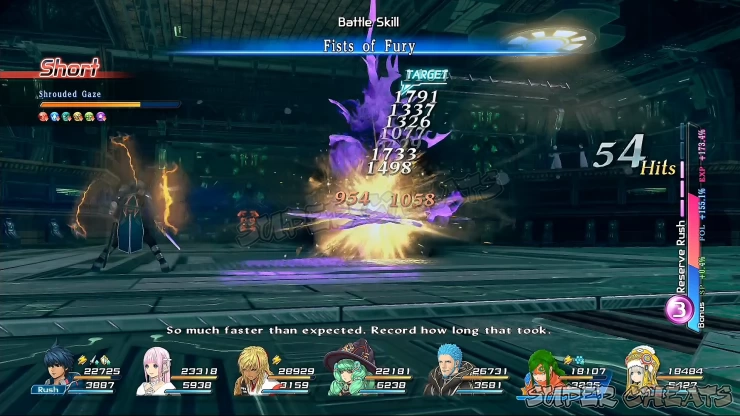
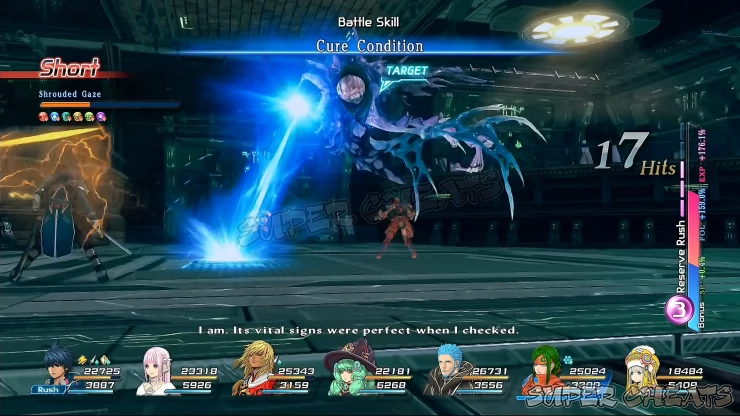

After defeating the mini-boss, leave the room to the left then turn left/south to reach the chest in the previous room containing a Dojikiri-Yasutsuna for Victor.
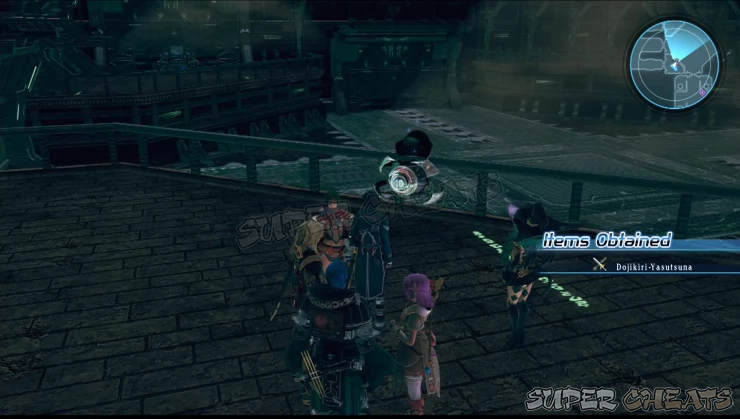
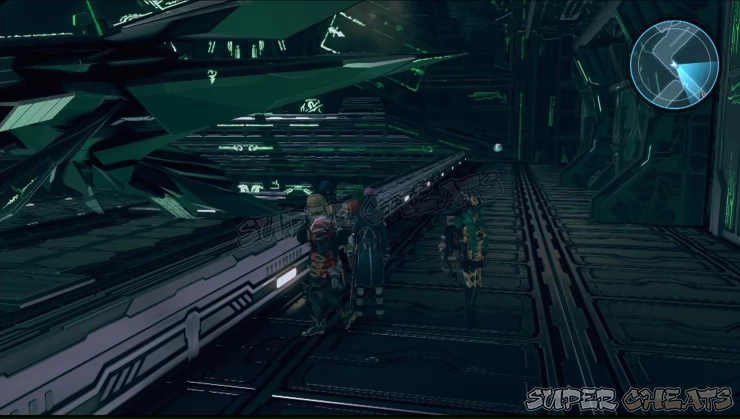
Backtrack then follow the main path while clearing it of enemies. Upon reaching the shuttle bay, enter the small room to the northwest to get an Extrication Ring. Leave the room then loot the CQC Program Delta from the container in the dead end past the doorway to the southwest. Continue along the corridor to the southwest then loot the Straighshooter from the small room to the west. Now head south and take the transporter to the next floor.
A4
Head south and get the Swordsman’s Manual VII from the small room. Head west this time to get the Tiger Fangs from the room at the end. Head to the next room to the south where you can resupply from the friendly Kronos shopkeeper. There’s also a healing point and savepoint. Make the necessary preparations then head to the next room for another battle.
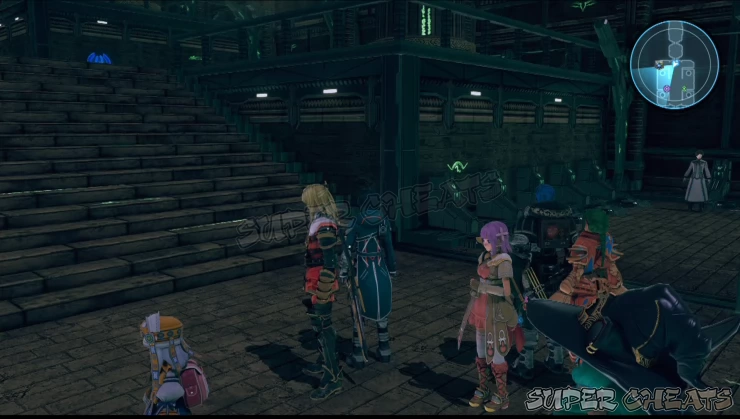
This time, you'll be facing Feria's clone. She belongs to the humanoid enemy type which makes the Warrior slayer role very effect against her. Like the previous boss, she has a short-ranged, area-of-effect move that damages everyone around her and knocking them down. Fortunately, she doesn't seem to switch targets so your ranged characters are relatively safe as long as you keep them at a safe distance. Miki will keep everyone alive as long as you have set dedicated Healing Roles on her. Feria's clone doesn't seem to have one-shot or heavy-damaging spells/moves so you shouldn't have problems keeping your attackers alive.
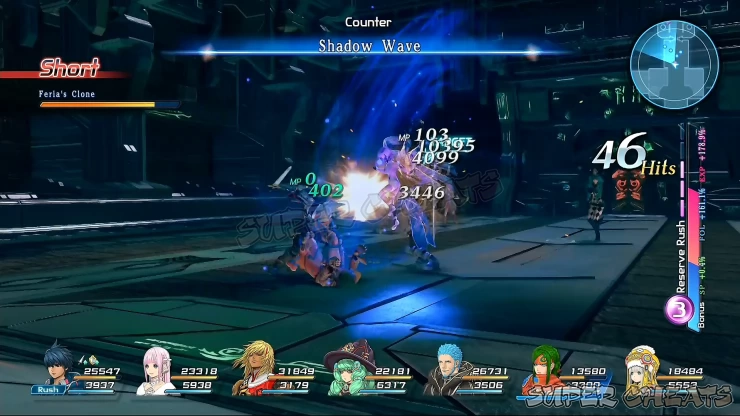
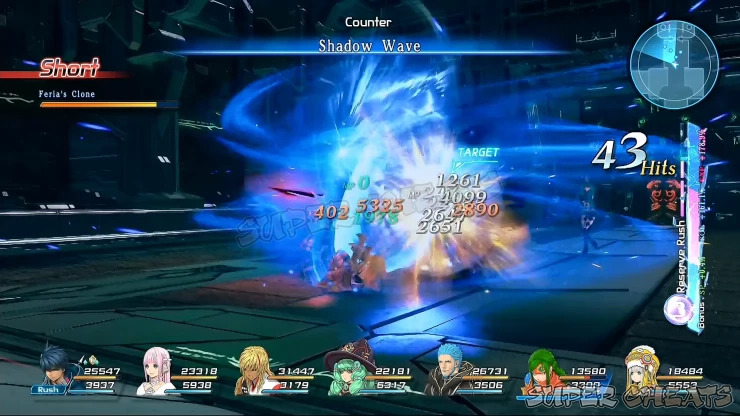

After the battle, you'll be transported to another location, this time, followed up by another boss battle.
Anything missing from this guide?
ASK A QUESTION for Star Ocean 5: Integrity and Faithlessness
Comments for Breakthrough
Add a comment
Please log in above or sign up for free to post comments- Basics
- Walkthrough - Chapter 1
- Walkthrough - Chapter 2
- Walkthrough - Chapter 3
- Walkthrough - Chapter 4
- Walkthrough - Chapter 5
- Walkthrough - Chapter 6
- Walkthrough - Chapter 7
- Walkthrough - Chapter 8
- Walkthrough - Chapter 9
- Walkthrough - Chapter 10
- Walkthrough - Chapter 11
- Walkthrough - Chapter 12
- Sidequests
- Maps
- Optional
- Battle Skills
- Roles
- Specialties
- Creation Menu
- Item Creation
- Encyclopedia
- Trophies
 Join us on Discord
