Subterranean Secrets
Trei’kuran Dunes
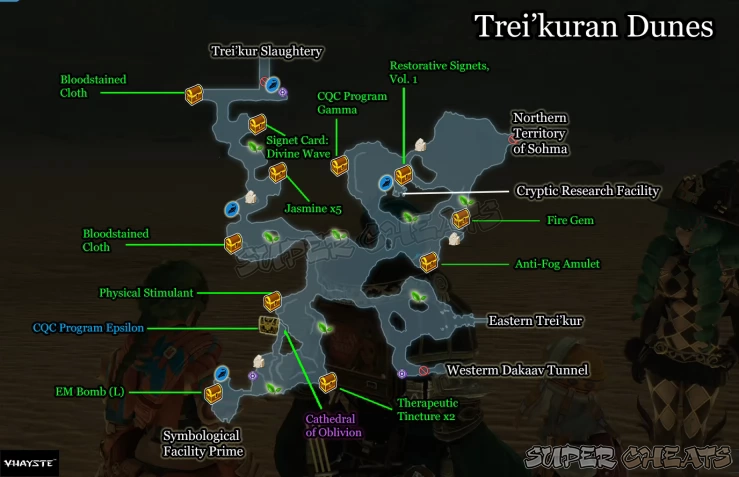
Head to the marker to the southwest and save your game. Head to the empty area and loot the EM Bomb (L) from the chest and interact with the fishing point while Anne is locating the source of the energy wave. Investigate the distortion near the rock walls to the south. Anne will attempt to hack the cloaked entrance and at the same time, enemy soldiers will warp in to interrupt her.
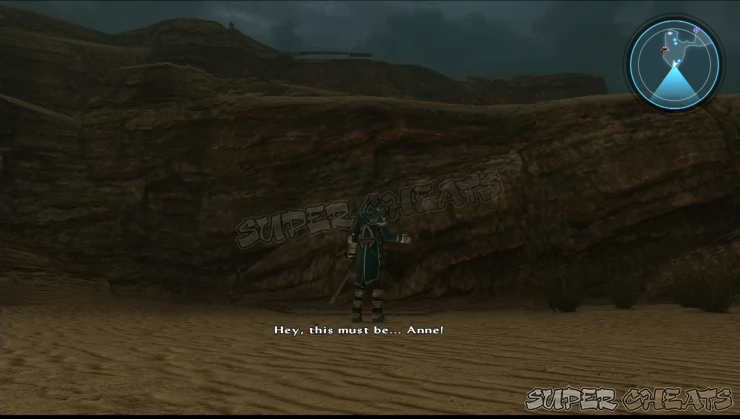
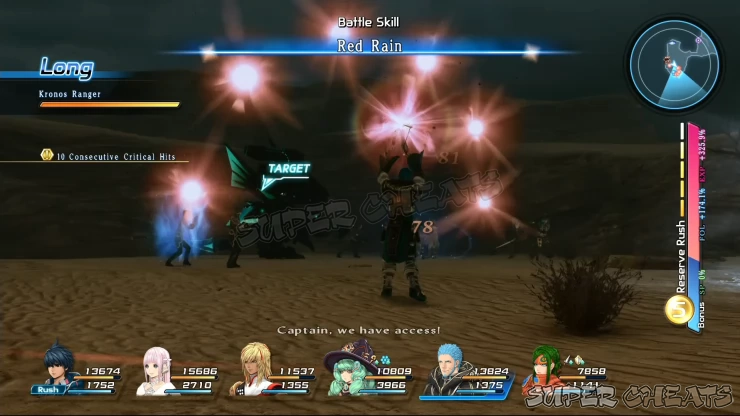
Like your previous tour in the hidden facility earlier, you have to protect Anne from any harm. Continue protecting her and Miki so that she can keep healing Anne. The enemies will keep pouring in, including a large bipedal mech called a Phantom Dragoon. Keep thinning the enemy numbers, especially those close to Anne until she successfully opens the door to the facility.
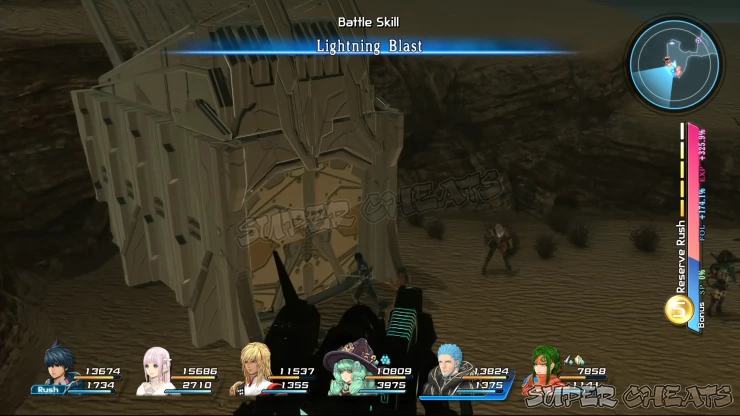

Symbological Facility Prime
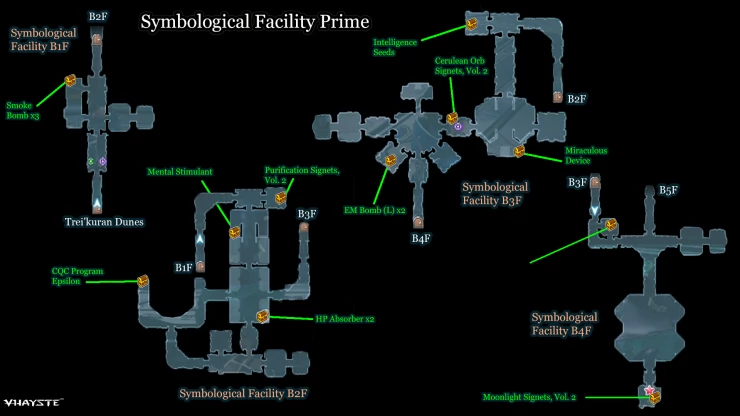
B1F
This area has human and mechanical enemies so equip your attackers with the Machine and Warrior Slayer roles if you already have them unlocked. You’ll start in B1F where there’s a healing point and a savepoint. Use them then go to the next hallway. Defeat the enemies there then loot the Smoke Bomb x3 from the room to the left. Ignore the empty transporter to the right for now so just head north to B2F.
B2F
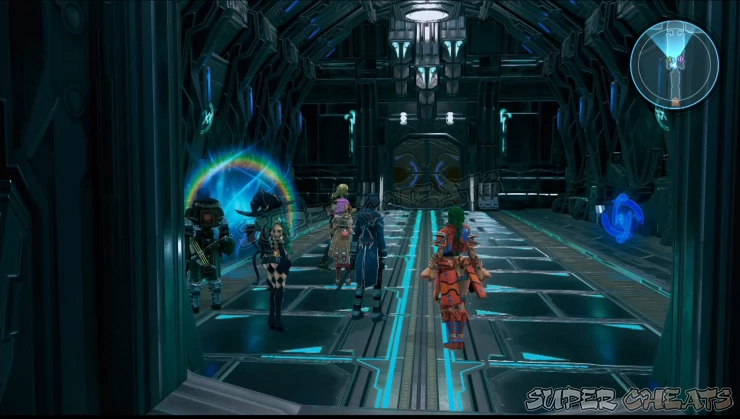
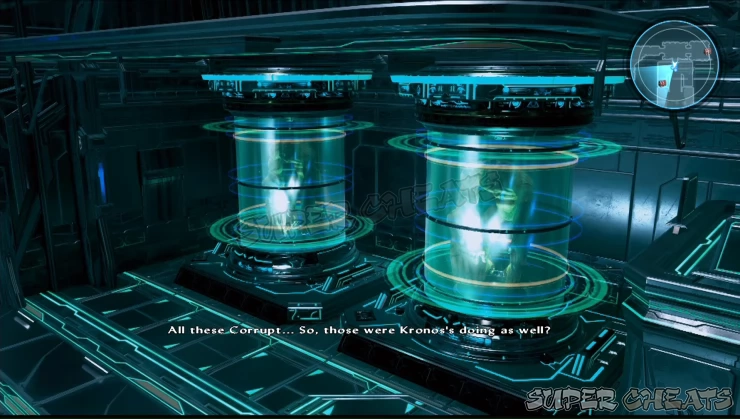
Fight your way around the corner then get the Purification Signets, Vol. 2 from the container in the rightmost room. Next, enter the large room in the middle to find some experimental beasts in capsules. Loot the Mental Stimulant from the chest in the corner beside the ramp.
Continue south to the next room then loot the container to the southeast to get HP Absorber x2. There are three doors so take the one to the west and follow the path until you reach a dead end with another container with a CQC Program Epsilon. You can clear the enemies in the southern corridor if you want; otherwise, return to the main room in the middle then go through the door to the east leading to B3F.
B3F
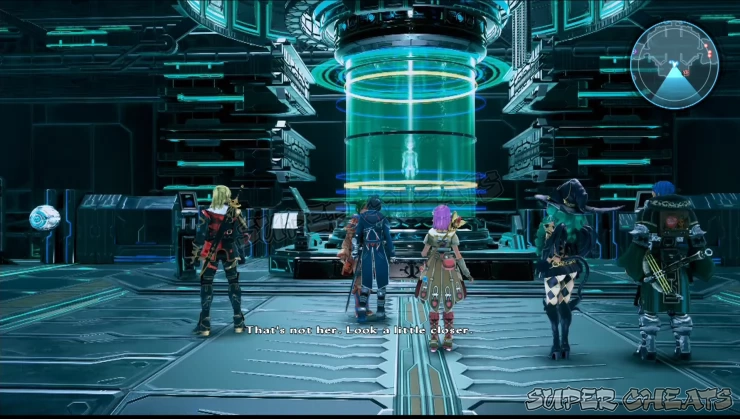
Follow the path then loot the Intelligence Seeds from the container in the leftmost room. Head south this time and approach the experimental child in the middle. Loot the Miraculous Device from the container beside her. The room to the right contains Seventh Core enemies only so you can ignore them if you want.
Continue to the left to find a savepoint and a container with Cerulean Signets, Vol. 2. Save your game and head to the next room. Go to the control terminal to the north and once again, you’ll have to protect Anne while she’s operating the terminal.
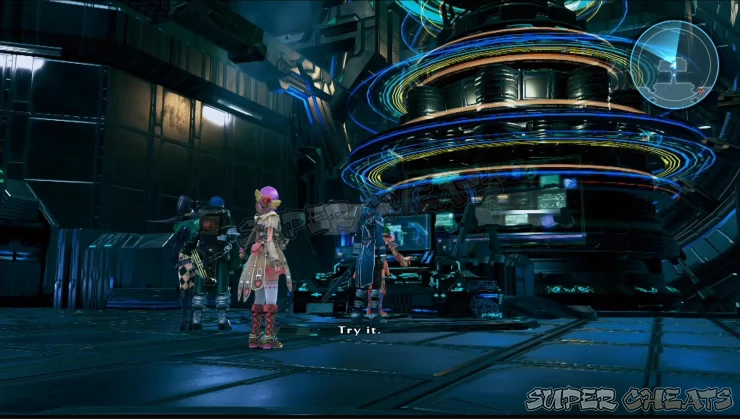
Prioritize taking out the enemies that will enter the terminal room and attack her. If possible, control either Fidel or Victor so you can easily attack enemies and select your targets. The enemies will most likely ignore Fiore and Miki so you don’t need to worry that much about them. Keep defeating the enemies until Anne successfully finishes the hacking.
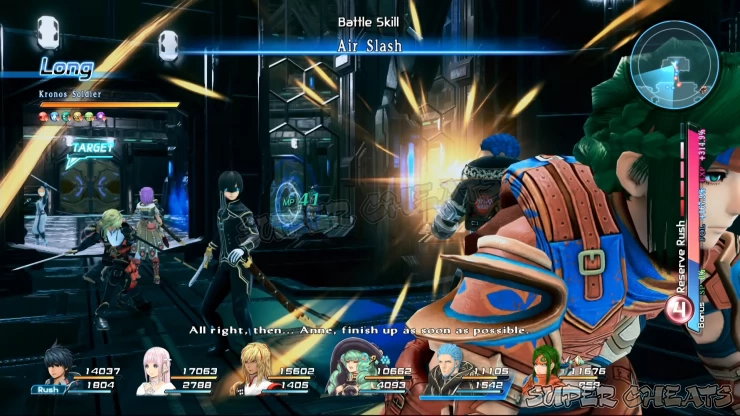

Before pressing on, don’t forget to loot the EM Bomb (L) x2 from the chest inside the small room to the SW. Continue south to B4F this time.
B4F
Loot the MP Absorber x2 from the small terminal room to the immediate left then head to the large hall to the south. There’s a large drone there called a Destroyer with some Kronos rangers so make your preparations and engage them in battle.
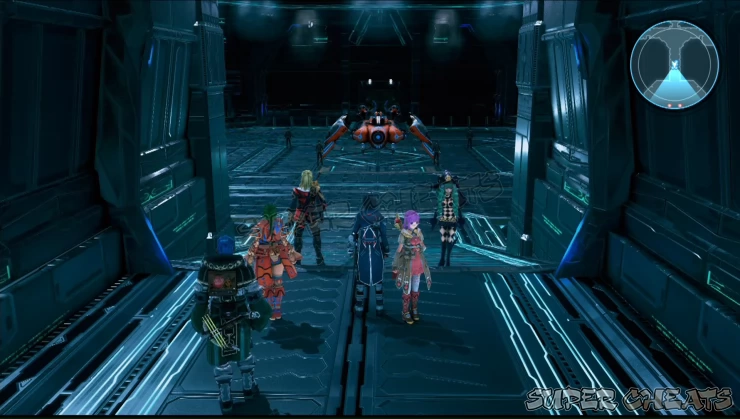
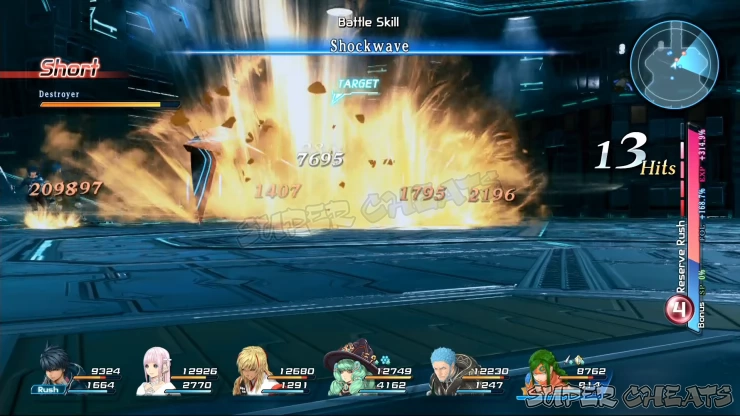
Take out the rangers first and if you have set your roles right, Miki and Fiore will automatically get out of danger and stay at a distance to heal and attack with Signeturgy. The boss powerful area-of-effect attacks that can knock down your characters so prepare to take the brunt of the attack and keep on the offensive. You can also finish off the boss with a Reserve Rush if you need to. The machine slayer role will do a great job in keeping your main attacker at an advantage against the boss.

After defeating the boss, head to the little room to the south to find Relia. Loot the Moonlight Signets, Vol. 2 from the chest in the same room then use it on either Fiore (learn Vampiric Blade) or Miki (learn Arcane Weapon). Since Relia also joined the party again, set up the non-combat roles and equipment on her again.
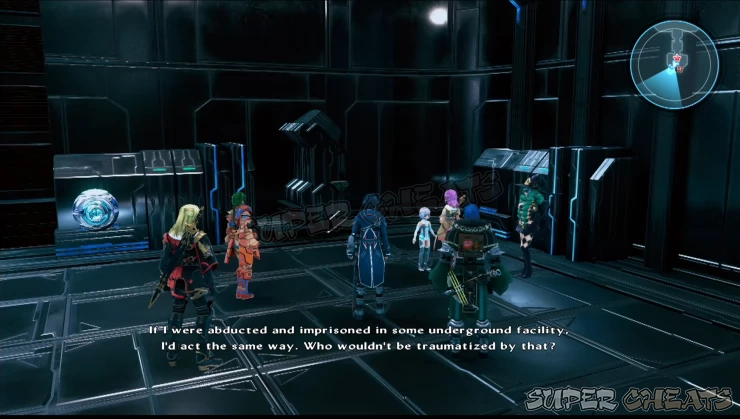
There’s a B5F level in this map but you can’t access it yet during this part of the story. Emmerson will tell you to use the transporters located in each floor which are also conveniently marked in your map. Head to the transporter to the NE of the floor then operate it to get back to B1F. Once done, leave the transporter room and clear the corridor. Use the healing point and save point then leave the facility.
Trei’kuran Dunes
Once outside, more Kronos soldiers will arrive. Defeat them then make your way back to Eastern Trei’kur. The normal enemies here will be replaced by Kronos soldiers so fighter your way back to the town for supplies and much needed rest.
Anything missing from this guide?
ASK A QUESTION for Star Ocean 5: Integrity and Faithlessness
Comments for Subterranean Secrets
Add a comment
Please log in above or sign up for free to post comments- Basics
- Walkthrough - Chapter 1
- Walkthrough - Chapter 2
- Walkthrough - Chapter 3
- Walkthrough - Chapter 4
- Walkthrough - Chapter 5
- Walkthrough - Chapter 6
- Walkthrough - Chapter 7
- Walkthrough - Chapter 8
- Walkthrough - Chapter 9
- Walkthrough - Chapter 10
- Walkthrough - Chapter 11
- Walkthrough - Chapter 12
- Sidequests
- Maps
- Optional
- Battle Skills
- Roles
- Specialties
- Creation Menu
- Item Creation
- Encyclopedia
- Trophies
 Join us on Discord
