Farm
Wolfenstein Walkthrough and Guide
Wolfenstein Guide - Walkthrough
Farm
Set “Find the Golden Dawn Safe House” as your active mission and follow the marker on your compass to the Golden Dawn Safe House in Midtown East. There, speak to Leonid Alexandrov, who will direct you to a Tavern.
Follow the marker on your compass to the Tavern in Midtown West. After the cutscene, follow the signalling man into the back room and speak to him for a briefing. You can purchase ammo and upgrades for your weapons by speaking to the other man in this room. Provided you have the cash and have collected at least two Tomes of Power, consider purchasing the Inner Light upgrade ($1500) for your Veil to increase your Veil Energy pool.
Make your way to the mission start point in Midtown East and use the truck there to travel to Farm.
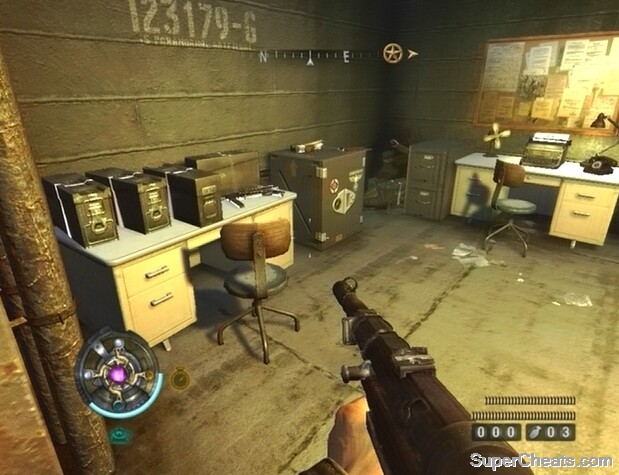
Objective: Search the area.
Cross the stream west of the truck and blast the Nazis in the field. Crouch behind one of the barrels of hay and use your Kar 98 to pick off the enemies in the farmhouse further up. Killing distant enemies is made much easier if you’ve purchased the Sniper Scope upgrade for the weapon. When the stables are clear, make your way over there and head inside. Look for a ladder along the first wall and climb up; GOLD (1/19) is in a container at the other end of the attic.
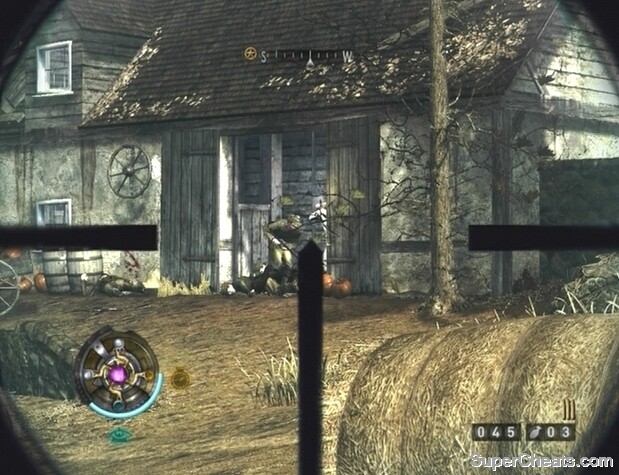 The Sniper Scope upgrade for the Kar 98 is essential for sniping distant enemies. |
Leave the farmhouse and approach the road behind it. There’s an MG42 gunner at the other end, so activate Mire and use your Kar 98 to take him out. When the gunner is down, stand just where the road begins to curve north and look south. Hop over the fence along the side of the road, switch on Veil Sight, and look around for a red panel; shoot the red panel to uncover TOME (1/2). GOLD (2/19) is on the ground next to the mounted MG42 at the other end of the road.
When you have the Tome of Power and Gold, continue down the road. A truck full of Nazis will soon appear; toss a couple of grenades at the truck when it comes to a stop to kill the passengers before they can even get a shot off. There’s another MG42 gunner behind some sandbags further west, so switch on Mire and headshot him with your Kar 98.
With the gunner dead, continue west down the road and keep an eye on your left for a building. Approach the building and use Veil Sight to move through the Veil Door on it. Look for a ladder along the west side of the dividing wall and climb up. Look below the window on the northwest side of the attic for GOLD (3/19) and GOLD (4/19).
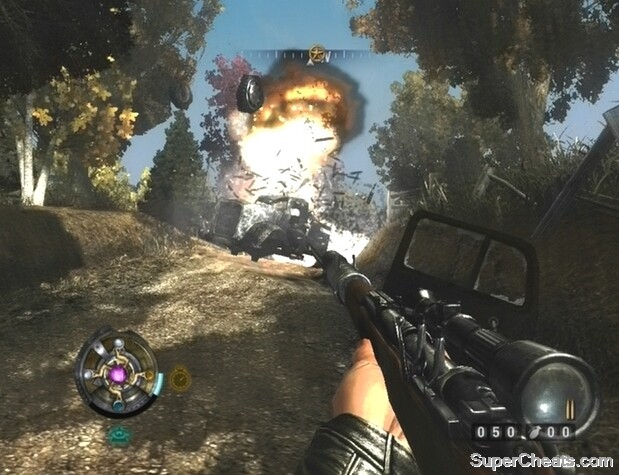 Toss a grenade or two when the truck comes to a stop to kill the Nazis in the back. |
After collecting the Gold, exit the building through the Veil Door and continue heading west. Another enemy may have taken control of the MG42; if so, be sure to pick him off before continuing on.
Objective: Investigate the Farmhouse.
Enter through the backdoor of the farmhouse along the north side of the road. Upon entering, head through the doorway at the other end of the room and then turn through the doorway on your right. Look for INTEL (1/5) on the table along the west wall of this room, and search the cabinet by the windows for INTEL (2/5). GOLD (5/19) is in the closet next to the table along the west wall.
Return to the first room and head up the stairs to reach the second floor. There are sure to be enemies on this level, so be careful. At the top of the stairs, enter the room straight across and look for INTEL (3/5) on the desk along the north wall. The cabinet next to this desk holds plenty of Kar 98 and MP43 ammo. Head through the doorway next to the desk and then through the doorway on your left. GOLD (6/19) is under the bunk bed along the south wall of this room, and INTEL (4/5) is on the table in the northeast corner.
When you have the Gold and Intel, return to the previous room and activate Veil Sight to reveal a Veil Door along the north wall. Move through and cross the ladder to the upper level of the barn. Drop down to the first floor and look for GOLD (7/19) by the skids in the northwest corner.
 Drop down the trapdoor in the barn to reach the tunnels. |
Objective: Explore the Tunnels.
Drop down the trap door in the northeast corner of the barn and follow the corridor to the next room. There are sure to be plenty of Nazis in the opening area, so don’t just rush in there. Be ready with a grenade, and hopefully you’ll be able to clear out the majority of them. When the room is clear, collect GOLD (8/19) next to the bunk bed just before the doorway, and then continue on into the next area.
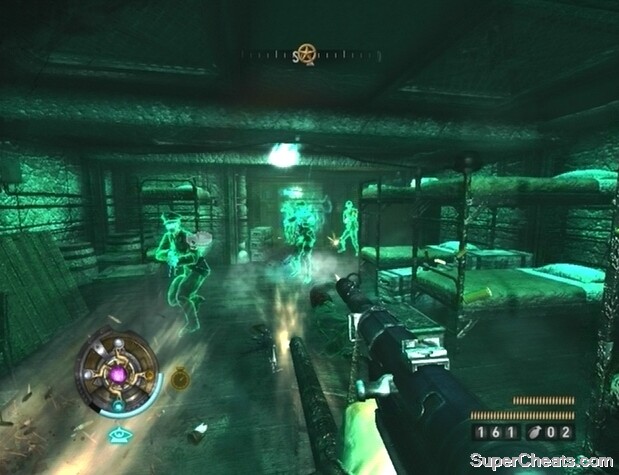
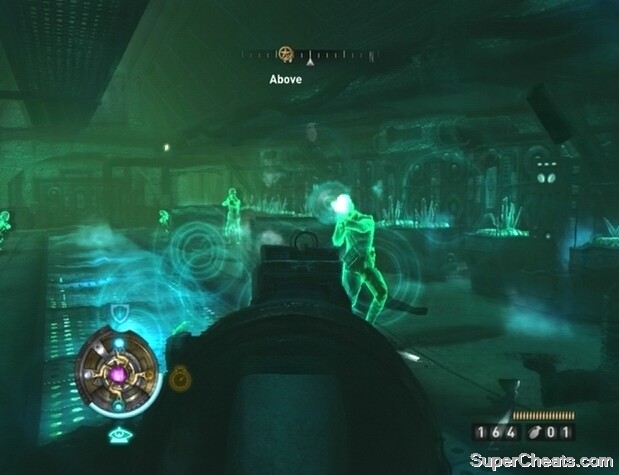
There are several soldiers and one or two Scribes in the next area. Try to headshot each Scribe while he is busy shielding the soldiers. If you can’t get past the shielded soldiers to kill the Scribes, try toggling Mire and rushing past them. When the area is clear, look for GOLD (9/19) on the ground next to the large, unbreakable crates along the north wall.
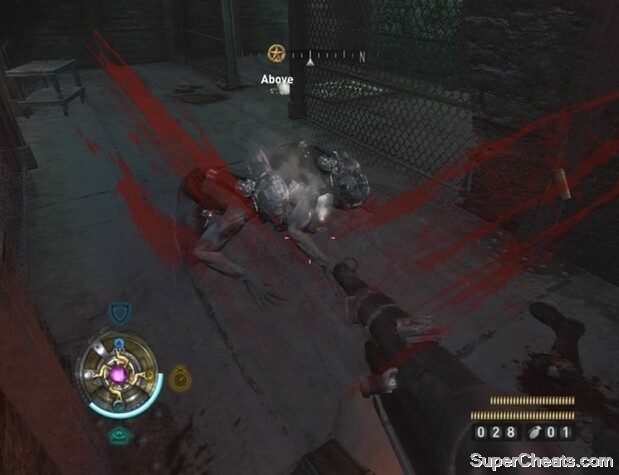
One of the soldiers in the next corridor is wielding a Panzerschreck (rocket launcher), so you definitely want to be able to use Mire to avoid being gibbed. There’s a Veil Pool at the east end of the previous area, so be sure to recharge your medallion before continuing on. Before turning the corner in the corridor, activate Mire. Then, turn the corner, run up the steps, and melee the soldier there to death. He shouldn’t be able to fire a missile, but just dodge to the side if he does.
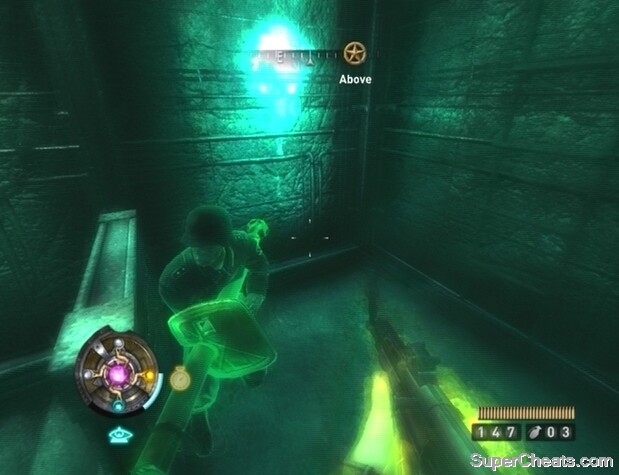 Use Mire to reach the Panzerschreck-wielding soldier before he gibs you. |
Climb up the ladder and look for GOLD (10/19) on the shelf before the Veil Pool at the other end of the room. Enter the next room and crouch behind the barrels of hay just past the door. Gun down the enemies here, prioritizing those on the upper walkway, and then head up the stairs at the other end of the room. Some enemies will come from the lift here; kill them, and then use the lift to travel to the Caverns.
Objective: Search the underground complex.
When you reach the caverns, climb up the ladder and start by gunning down the Nazis in the area below. Look for an explosive barrel and several enemies on a platform at the other end of the area; set off the explosive barrel there to wipe them out. There are more explosive barrels on the walkways below, so target those as well. Take cover behind the tanks up here to avoid taking enemy fire and look for GOLD (11/19) in the container behind them. Watch for thrown grenades as always, and toss them back if possible. If you have the Kar 98 Sniper Scope upgrade, use it to pick off the remaining enemies on the walkways below.
After clearing the walkways, drop down and make your way to the middle platform that has a pipe connected to it. Hop over the railing and onto the pipe. Walk up the pipe, jump onto the platform at the top, head through the doorway, and activate Veil Sight to reveal a red panel. Blast the panel to reveal TOME (2/2) behind it. With that, walk back down the pipe and hop back onto the walkway.
Collecting the second Tome of Power.
Make your way to the east end of the walkway and head through the door in the southeast corner. GOLD (12/19) is next to the machine in this room. When you have the Gold, leave the room and take the nearby steps down to the lower walkway. Proceed through the open double-door at the bottom of the second set of steps. Clear the next room of enemies, and then untie the bound agent.
Objective: Find a way down.
Look for INTEL (5/5) on the container in the northeast corner of the office in the middle of the area. Move through the shielded door when the agent deactivates it for you. Turn left through the open gate and activate Veil Sight in the next room to reveal a Veil Door. Move through the Veil Door and look for GOLD (13/19) at the foot of the locked door at the other end of the walkway.
Return to the previous hallway and walk down the steps. Step into the lift at the other end and use it to reach the lower level.
Objective: Descend to the next level.
Fight your way down the corridor until you come to a locked double-door. There’s a shielded gun nest at the other end of the corridor across from the locked double-door. To get past it, activate Veil Sight, rush into the corridor and look for a Veil Door near the start of the south wall. Move through the Veil Door and to the other end of the secret passage to reach the gunner. Kill the gunner and then return to the corridor through the Veil Doors.
Killing the shielded MP42 gunners in the Caverns.
Head to the other end of the corridor and blast the soldier and Veil Inhibitor in the next room. Jump over the railing around one of the pillars to drop down to the ground below the walkway. GOLD (14/19) is in the northwest corner of this area. When you have the Gold, climb up the ladder in the southeast corner to return to the walkway. Back on the walkway, approach the seemingly inaccessible double-door in the northwest corner and activate Veil Sight to reveal a Veil Door. GOLD (15/19) and GOLD (16/19) are on the table along the west wall of this secret area.
After collecting the Gold, return to the previous area and follow the marker on your compass into the next area. Fight your way across the bridge and proceed through the open double-door at the other end. There’s another shielded gun nest at the end of this corridor. Take care of this gunner the same way you did the last: activate Veil Sight, duck through the Veil Door along the east wall, walk to the end of the secret passage to get into the gun nest, and blast him. Look for GOLD (17/19) on the ground next to the mounted MG42.
Follow the marker on your compass to the double-door and enter the next area. Climb down the spiral steps to complete the objective.
Objective: Continue downwards.
Proceed through the doorway at the bottom of the steps and gun down the Nazis in the hallway. There is plenty of ammo for your weapons in the windowed office, so be sure to head in there to stock up. Head up the steps across from the doorway back to the spiral stairs and open the double-door. Fire at the enemies on and below the catwalk, taking advantage of any conveniently-placed explosive barrels, and make your way to the control room at the other end. Look for GOLD (18/19) on the ground between the two computers.
 Fill your weapons before moving on. |
When you have the Gold, return to the previous area and follow the marker on your compass. Make your way to the other end of the generator room and proceed down the stairs there.
Objective: Find the Crystal.
Follow the marker on your compass to a room with some scientists, and then proceed through the double-door. Use your Kar 98 to kill the Nazis on the bridge, along the adjacent walkway, and those closer up. When the area is clear, go to the south end of the walkway you are on; GOLD (19/19) is on the large, circular drum here. To get to it, hop on the railing along the walkway, then up onto the platform and over to the top of the drum. Open the container here to collect the Gold.
Cross to the other side of the bridge and open the door there. Use the switch to bring up the contraption that holds the crystal in the next room. Sprint to the other end of the room behind the switch and activate the machine to reveal the crystal. Pick up the crystal to gain the Shield Veil Power. The Shield power can stop enemy bullets and protect you from explosions that occur outside of it. Enemies can still melee you, however, and those within the protective ring can even shoot you, so don’t get too comfortable.
 The Shield Veil Power stops enemy bullets while still allowing yours to pass through. |
Achievement Tip -- Bubble Boy: You have unlimited Veil Energy while in this room, so stay at the back and allow the enemies to continuously fire at you until the Bubble Boy achievement or trophy is unlocked (block 1000 shots with Shield power). You can do the same for the Time Out achievement (use Mire for one hour total) if you feel like leaving the game for an hour.
Objective: Escape to the Surface.
Kill the enemies in this room with the Shield power active, and then disable it to conserve your Veil Energy. Follow the arrow on your compass back to the previous area and proceed through the passage that was previously blocked by a shield. Some monsters have been set loose in the facility, and a number of them will pop up from the open grates in the floor of the room you come to.
Sniffers can only swipe up close, so the key to killing a group of them unscathed is to keep your distance. Back away from the approaching creatures and fire at them; they don’t take much to kill. You can target the machinery strapped to their backs to cause them to explode. Keep moving and firing at the creatures and follow the arrow on your compass up some steps.
 Kill the Sniffers before they can get close enough to swipe you. |
An explosion will occur as you enter the generator room, so quickly clear the steps to avoid getting caught in the blast. Walk past the generators where there isn’t fire and blast any Sniffers that you see. Make your way to the steps at the other end of the generator room. There’ll be more explosions through this hallway, so quickly move through.
Objective: Escape the Caverns.
Head up the spiral steps and stop when you come to the malfunctioning computer. Activate Mire and move through when the streams of electricity disappear. Continue into the next room and move down the corridor until you come to stretch blocked by electricity. Use the Shield power to pass through unharmed. If you don’t have enough Veil Energy, there’s a Veil Pool through the gate just before the doorway.
Once you’re past the electricity, move to the end of the corridor to reach the next area. An explosion will destroy a section of the walkway here, but you can still jump to the other side. Activate Veil Sight, run and jump to the mid-section of the damaged bridge, and cross to the other side. Then, get to the lift at the other end and use the switch to ascend to the upper level.
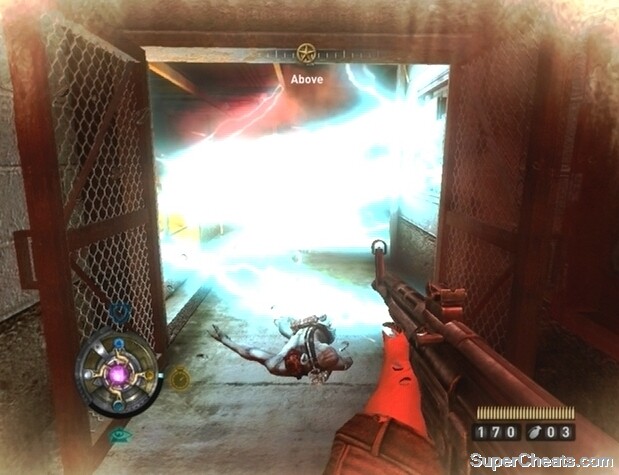 Use Shield to move through the electricity unharmed. |
Follow the marker on your compass to a train and hop on the car to take control of the MG42. Blast the Sniffers running allowing the tunnel walls, targeting the explosive barrels along the way, until the train exits the tunnel.
What are you talking about head down the West Road and look to your left for a veil door, i think you need to rewrite that, there's no part like you say after destroying the troop truck, the only veil door is upstairs in the middle building to go across to the north building.
if you picked up the bazooka at the bottom of the previous ladder and the elevator won't activate your program might be the problem.
How do I fix it
I have played the game on PC 5 times now and each time I get to the elevator in the farmhouse (after killing the two nazis in it), I push down the elevator lever and NOTHING happens. I have tried over and over from the beginning of the game and NOTHING happens when I try to activate the elevator.
Do I need to achieve something before trying the elevator to make it work? Do I have a faulty program? Can I dkip the level and move to the underground facilities without the elevator (a cheat)?
Thank you in advance,
Dr John Gagnon
How do you get in the locked doors in the little building on the bottom floor right before you get the mire crystal?
tttttttttthhhhhhhhhhhaaamks