31 - The Great Maze
Super Smash Bros Brawl Walkthrough and Guide
by SPV999
Super Smash Bros Brawl
Level 31: The Great Maze
NOTE: The Great Maze level is special. It plays as one level, but when you complete it and look at it on the map, it shows up as four levels, the four levels being the different purple teleportes, which I'll explain later.
If you exit back to the map while in the Great Maze (not quit, using a warp point to exit out) you can re-enter through any of the four warp points that you've already been to.
Enemies: All.
Boss: All.
Boxes: 17
Story Note
All that is about to happen (refighting old bosses, playing through snippets of old levels, ect) is possible because of the Subspace bombs. When the bomb went off, it doesn't destroy the area, rather it puts it in a time-space bubble, preserving it exactly how it is, and sometimes even turning back the clock.
That is how Wario was saved in the above story. He didn't die in the blast, rather he got pulled into another dimension.
Why you're here now is because Tabuu has surrounded himself with these bubbles, linking them together in Subspace. When you look at your map (described below) you see it as a flat surface, but really it is curved in an orb around Tabuu, with only one entrance to the center. You must fight through the bubbles to break the link and get to Tabuu.
You get to choose from all of your characters. You can change what characters you are using at some points in this level, so don't worry.
In the Great Maze, you must trek through condensed version of areas you've already been, as well as fight all of the boss fights again, and shadow versions of your characters.
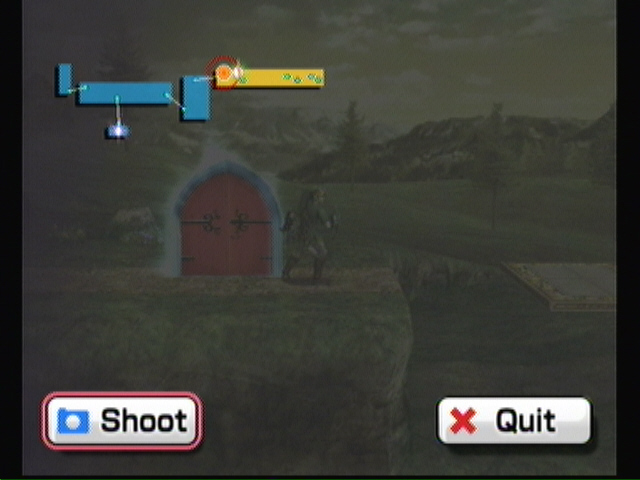
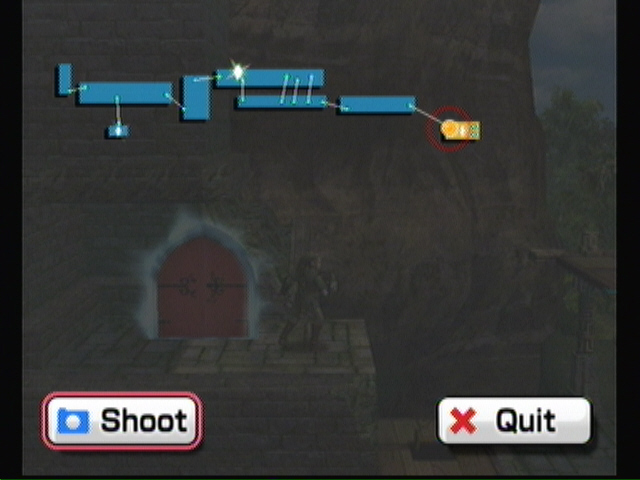
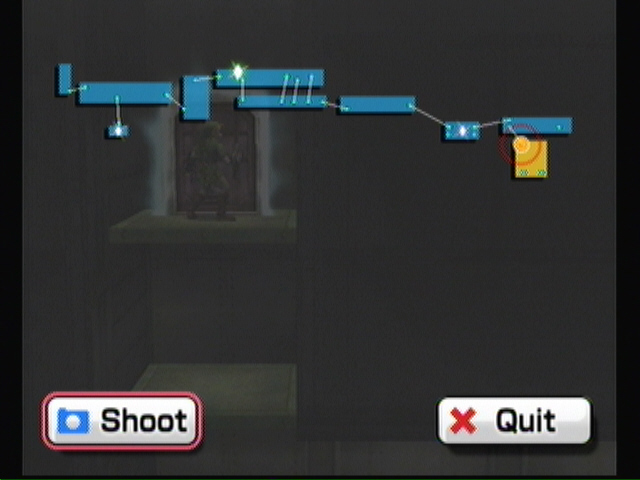
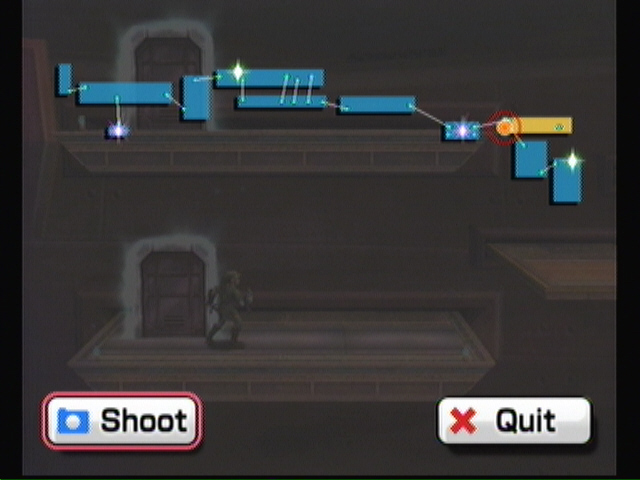
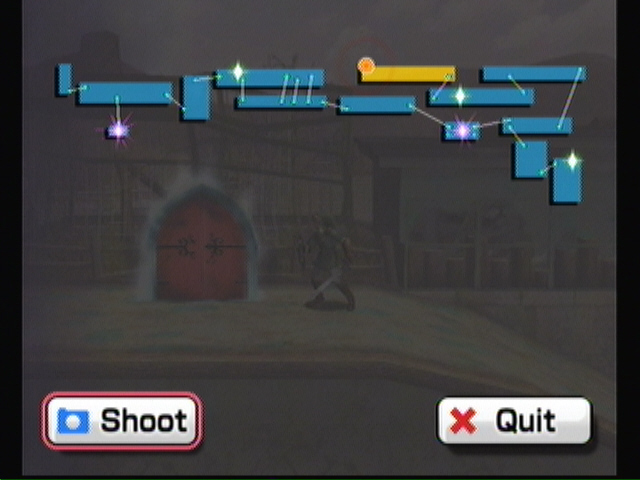
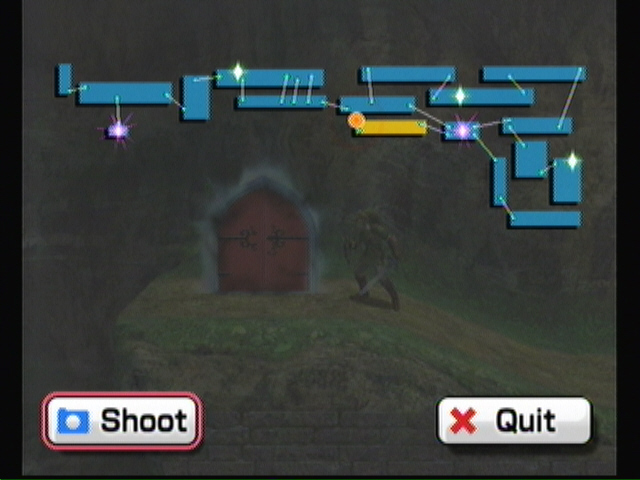
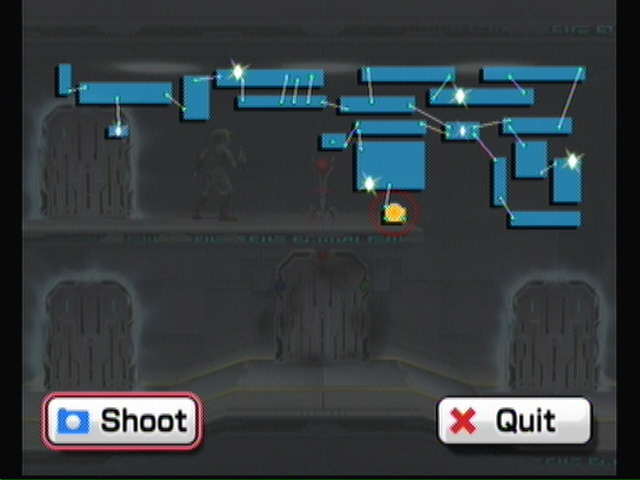
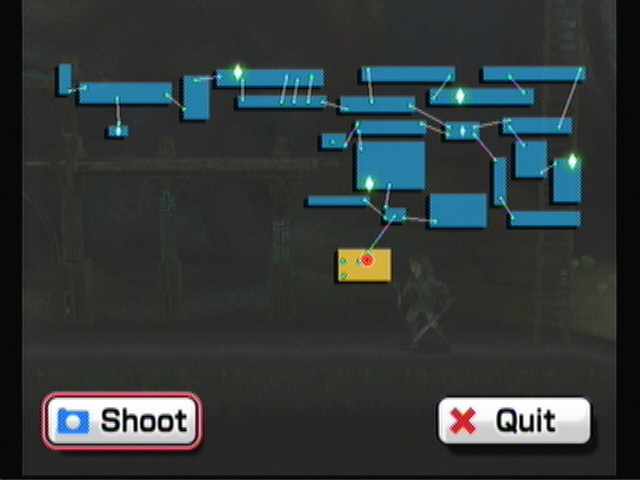
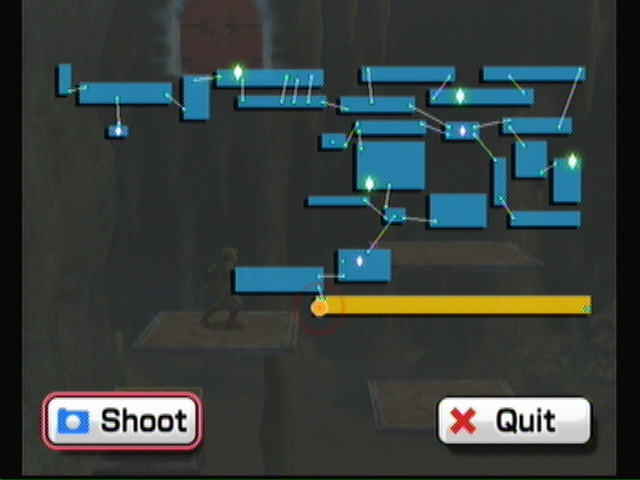
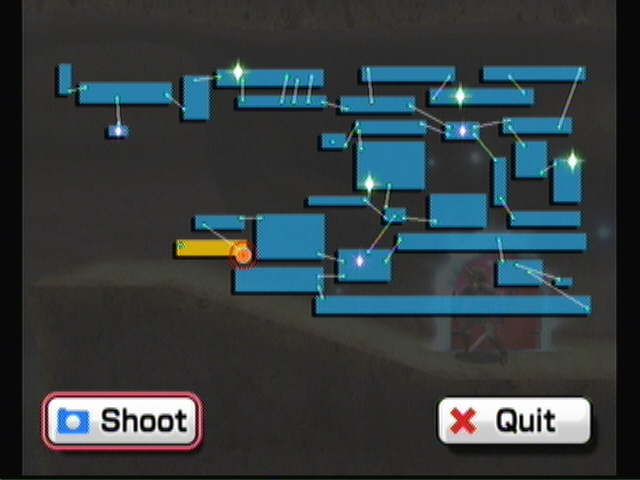
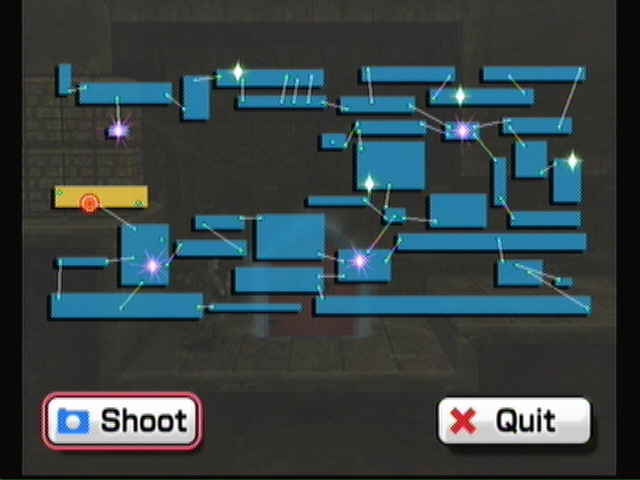
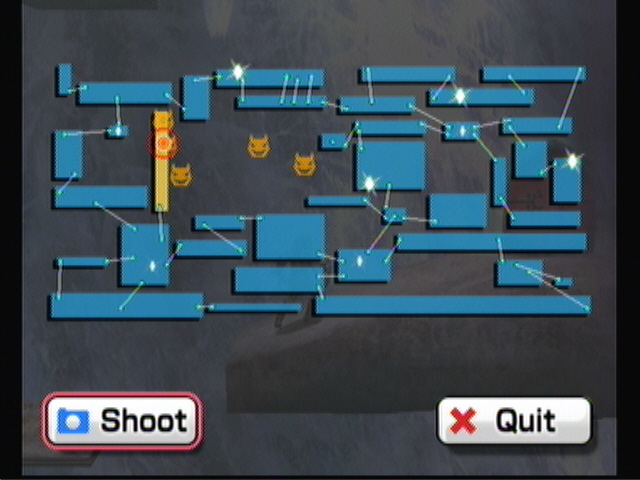
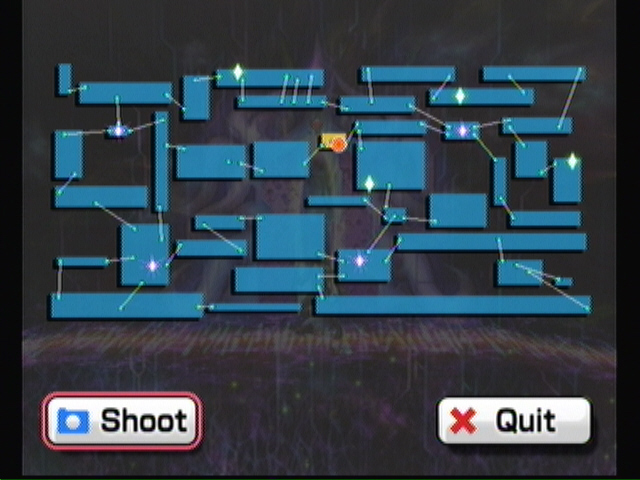
Alright, lets get some of the basics here out of the way. Press start. See the little blinking dot? That's you, and this is a map. Areas in this map will only show up when once you enter the area. Here is a complete map:
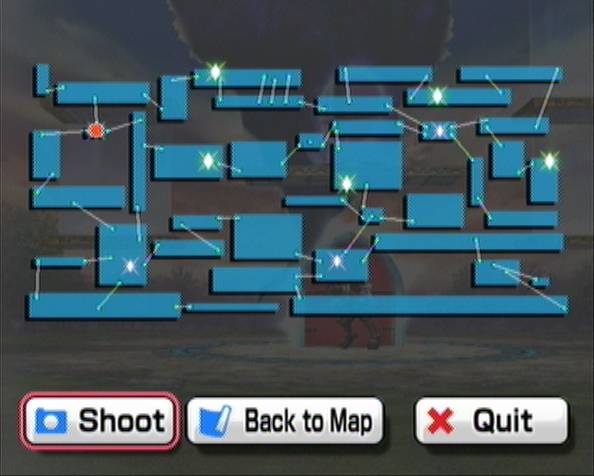 The Great Maze |
Little white dots represent doors.
Lines represent where the door will take you.
Green crystals will show save points.
Purple crystals are warp points/save points.
When you're in a warp point, you can pull up your map and select another warp point to warp to. There are four points total.
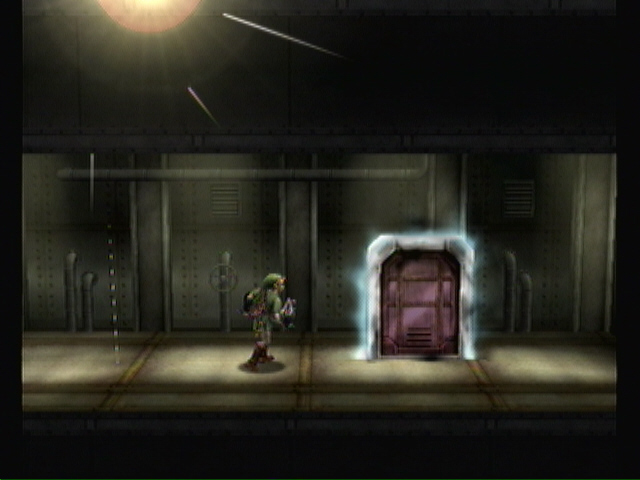
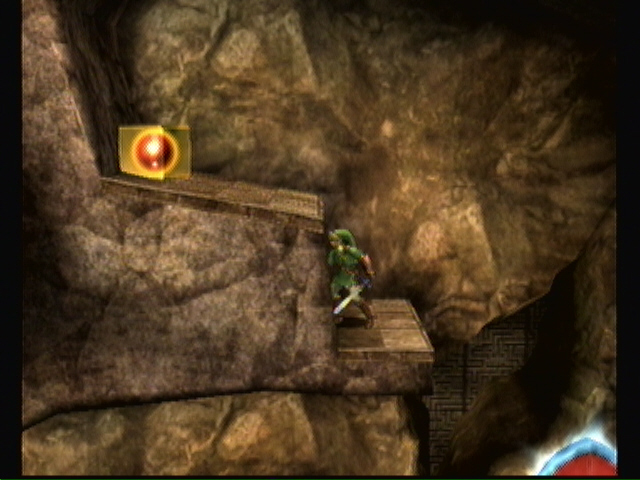
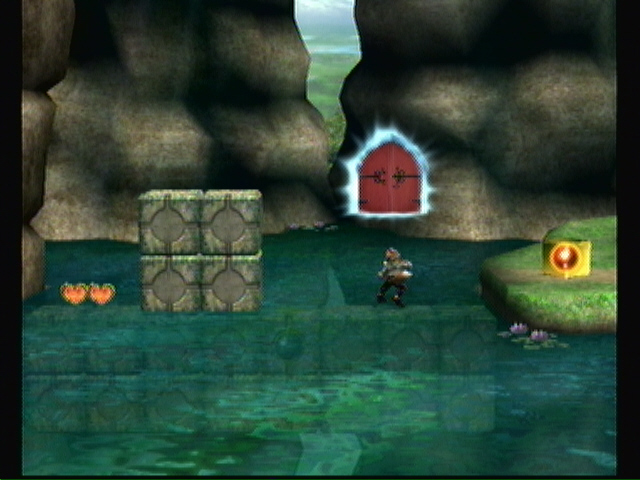
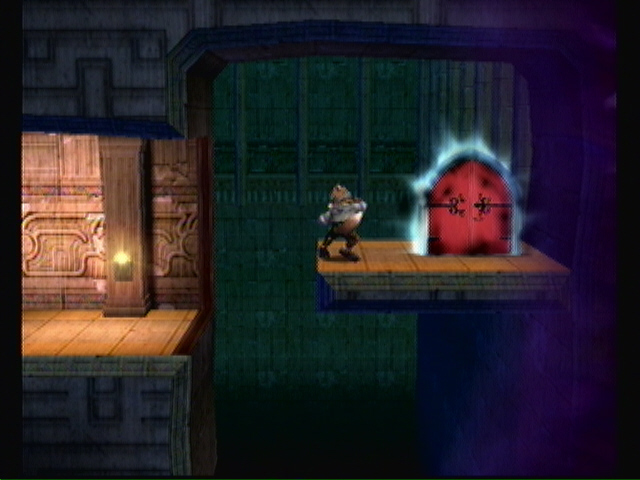
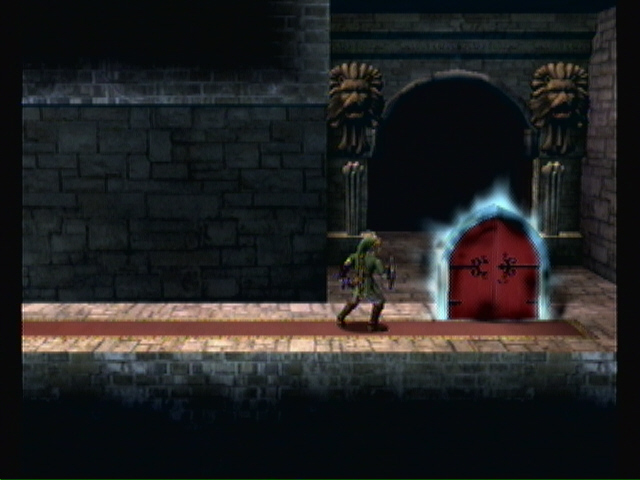
Ok, exit out of there. This door isn't a standard door. See the darkness around it? That represents a boss fight. Some doors have a gold orb in the center. That represents a save point.
See the smash icon? That is a save point. Here you can save your game, as well as switch characters. In switching characters, even if you switch to the same ones your using, or a character that has been KOed, they will be fully healed.
 Time to get started. |
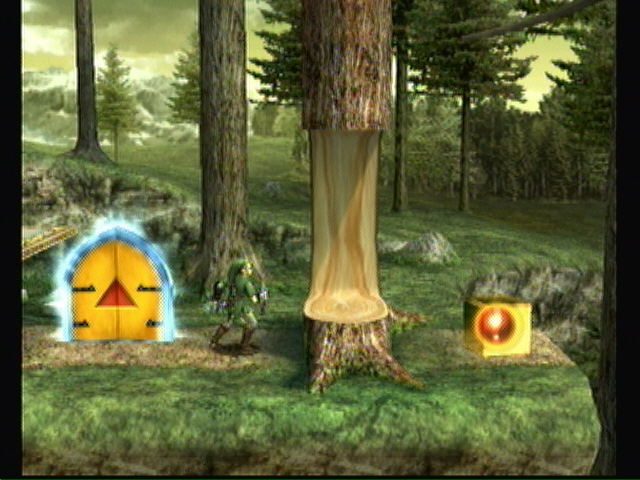
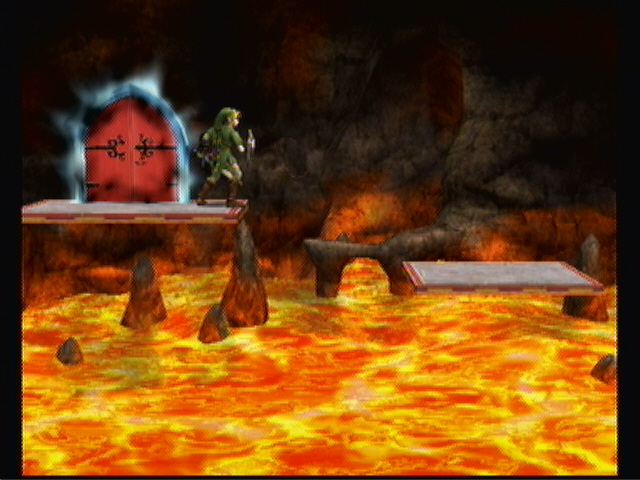
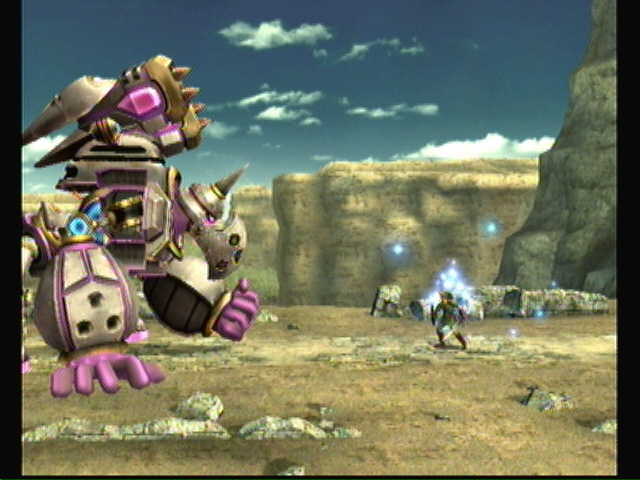
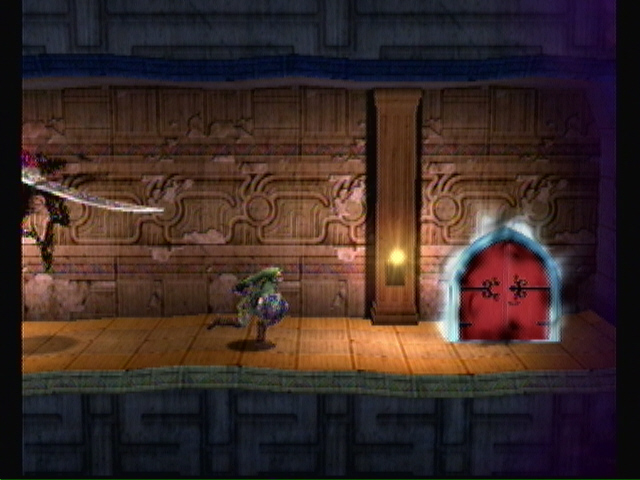
Ok, time to start the level. Enter the door to fight Petey again.
 What? You again? |
--== Petey Piranha ==--
--== Petey's attacks ==--
1) Swings a cage horizontally in front of him.
2) Jumps into the air and lands, creating a small tremor.
3) (near the end of his life) jumps a few times in a row.
--== How to predict ==--
1) He'll take the cage and kind of hold it back a bit.
2) Ducks his head down.
3) Ducks his head down longer and roars.
--== How to dodge ==--
1) Jump into the air.
2) Either shield or be in the air above him.
3) Be in the air for the first, then stay in your down B form till
he is finished.
--====--
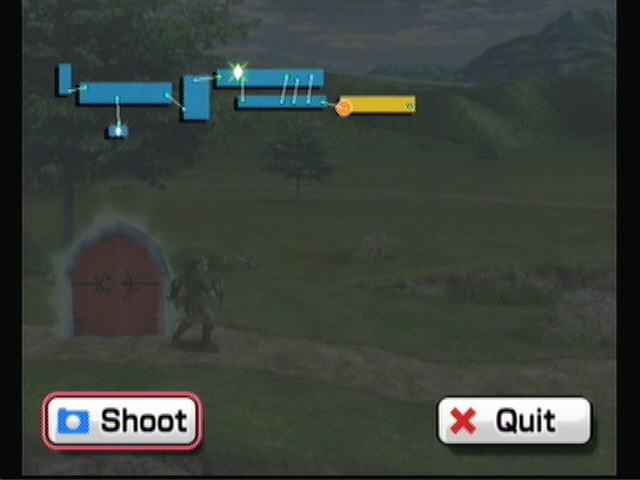
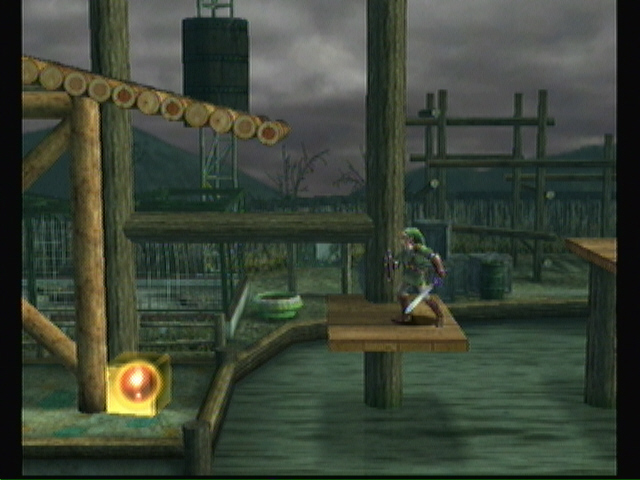
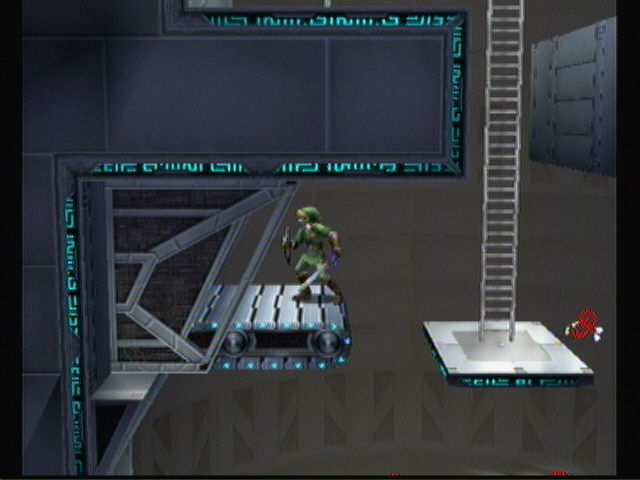
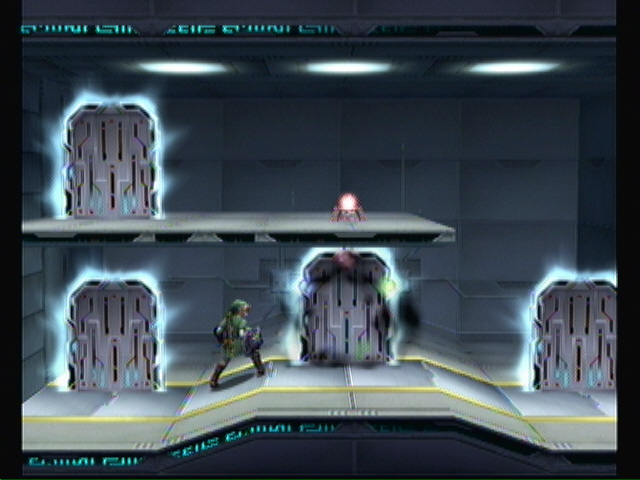
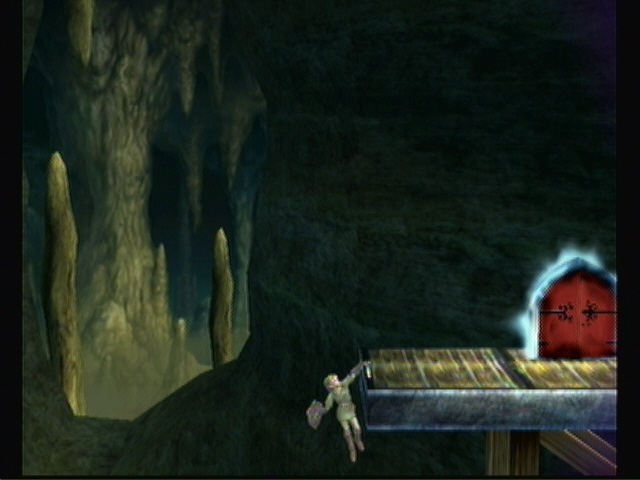
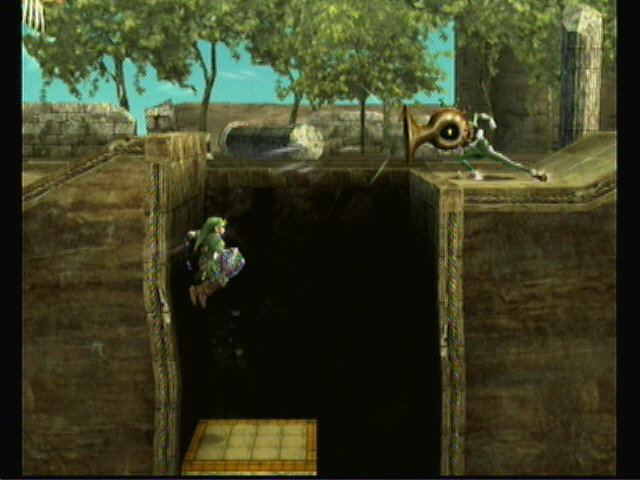
If you need to be healed, go back though the door with the yellow orb. If not, continue through the other door. We are going to go left, past the Goomba, Koopa, and Primid. Enter the door to fight Pit.
 Pit |
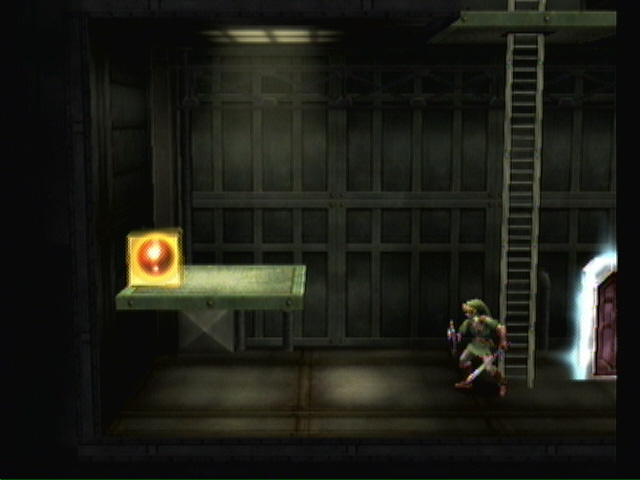
In here, work your way up, grabbing the first item box (1). The next one is past the Jyk, under a Glunder (2).
 Yellow Box #58 |
Exit. Go right. Stop at the door and go back to heal if you need. If not, continue right.
Get past the Trowlon and Scope Primid. Under the Glunder and past the Giant Goomba. Enter the door.
 You are here. |
Drop down and fight the Greap. Continue right, through the door. Here you'll fight Kirby.
 Kirby |
This time, you can ignore the Greap. Just work your way back to the door and then up. Watch for the Glunder. Just above the door is an item box (3).
 Yellow Box #59 |
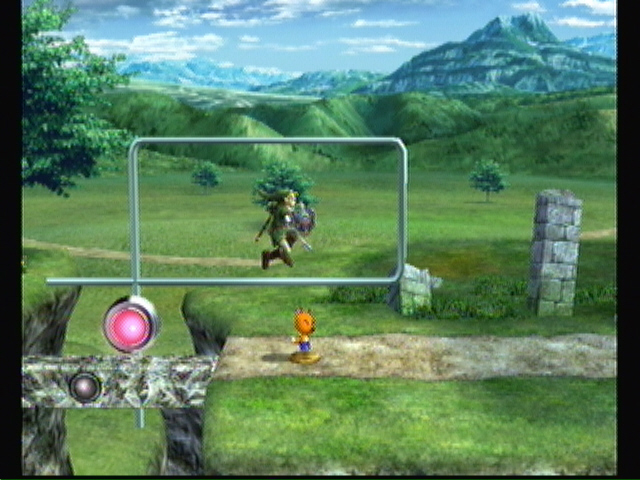
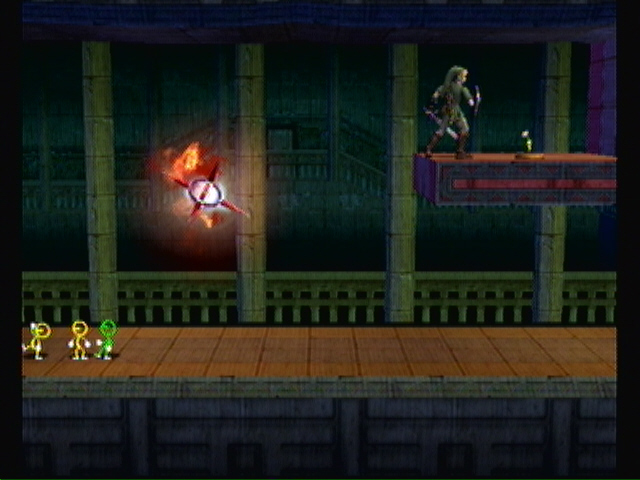
Continue up. Ride the purple platform, staying to the left, and enter the door. Now you fight Link.
 Link |
 You are here. |
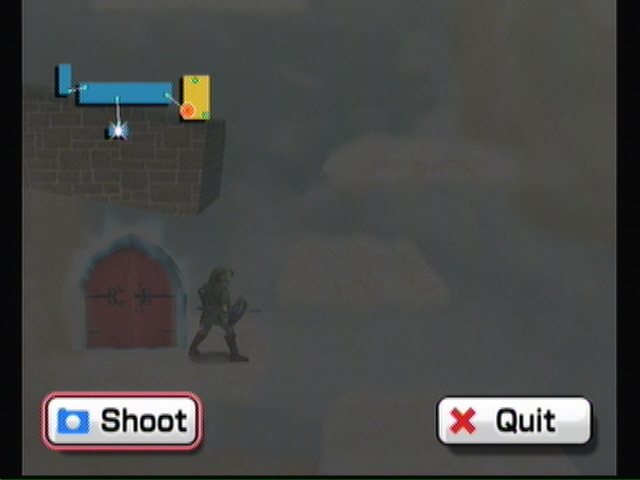
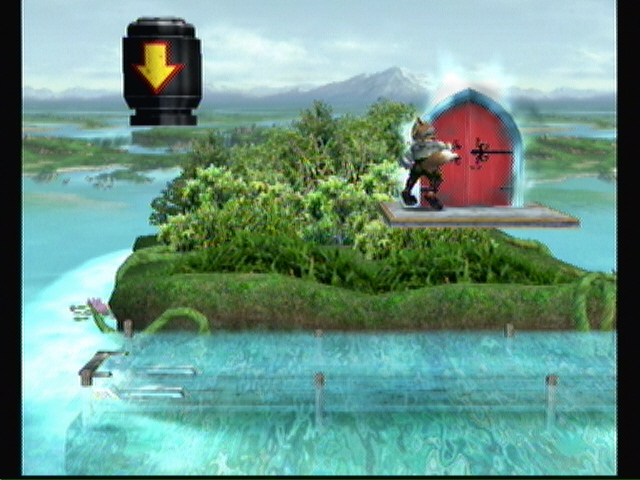
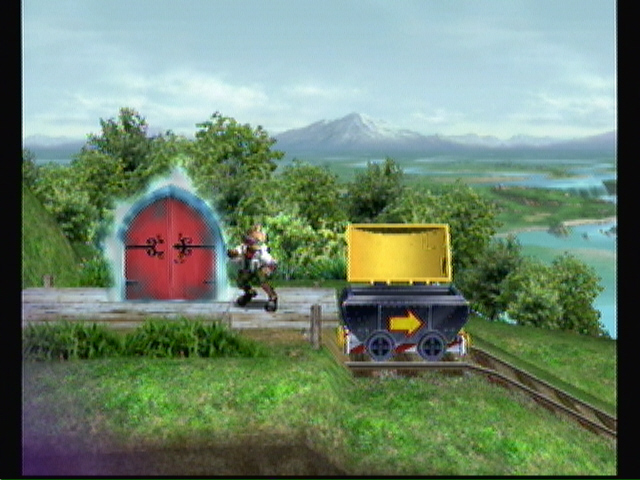
Take out the Puppit and Shellpod. Enter the save door. Save your game and heal. Exit and continue right. Enter the gold door. Blow up the bomb and go back through the blue door to get your item box (4).
 Yellow Box #60 |
Now back though and over the gap. Watch the Auroros and Primid. Over to solid ground and enter the door in the air. Defeat the Gagagog and exit. Continue right.
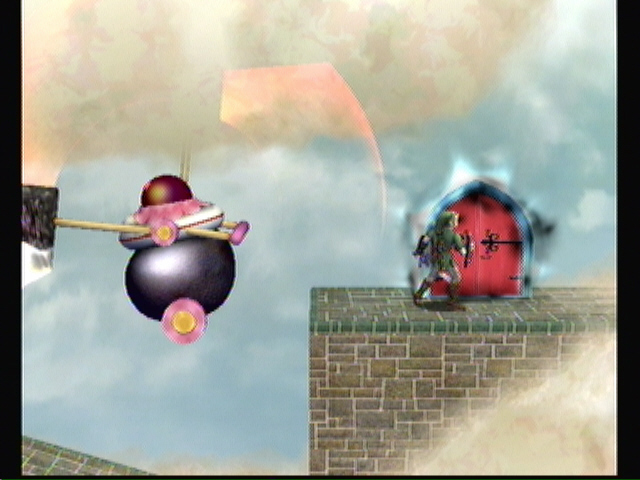
Take out the Boom Primid and through the blue door. Kill the Armight, being careful to only destroy the blocks on the right, not beneath. Go back though and enter the gap you've made. Blow up the bomb and go back to the blue door. This time, go right and blow up the far right set of blocks. Don't destroy the last two that hold you up, however.
 Like this. The dark door leads to Yoshi. |
Go though the yellow door above. Use the way you cleared to blow up the blocks above, after dealing with the Shellpod. Go back though the blue door. Jump across and enter the dark door to fight Yoshi.
Head back though the gold door. Head right and enter the normal door.
 You are here. |
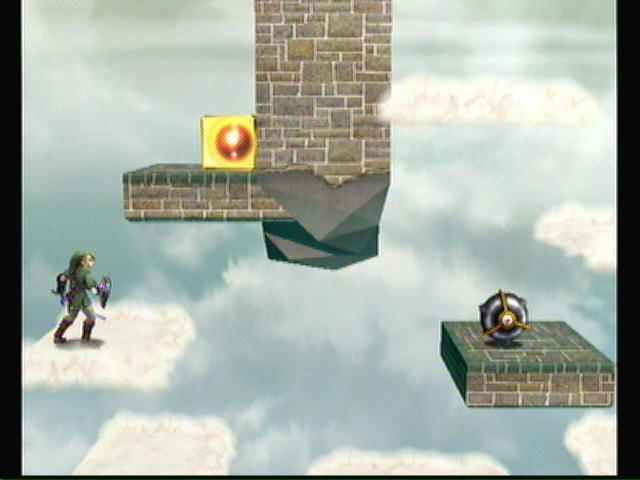
Look out for the Roader, and take out the Buckot with the rail. Use the spring to hit the rail above the Gamyga till it dies. Now use it to jump right and grab the item box. Use the system of rails ahead to kill the Borboras. Use the next rail to pass across the gap. Grab your item box (5). Watch the Buckot overhead and enter the dark door. You now must fight Diddy.
 Yellow Box #61 |
 Diddy Kong |
 You are here. |
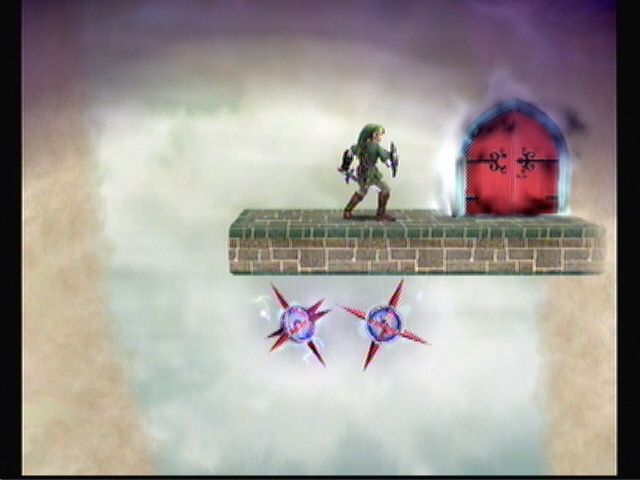
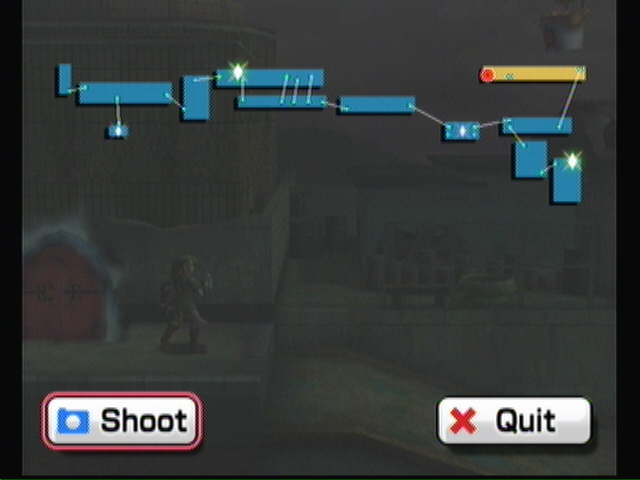
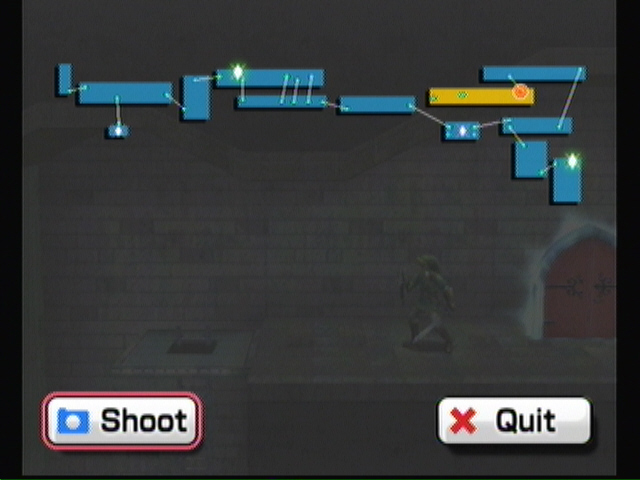
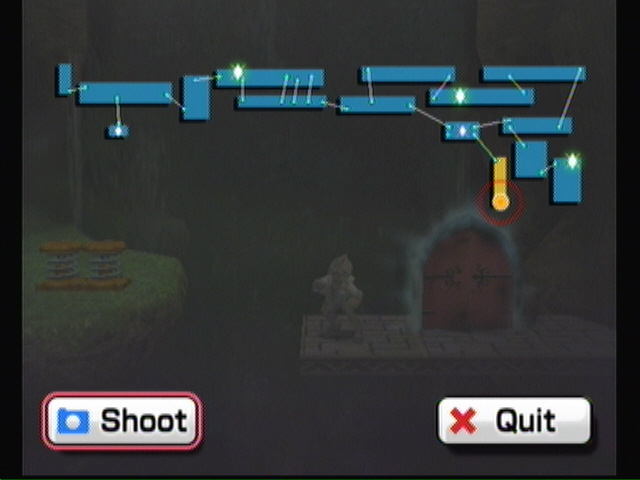
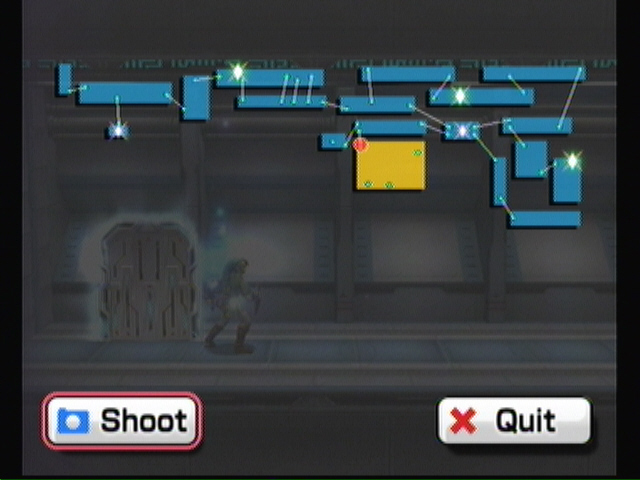
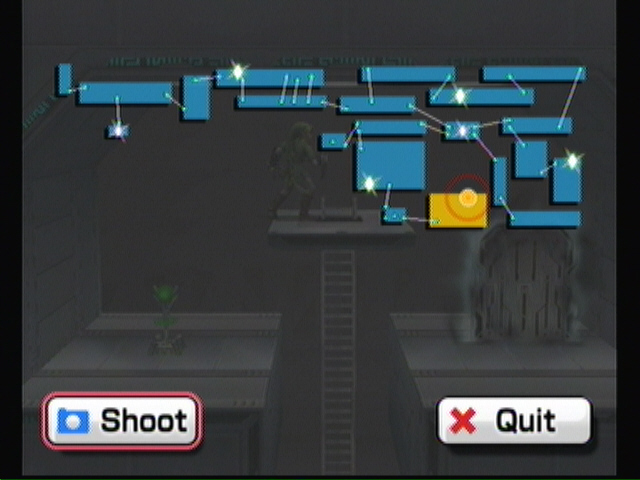
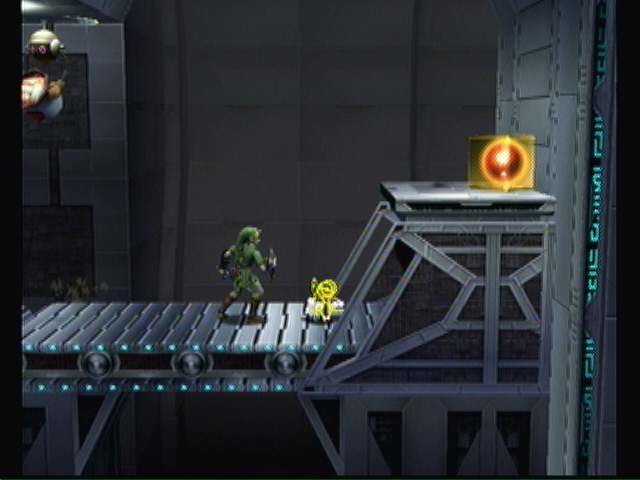
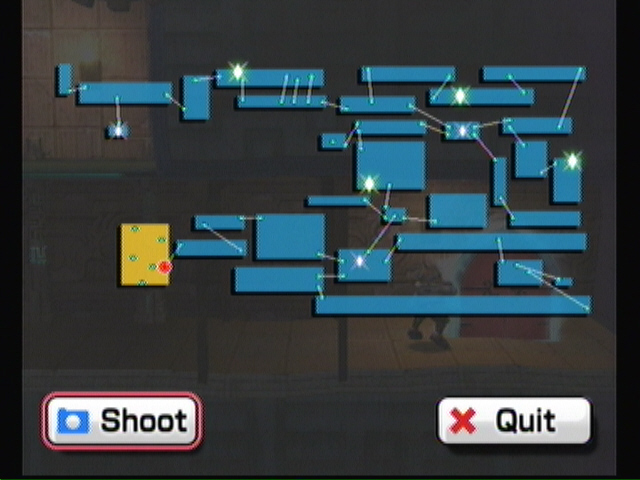
Alright, major crossroads here. Enter the middle door with the yellow orb for a warp point. Prepare for a fight with Duon. Heal and exit. Enter the door on the top right (you have to use the springs to get there).
 At least we get him out of the way early |
--== Duon ==--
--== Duon's Attacks ==--
1) Blue smashes his head into the ground
2) Blue swings his sword arms horizontal
3) Spins rapidly
4) White shoots his lasers in an arc across the field
5) Dashes across the field
6) White fires massive blue lasers out of his head
7) Blue attacks you with a flurry of swings
8) Jumps up and lands on you
9) White fires missiles
10) Blue fires homing mines
--== How to predict ==--
1) Blue is out and raises his head
2) Growls and forms his arms in an X shape
3) Both bots lower their heads slightly and go limp
4) White points on of his guns at the ground
5) Current head will spread its arms out and begin burning its tires
6) His head will begin to glow
7) Growls really long, begins to move toward you
8) Crouches down and builds energy
9) You'll see the missiles coming out
10) He'll growl and start to launch them
--== How to dodge ==--
1) Shield.
2) Be either far away or up close.
3) Don't be near them. It will suck you in.
4) Get some distance and activate your shield. Preferably a reflector.
5) Double jump and dodge as he goes by.
6) Be close to him or use a reflector.
7) Get within range, then jump away as he starts to swing.
8) Dodge to the side as he lands.
9) Get inside the missiles arc.
10) Move away.
--====--
You'll most likely need to go back and heal before continuing. Anyway, drop down and enter the door under you.
 You are here. |
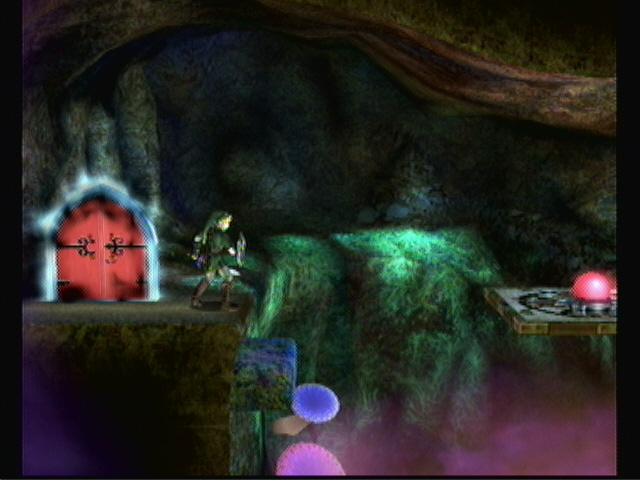
Get past the Primid and Buckot. Drop down, but not down the ladder, and head left. Don't fall in here to get over the Bytan and Primid. Go all the way left and fall down the ladder. Enter the door to fight Snake.
 Snake |
(Don't worry about healing) Back out, take out the Scope Primid and climb the ladder. Try to avoid these enemies and go down the ladder you pasted earlier. Grab the item box (6) and enter the door.
 Yellow Box #62 |
Go all the way right and enter the save point. Save and heal.
Exit and take the elevator you passed. Take it all the way down and kill all the Primid. Now ride it up one level and take on the Fire Primid. Fall down on the right and grab the key as you fall. Finish falling and use the elevator to go back up one floor and open the locked door. Blow up the boxes so you can fall. Blow up the other set as well. Now enter the door to fight Mr. Game & Watch.
 Mr. Game & Watch |
 He actually looks pretty cool... |
Ride the elevator back up, save, and exit back out to the Halberds exterior (door on the left, climb, door on the left over head).
 You are here... again. |
Work your way across right. No enemies, no traps. Enter the door and say hi to Meta Knight.
Watch for the Buckot and work your way left. Use the springs to get over the spikes, then fall and swim to your next item box (7).
 Yellow Box #63 |
Jump up and take out the Ticken and Fire Primid. A Roturret at the end, take it out without falling. Fall down. More Buckot in this area. When you reach a spring, use it to jump to the ledge on the left. Continue left and enter the door past the Buckot and Primid. Here you fight Ness.
 Ness |
Back out. Past the Buckot and Primid, use the springs to get back up and to the other side of the platform. This time, fall down and enter the door on the left. There's a save point just ahead.
 You are here. |
Fall down and get past the Scope Primid and Feyesh. The next solid ground has a Metal Primid and some Bytan. Kill the Metal Primid under the spikes and continue to the edge of the platform. Get rid of the Feyesh and jump to the ledge above you, hitting the switch to get to the save point. Prepare to fight Proky. Heal up and exit.
Press the button the right and fall down. Get past all the enemies again. Go past the boxes and enter the door. Nothing really exciting in this area, so you can just jump past everything, including the Towtow and Gamyga. At the end is a dark door containing Porky.
 Porky |
 The statue is STILL cooler... |
--== Porky ==--
--== Porky's attacks ==--
1) Fires a laser sideways
2) Fires a laser from the sky
3) Rapidly strikes with one of its claws
4) Sends out Porky drones
5) Jumps into the air and lands on you
6) Rushes across the stage
--== How to predict ==--
1) Creates an energy ball above its head
2) Flies up and turns on a search light
3) None, really
4) Stops moving, red light above his head
5) Crouches a bit first
6) Starts acting hyper
--== How to dodge ==--
1) Jump.
2) Stay in the light just long enough for him to charge up, then dodge
3) Hope you're not nearby.
4) Jump up, then land carefully and jump again.
5) Dodge to the side as he jumps
6) Jump over him
--====--
Here we are again. Go right again, using the same strategy, and reach the warp point. Save and heal. Head right and take the bottom right door. Fall down, avoiding the mines, which is pretty hard. Enter the door to fight Captain Falcon.
 Captain Falcon |
Head right. Use a projectile to take out the mines on the bridge. Take out the Shellpod and continue. Watch the Aruroros and Gamyga on the other side. Enter the door to fight Olimar.
 Olimar |
Back out the way we came, all the way back to the warp point. The trick with the mines going this way is to grab onto the ladders. Heal and save. We're taking the last door on the bottom left.
 You are here. |
With the updraft, you should be able to get past the Cymul-infested gap in one jump. Get past the Hammer Bro and use the swings to get past the next gap. Once on the other side, don't drop down. Take out the Hammer Bro and jump to the swing. From the swing, take the upper path and enter the dark door to fight DK.
 DK |
 All the fights yet to come. |
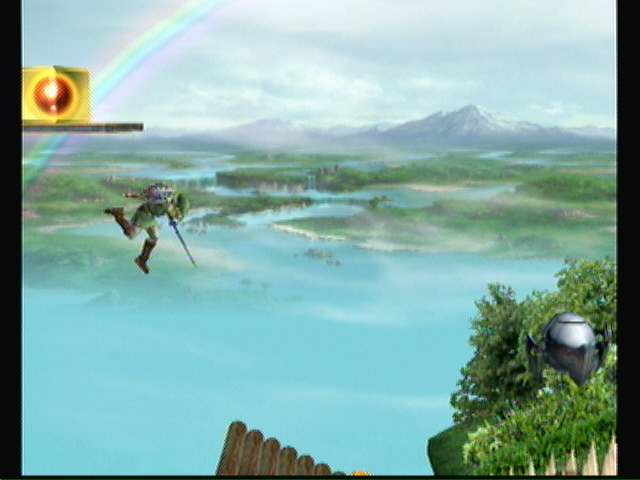
See all the people in the background? Those are all the things that block your path to the door behind them. Cool huh? Exit out though the door. Head right and drop down to the lower path and head left though the door to fight Samus. A save point is near, don't worry.
 You are here. |
Head right. Get past the Primid and down the ramp. Destroy the blocks to get to the other side. Run across and grab the key. If you're feeling up to it, drop down and enter the door to fight Pikachu. If not, use the key to unlock the door on the left. Ride the elevator down and use the save point on the left to heal, then go back to the platform under the key and fight Pikachu.
 Pikachu |
Opposite the save point is a door. In here, hit the switch in front of you.
 You are here. |
Take the right door first. Watch the Buckot and Mite spawner. Work your way to the Scope Primid. Climb up above him to the left. When you reach a conveyer belt opposite a red Mite spawner, swing in the nook there for an item box (8).
 Yellow Box #64 |
Continue up. Hit the green switch and enter the door to fight R.O.B.
 R.O.B |
Drop back down and to the right of the Scope Primid for an item box (9), just over the Mite spawner.
 Yellow Box #65 |
Go back left and exit. Take the left door. This room is easy by comparison. Head left and take out the Scope Primid, then the Bytan. Grab the key at the end and go back to the locked door above the Bytan. Grab the item (10) and hit the switch. Back out to the right and enter the dark door. This is a fight with Ridley, so go out the top left if you feel you need to save.
 Door. |
 Havent I killed you, like, twice already? |
--== Ridley ==--
--== Ridley's attacks ==--
1) Drags his claw across the stage
2) Flies up and comes in from behind
3) Drags his tail a few feet
4) Roars, creating a wind
5) Slams down onto the stage
6) Flies across the stage
--== How to predict ==--
1) Rears back a bit
2) Roars, lands on the stage, crouches, flies off
3) Growls a bit rears back, and bobs up, swinging his tail around.
4) Flaps forward a bit, inhales
5) Lands on the stage and stands up straight, jumps up
6) Flies off screen sideways
--== How to dodge ==--
1) Be in the air.
2) Jump up at the last second and aerial dodge.
3) Shield or be out of range.
4) Doesn't do any damage. Besides, unless you are right next to him,
you cant dodge it.
5) Dodge to the side.
6) Jump up after he leaves. He'll lock onto you in the air, and by the
time he passes you'll be on the ground.
--====--
 You are here. |
Warp point just on the left. Heal up and exit. Hit the switch to the left and fall down. Enter the door. Jump up to the left and grab the item box (11), minding the Glire.
 Yellow Box #66 |
Drop back down and work your way left, using the switches to turn off the fire as you go. I normally just bumble though, not even using the switches. At the end, watch the fireballs from the lava and enter the door to fight Bowser.
 Bowser |
Now you need to go back right to the door you came from, only this time drop under it. Watch the Goomba and enter the door at the bottom.
 You are here. |
Ride the mine carts. At the first one, jump out at the yellow symble. The second one don't jump out till you see the door. Enter and fight Dedede.
 Dedede |
Work your way up past the Puppit and Feyesh. On the ledge, take out the Shellpod and use the springs to go left. Jump over the Cymul and use the springs to get an item box (12) on the left. Fall down and take the dark door below it. Become the champ over Falco.
 Yellow Box #67. Falco is right below. |
Grab the item box (13) on the right and the hearts on the left. Blow up the blocks using the bomb that's underwater to get another item box (14). Back through the door.
 Yellow Box #68 |
A Feyesh attacks. Continue left. Use the spring to reach the door to the left. Here we're going right. It doesn't matter what barrels you use, you end up at the same place. Enter and fight Fox.
 Fox |
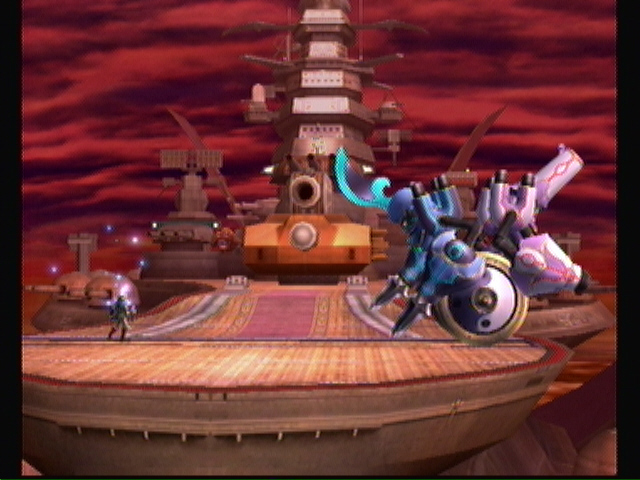
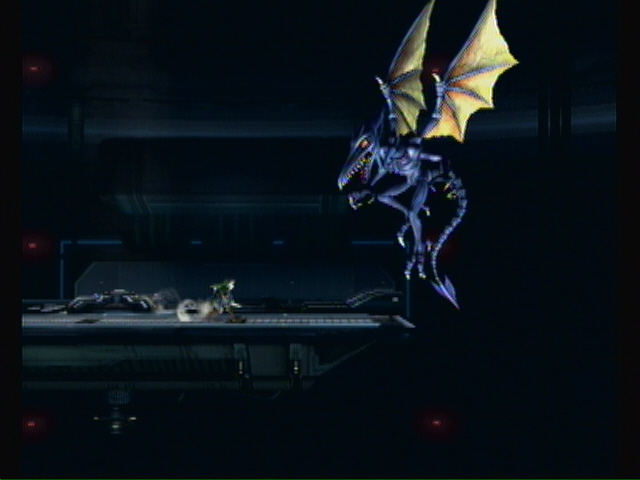
Use the barrel on the right to rocket back to start. Now we're going left. Noting of particular interest, and you cant really die because of the water. Just watch for the Buckot and dash past everything else. Enter the door for your last fight before the next save: Meta Ridley!
There's no time limit this time around, so take as long as you need.
 Meta Ridley |
--== Meta Ridley ==--
--== Meta Ridley's attacks ==--
1) Lands on the ship, sinking it temporarily
2) Grabs on to the left side of the ship, slowly dragging it down
3) Strafes with fireballs
4) Drags his tail along the ship
--== How to predict ==--
1) Flies off screen
2) Flies off screen
3) Flies off screen
4) Growls and flies off screen
--== How to dodge ==--
1) Jump as he lands.
2) Jump over and get him off by beating on him!
3) Dodge.
4) Jump.
--====--
You are here. |
Phew. Don't know about you, but I only had two characters left after all that. Go to left and use the warp point to save. Exit and enter the door across the gap on the left. Fight Mario.
 Mario |
Ignore the Big Primid, but take out the Buckot as soon as possible. Dodge the boulders on the way up. You can tell where they are going to fall by the dust coming down. Once at the top, dodge the Auroros and kill the Gamyga to continue though the door.
With the wind blowing at you, it's hard to fight here. Just use your jumps and dodge everything, make it straight though to the tunnel after the Gagagog. Watch the spikes and enter the door.
 You are here. |
Take out the Floow and continue. An Armight appears. You can usually kill them with the rail across the gap. Hit the next rail into the blocks over your head, then use the rail that uncovers to get across the gap (you have to hit the third rail with the second one). Watch the Bucculus and continue. Enter the dark door to fight Galleom.
 Another enemy that needs to stay dead. |
--== Galleom ==--
--== Galleom's attacks ==--
1) Stomps the ground
2) Rushes across the stage
3) Stomps his way across the stage
4) Fires a shockwave across the stage
5) Punches wide
6) Creates a tornado
7) Body slams the stage
8) Launches missiles at you
--== How to predict ==--
1) Raises his leg up
2) Folds up into an airship
3) Turns his back to the screen
4) Raises his hands and spins
5) Rears back
6) Faces the screen and winds up
7) Stands up straight
8) Stands up and his shoulders glow
--== How to dodge ==--
1) Don't be near him or dodge to the side.
2) Jump over him.
3) Dodge when he is about to fall on you.
4) Jump or shield
5) Be out of range or shield.
6) Be out of range. It will suck you in if you're close.
7) Jump up and aerial dodge when he falls.
8) Shield, or be in really close to him.
--====--
 You are here. |
Another warp point just ahead, thank goodness. Heal up and exit. Take the elevator up one level. Ignore the Floow and enter the door. Mind the flames and take out the Scope Primid. A couple Shaydas and a Roader block your path, but you can get around one way or another. Enter the door at the end to fight Pokemon Trainer. Now, I've never seen him use anyone other then Charizard, but that's not to say he doesn't.
 Pokemon Trainer |
Go down. Go though the closing door on the right, though the Borboras. You should remember this section. The wall above and to the right of the Jyk still has a trophy on it. Watch the Mite and continue though.
 Trophy |
Don't go through the door unless you need to heal. Instead, keep going right. Watch the spikes and continue up the stairs. Jump onto the moving platforms and take out the Floow as you go. Grab the two item boxes (15) (16) and continue to the next ledge. Enter the door to fight Zelda.
 Zelda |
Head right. Don't get pushed into a Jyk. Jump the gap and take out the Armtank. Don't use the launch thing and enter the door to fight Peach.
 Peach |
With that out of the way, make your wall all they back left and enter the door (Peach always does make people go way out of their way to see her).
Back in here, make your way to the door we passed earlier. Take the elevator up one level to save and heal. Exit, and go back up another two levels to the top. At the top, take out the Floow and Primid, then take the ladder up. Head left and blow up the blocks. Enter the door to fight Wario.
 Wario |
 You are here. |
For those of you keeping track, that's the fiftieth image in this level.
Go right. Take the elevator up. At the top, head right, ignoring the Roturrets. Dodge the Puppits and fall down the third gap (the one with the Borboras after it). Enter the door for a fight with Luigi, and the awesome Luigi's Mansion theme song.
 Luigi |
Go back up, past the Puppits and Roturrets, down the elevator and past the door through the blocks. Fight the Puppits, and at the top jump past the Mite. Enter the door. Fight past the Primid on your way up. Just past the first set of Sword Primid above the platform is an item box (17).
 Yellow Box #69 |
The final Yellow Box!
Keep going till you reach the top, blocked with, well, blocks. Hit the bomb to blow them up. One more time and enter the door to fight Rayquaza.
 Rayquaza |
--== Rayquaza ==--
--== Rayquaza's attacks ==--
1) Shoots a large ball of energy
2) Ground explodes
3) Whips his tail in the circle around him
4) Attacks from underground
5) Corkscrews in from the side
6) Drops lightning on you
7) Dives to the other side
--== How to predict ==--
1) He'll tilt his head back and his mouth will start to glow.
2) His eyes will glare red.
3) Rears his tail back and kind of spins first.
4) Dives underground. The ground will bulge as he comes up.
5) Flies off screen. Keep your eye to the opposite side he was on.
6) Jumps up and forms a ring. Starts to spin.
7) Growls and tilts his head down.
--== How to dodge ==--
1) Foxes reflector works nice, otherwise just use your shield.
2) This one happens so fast, you better just hope to be in the air.
3) Jump, or just be out of the line of fire, which is just a small
circle around him.
4) When the ground bulges, dodge to the side.
5) Shield.
6) Normally too much for your shield, but nothing else does anything.
7) Jump.
--====--
 You are here. |
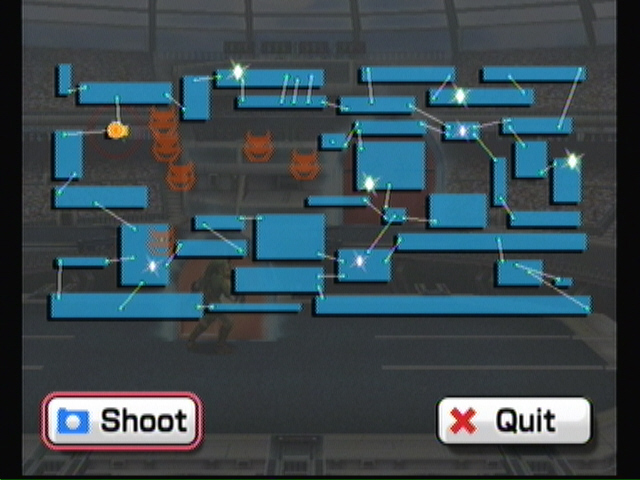
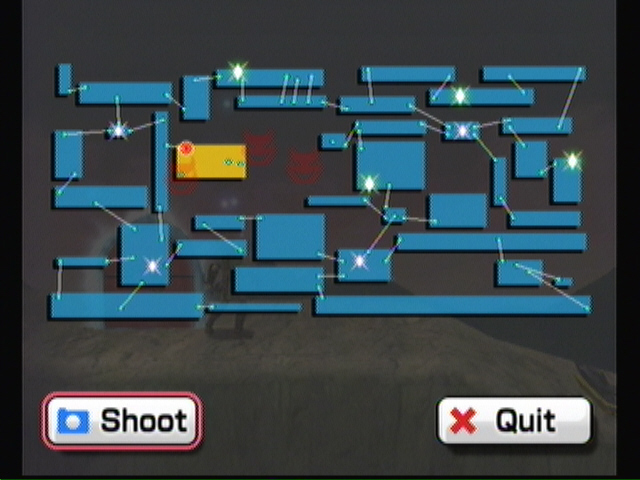
Well, that was one big, crazy circle, no? Well, we're not done yet. See the blinking demon heads? They are all the bosses we have yet to fight. Save and heal, then jump into the bottom left teleporter. Press up to teleport. Exit. Now take the elevator on the left back up two levels. Exit off to the right and run past the Shaydas. Enter the door to fight Lucas.
 Lucas |
Hop in the barrel. This time, there is nothing on the right, so veer left and climb the ladder. Take out the ticken, mind the Glice, dodge the Jyk, and keep climbing till your on stable ground. Kill the Feyesh and continue up. A little more up, past the next Glice, is a door leading to Ice Climbers. Fight them.
 You are here. Ice Climbers are as well. |
After the fight, go straight back though the door. Keep going up, dodging Glice and Spaak. At the top, fight Lucario. Here we are again. Save, then go back though the bottom right door and drop down to the area you fought Ice Climbers. Enter.
 You are here. Ice Climbers are not. |
Don't take the launcher and dodge the Mite. Save if you want to again, then continue to the left and down. After the Autolance, don't get caught in the launcher or barrel. At the second barrel, take out the Fire Primid and jump in the barrel. Have it send you straight up to hit the rail and destroy the blocks. Enter to fight Ike.
 Ike |
Go back right till you reach the save point again. Heal, then exit and go right. Enter the door quickly (if you don't make it, there is a switch to the left). Kill the Big Primid and Armight, then jump to the ledge on the left. Go up past the Armight and Borboras (ignore the key). Keep going past the Glice and Metal Primid. Once past the Armight, enter the door to fight Marth.
Marth |
Head right. Hop in the new barrel to be magically shot back to the launcher. Get on and let it take you to the key. Grab the key and go down one more flight of stairs. Jump across the gap and go though the locked door. Enter the dark door to fight Ganondorf.
 Ganondorf |
And here we are again, only with no trophies blocking our way. Stand in front of the large door in the background and go in.
 You are here. Tabuu is waiting. |
Story Note
Tabuu was forming his wings when Sonic comes out of nowhere (literally, we haven't seen him this entire game) and snips them off.
Choose any six characters. They should have good aerial attacks and high jumps, but you definitely need to be familiar with them above all else.
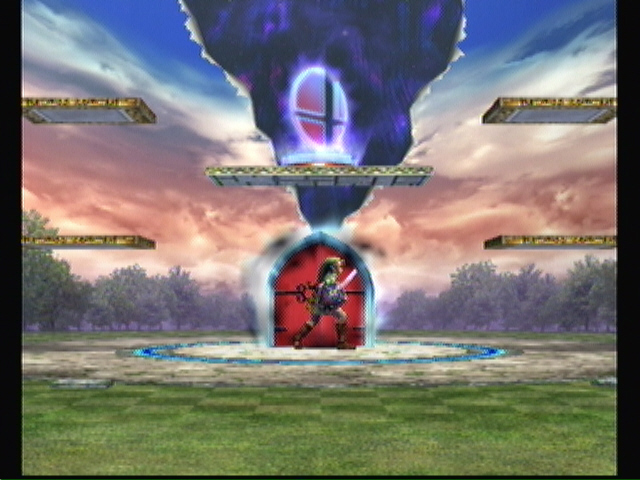
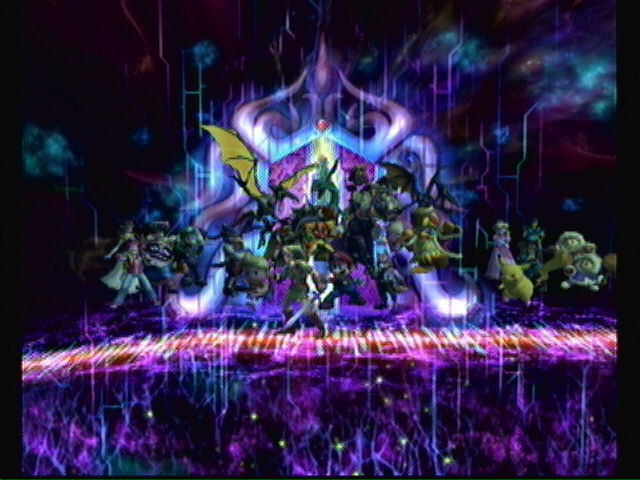
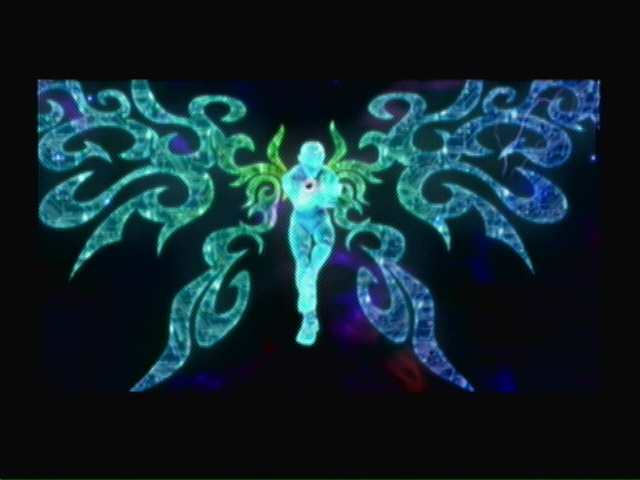 Tabuu, winged form |
 Tabuu |
--== Tabuu ==--
--== Tabuu's attacks ==--
1) Teleports around the field
2) Forms some energy around his hand and swoops across the field
3) Thrashes at you
4) Fires a giant laser across the field
5) Fires giant energy fields from the back that are instant kills
6) Creates a picture frame and captures you in it, slamming you into
the ground
7) Fires rapid energy across the stage, ending in an explosion
8) Fires eye beams across the stage
9) Uses a tether to grab you and slam you down
10) Fires off a ton of copies of himself in all directions
--== How to predict ==--
1) Cant really. He'll just teleport four times in a row.
2) Teleports high in the air to one side and gathers energy in his
arm
3) Teleports right in front of you
4) Teleports to one side and puffs out his chest, a giant dragon
head will appear.
5) Teleports and appears behind the stage with wings
6) Turns the background black
7) Teleports to the edge of the stage facing down
8) Turns huge, his head appears beside the stage
9) Almost none.
10) Teleports over the center of the stage and makes weird motions
--== How to dodge ==--
1) Try to guess where he'll end up and start attacking.
2) Jump.
3) Dodge though him when he appears.
4) Jump a second after the head appears.
5) Dodge three times consecutively.
6) Dodge the frame.
7) Don't be near him, especially for the explosion.
8) Jump.
9) By the time you see the tether, it's too late.
10) Dodge if a stream is headed for you.
--== Strategy ==--
Dodge as best you can. Focus on offence only when he is in the air above the platform. You'll notice a pattern (though it's different every time you face him) as to where he appears above the stage. Figure it out and wail on him using aerial attacks.
End of Level!
Story Note
Tabuu defeated, the areas engulfed by Subspace return. Everything goes back to normal.
Sonic is now playable!
Now you can go back at any time and play ANY of the levels.
You cant watch the ending video again in your data files, so here it is. It's also a complete translation of the theme song, which is in Latin.
SPOILER ::: ENDING VIDEO BELOW
SPOILER ::: ENDING VIDEO BELOW
SPOILER ::: ENDING VIDEO BELOW
SPOILER ::: ENDING VIDEO BELOW
SPOILER ::: ENDING VIDEO BELOW
| Launch in external player |
End of Game!
Cheats, hints, walkthrough index
i need to find a qwick way to finish because im bored.
thanks. 😎
omg thank u i just commpleted the game bc of u
I was able to beat the great maze in 1 hour and 6 minutes unfortunately I do not have footage
Thank you so much
😃
my nephew and I just beat Tabuu with Kirby, Peach,Sonic, Meta Knight,Game and watch and warrior. thank you sooooo much !!!!
I BEAT SSE THANKS SO MUCH!!!!!!!!
Pro walkthrough thnks so much
Hedgehog-ex-Machina
i beat them all but thare are still bowser icons.and whare is tabuu?i hate him so bad that i would kill him, that hapen in the game.so,yaaaaaaaaaaaaaaaaaay!
he is in the purple door in the donkey kong place i did not pass the great maze yet
Dude, are you 6?
This is a hard level but I think the reason is I'm only 8..
-
i almost beat the whole entire adventure… i just need to find tabuu and attack him once and for all so i dont have to feel bad about getting my butt kicked by all of the bosses and pyrimads[color=blue[i][/i] ][/color]
Finished super smash bros brawl thanks for the cheats. BTW no one likes a spoiler.
Good summary but...EASIER SAID THAN DONE!!!
thank you very very much on helping me find all the hidden item boxes!!!!!!!!! =)
This really helped. Thank you so much!