
23 - Battleship Halberd Interior
Super Smash Bros Brawl Walkthrough and Guide
by SPV999
Super Smash Bros Brawl
Level 23: Battleship Halberd Interior
Enemies: Primid, Scope Primid, Sword Primid, Bytan, Armight, Floow, Glire, Cymul, Nagagog, Shaydas, Autolance, Towtow, Buckot,
Boss: None.
Boxes: 9
Story Note
Meta Knight and Lucario free the Great Fox. Snake appears from the mysterious box (who didn’t see that coming?) and starts tearing the Haleberd apart from the inside out.
Take a minute to get used to Snakes moves. He is a tad different. Enter the door.
Take out the Primid in the hall with the Scope Primid at the end. Jump up and fall down. Fall through the second set of blocks as well. Make the far left block fall to reveal a switch. Press it and enter the door.
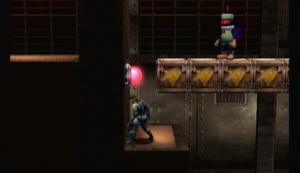 Switch |
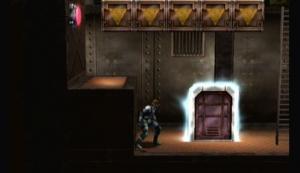 Yellow Box #44 |
A secret? So soon? Don’t mind the Jyk and grab your prizes (1) (2). Exit.
Climb the ladder and get past the variety of Primid that attack. Dash past the next set of blocks and take out the Scope Primid at the end. Enter the door.
Story Note
Snake hides in his box as Lucario and Meta Knight attack. Lucario senses Snake and uses his aura ability to tell that he is on their side.
Pick a character and move on.
You’ll fall down and fight a wave of Primid. Continue right, straight across the gap and past Scope Primid. Take out the Bytan spawner, as well as the Armight to make a switch appear. Activate the switch and head back to the gap. Go down and to the left.
 Switch 1 |
Down the ladder. This time a Mite spawner and a bunch of Primid with a Scope Primid. Take them down and hit the switch at the top. Go to the left and down the ladder. Watch the Scope Primid and grab the item (3). Back up both ladders. Head due right and fall down.
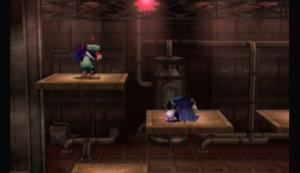 Switch 2 |
Fall down again and destroy the Floow spawner. Some Primid may get in the way, so take them down as well. You can kill the Cymul if you want, but in any case hit the switch at the top of the room.
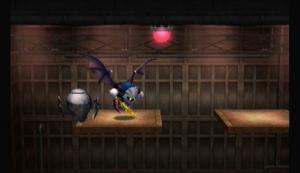 Switch 3 |
Go to the right of the room at the top and destroy the blocks. Jump though the black wall and enter the door.
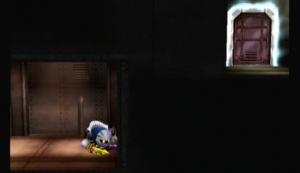 Secret, Yellow Box #45 |
Another secret. This level is going by fast. Watch the Fire Primid at the end of the hall, and you’ll want to destroy the Glire spawner at the top. Grab your boxes (4) (5) and exit.
Use the springs to get up to the top. Head left till you see a ladder in the floor. Take it down. Grab the item on the right (6) and enter the door.
 Yellow Box #46 |
Now you’ll have to fight a wave of Sword Primid, followed by a wave of Shaydas, and finally and Autolance. Enter the door that appears.
Another darkness puzzle. Head right and fall into the first hole before the Scope Primid to activate the lights if you want. Take out the Scope Primid and Buckot and jump over the spikes. There’s another switch after the spikes before the gap, and one just across the gap. Watch for the Buckot.
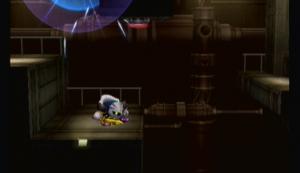 Watch the gap. |
Grab the item box (7) when you come to it and take out the Scope Primid below. A series of Roaders with a Fire Primid at the end of the hall. Enter the door.
Take out the Bombed on the right (gate 1). Climb the ladder and take out the Primid (gate 2). Keep heading right. Drop down and grab the item box (8) and kill the Nagagog (gate 3). Keep right, over the spikes and up the ladder. Kill the Metal Primid at the top (gate 4). Now head back to where the item box was.
Jump up and use the springs to get to an item box (9) on the right.
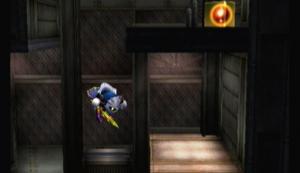 Yellow Box #47 |
Fall back down and take out the Cymul on your way (gate 5). Now jump left and climb the ladder. Take out the Towtow (gate 6). Fall back down and to the left, going down the ladder. You’ll note the blue walls are gone. Enter the door on the right.
Story Note
We find Peach and Zelda captured. The Primid take their form.
Don’t let them get on either side of you, keep them in front. Peach loves to use item, so don’t let her get anything dangerous.
Story Note
The real Zelda and Peach are freed. As Meta Knights party leaves, Snake tells the girls to stay put.
End of Level!
Snake is now unlocked!
Cheats, hints, walkthrough index

good guide.