
9 - The Forest
Super Smash Bros Brawl Walkthrough and Guide
by SPV999
Super Smash Bros Brawl
Level 9: The Forest
Time:
Enemies: Primid, Boom Primid, Puppit, Fire Primid, Sword Primid, Feyesh, Auroros, Ticken, Trowlon, Bucculus, Jyk.
Boss: Shellpod
Boxes: 10
Story Note
Link takes hold of the Master Sword and walks past the obviously harmless sleeping Yoshi, when they are both attacked by the Primid.
Choose either, but know this: Links dash attack can KO most types of Primid in one swing.
Start on your way by crushing several Primid and Boom Primid. You get attacked by a wave of Sword and regular Primid by the moving platform. By the next platform you see your first Puppit. Links aerial up attack can take it out in one shot. Watch out for the Bucculus on the next ledge. Over the tree and grab the item box (1) on your way down. Take out the Boom Primid and head left through the tree.
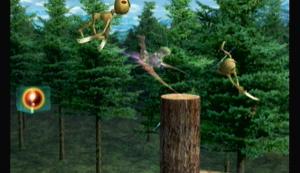 Secret, Yellow Box #13 |
First secret. Mind the Jyk and grab the boxes (2) (3) back out and up the trees to the right.
Watch the Puppits and don’t fall down here, theres just some Bucculus at the bottom. Jump to the next tree and fall straight down for an item box (4).
 Who’s controlling these things anyway? |
Across the first gap is an ambush. Take out the Boom Primid with projectiles quickly so you can focus on the Puppits. Enter the door.
Across the gap are a couple Trowlon. Don’t attack them head on, and don’t let them get under you. After, watch for the Auroros and the Primid riding the Trowlon.
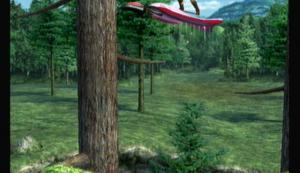 Bad. |
Use the springs by the cliff to get up the side. Mind the Auroros at the top. On top, use the spring to get to the item box (5). You can fall straight down, avoiding the Trowlon and Ticken, all the while grabbing the item box at the bottom (6).
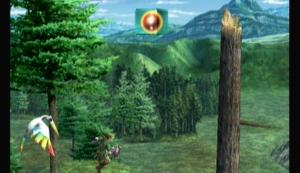 Weee~ |
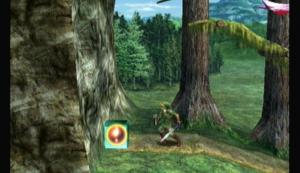 Any you thought you were dead. |
Across the next gap you have to fight a wave of Puppits and Ticken. Since they both require the same move to kill, take them on at once. More to the right, hit the bomb to destroy the blocks and grab the item box (7). Hit the next bomb and grab that box (8).
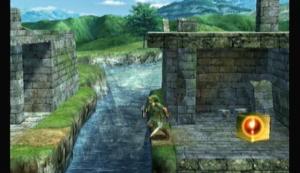 Yellow Box #14 |
Jump up to the higher ledge. Watch for the Puppits and Primid. Drop and destroy the final set of blocks. Enter the door.
A Feyesh attacks. Use the rails on the following Feyesh and Fire Primid. Use the spring to hit the rail and destroy the blocks. Down below is an extra life (9).
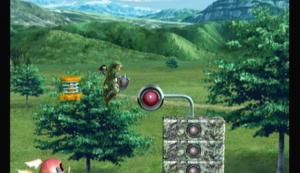 What’s the second spring for? |
More to the right, hit the main rail to activate the other rails, destroying anything in that pit. Hit the next rail with caution, as it will destroy the block under you as well as the box on the other side (10). Just past it is a Shellpod. Hit it a few times to destroy the shell, then kill the creature underneath.
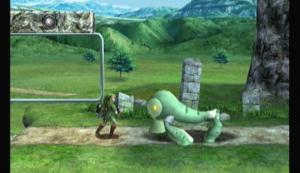 Hard on the outside, creamy on the inside. |
In the tunnel are two more Shellpods. Hit the switch to make platforms appear so you can reach the ladder. At the top, hit the rail to go higher.
As soon as you exit go right. You’ll be attacked by two Feyesh and a Fire Primid. Destroy them while hitting the rail.
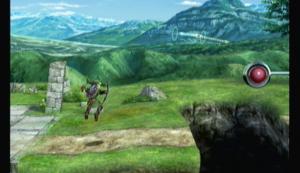 Ranged attacks come in handy. |
Use the spring to get up the cliff. A couple waves of Shellpod, Feyesh, and Fire Primid attack. Hop down and go into the light.
Story Note
The Halberd gets away again.
A “mysterious” box appears in an unknown location.
End of Level
Cheats, hints, walkthrough index

cool but i figured it out my self. haaaa haaaa haaaaa!