8 - The Battlefield Fortress
Super Smash Bros Brawl Walkthrough and Guide
by SPV999
Super Smash Bros Brawl
Level 8: The Battlefield Fortress
Time:
Enemies: Primid, Sword Primid, Armight, Borboras, Scope Primid, Buckot, Roader, Spaak, Autolance, Feyesh, Greap, Jyk.
Boss: Nagagog
Boxes:
Story Note
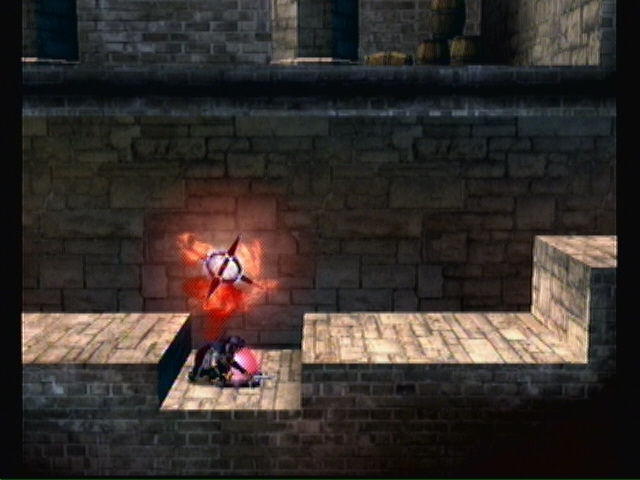
A subspace bomb is set on a seemingly baron section of land, probably to draw the attention a local hero. As the Primid army invades, he rushes to protect his land....
Head right. Four Primid attack in the open, and two Sword Primid wait inside. Down the ramp are two more Sword Primid, two regular Primid, and two more Sword Primid, in that order.
 Dash attacks are very effective. |
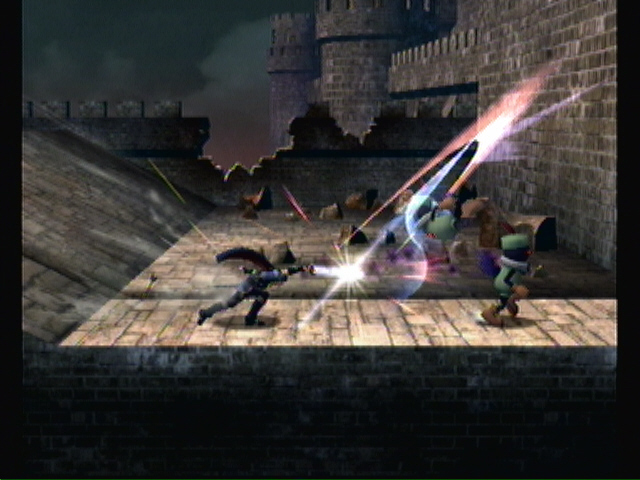
After falling off the ledge, you face your first Armight, probably the most annoying enemy in the game. Two of them attack in tandem. Keep low and use wide reaching moves. Don't drop your guard or try to gain distance, as they can throw their swords. Blocking your path is a Borboras.
 Bwhahah? You're not Don Kanoji. |
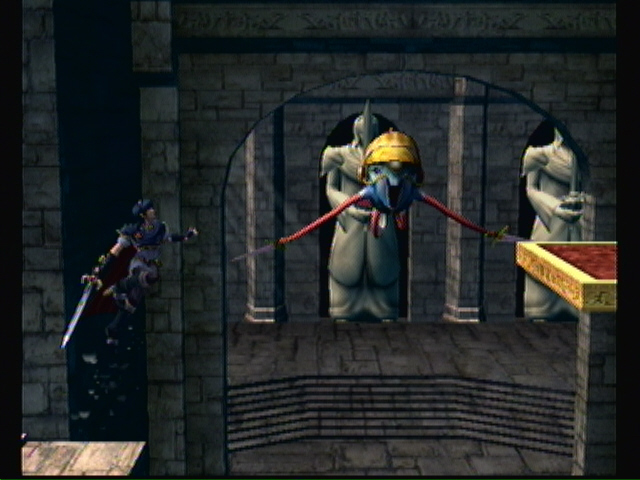
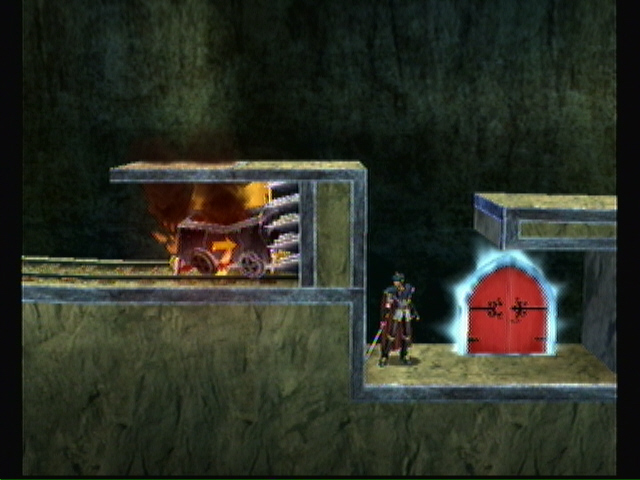
Next room has two more Armight. Climb the ladder and grab the key. Throw the key at the door across from the ladder. Watch out for the Jyk and enter the door.
 That takes some aim to unlock a door like that. | 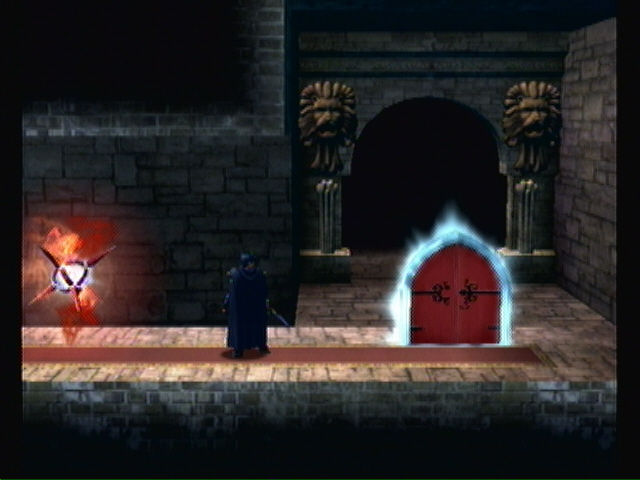 Secret, Yellow Box #11 |
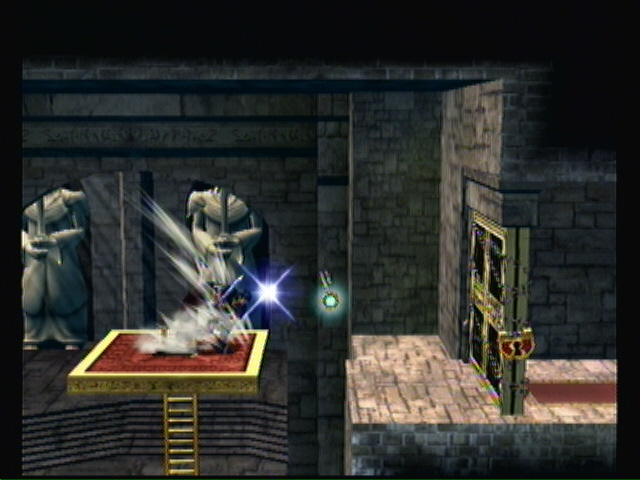
Secret time. Navigate the Jyk and grab your two boxes (1) (2). Exit back out.
Fall down and continue left. Take the lower path, dodging the first Jyk and shielding past the second to hit the switch. Continue left to get your prize, another life (3). Watch for the Armight. (the upper path just has some Sword Primid). Continue left. Lunge through the Sword Primid and enter the door.
 Duck! |
This can be tricky. Use Marths Side-B attack to hit the switch on the other side of the gate.
 If his sword can swing though the gate, why not just break the gate? |
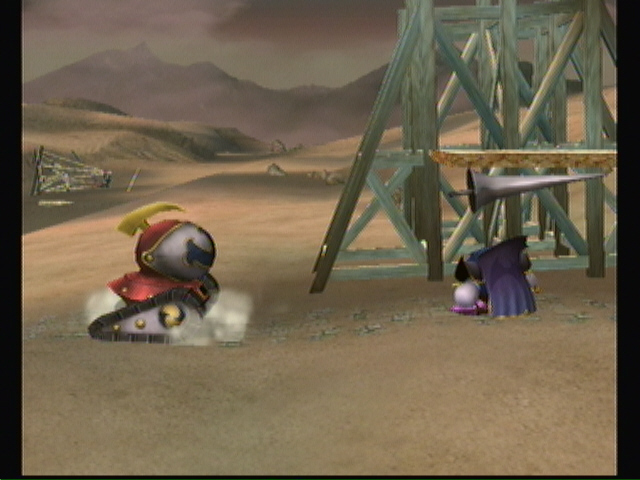
Watch the Roader (jump onto the platform above it). Three more Roaders attack just over the mound. Use aerial attack to take them out and hit the switch. Some Primid and a Borboras appear. Dispatch them and continue. Go under the platform and wait for one of the enemies (two Roaders and a Spaak) to show themselves. Take out the first one quickly, and move the next as fast as possible. Down the road is another Spaak and Roader combo. Enter the door.
Story Note
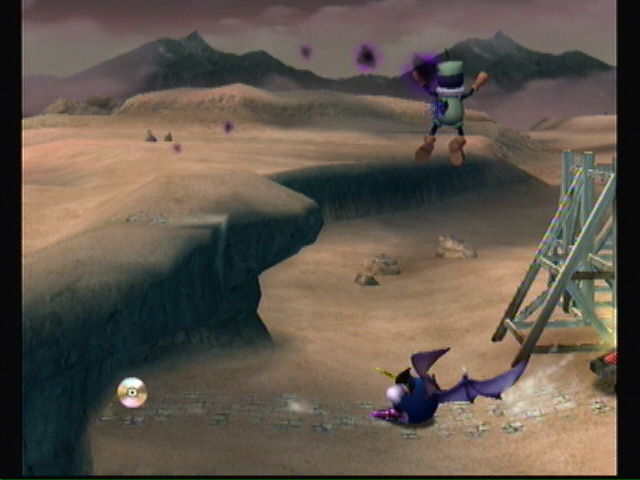
Meta Knight (whom we think is a bad guy, being the pilot of the Halberd) attacks Marth. Marth retaliates until they are BOTH ambushed by Primid. At that point they both realize that they have the same enemy, and are therefore on the same side.
We can now draw that Meta Knight is not on the Ministers side, and that he somehow had his ship stolen, and is probably trying to get it back. Meta Knight attacked Marth thinking that he was with the Primid.
Meta Knight or Marth, your choice.
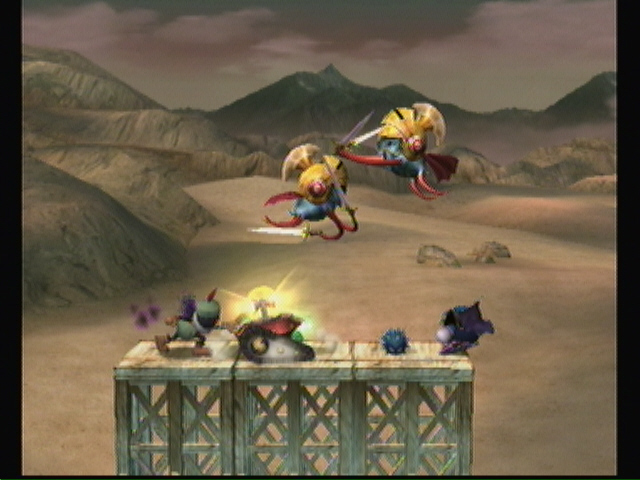
Now you have to fight an army of Primid, Sword Primid, Scope Primid, and Buckot. The Scope Primid aren't that much of a threat, and the Buckot are very annoying. Take out the Buckot first, then the Sword, followed by the regular and Scope. In the end you'll have to fight a Greap.
Back to platforming. You actually run quite a ways before getting attacked by a swarm of Primid and Sword Primid, and one Scope Primid. Just to the left, you get hit by your first Autolance. Knock the head off to attack the yellow light underneath. Your reward for winning is an extra life. Little more left is the first box of this area (4).
 Sometimes, it pays to be short. |
Now for an annoyance. The camera will start moving on its own. Keep pace and don't outrun it. During this time you get attacked by a Primid, two Sword Primid, a Scope Primid, and an Autolance. The camera moves to fast to take out the Autolance, so just jump over it. Before jumping over the mound ahead, grab the trophy under it.
 Or CD |
Another Primid and a Poppant. This Poppant is trapped and easy pray for a Trophy Stand if you have one. Once the camera stops, you'll be attacked by three Sword Primid and a Greap. Take out the Sword Primid while staying just out of the Greaps range, that way you can take on the Greap by itself later.
 This would be, NOT out of the Greaps range. |
Now you are master of the camera again! However, just across the gap lay a Scope Primid, three Sword Primid, two Primid, two Autolances, ... and partridge in a pear tree. Some of them appear on the wrong side of the gap, and commit suicide trying to get over.
Jump up on the wood strutures ahead to get attacked by six Feyesh, five Sword Primid, two Armights, and two Autolances. Glad that's over with. At least there weren't twelve drummers drumming. Enter the door.
 Sadly, the enemy cant hurt each other. |
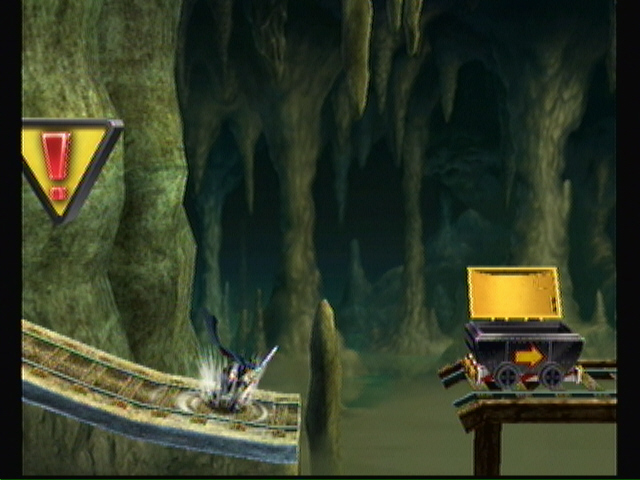
Fall down and take a ride in the mine cart. You don't have to jump out before hitting the spikes, they don't do any damage. Enter the door below. Hop in the cart and grab your boxes at the end (5) (6). Run back through.
 Yellow Box #12 |
Hop up and go right. You'll be attacked by a wave of Sword Primid and Buckots. Take out the Buckots first, using the high ground as an advantage over the Sword Primid. A box will appear after (7).
Now go get in the next mine cart.
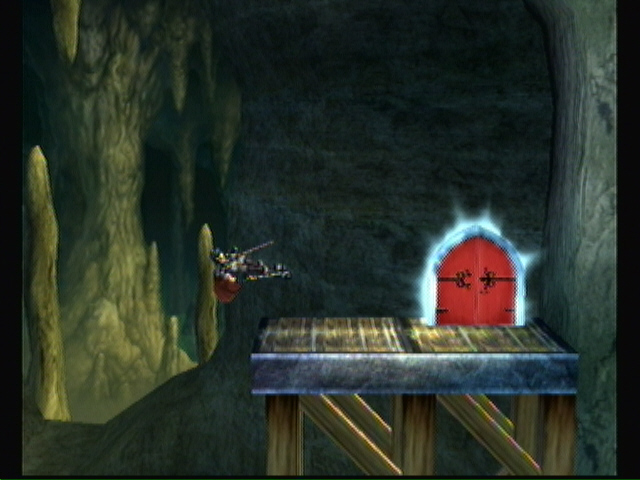
Jump out when you see the flashing sign. Jump into the next cart and do the same.
 Who built these rails? |
Third cart. This one's different. Don't jump out when you see the sign. Rather, fall with the cart till you see the door appear in the bottom right corner. Jump out and aim for the platform. Enter the door and head left to finish.
 Here. |
Story Note
Marth and Meta Knight catch up to the Minister, only to get shot down (literally). At this time, Ike ambushes the Minister with his final smash, disarming the Minister. Now the swordsmen are together, unified, all be it for their own reasons, against the Minister.
There are several Primid ahead, along with a Roader and two Buckots.
Just after you get attacked by many waves of enemies, including Primid, Sword Primid, Feyesh, Buckot, and a Nagagog. When the Nagagog appears, focus killing it before it grows larger. After, two more will appear with even more Primid.
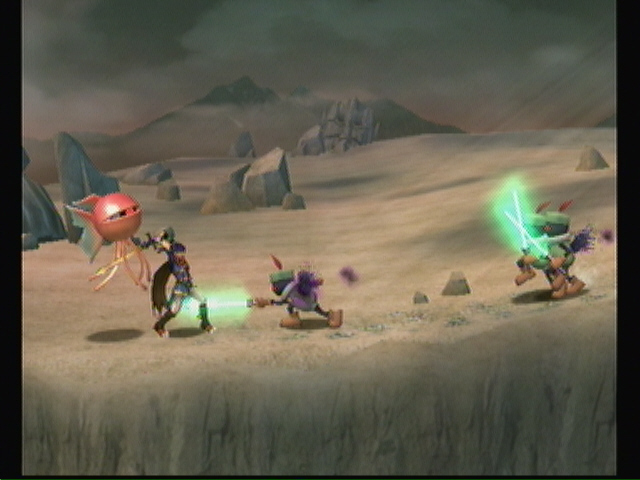 No fair! |
 Well I WAS picking on someone my size... |
Story Note
The Minister gets away.... for now.
Luigi shows his, er, “courage” against the Waddle Dee, only to get ambushed by King Dedede, who is also collecting trophies. Dedede uses the Luigi trophy as bait for Wario, who appears in his hover cart with several other trophies. Dedede springs his ambush of an army of Waddle Dee, steals the cart, and leaves Wario in the dust.
This proves that A) Luigi is as scardy as ever, and more importantly, B) the Ministers lieutenants aren't unified or organized, acting more as free lancers looking for more power.
 Too easy... |
End of Level!
You just unlocked Marth!
Cheats, hints, walkthrough index
This level is the best!
this game looks very fun i wish i have it