White Pass
Battlefield: Bad Company 2 Walkthrough and Guide
White Pass
Overview:
Another three-base map, White Pass has two varied deployment points, mostly invulnerable to spawn killing. The main focus is, as is often the case, Bravo base, through which all players must pass to reach the opposite side of the map. The map's linear nature makes close-combat the order of the day. There are vehicles on this map, but rarely are they a threat to any base except Bravo. As the only snow map currently playable in Conquest, it represents a different sort of challenge. There are many buildings with loft spaces for snipers, and a rocky pass at the side of the map also popular with long-range players. Alpha base shares many similarities with Charlie on Laguna Alta in terms of layout and structure, and indeed this map generally feels very familiar if you have played much Conquest already.
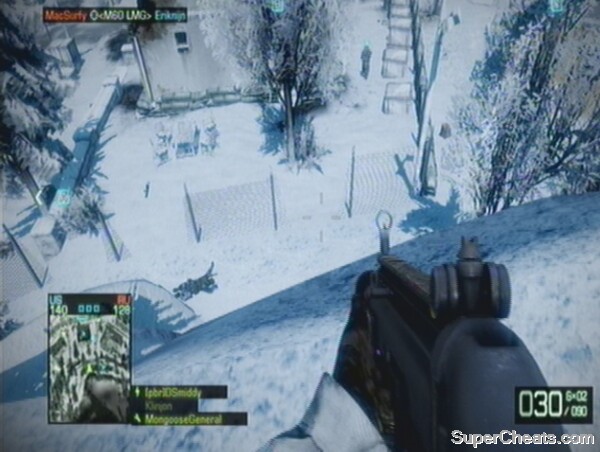 The ledge above Bravo is a haven for flankers and snipers. |
Class Recommendations:
1) Assault: The close-quarters nature of the play on this map means a class with good short to medium range weaponry is preferable. The assault class fits this bill, of course, while their expertise with 40mm grenade launchers is invaluable for dealing with snipers in the roofs of the buildings around Bravo.
2) Medic: Every base is within a short distance of the next on this map, and a medic can be very effective sprinting between the buildings and reviving comrades. Dropping med-kits around Bravo will allow your team to bed in and defend it with more success. Most of all, the LMGs can punch through the thin walls of most buildings on this map, and medics can often get more kills than assault class players on White Pass.
3) Engineer: With short to medium range effectiveness provided by their SMGs, the engineer class is not far behind assault in terms of their role on this map. RPGs can assist in destroying buildings, particularly those around Bravo, and of course are essential for taking down the few enemy tanks that can cause you problems.
4) Recon: While there are positions for recon players to snipe on this map (such as on the hilly ledges behind Bravo or in the lofts of various buildings), they are chiefly useful for their motion sensors, assisting in the defence of Bravo especially. In addition, mortar strikes are very effective in assaulting the central part of the map, and a recon class with a shotgun can cause many problems.
Deployments:
US Deployment:
Both deployments are quite sparse, due to their close proximity to other bases. The US Deployment has a M3A3 Bradley and a quad bike. It is a short sprint down the slope to Alpha base.
RU Deployment:
The Russian spawn has a BMD-3 Bakhcha which is very effective against infantry, as well as a quad bike – useful for contesting Bravo and Alpha early on. It is very close to Charlie, and that base should remain in Russian control for most of the match.
Bases
Alpha Base (Factory):
Alpha is much like the mill on Laguna Alta, and Charlie base on Panama Canal. It supports plenty of cover on the ground floor of the factory, but multiple entrances. The first floor has cover and stairs down to the ground. You can capture the flag while on the stairs. There is also a window on the first floor leading out of the back of factory (there is also a ladder out here going to the roof). The roof is popular with snipers, and boasts a machine gun emplacement, while across the valley is an even taller structure that can be used by attackers to get an angle on anyone defending the factory itself. Another offensive strategy is to take a tank inside the factory, as there is room. Defenders should place anti-tank mines by the flag to combat this. Be aware that you can be flanked on many sides if you are inside the factory, and that there is a stairwell at the end of the building that can be used to surprise defenders guarding the doorways. Alpha can be used by the Russian team to spawn kill at US Deployment, as it is almost visible from the base.
 There are many points of entry into Alpha. |
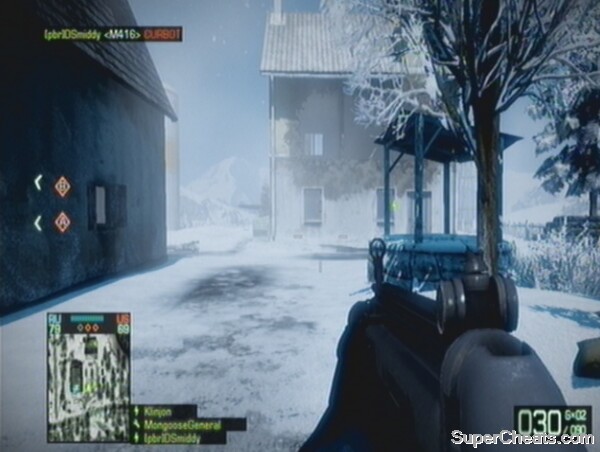
Bravo Base (Village Center):
There are two main buildings at Bravo, with the most important one nearer the UAV point (which is on the edge of the cliff at the back of the area). Both these buildings overlook the main road that passes by the flag. They can be destroyed, and should be, if a team is having a problem with campers in either of them. In particular, players camp behind the top of the stairs in buildings on this map, so it is a good idea to walk up the stairs backwards, watching the small landing above as you move. There is also a watchtower at Bravo, although this is rarely used by players due to its vulnerability to explosions. In addition to the two main buildings, there are many smaller structures. The roof areas of these are frequently used by snipers and other classes to lay down fire on the flag area of Bravo. Tanks will often come along the main road to sit by the flag, but anti-tank mines are regularly employed to combat this. There are machine gun emplacements in front and behind the Bravo flag.
A good team tactic is to capture Bravo, before destroying the buildings on either side of it – making it harder to assault for the enemy.
out of sequence
Charlie Base (Farm):
Charlie is closest to RU Deployment. It has a barn building with a mounted machine gun emplacement that can help a little in defence, but is not as useful as the other buildings around the flag in this manner. Players frequently camp in the buildings near the flag, and assault classes with 40mm grenades are useful for exposing them The well in the centre can be used to hide in, if crouched, though you are horribly exposed should someone see you. Charlie can be reached by the US soldiers by flanking Bravo, skirting along the edge of the cliff or moving through each building. The main road through Bravo also continues down to Charlie, allowing tanks to reach the base. It can be used as a base to spawn kill RU Deployment, though not as effectively as Alpha for US Deployment.
 The buildings all around Charlie make it easy to defend. |
No comments yet. Tell us what you think to be the first.