Isla Inocentes
Battlefield: Bad Company 2 Walkthrough and Guide
Isla Inocentes
Overview:
Isla Inocentes has the same number of bases as Nelson Bay, but is a far larger game area. It also has a few quirks in the nature of its gameplay, which will become apparent later. The terrain is largely based on a string of islands for the first base, before becoming rooted on solid land. It is harder to attack than defend (with the US on the offensive), and needs good coordination and balance on the part of the attackers to be successful.
 Isla Inocentes is an autumnal map, with lots of water and air combat. |
Class Recommendations:
1) Engineer: The defending team should employ plenty of engineers to combat the helicopters and tanks that are given to the attackers on this map. Engineers have little value for attackers, as there is only one helicopter on offer to guard the M-COMs, and that is at the final base.
2) Recon: Just as engineers are only really useful for defenders, recons primarily function for the attacking team on this map. The first base in particular needs snipers to assist those arming the two M-COM stations, and their use extends to the next two bases also. The terrain is often hilly, giving good views over the bases. Defenders will want some snipers to counter the attackers' recon units.
3) Assault: The attacking team, without the regular need to combat vehicles, will want assault units to provide medium-range cover. They can also resupply the snipers. As defenders, engineers may as well be picked over assault due to their anti-vehicle capabilities.
4) Medic: To reduce ticket-bleed, medics are useful for the attacking team. Their LMGs are not as good on this map as some others, though if you have a scope available and are good at using them at long-range it is an option.
Bases:
Attackers Deployment:
The main quirk of this map is that the attackers' first two spawns are the same, so even after the first M-COMs are destroyed, the US forces spawn at the start. This base has two Black Hawk helicopters, vital for ferrying units to the first island and for keeping defending units suppressed, as well as three jet-skis and a patrol boat. There is also a UAV available. Once the first base is taken, a Bradley tank spawns here too.
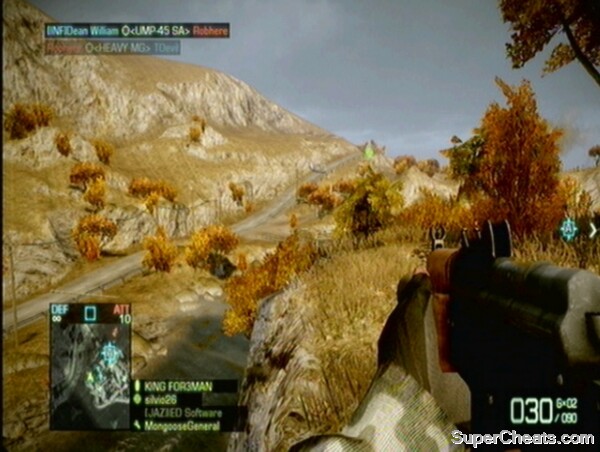
Island
The island is separated from the attackers spawn by a long expanse of water, though there is a road and wooden bridge (that can be destroyed) allowing access via land. Defenders have to deal with the aerial threat of helicopters and paratroopers, as well as that from the sea and land. Most of the front of the island can be accessed with jet-skis and by infantry, while there is also a path up the side near the bridge.
Alpha:
The first M-COM station is on the edge of the island, facing the attackers' spawn. While it is protected from snipers by a line of concrete blocks, these can be taken out (usually by Mortar Strikes) to give snipers a line of sight to the crate. It is most easily accessible via the bridge and slope next to it. Once armed, players can use the concrete blocks to cover and watch over the box. It is overlooked by the hill towards the back of the base, and defenders can cover by the fishing boat and structures nearby to protect it.
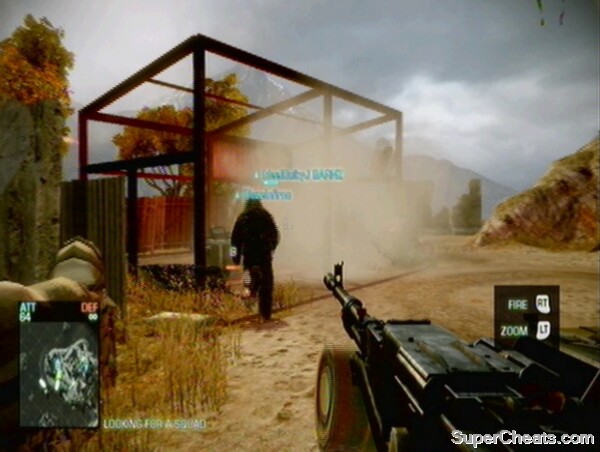
Bravo:
Over the other side of the island is the Bravo M-COM station. It is housed in a small shed, which can be accessed from the plot of land near the edge of the cliff. Jet-skis can go up the slope at the front of the island and infantry can then quickly access the Bravo M-COM, though it is easier to defend than Alpha. Use the turret overlooking the beach at Bravo to assist in the attack.
 The turret near Bravo can be turned round and used against the defenders. |
Village
The village is on the next land mass along from the first island. The attackers still spawn at their original location, and face a long journey to reach the next set of M-COMs. The jet-skis remain, allowing individuals not in squads to reach the objectives more easily. The attackers now also have a Bradley tank, which must travel along the main road, past the bridge and continue to the base. As the name of the base suggests, there are many buildings in the area, one of which houses the Alpha M-COM, while the other M-COM is in a shack similar to Bravo on the island. For access by jet-skis and patrol boats, players can either enter a dock area or meet up with the road before actually reaching the base. The helicopter can also be used to ferry attackers to the base. They can also be dropped at the back of the base to flank the M-COM stations – capturing the various buildings and using their rooftops is a good strategy to dominate the defenders' spawn.
 It's a long hike for the attackers to the Village. |
Alpha:
The Alpha M-COM is in a brick-built building overlooking the corner where the main road curves round to enter the village. It is surrounded by metal fencing on two sides, with a sandbag emplacement allowing the defenders to hold an overwatch position on the road. There are many buildings towards the back of the village that can be used as vantage points to help defend Alpha.
Bravo:
Like Alpha, Bravo is raised up from the road, meaning it overlooks where most attackers will be coming from. It also has a better angle on the dock area than Alpha. The building it is in is only a shack, with walls on three sides, so it is easy to arm. The level here is also terraced, meaning that once you are in the shack, you are relatively well covered from the rest of the base.
 Bravo is in a similar shack to in the previous base. |
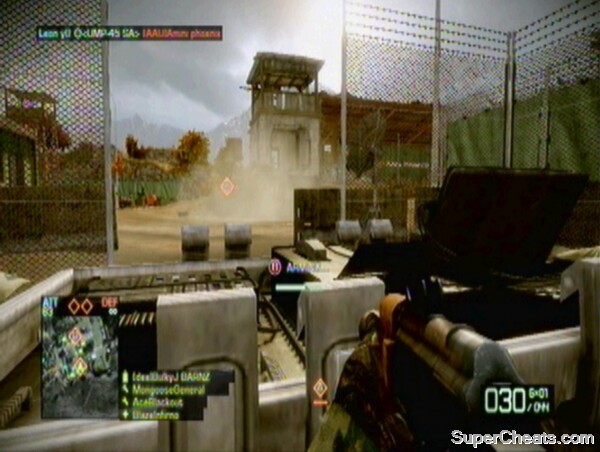
Last Stand
The final base of this level gives the defenders their only vehicle of the map. They are given a helicopter, useful for suppressing the attackers before they can reach the military base at the end of the valley. It is a long walk up a steep hill for the attackers, and snipers will enjoy using the crest to attack the base below. It is then a sprint down the hill to a trench, after which the M-COM stations can be directly engaged. The military towers are popular with snipers, but can be easily taken out early on with RPGs.
 The last stand is set around a military base. |
Alpha:
Alpha is in the open, sheltered from the attackers by a one-storey building, and flanked on three sides by fences. Once the fences have been knifed, it is pretty easy to get to and arm. It is overlooked by a guard tower, and this should be destroyed by the attackers as soon as possible.
 Alpha is very exposed, but sheltered enough to make it difficult to defend! |
Bravo:
If you thought Alpha was exposed, Bravo is in a whole new league. Its only cover is a few shallow walls of sandbags. The large hangar can be used by defenders to keep an eye on the M-COM box, as can the nearby guard tower.
TIP: Drive a surviving Bradley tank to the crest of the hill and fire down on the base to assist in the attack, or to simply whittle away at the M-COM boxes' health.
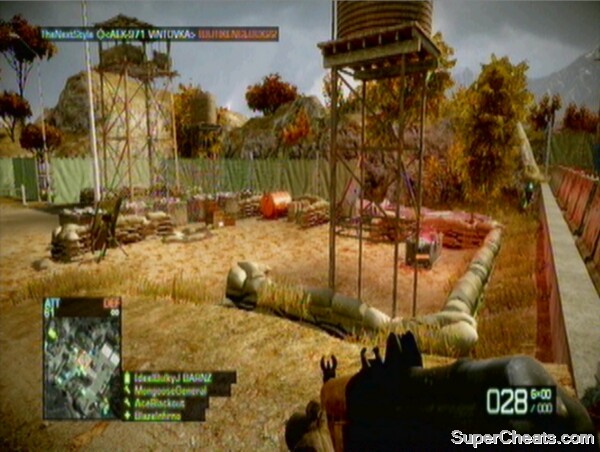 A smash and grab job on Bravo is the only real option |
No comments yet. Tell us what you think to be the first.