Laguna Presa (Map Pack 2)
Battlefield: Bad Company 2 Walkthrough and Guide
Laguna Presa (Map Pack 2)
Overview:
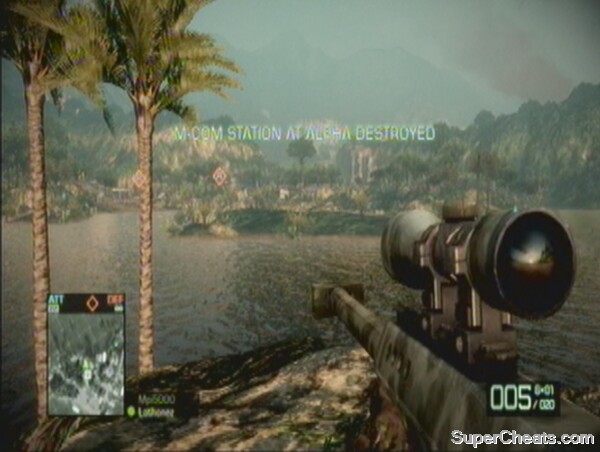
This is a map very popular with snipers, due to the nature of the terrain. The first base, for example, is located across a mass of water from the attackers, with a small island in between. Snipers can use this island to wreak havoc on the defenders. Due to the large amount of water on Laguna Presa, boats and jet-skis are regularly used to assault the M-COM stations. The attackers play as the US team.
 Watercraft can be used to subvert the defences of the first base. |
Class Recommendations:
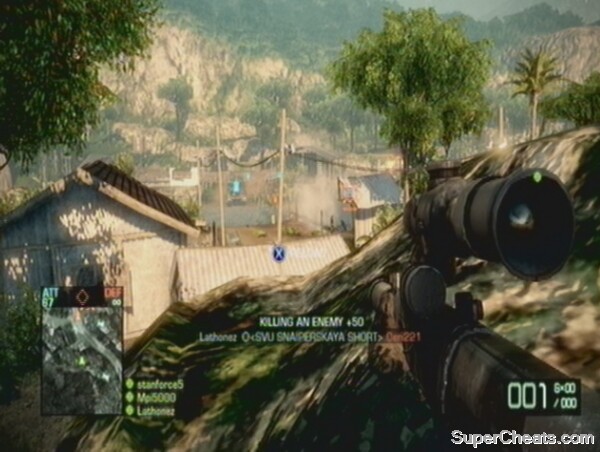
1) Recon: By far the favoured class for attackers on Laguna Presa is Recon. Defenders also certainly need some snipers, both to Mortar Strike the attackers' deployments, and to prevent enemy Recons from getting a stranglehold on the map. Their motions can also be integral during close-quarters sections where the vegetation and buildings can make spotting targets otherwise difficult.
2) Assault: The accuracy and range of some of the assault rifles can rival the Recon class sniper rifles and so is a good choice for this map. Defenders and attackers alike can use this range to their advantage. Once the action reaches close quarters, in the physical attack or defence of the M-COM stations, assault soldiers again come into their own. The 40mm grenades can also rip through the wooden buildings that dominate this map. Their ammunition boxes are valuable to replenish supplies of anyone being constantly revived by medics.
3) Medic: As usual, attackers need Medics to retrieve lost tickets. Having a Medic at any regular sniper position is a must, as they can then be repeatedly revived. Their LMGs can cut through the wooden buildings and cause devastating damage to defenders.
4) Engineer: Engineers are useful on Laguna Presa for defenders, primarily to destroy the watercraft during the opening section, but also to target the Bradley tank that the US get to attack the third base.
Bases:
Attackers Deployment:
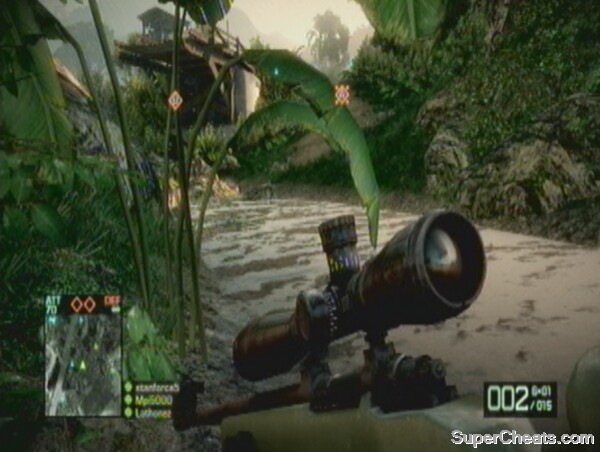
The attackers begin on an island a long way from the first two M-COM stations. This allows defenders to prepare for the main assault. Attackers are assisted by Patrol Boats and Jet-skis. There is another island between the deployment and the main land mass, and this is used by snipers to reduce the range for their attacks. From the Attackers Deployment, boats can be sent directly onto the beaches of the main area, or around the side to attempt to flank defenders. There is also a UAV available to attackers which can help greatly in preventing defensive turrets from establishing a stranglehold on the seafront.
 The Attackers Deployment is perfect for snipers. |
Village:
To defend the village, there are two primary areas to watch. The main beachhead is where the majority of attackers land, and anti-tank mines should be laid on the sand to prevent enemies from racing their boats up the beach. As defenders, you also have access to gun emplacements overlooking the sea. Attackers can also use the route around the side of the village, popular to flank the defensive emplacements. As well as this, boats can land anywhere along the front of the village, but infantry can only climb the beach in a select few locations. The land in the middle of Alpha and Bravo can be used to watch over both bases by soldiers with long-range weaponry.
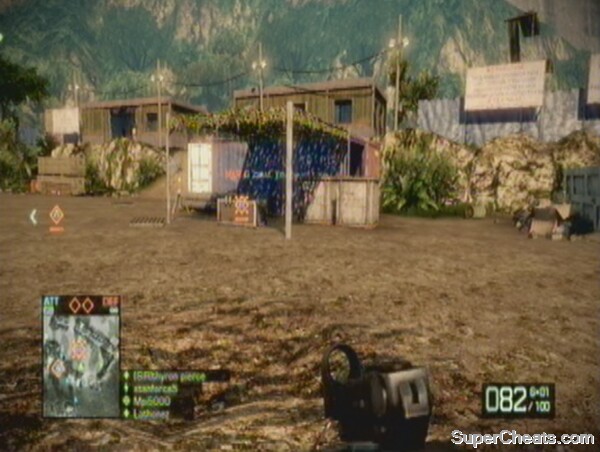
Alpha:
Alpha is set back from the water, across the small road and amongst a variety of wooden houses. It is easy to arm and difficult to defend, due to the number of different ways of getting to it. It can be quickly destroyed at the start of the match. There is also a machine gun emplacement overlooking it, but this can be just as valuable to attackers as defenders.
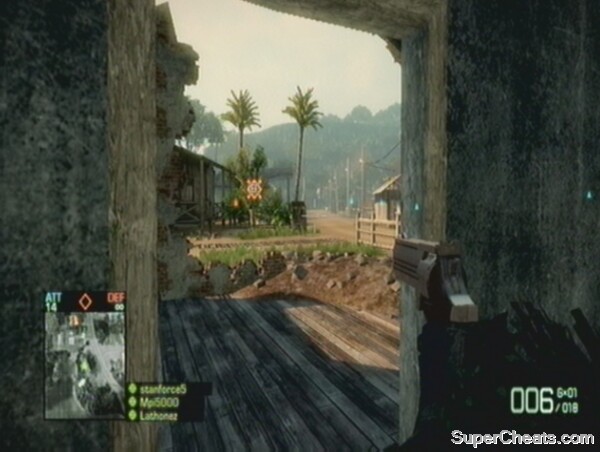 This road is popular with flankers, passing both M-COM buildings. |
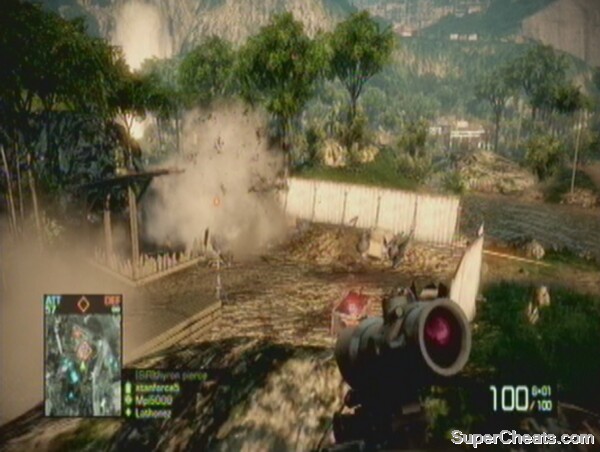
Bravo:
This M-COM station is located in a small building near the main coastline. It bears the full brunt of the attacking snipers, but is also easier to defend than Alpha due to the open ground around it. The walls and roof can be destroyed, leaving the M-COM box exposed to the elements (and RPGs). This makes it easy to defend, with no cover for attackers.
Mortar Strikes are a good way to bombard an M-COM to prevent anyone from disarming it.
Waterfall:
This base can be accessed by road from the village, and the attackers will now have a Bradley tank to use in assisting their advance. If there are any boats left over from the first base, these can be used to move up the river, which will eventually lead right into the heart of the next set of M-COMs. Overlooking both bases is a rocky outcrop, which is very popular with snipers. Putting C4 up here as defenders is a good strategy, and regularly peppering it with RPGs and grenades is a similarly good idea. The defenders may want to recruit extra engineers for this section in order to combat the Bradley, as it can be quite decisive if anti-tank mines and RPGs are not used to destroy it quickly. There is only one main road into the base, so it is an obvious place to lay mines.
 Use this rocky shelf to get a great vantage point over the area below. |
Alpha:
The Alpha building is on the side of the river nearer to the village. Like at Bravo in the first base, when the vegetation, walls and surrounding cover has been destroyed, attacking the M-COM box becomes much tougher. There is a small hill and rock just next to the building, providing some cover, and early in the round it can be reached quite easily, but as the line of sight of defenders opens up, the terrain begins to play into their hands.
Bravo:
Bravo is across the ford, and much more difficult to access than Alpha for the attackers. One tactic is to use the Bradley to forge a path across the river, dropping off infantry once the objective has been reached. Infantry can also sneak round and into the building. Arming Bravo will often surprise the defenders, but it is hard to protect the M-COM once a charge has been set – C4 or constant barrages may be the best bet.
Bridge:
As the name suggests, the key to attacking this base is the bridge. The defenders should C4 it and then destroy it when the first tank comes across to get maximum points and ticket loss of the enemy from the adventure. Once the bridge is down, there are two routes up to the base. The first is a short and steep path from the river, and the second is past the bridge and up some steps. Boats, surviving from the first base, can pass along the river. There is a lookout tower watching over the bridge, and buildings guarding the infantry routes up to the base. It is important for the attackers to try to control these entry routes if successful access to the M-COM stations is to occur.
 The bridge is the central focus of the early assaults on this base. |
Alpha:
The Alpha building is on the right hand side of the base (from the attackers' point of view). Like the others, it is a single-storey building, around a hilly outcrop. Once the walls have been destroyed, it is easily accessible for attackers, and due to the hill on one side, it is relatively easy to defend once armed.
Bravo:
The Bravo M-COM station is right on the edge of the hill overlooking the river, and so is the easiest for the attackers to get to, though it is further along from the bridge. It is overlooked by mounted machine guns, so players should try to assault it from the side of the river.
Islands:
The river continues through the bridge base to the next area. This is the Charlie base of the Laguna Presa Conquest map, made up of wooden buildings and backing onto a large expanse of water. It is certainly distinct to the rest of the bases seen so far. Due to the wooden buildings, medics come into their own here, and generally it is an easy set of bases to take due to the masses of vegetation providing visual cover.
Alpha:
In the initial dock area, the Alpha M-COM is in one of the long buildings. The brick walls can be destroyed, giving attackers many routes in. There are other buildings overlooking the square in front of the M-COM building, which plays into the hands of defenders, but there are many other points of access to the building itself, from the river and road.
Bravo:
Bravo is a rarity, not being inside a building. Instead, it is in the centre of an enclosure of metal fences. The river passes it on one side, while from the front it is protected by an anti-tank emplacement. There is a small shed at the back, but the rocks and bridge above it act as a great overwatch position for Bravo.
 Bravo is inside a row of fences. |
Last Stand
The Last Stand base is a shanty-town of wooden buildings. The river again flows past it, but watercraft are unlikely to play a role in the attack on the pair of M-COMs here. For defenders there is high ground above the two M-COM stations, aiding the protection of the M-COMs greatly. There is also some scaffolding towards the dam, which can be used by recon or assault classes to dominate the base.
Alpha:
Alpha is in a wooden building right on the river. These waterside buildings are on stilts, and players can hide underneath them while attacking or defending. The best offensive strategy is to decimate the wooden structure to help out your team mates, while defenders should take up positions around the building and prevent anyone from entering.
Bravo:
This M-COM is located back from the river, protected only by sandbags on the exposed side. Behind it is a cargo container, popular with camping attackers and defenders alike.
 Bravo is exposed, but can be defended using the indestructible cargo container behind it. |
While playing this level I've seen attackers on top of the steep cliff overlooking the "bridge" base. Even more recenltly I saw the Bradley up there firing all the way to the back. I know they are getting up the hill down river towards the gulf, but I'd love a video of the way up.