Nelson Bay (Map Pack 1)
Battlefield: Bad Company 2 Walkthrough and Guide
Nelson Bay (Map Pack 1)
Overview:
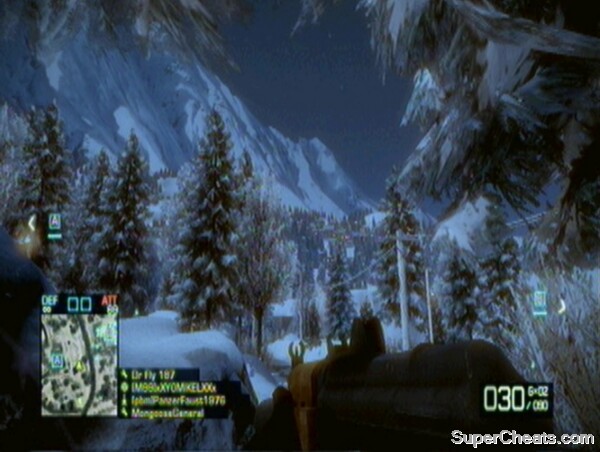
Nelson Bay is the smallest Rush map, with just three bases to attack or defend. It is also the only Rush map without any real vehicles. The attackers have quad bikes, and a UAV, but no tanks, jeeps or helicopters. It takes place at night, in a snowy environment, with the Russian forces attacking. It is also thought of as the most difficult map to defend on, both due to the fact that you only have three chances before failure, and the nature of the combat and M-COM destructibility. The amount of trees mean defenders should try to destroy the forests with bullets and explosives early on.
 Nelson Bay is a haven for stealthy players. |
Class Recommendations:
1) Recon: The darkness and long-range combat on this map allows snipers and recon units to sneak around and generally pick off many defenders. Mortar strikes can really help the attackers, bringing down the M-COM buildings.
2) Assault: While there are many long-distance sections on this map, there are also occasions where close-quarters combat is called for. In particular, the fighting around the M-COM stations and in buildings are such instances. They are also versatile enough to help out against snipers over longer distances.
3) Medic: As usual, the attackers should take plenty of medics. Some of the LMGs are decent at long range, and while their bullets will struggle to penetrate the concrete walls on this map, they can still pack a punch against any defending class.
4) Engineer: It is hard to justify playing as an Engineer on this map, due to the absence of vehicles. Their guns are better at close-quarters than anything else, but their lack of effectiveness in other situations is too great a hindrance.
Bases:
Attackers Deployment:
The attackers parachute in, but only have access to a UAV and a single quad bike in this base. The bike should be used to rapidly attack the M-COM stations before the defenders have time to react. There is little else to note about the attackers first spawn, except that there are two main roads leading from the spawn to the defenders' positions.
Civilian Area
Like all of Nelson Bay's areas, this village is an open, sprawling landscape with multiple lines of attack. The main roads towards both Alpha and Bravo are usually the best defended, while using the trees, snow and terrain for cover can bring in useful flanking angles on the defenders.
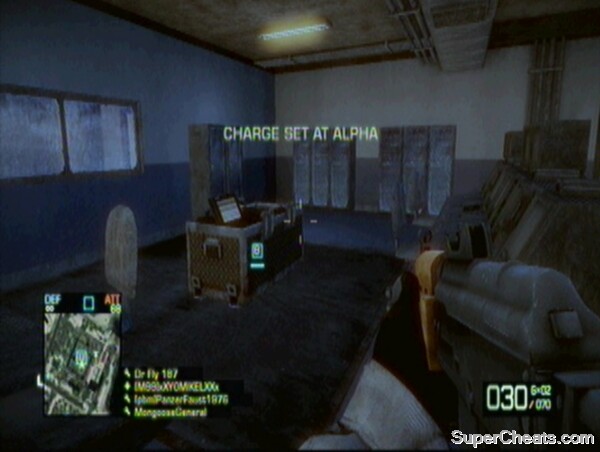
Alpha:
Alpha is nearer to where defenders most commonly spawn, but if Bravo has already fallen, it can be used to attack anyone attempting to protect the building. It is tough to defend as it is on open ground and easily accessible. Coupled with this, the mass of trees and hilly ground makes spotting attackers difficult. With some of the walls down, you can kill attackers as they enter, but again, this can be destroyed with Destruction 2.0, so you must not go too far with the destructibility. Attackers should focus on capturing Bravo first, as it can be used to destroy Alpha with explosive rounds.
 Alpha is one of the most difficult M-COM stations to defend. |
Bravo:
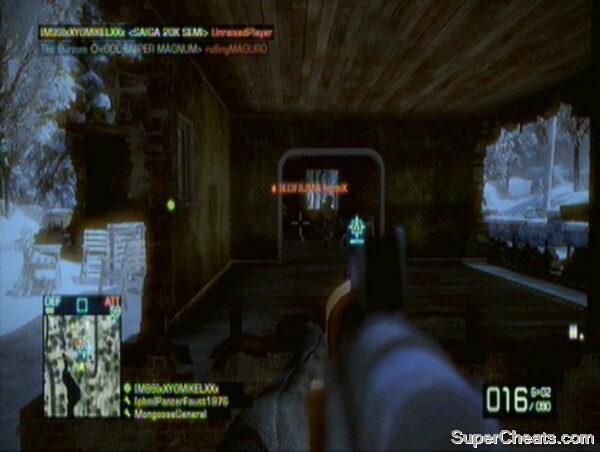
This M-COM is in a three-storey building on the left-hand side of the base (from the defenders' point of view). The M-COM itself is directly up the first flight of stairs, and in the room at the top. If you don't find the idea repulsive, it is a good plan to have a defender camping at the back of the stairs to catch anyone climbing up – it's the only way in. This can also be used by attackers to protect an armed M-COM. Defenders can also hide in the roof and drop down when the M-COM is under attack. Defenders may wish to blast a hole in the side of the building next to the M-COM, so that snipers and other players can see in from outside. Note however that this building can be destroyed by Destruction 2.0.
 Bravo is in a well-protected building. |
Army Outpost
This base is quite similar to the first, with one main building at the edge of the area, and one smaller in the centre. Unlike the first, however, neither building can be destroyed, and as such, this base should be treated as an essential hold for the defenders. Once again, there are two roads leading to the M-COMs, and plenty of undergrowth to cover in. Where the main road splits into two, there is a machine gun turret in a great position. It's hard to use for long without being killed, but is a vital tool in defending the outpost. Bravo in particular has flanking paths around the edge of the level going up to its entrance.
Alpha:
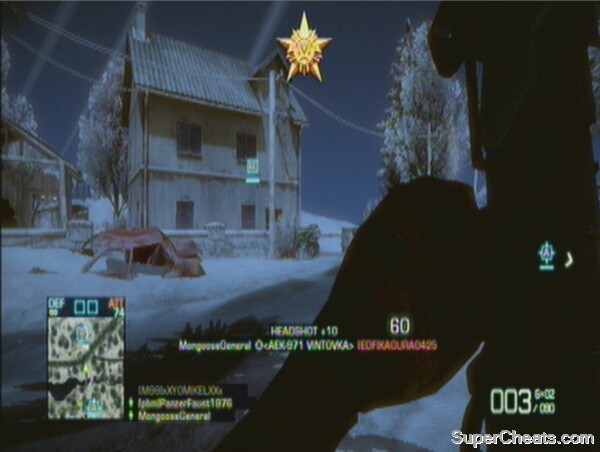
Alpha is in a thin, two-storey building, similar to that in the Last Stand of Valparaiso. This building cannot be destroyed, but it is a risky task to defend it from within, as it is so thin grenades can take out any infantry with ease. It is overlooked by an identical building next to it, which can be used by sneaky defenders to protect the upper floor of the M-COM building, if the walls have been blown out. This should be considered a necessity to allow defenders to protect the box.
 Alpha is in a prefabricated two-storey structure. |
Bravo:
This M-COM station is in a more military building than we have seen thus far. It has emplacements on the roof and a machine gun turret round the back. There is a snowy path by the cliff-edge which attackers use to flank the base. There are multiple entrances, but the central M-COM room is fairly easy to defend. If Alpha is under heavy attack, defenders should consider giving up and placing all their eggs in a Bravo-shape basket.
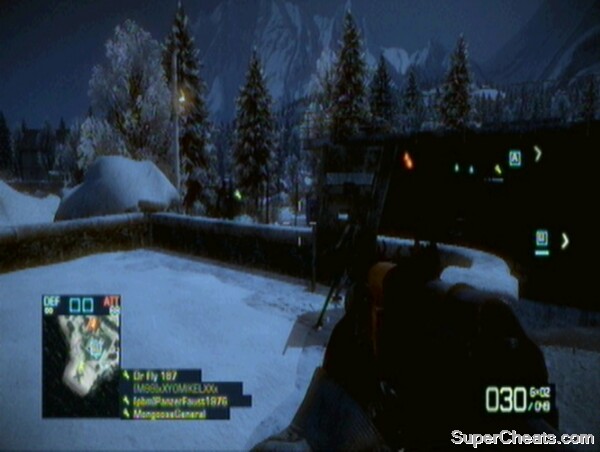 Bravo has its own machine gun emplacement over-looking the flanking path and main road. |
Submarine Base
The Last Stand on this map takes place in a base similar to the last two. Alpha is again in the centre with Bravo on the exterior. Like the last base, Bravo is in a military building with an accessible roof. It can be easily flanked, but can be exposed through repeated explosive rounds. There is a train track running past Alpha towards Bravo, providing good cover for attackers.
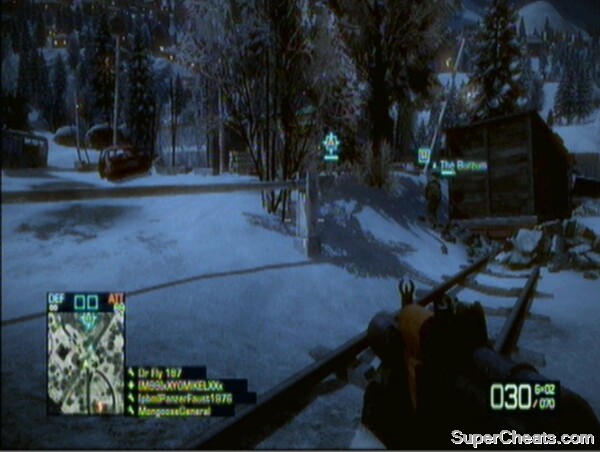 The train track is the distinctive feature of this base. |
Alpha:
The Alpha building is located near the train track. It is one of the most memorable in the game, due to its tiny size and many entrances. The inside has numerous points of cover, but is very vulnerable to grenades. It cannot be destroyed by Destruction 2.0. It also humorously has a painted on door nearer the train tracks, which many attackers new to the game get caught out by. Entrance can be made via the doors in the side which can be blown open. If it gets armed, you really have to just throw bodies at it to be able to disarm it. Grenade the heck out of the building before entry – smoke grenades are not a bad idea.
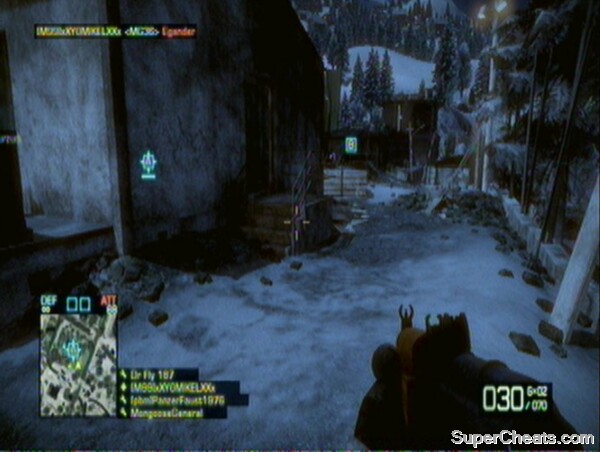 Alpha's dummy entrance. |
Bravo:
Bravo is easy to defend, but is on a main road with a great flanking route by the cliffs (once again like the last base). It has emplacements on the roof, and a beastly interior section that should be defended at all costs. It is the easiest base on this map to hold against the attackers. Defenders should avoid being drawn away from Bravo to assist at Alpha. Attackers should bombard it with explosives to get a route into the central chamber and the M-COM. Once armed, it is incredibly difficult to deactivate unless the attackers neglect to protect it.
 A stronghold inside the Bravo building. |
No comments yet. Tell us what you think to be the first.