5: Crack the Sky
Battlefield: Bad Company 2 Walkthrough and Guide
Level 5: Crack the Sky
Story:
The terrorists may have got Aguire’s intel, but he made backups of them, which are stored in a satellite in orbit. We need to bring the satellite down to get the information we need. Flynn is dropping us in by helicopter.
Collectibles:
SCAR-L
Other Collectibles:
M95
M-COMS:
2
Walkthrough:
Flynn needs us to clear the drop-off point before he can hover low enough for an insertion.
Clear Hostile LZ:
The helicopter will circle the base, and it’s your job to take out all the enemies below. You can see the health of your vehicle in the bottom right-hand corner of the screen, but there isn’t too much that can scratch your helicopter. Eventually, vehicles will come in. The trucks have explosive barrels in the back, handily; the jeeps have RPG troops on the back – they can seriously hurt your helicopter, so prioritise any RPG units.
 Spray the vehicles with machine gun fire to avoid getting RPG’d. |
A cut-scene will play with the LZ cleared, after you take out the last few trucks.
Locate Satellite Control Substation:
Flynn drops you onto a rooftop. Move through the base, picking up ammo, collectibles and new weapons as you go.
Climb the steps at the back of the area, at which point you will be intercepted by enemy troops. There is a 50 cal machine gun turret above you (as well as a sniper even further up) which you are requested to flank, though it can be taken out with an accurate headshot on the operator. You can flank it by following the road below it to the side of its nest.
Proceed around the next corner.
Reroute Satellite:
M-COM Station #1: Before moving into the base where the satellite substation is located, head up the steps to the sniper nest on the mountainside, overlooking the camp itself. Not only is there an M-COM station in the hut up here, but you can pick up the enemy sniper rifle to use on the base below.
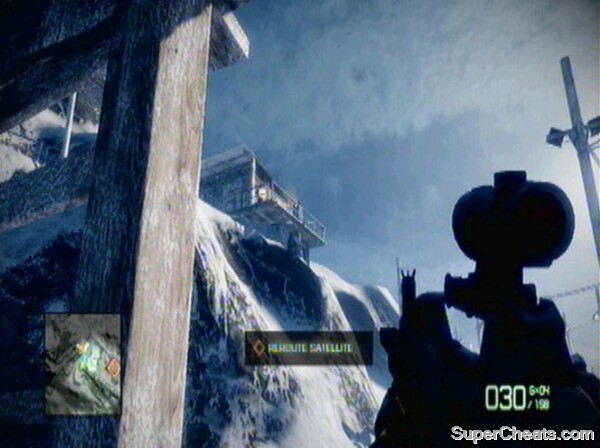 The M-COM is located up there. |
Use the sniper rifle you have picked up to assist your squad in attacking the base. You will draw a lot of enemy fire, and even their shotguns can reach you from this extreme range – it won’t hurt you much, however. Focus your fire on the roof of the objective building.
Other Collectible: The M95 sniper rifle you are using here is a new weapon at this stage of the game.
Once you feel you can do no more at such distance, move down to help out your squad in close-quarters. Use the trucks on the right to cover behind as you move into the base.
Some of the infantry have RPGs, so be sure you are not too reliant on one piece of cover. With the outside clear, enter the satellite building. There are enemies inside, waiting for you, so collect a shotgun if possible (there should be one on the first enemy you encounter within). Look out for enemies behind any shut doors. You can then enter the central chamber to trigger a cut-scene.
Sweetwater has set the satellite to crash land near our position, from where we can retrieve the data server.
Follow Unit:
Follow your squad to an overwatch position.
Find Transport:
Flynn can’t extract us to take us to the satellite’s crash zone, so we need a vehicle. The village below will provide a jeep. Move down the path, picking up any weapons you want from the supply drop. From here you can stir up the hornet’s nest and begin firing at any targets in sight.
 Begin the descent to locate a vehicle. |
Watch out for MG turrets which enemies will man once they notice you. There is a mounted gun with a shield that you can commandeer to help attack the enemies below once the first section has been passed.
Collectible: SCAR-L – You can find this now at the gun icon to the left on your map. It is in a green crate to the side of a house by the cliff edge.
 The SCAR-L is located at the weapon crate behind this house. |
The next level down you can find two mounted guns, one a machine gun turret, the other a grenade launcher. Flank these before using them to attack the final area, where the vehicle is located.
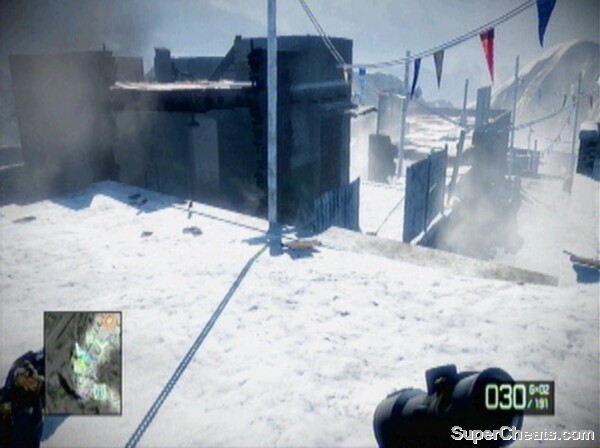
M-COM Station #2: The final M-COM of this level is in the building behind the jeep.
 The M-COM is in the building behind this jeep, at the far end in a small room. |
Mount up once you have secured the area to begin a fantastic section of driving.
Locate and Secure Satellite Impact Zone:
Your jeep has a grenade launcher mounted to it, which you control in addition to doing the driving (like the boat sections previously). The hardest part of this section is keeping the jeep on the road as visibility dives. Focus on this rather than destroying enemies, though you will need to take some out in order to survive. For example, trucks block the road, filled with angry RPG infantry in the back – these must be taken out.
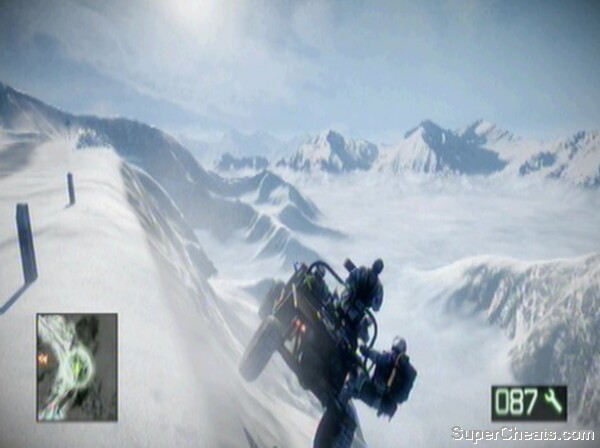 You usually have a bit of leeway even if you go off the road, just as long as it’s not a cliff edge! |
Soon you’ll come upon some Vodniks and jeeps. Deal with them and continue along the narrow roads. Once you pass through the town and cross the bridge, a helicopter flies overhead and you are assaulted by a convoy of RPG-carrying jeeps. You will soon reach a point that triggers a cut-scene as the satellite crashes into the town up ahead.
No comments yet. Tell us what you think to be the first.