Valparaiso
Battlefield: Bad Company 2 Walkthrough and Guide
Valparaiso
Overview:
This map, which has the sea on one side of it, is based largely on hilly and lush terrain. It features a helicopter at the initial base, and plenty of tanks. The nature of the terrain means vehicular combat plays a relatively small role, with vegetation and hills making it difficult to traverse the map. Anti-tank mines can be deployed on the roads to prevent the use of enemy vehicles.
Class Recommendations:
1) Medic: Attackers will do well to play as Medics on this map, due to the medium-range combat. Clearly they will also be able to reduce the ticket-bleed with any defibrillations. Even for defenders, it is not a bad class choice, as many of the bases are compact and avoiding the need to regularly reload can make a dramatic difference to a team's success.
2) Engineer: While this is not the most vehicle-orientated map of the Rush selection, it is vital to have defensive engineers at the first base to combat the helicopters. Attackers would be better suited to use the Assault class throughout, as the defenders are never given any vehicles.
3) Recon: It's a tough case to choose between Assault and Recon as the third class on this map. Snipers can be valuable in assaulting the bases through the trees, and in the use of the lighthouse and attacking the third base downhill. Snipers are also useful defensively, in countering enemy recon troops.
4) Assault: The assault class is only really viable for attackers, as any defenders may as well be Engineers to deal with the vehicles. Still, one or two may be necessary to restore ammunition supplies of the defence.
Bases:
Attackers Deployment:
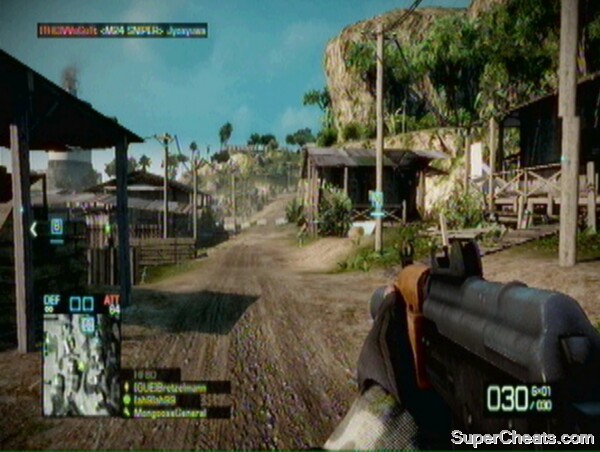
The attackers start the game up a hill and through a forest from the first base. They are provided with a UAV, two quad bikes, a M3A3 Bradley, and a Black Hawk helicopter. This helicopter is vital in attacking the first base, as the defenders are not given anti-aircraft equipment to deal with it. It can be used both to assault the M-COM areas and to drop off attackers at the back of the base. Defenders should ensure they have engineers in their team to keep the helicopter moving and up high. Watch for paratroopers dropping in to avoid getting sniped.
Fishing Port:
This small fishing village is very difficult to hold against the attackers. This is primarily due to the fact that they are given a helicopter and tank, while the defenders have little to combat them with. Anti-tank mines and RPG engineers are the only real way to deal with the constant attacks. Coupled with this, there are multiple ways to reach the village. As well as the main road, players can get there through the trees, a popular haven for snipers. There is also a flanking route down by the river, which comes out by the Bravo M-COM. Both M-COM stations are inside buildings, neither of which is able to be destroyed with Destruction 2.0. There is a machine gun turret in the house overlooking both Alpha and Bravo, while there is another in between the two M-COM buildings.
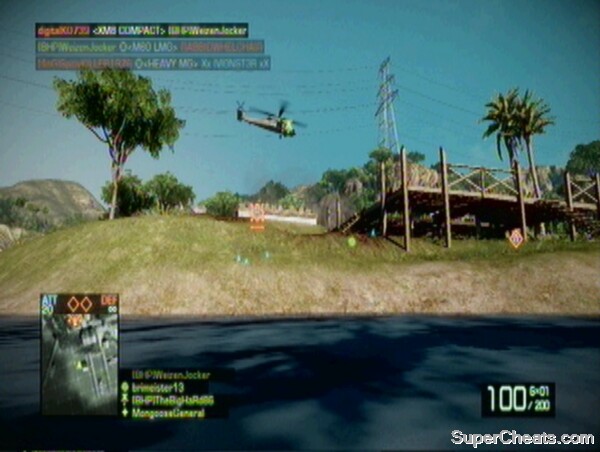 Helicopters play a major role in this first base, allowing you to be dropped in behind the defenders' lines. |
Alpha:
The Alpha station is in a building near the guard tower at the right hand side of the base (from the defenders point of view). The guard tower is often used by defenders to gain an additional angle on the M-COM, where players camp and wait for an attacker to approach the station. Like Bravo, it can be accessed from the rear if attackers are dropped off by helicopter.
Bravo:
The Bravo M-COM is situated on the left-hand side of the base, from a defenders point of view. It can most easily be accessed from the river below, which is a direct route from the attackers spawn. There is a barricade of sandbags blocking the flank, and defenders should try to defend this position. It can also be attacked from the rear, by the fishing huts and the sea, if the helicopter drops off players.
 The Bravo M-COM can be easily flanked. |
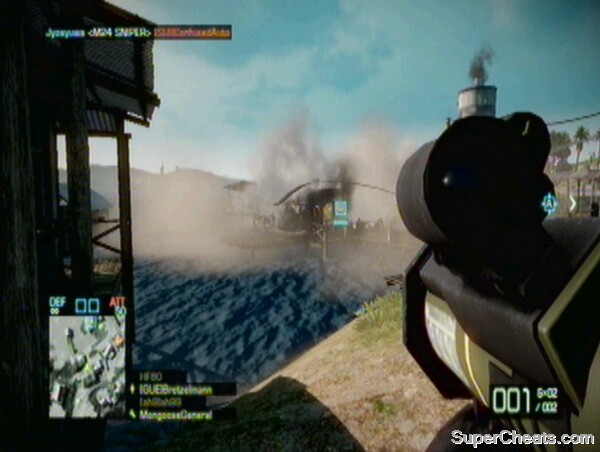
Lighthouse:
The attackers now take over the village base, complete with a helicopter and Bradley tank. The defenders are in charge of a new base, looked over by a large lighthouse. This is a haven for snipers, but infantry can also sneak in and get some good knife kills on the recons. The main road travels up the hill to the base, while there is also a hilly path through the trees. Round the side, near the water, is a path that can be used to reach the lighthouse and flank the defenders. It is incredibly difficult to get up to the base against a good defensive side, and the helicopter should be used to drop off attackers at strategic points. There is a building at the back of the base with gun emplacements on it, and this can be used to combat both the vehicles and infantry that assault the M-COM bases by the lighthouse.
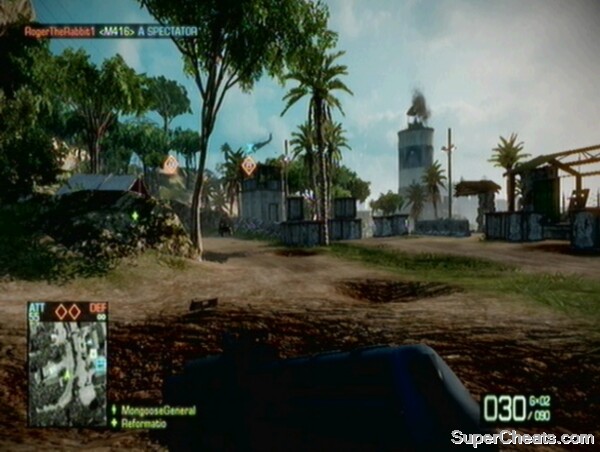 Just getting to the Lighthouse base as an attacker can be tough. |
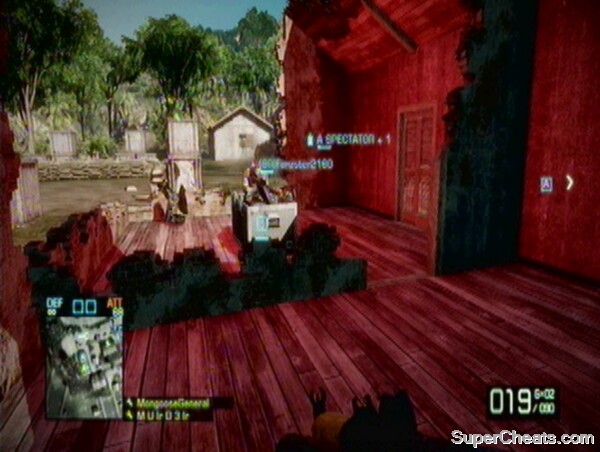
Alpha:
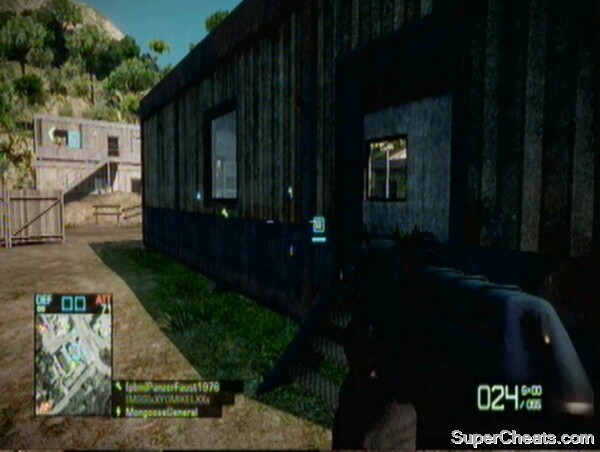
Alpha is in a real building (not a wooden one) near the road leading into the base. With the front wall taken out, attackers can jump inside and arm the M-COM comparatively easily. With all the walls taken out, the mounted guns on top of the building at the back of the base can rip up the attackers, and this tactic should be considered a possibility by defenders.
 These M-COMs are inside concrete buildings for a change. |
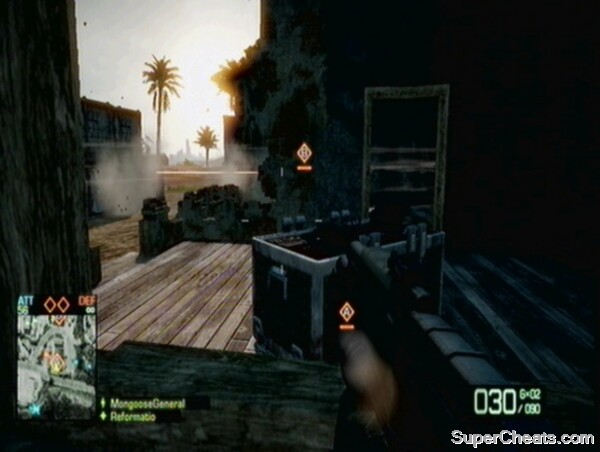
Bravo:
The Bravo building is nearer to the lighthouse, and is much easier to defend. It is next to the flanking path on the cliff-edge, but the route to it is open to fire from the mounted turrets of this base. Both these bases can be attacked from beneath, using their stilts as cover to both defend and attack the M-COM boxes.
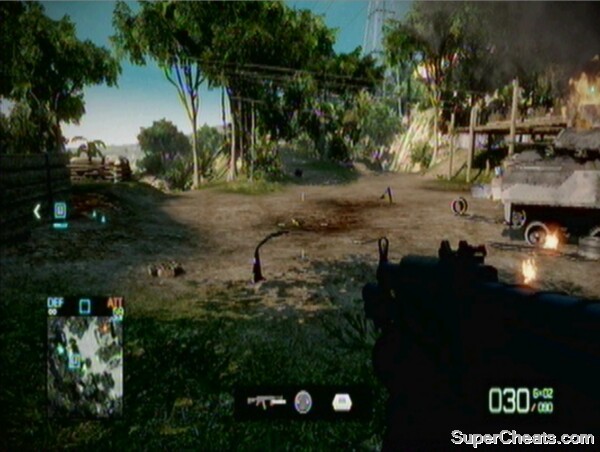
Village:
Down a steep hill from the Lighthouse base is the Village. Snipers have a good opportunity to get plenty of kills using the barricades overlooking the slope on any defenders in sight. There is also a main road heading downwards, which is popular with tanks. Drivers can bombard the M-COM buildings with the tank before retreating into cover around the corner of the road. For defenders, it is worth considering destroying the buildings around the M-COMs to prevent stealthy incursions. Attackers can use Bradley tanks and their helicopter to destroy the base.
 The road and hill are the main features of the Village base. |
Alpha:
This M-COM is on the right hand side, nearer the road, from the defenders' view. Like most of these bases, the surrounding building is made of wood and easy to destroy (though this won't take out the M-COM box). There is only one way to it, so C4 and a stout defensive line can help to reduce the attackers' success.
Bravo:
Bravo is opposite the Alpha M-COM across the road. It backs onto the water, and is on a pier, making access difficult for both defenders and attackers. If the surrounding structures are destroyed, the open terrain can help defenders. The Bravo M-COM is also in the line of sight of the anti-tank launcher at the Lighthouse base.
 Helicopters are still a threat on this map. |
Hilltop
As the name suggests, this base is nestled high in the hills of Valparaiso. It is a narrow base, but is very hard to defend. Two roads lead in, and there are many trees to provide cover for infantry. The hilly terrain also assists attackers, and it is hard for the defenders to engage the enemy until they are right inside the base. It is worth trying to hold the crest of the hill, but this leaves you exposed to sniper attacks. There is a central hill in between the two paths, which is covered in trees, as well as a path to the side, allowing limited flanking and a route to Bravo, again very well covered in vegetation. Vehicles are barely a threat here, as they struggle to make the ascent to the base under enemy fire.
 This base feels like it is on the edge of the earth, and is hellishly hard to defend. |
Alpha:
The building with the Alpha M-COM inside is on stilts, so can be attacked from underneath the floor, and frequently is. Its high position means that once it is armed, it is easy to defend but hard to deactivate.
Bravo:
The Bravo building is across the road from Alpha. It is made of concrete, so it takes longer to remove the walls. It can be accessed over a hill and through some trees from the main road into the base. Defenders should protect it from the front, attempting to block the route through the trees over the hilltop.
These bases are a good location for a determined stand. Don't lose them.
Last Stand
This base is much larger than the hilltop. The attackers must traverse a large expanse before reaching it, and guerrilla warfare can be employed by defenders to help block the route forwards. The main road again leads right into the base, but tanks have to pass over a blind crest, which is a perfect place for anti-tank mines. The defensive nature of this base, with fences, gates and buildings, means it is hard to spot attackers until they are inside. They can flank around the front gate and into Alpha, or over the low wall and into Bravo. There is a raised mounted gun overlooking the entrances to both M-COMs towards the back of the base.
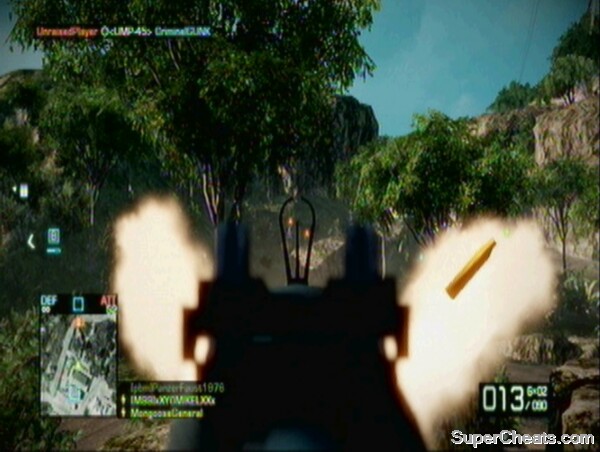 The jungle leading up to the Last Stand should be used to keep the attackers at bay. |
Alpha:
Alpha is inside a two-storey structure, with external stairs leading up to the top, where the M-COM is housed. It is very easy for the attackers to access, and players can then camp in the corners upstairs to defend the armed box.
Bravo:
Bravo is in a smaller building than Alpha, more akin to the other structures used so far to house the M-COM stations. It can be reached over the low wall at the entrance to the base, and is the second building back. It can be defended more easily than Alpha, due to its lower position.
 Finally some decent buildings for the M-COM stations. |
Very good and useful description! I miss a few things though: the 'secret paths' tips. There are many ways to flank the defenders from the edge of the map , climbing to the hillside (or bailing out from the Blackhawk and parachuting there), suppressing the enemy, and providing a closer spawn point to the m-coms for your suadmates.
Attackers can arm the BRAVO M-COM from underneath the wood floor at the 'Village-site'. It would be also a useful tip to mention.
Cheers!
nice