Meltdown - C3
Lost Planet 2 Walkthrough and Guide
Meltdown
Chapter 3
Mission 1
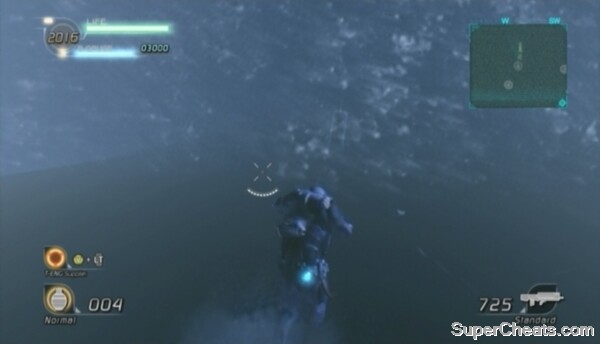
Blast the floating debris with your VS Lasers as you approach E.D.N. III. Destroy as much of this debris as possible, as you will be scored at the end of this sequence. Asteroids will litter your path as you get closer to the planet. Target one of the barrels attached to an asteroid to destroy it.
Mission 2, Area 1
Objective: Activate all the Data Posts!
All Data Posts Online -- Activate all seven Data Posts on the map to earn this GJ award.
To complete this mission, you just need to regroup with your teammates and cross the red line at the north end of the area. If you want to earn this GJ award, however, you'll have to track down and activate all seven Data Posts on the map, which can be a pain because the snowstorm has knocked out your Radar.
 Find your way through the blizzard. |
From Data Post 1 (which player one spawns by), head north to reach Data Post 2. Activate the second Data Post and then head west until you reach Data Post 4. From four, walk south to Data Post 3. After activating Data Post 3, backtrack to Data Post 1 and from there head east to Data Post 6. From six, move south until you reach Data Post 5. Finally, keep travelling northeast from five until you come to Data Post 7.
Objective: Fight Off the Akrid!
Outstanding Fighting -- Kill at least 16 akrid to earn this GJ award.
You'll encounter Dongos, Sepia and Chryatis while scouring the area for Data Posts, so be careful. Your team must kill a combined total of at least 16 of these akrid to earn the Gold GJ award.
Once you have the two Gold GJ awards, cross the red line at the north end of the map to complete the area.
Mission 2, Area 2
Objective: Endure the Akrid Siege!
Held the Outpost: No Causalities -- Successfully fight off the akrid without any deaths on your team to earn this award. AI partner deaths do count, so this is best attempted with human allies.
A mess of akrid are headed in your direction, so you'd better suit up.
 Prepare yourselves for the akrid onslaught. |
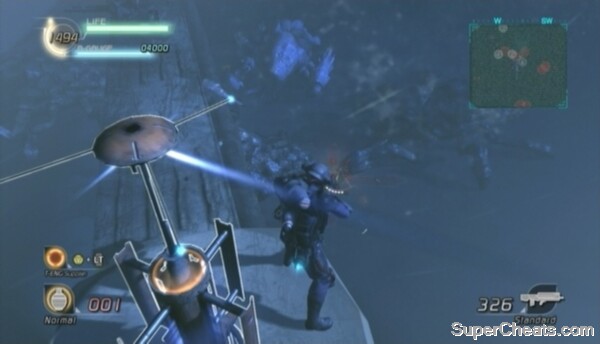
Start by activating Data Post 1 on the eastern arm of the outpost, and then try not to be too troubled by the numerous red blips now appearing on your Radar. There are several powerful weapons at your disposal here. In the T-ENG chest on top of the outpost is a Gatling Gun with 800 ammo. Even better, in the T-ENG chest under the outpost is a VS Shotgun with 50 ammo. The VS Shotgun is probably your best bet, but you can also use the dual Flamethrower turret on the western arm of the outpost.
Keep fighting until the Ex-NEVEC Adjutant radios in and advises you to leave the area. Make your way north to the Over-G Akrid staging area.
Objective: Defeat the Category G!
Double G Victory -- Kill both Undeeps to earn this GJ award.
You will encounter two Undeeps -- large, terrifying, worm-like akrid -- on your way to the Over-G Akrid staging area. These beasts can swallow you whole if you aren't careful, so get in a VS quickly. There is a Hardballer VS buried in the snow mound east of Data Post 2. If you have a grenade, toss it at the snow mound and shoot the grenade to clear away the snow. You'll have to dig it up if you're out. If at any point during this fight your VS is destroyed, you can find another buried Hardballer VS south of Data Post 2.
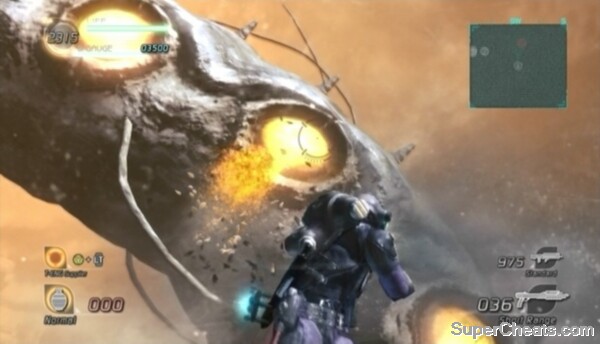 Target the T-ENG deposits on the Undeep's sides. |
Target the T-ENG deposits on the Undeep's sides to damage it. The Hardballer is equipped with dual Gatling Guns, which can easily rip through the Undeep's weak spots. Target an Undeep when it raises its head or tail up out of the ground. Be sure to collect whatever T-ENG is dropped when one of its weak spots bursts. Hover (press the A/X button while in mid-air) to avoid being rammed by one of the Undeeps while they're tunnelling underground.
The Undeep can fire damaging explosive projectiles from its tail. When targeting the T-ENG deposits on the tail end of one of the Undeeps, make use of the Hardballer's dash function (click and hold the Left Stick and press the A/X button) to avoid these projectiles.
When both Undeeps are dead, cross the red line at the north end of the area to complete the mission.
Be ready for a couple of quick time events during the ensuing cutscene.
No comments yet. Tell us what you think to be the first.