- CJ's Missions
Grand Theft Auto: San Andreas Walkthrough and Guide
Grand Theft Auto: San Andreas - CJ's Missions (San Fierro)
In San Fierro, your base of operations is the rundown garage in Doherty. You can save your game there and use one of the lockups to store vehicles. Step into the red marker outside to get started.
Mission 1: Wear Flowers in your Hair
This mission will seem quite pointless, but it's actually a good way to familiarize yourself with the streets of San Fierro. Get in the car with Truth and follow the yellow marker on the radar to a nearby gas station. Drive into the red marker and sound the horn to recruit the mechanic there. Afterwards, The Truth wants you to drive him to the hospital in Santa Flora; follow the red cross on the radar and drive into the red marker when you reach the hospital. Next, drive to the hotdog vendor marked on your radar, drive into the red marker and sound the horn to recruit another worker. The next stop is the police station in downtown San Fierro. The last stop is an electronics store; drive into the red marker and sound the horn, then make your way back to the garage in Doherty to pass the mission.
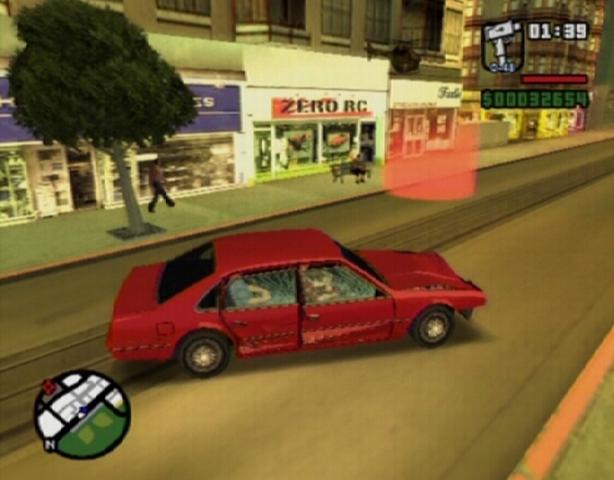 Zero RC |
Mission 2: 555 We Tip
Officer Tenpenny wants you to help him frame a troublesome D.A. He's on his way to the Vank Hoff Hotel in downtown San Fierro, so get some wheels and head over there. Follow the valet into the car park, then step out of your vehicle and kill him. Pick up the valet uniform once the deed has been done. Sprint back to the hotel and step into the red marker there to get started.
 Car Park |
 Valet |
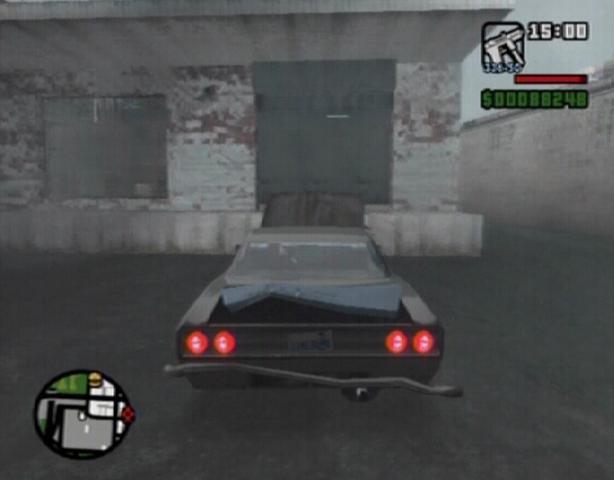
The D.A. is driving a blue Merit, which is the second car to arrive. As soon as the car pulls up, move towards it and hop in. If the other valet gets to it before you, sprint after him and steal the car. Quickly make your way to the garage in Doherty and drive into the red marker so the drugs can be planted. Now you must make it back to the hotel with the car in perfect condition or the D.A. will know something's up. If you hit anything, you'll have to drive to a nearby auto-repair to cover up the damage, so take it slow here.
 D.A.'s Car |
 Garage |
Drive the car back to the car park and into the red marker. Sprint outside to the red marker across from the hotel and step into it to trigger a cutscene. Mission complete!
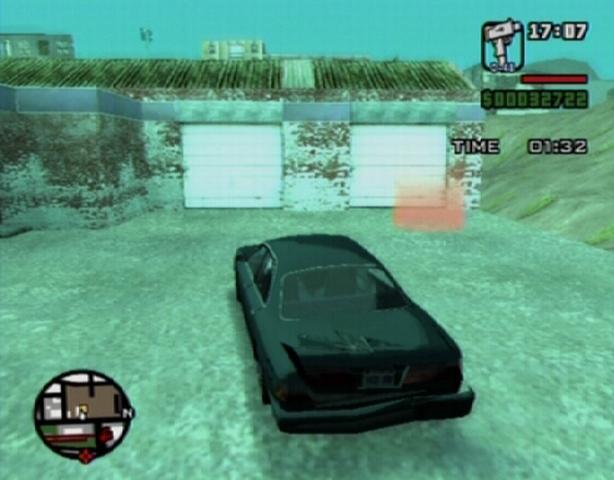
Mission 3: Deconstruction
Make your way to the construction site above the garage and get into the bulldozer; careful though, as the construction workers will attack on sight. Your task is to destroy the six portables on the site with the bulldozer and then take care of the foreman. You have three minutes to do so, so waste no time. When smashing the portables, be sure not to ram into any explosive barrels to avoid damaging—and possibly destroying—the bulldozer.
 Bulldozer |
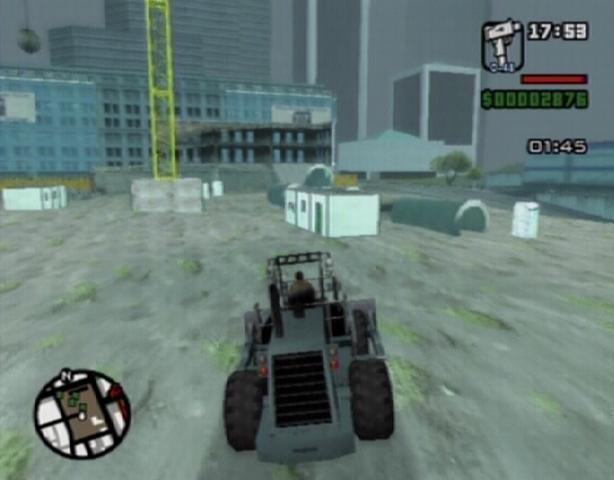 Portables |
Once all six of the portables are destroyed, use the bulldozer to push the foreman's porta-potty into the nearby ditch. With that done, step out of the bulldozer and grab one of the cement trucks on the site. Back up over the red marker to fill the ditch with cement. Mission complete!
S: Back to School
You'll receive a call from Jethro following the “Deconstruction” mission. There's a driving school in Doherty, marked with a red ‘S' on the radar, where you can take lessons. You need to score at least 70% on a test to move on to the next, so there's little room for error. Each pylon knocked down will set you back by 20%, and time is a factor in some tests as well. There are 12 tests in all; a couple can be tough, but you can retry as many times as needed so you're bound to pass them eventually. Instructions appear at the bottom of the screen at the start of each test, so there's no need to state them here.
 Driving School |
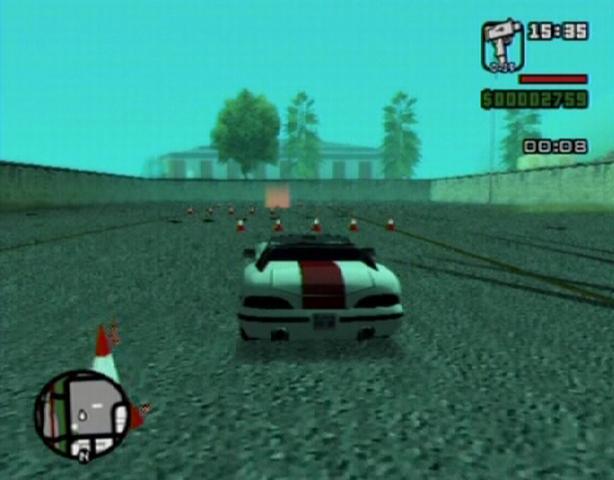 Test |
Here are some tips for the trickier ones:
Wheelie Weave: Don't hug the wall on your way to the ramp; drive towards the ramp without coming into contact with the wall, but in such a way that the car's two left tires will run up the ramp. When you've hit the ramp correctly, let your car slide—using the control stick to direct it towards the red marker—then just before the end of the track, hit the brakes and move the control stick to set the car back down on four wheels. It won't count as a pass if the car overshoots the red marker.
City Slicking: Make it to the checkpoint across town and then right back to the school in less than two minutes without severely damaging your car to pass this one. Time is of the essence here, so you can't waste any being overly cautious. Basically drive along the tramlines whenever you can, and if not, keep to the middle of the road and squeeze your way between traffic. You have to keep moving, so don't slam on the brakes or anything. Don't worry if you happen to ding or just clip another car because the damage is actually a percentage, so a small impact will have little effect on your score. You can press Triangle (on the PS2 version) at any time to end the test if it's clear that you won't make the grade. If you don't hit the first checkpoint in under a minute, end the test and try again.
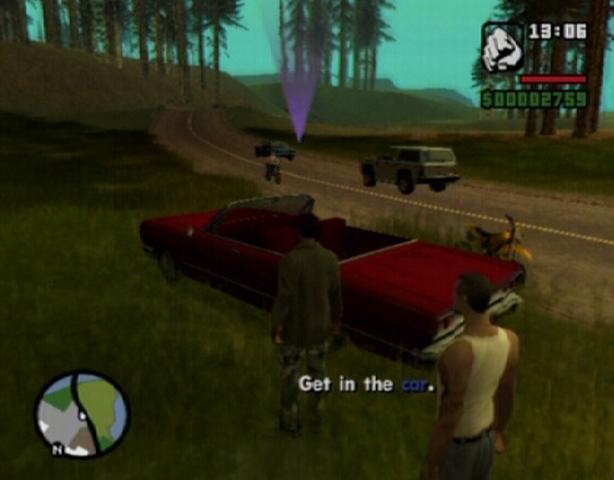
Mission 4: Photo Opportunity
Get some wheels and travel all the way to the blue marker in Red County. When you've reached the spot, get in Cesar's car and start another long journey to Angel Pine in Flint County. Drive into the red marker in Angel Pine, step out of the car and take the stairs on the nearby building up to the roof. Stand in the red marker to get started. Zoom in and take a picture of the men that arrive at the outlet across the street. Be sure to zoom back out after snapping a picture so you'll be able to spot the next to arrive. Capture the faces of all four men to complete the mission. Time for a long trip back to San Fierro…
 Cesar |
 Angel Pine |
Mission 5: Jizzy
You'll need to accept and complete a couple of missions from Jizzy before you can attempt the next mission in CJ's mission line. Travel to Jizzy's club, which is under the Gant Bridge in the northwestern part of the city, and step into the red marker there to get started.
Mission 6: Outrider
Return to your garage after completing Jizzy's missions and step into the red marker to accept a mission. You'll get a phone call; it's Jizzy, he wants you to meet T-Bone at the gas station in Easter Basin. Make your way to the gas station to meet with T-Bone and Toreno. Head for the van, which is just a short ways away from the gas station, pick up the Rocket Launcher and Sniper Rifle then hop onto the escort bike. It's your job to drive up ahead of the van and clear out the roadblocks so it can pass through unchallenged. Zip towards the red marker on the radar and take out the parked cars and goons with your Rocket Launcher.
 Weapons |
 Road Block |
Get back on the bike and continue to the second road block. There are men in the windows of the building on the left side of the street, so after destroying the parked cars with your Rocket Launcher, lock-on and gun them down. There are two more roadblocks to deal with; clear the way and then follow the van to its destination to complete the mission. Quickly return to your garage and save the game to lose the three-star wanted level.
Mission 7: Snail Trail
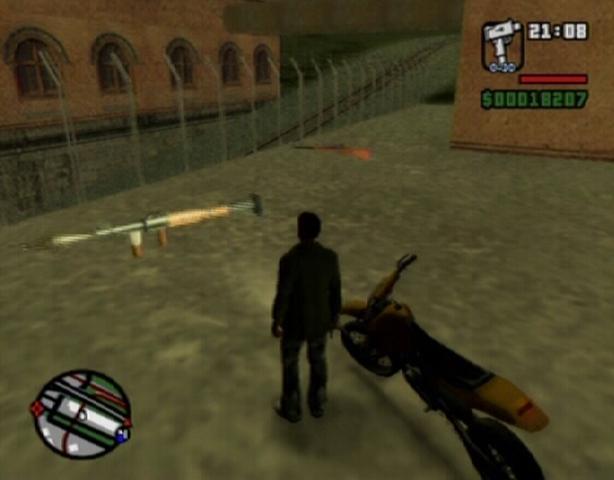
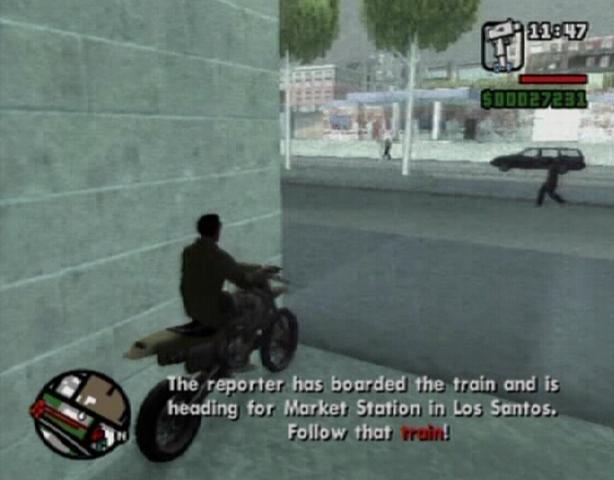
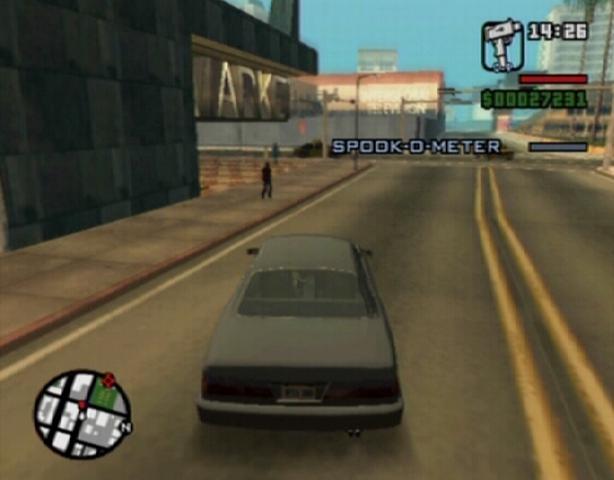
Officers Tenpenny and Pulaski want you to take out a pesky journalist for them. They have hidden a Sniper Rifle somewhere in the construction site behind your garage, so make your way to the green marker on the radar and pick it up. With the Sniper Rifle in hand, walk down to the nearby train station. The reporter will board the train to Los Santos as soon as you reach the station. Hop onto the motorbike near the tracks and take off after that train. All you must do now is either keep up with or beat the train to the Market Station in Los Santos. Follow the tracks and eventually you will reach the train's stop. Be careful though, as you will likely encounter other trains on these tracks and getting hit by one can really set you off course.
 Sniper Rifle |
 Motorbike |
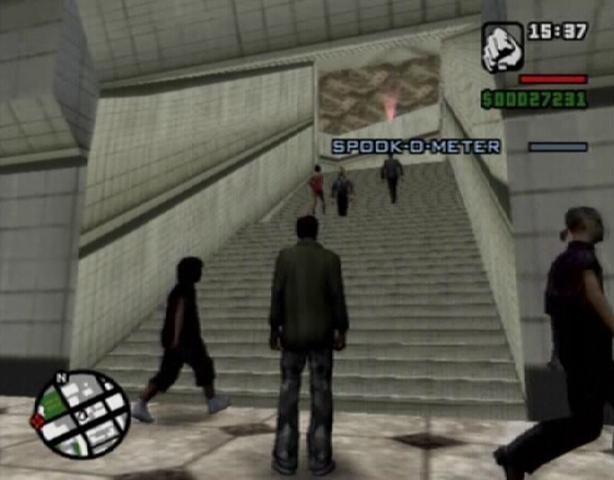
When the train reaches the Market Station, wait for the reporter to step out. The now visible “Spook-O-Meter” serves as an indication as to whether you are too close to the reporter. If you are following him too closely, the meter will begin to fill. If the meter fills up completely, the reporter will abandon the interview with the journalist and the mission will be a failure. Follow the reporter up the stairs and out of the station. Keep an eye on the Spook-O-Meter all the while; if it begins to fill up, immediately back off. The reporter will make his way to the sidewalk where he will then search for a cab. Move away from the reporter and get into a vehicle (anything other than the approaching cab!) and wait for your target to enter the cab.
 Reporter |
 Cab |
Your task now is to follow the cab to where the interview is to be held. The Spook-O-Meter is still in effect here, so you'll have to trail a good distance behind him to avoid having him call off the interview. If the meter begins to fill, quickly reverse until it begins to fall. When the cab stops at a light, immediately come to a complete halt until it starts moving again. The cab will eventually lead you to the pier. Once the reporter meets with the target, start moving towards them. You don't want to get too close, just close enough that you can clearly make out their heads. When you're in position, zoom in, train your gun on one of the targets and fire.
 Meeting |
 Targets |
Once you've downed one of them, the other will flee. You'll have to quickly shift your aim over to the second target and take him out before he can react. A missed shot will spook them both, but luckily they have nowhere to flee to, so you can simply sprint down to the end of the pier and take them out with a close-range weapon. You're more likely to attract attention from the law this way, but it's an option if you happen to botch the assassination.
Mission 8: Ice Cold Killa
Step into the red marker outside of the garage in Doherty between 20:00 and 6:00 to get started. For an easier time, make sure you have a Micro SMG with plenty of ammo, you can stop by the Ammu-nation in Ocean Flats if you need one. Pick up some Body Armor while you're at it.
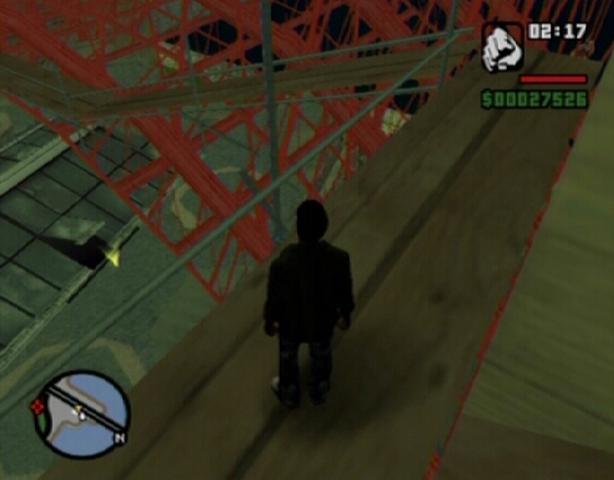
After the cutscene, make your way to Jizzy's club under the Gant Bridge and step into the red marker outside. The two guards out front won't grant you entry, so you'll have to find some other way to get in. Luckily there is an open skylight on the roof which you can drop through. To get up onto the club's roof, first make your way onto Gant Bridge and then walk along—past the danger sign—until you are above the club. Climb down from the bridge to the wooden walkway running alongside it. Careful not to fall; it's easy to completely miss the walkway and plummet to the pavement below. Move along the walkway until you are right above the skylight before dropping down. Use the open skylight to enter the club.
 Jizzy's Club |
 Skylight |
Jizzy is directly below the walkway you land on, so drop down from it to trigger a cutscene. Every one of Jizzy's goons will have their guns trained on you following the cutscene, so immediately turn around and head for the door. Cap the two guards standing by the exit, get in the limo outside and trail after Jizzy. If you're packing an SMG, your next task is a simple one; chase after Jizzy and hit his getaway car with bullets until it catches fire. If you don't have an SMG, you'll just have to chase after him and wear away the car by ramming into it. Jizzy will likely bail once the car catches fire, so run him over or gun him down. When Jizzy is dead, pick up his phone to complete the mission.
 Club |
 Jizzy |
Mission 9: Pier 69
Travel to the red marker in Esplanade North and step into it to get started. When Cesar motions to you, move down the sidewalk and head through the doorway to your left. Climb up the stairs here to reach the vantage point. First you must help Wu Zi's men eliminate the guards on the rooftops of the two buildings surrounding the pier. You've been given a Sniper Rifle for the task, so use it to take out the three guards on the building to the right and the three on the building to the left. Afterwards, T-Bone Mendez and his associates enter the scene. T-Bone is your target now, but first you must take down the droves of Ballas on the pier.
 Targets |
 Pier 69 |
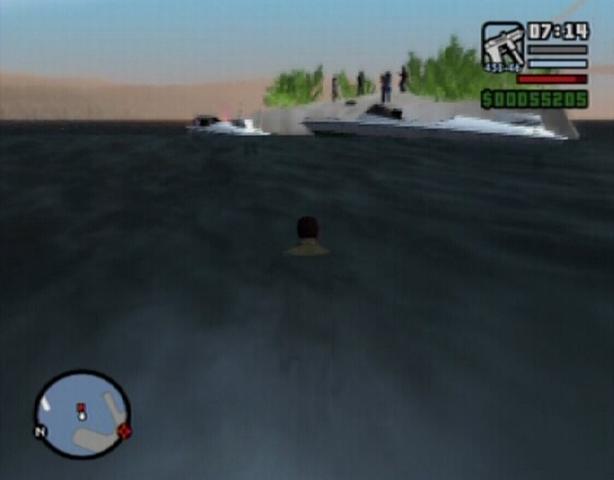
Take out as many Ballas as you can from your current position on the roof using the Sniper Rifle. Once you are unable to spot any enemies, take the stairs back down to the street and try to get a view of the pier from across the street. Kill as many enemies as you can from a safe distance, but be sure to save some Sniper Rifle ammo for the final encounter with T-Bone. Be sure to pick up the SMG or Machine Pistol ammo dropped by your enemies. Make your way to the pier once the first part of it is relatively clear. There are Ballas up and down the walkway that runs along the peer so proceed with caution. Get yourself up onto the walkway and start making your way towards the end. When you reach the end of the walkway, you should be able to spot T-Bone Mendez in the sitting area below. Use your Sniper Rifle to quickly kill him off with a shot to the head. After the cutscene, jump into the water and swim towards the boat marked on your radar.
 T-Bone |
 Boats |
Ryder is your final target. Getting the job done is simple enough; all you must do is get close enough to him to perform a drive-by on his boat. Hit the boat with gunfire until it catches fire and subsequently explodes, killing him and completing the mission.
 Ryder |
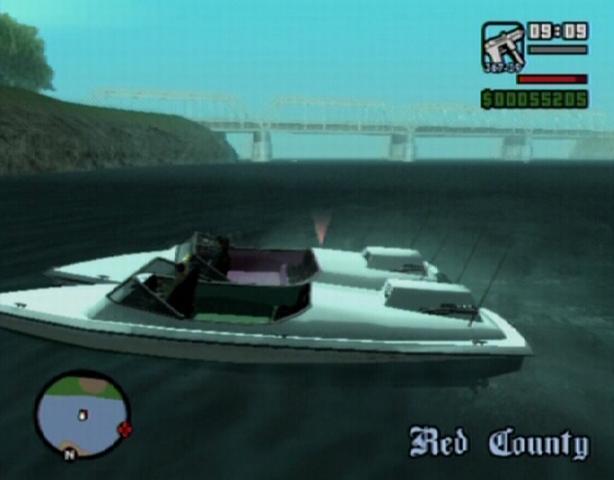 Drive-by |
Mission 10: Toreno's Last Flight
It's time to take out the mastermind of this whole operation. Get yourself a vehicle and make your way to the helipad, denoted on the radar by a yellow icon. If you still have a Sniper Rifle from the previous mission, you may want to kill the guys on the helipad from a safe distance, as they are heavily armed. When the way is relatively clear, approach the steps that lead up to the helipad to trigger a brief cutscene. Toreno's helicopter takes off, so you're going to have to blast it out of the sky. The Rocket Launcher is somewhere on the helipad, so pick it up, head back down the stairs and get into a vehicle.
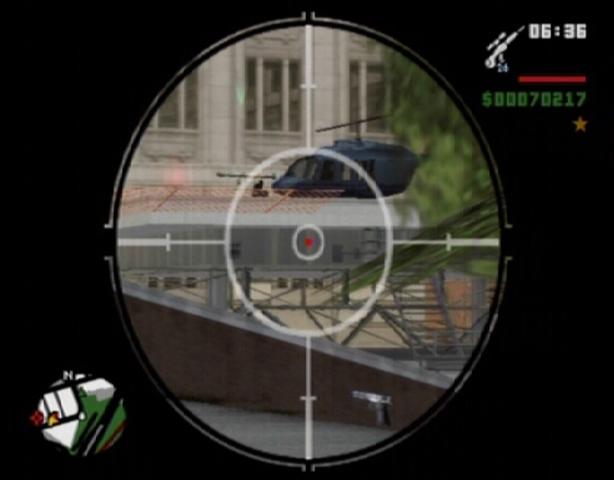 Helipad |
 Rocket Launcher |
Destroying Toreno's helicopter is a decidedly difficult task; besides the fact that hitting a moving target with a rocket is not easy, there are two goons onboard who will open fire on your vehicle if you get too close which can quickly set it on fire. The helicopter seems to follow a predetermined path; it will first fly south down the highway that runs through San Fierro, then it will take a long route through the Badlands to Leafy Hollow in Flint County. The best chance you have to complete this mission is to get to the southern end of the highway before the helicopter arrives there.
When you reach the bottom of the helipad steps, get into the blue van that's there and drive through the nearby parking lot. Once you are on the road, drive south until you reach the highway on-ramp in Foster Valley. If you were able to travel from the helipad without issue, the helicopter should still have quite a ways to go before it reaches the end of the highway. Drive to the end of the highway, get out of the car and plant yourself somewhere along the dirt road. When Toreno's helicopter reaches this point it should stall for a moment, presumably to gun you down, but this is actually the perfect opportunity to end this. Quickly hit the helicopter with one or two rockets to destroy it.
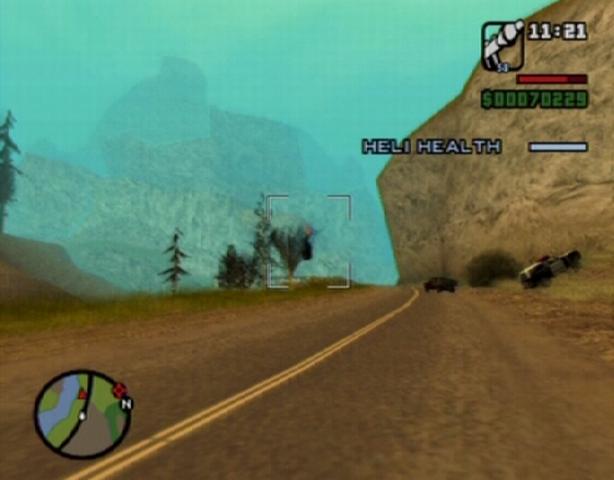 Helicopter |
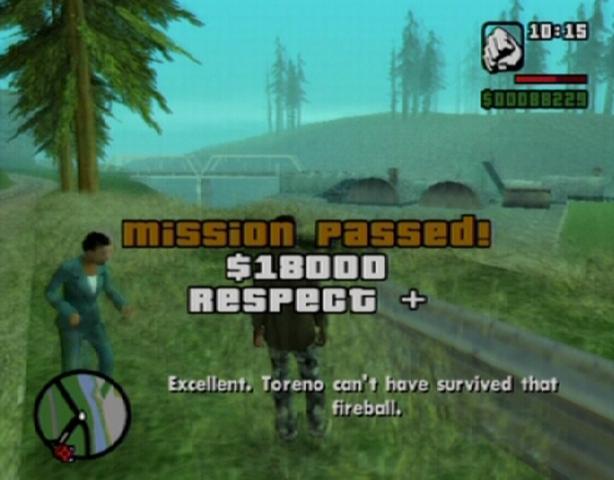 Whetstone |
If you missed this opportunity, the helicopter will go on to fly through Flint County. You can continue the pursuit if you wish, but it would probably be best to restart the mission and attempt the above method again, as downing the helicopter in the Badlands is much more difficult and a potential timewaster if you reach the end without completing the objective.
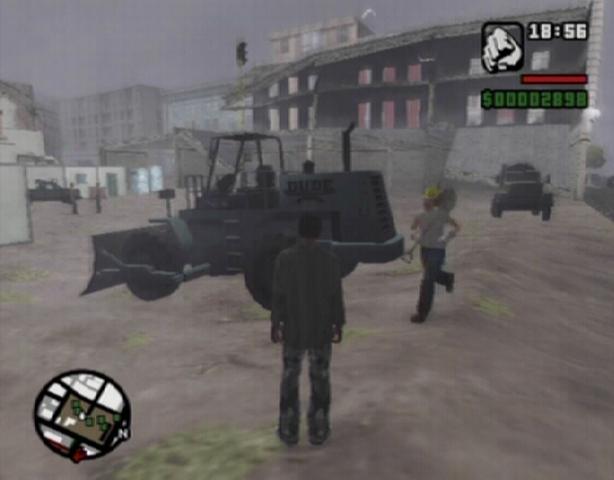
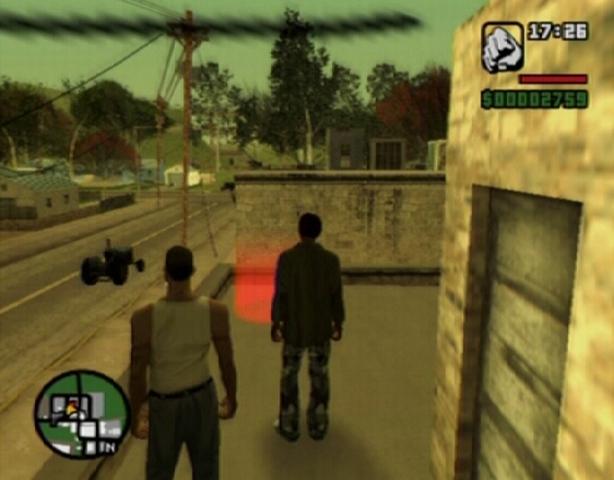
Mission 11: Yay Ka-Boom-Boom
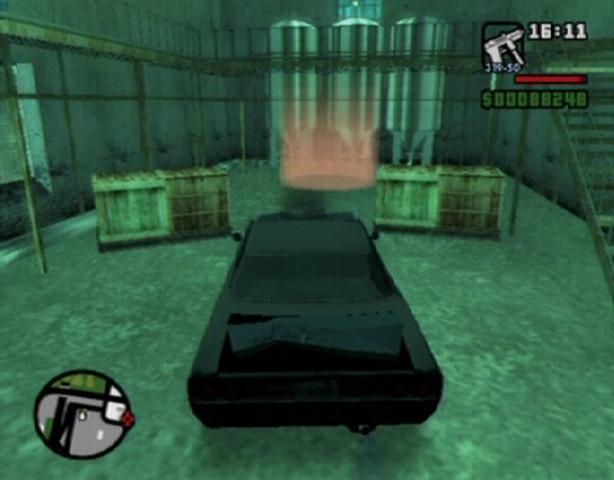
According to Wu Zi, your former friends have a factory in San Fierro; blowing up the place is the next logical course of action. Wu Zi has prepared a wired car to do the job, so make your way to the bomb shop in the Financial district to pick it up. Next, travel to the crack factory in Doherty, just a couple of blocks from your garage. Run over the two guards standing by the gate and kill them to trigger a brief cutscene. More enemies will appear and try to stop you so run over them or step out of your vehicle and gun them down.
 Bomb Shop |
 Crack Factory |
Afterwards, follow the yellow marker on the radar to a ramp. Drive up the ramp to reach the lab, then drive to the other end of this area and park in the red marker. Activate the bomb by pressing and holding the button that appears in the top-left corner of the screen. When the bomb is set to blow, you have 40 seconds to escape the warehouse. A group of goons has been deployed to hinder your escape, so run-and-gun to the exit before the timer reaches zero. Outside you will encounter yet more enemies; kill them off and make your way to the gate.
 Ramp |
 Red Marker |
The gate will close when you reach it, but there is a large ramp that you can use to escape. Get in the car near the gate and start towards the yellow marker on your radar. You'll encounter more guys along the way but pay them no heed, just continue towards the ramp. Hit the ramp to reach the stacked cargo containers and from there, drive down over the wall. Drive into the red marker at your garage in Doherty to complete the mission and earn a sizeable cash reward.
If you're not good with a sniper rifle, on the Pier 69 mission, you can jump off the roof, run across and up onto to the other roof and gun down the bad guys before they get Wu-Zi's boys......
The helicopter stalls at several points along it's route- I steal the motorcycle and use it to get ahead of the chopper and take it out at a stall point.
guys kill jizzy over & over
5
How do you pass 555 we tip
I got to far ahead of the helicopter, because i knew where it was going and they told me i was out of range. so, i'm suppose to take fire from helicopter and have the van destroyed every time. how the hell am i suppose to beat the mission.
comment on voit les extratereste svp
How do you finish the garage in San fierro
how u do ? the missions m on wrong side of the tracks..how to do just Business?????????plzzz help me out .............
guys im stuck with the driving school mission called'burn and lap can any one help me pls
yer this is awsome u even get cheats is so cooooool
that is awsome