Asset Missions
Grand Theft Auto: San Andreas Walkthrough and Guide
Grand Theft Auto: San Andreas - Asset Missions
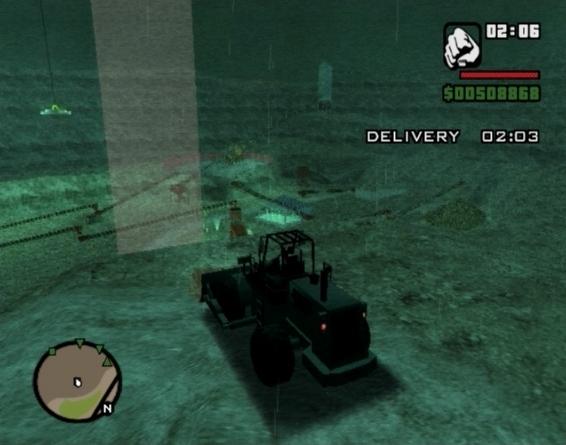
Trucking
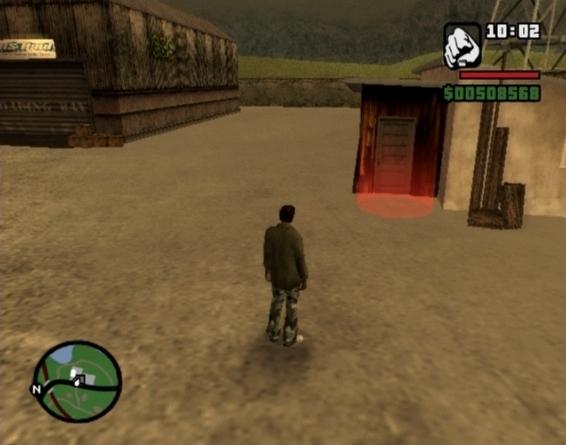
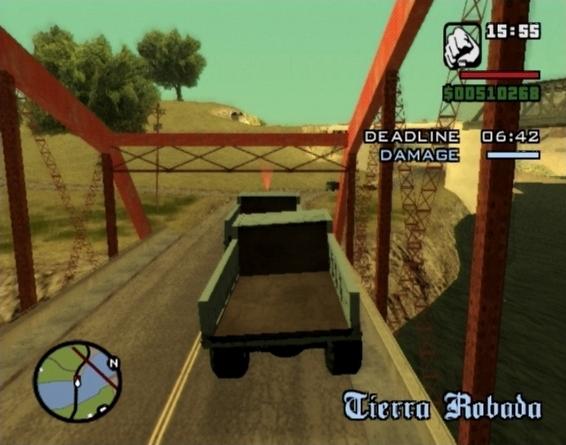
Following the completion of the “Tanker Commander” mission in Catalina's mission line, you can then attempt special trucking missions by stepping into the red marker at the station in Flint County. The mission start point is marked on your map by a truck icon. Upon stepping into the red marker, your mission will either be to deliver a load to a predetermined destination by a certain time, to deliver a fragile load without overly damaging the truck, to deliver illegal goods to a certain location (no time limit, but you'll have a wanted level), or a mix of the aforementioned factors. In timed missions, failure to meet the set time halves the money you'll receive upon making the delivery. In the other modes, the amount of damage that the truck sustains will negatively affect the payment. The only way to fail these missions is to lose the trailer for more than a minute, being arrested, or if the truck is destroyed.
 |  |
Go easy on those turns, otherwise the trailer can become detached, forcing you to back the cab into it to reattach it. Essentially, release the accelerate button whenever making turns and glide over the road until you are faced with another straightaway. To contribute to the 100% completion stat, you must complete 8 trucking missions. The missions do not follow in a sequential order, so upon making a delivery you will have to make your way back to the station to trigger the next mission. The RS Haul building will become an asset once you complete all 8 trucking missions.
 |  |
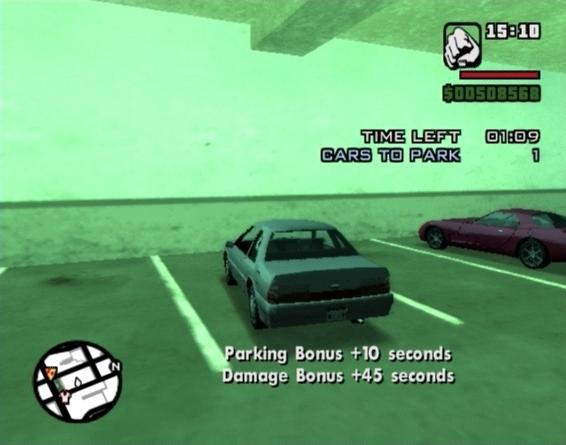
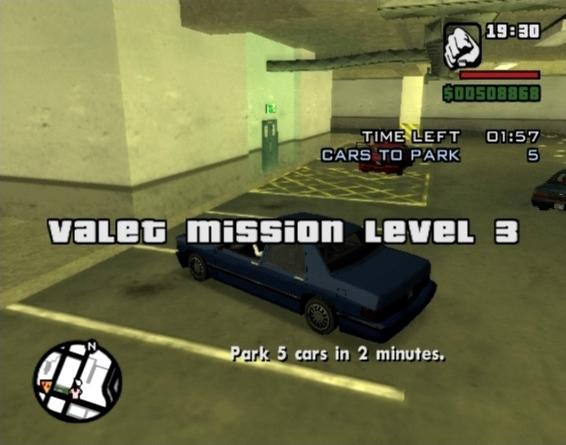
Valet Parking
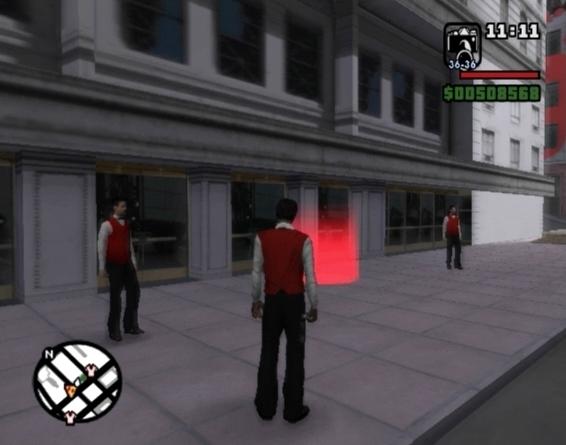
After the “555 We Tip” mission in CJ's mission line you can try your hand at being a valet by stepping into the red marker outside of the hotel on the northeast side of San Fierro while wearing a valet uniform. To change into the uniform, access your wardrobe from any safehouse, select “Special” and then “Valet Uniform.” Valet parking itself is rather simple; wait until a car pulls up in front of the hotel, get in when the driver steps out, drive it down to the car park and park in the red marker.
 | 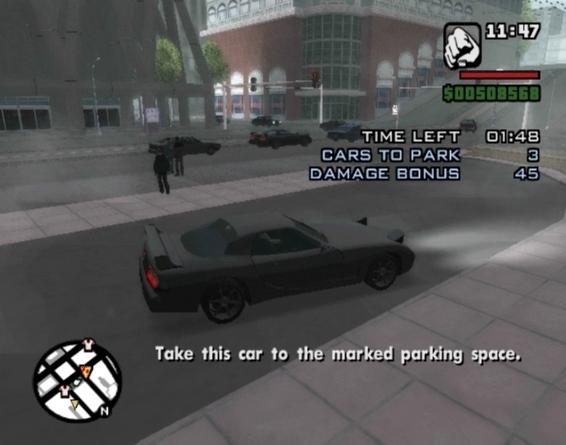 |
After successfully parking a car, you will earn a time bonus based on the amount of damage the car sustained, and an additional bonus for how well the car was parked. Once the car is in its place, get out and sprint back to the car port. Your co-workers will occasionally get to a vehicle before you do, but it shouldn't be too long before another pulls up. To contribute to the 100% completion stat, you must complete level 5 of the valet missions. With each successive level, the amount of cars you must park to move on to the next increases. After completing the fifth level of the valet missions, the Hotel will become an asset.
 |  |
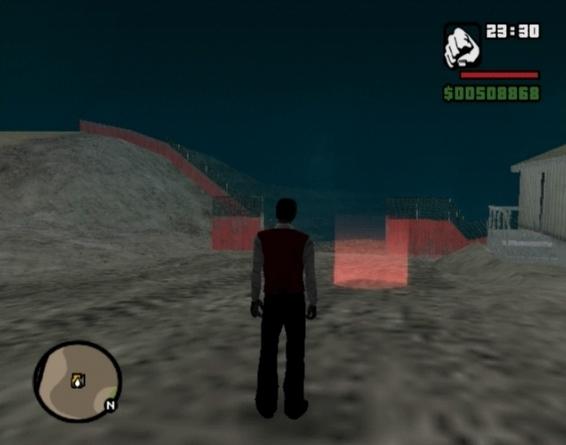
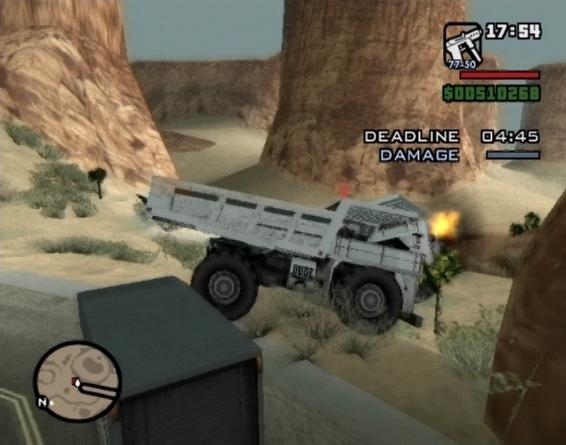
Quarry
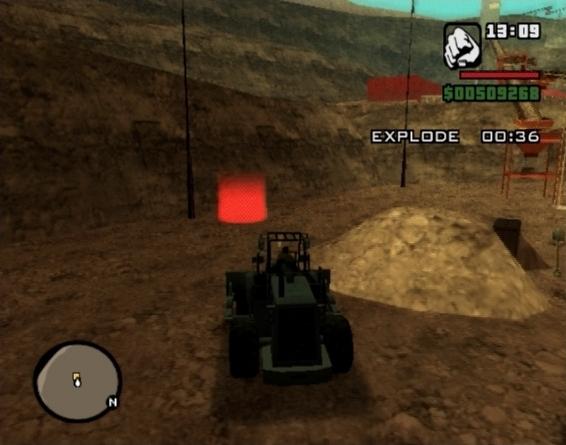
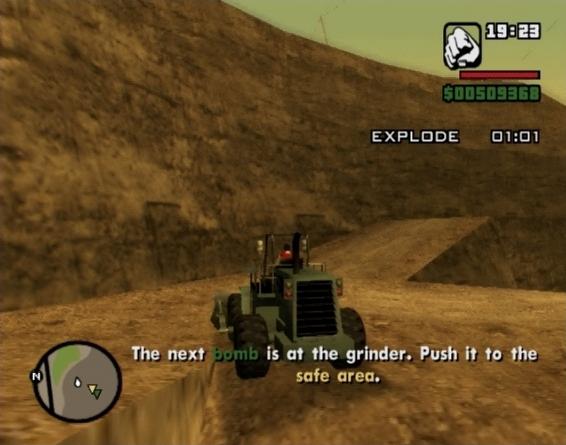
The Quarry missions are unlocked after the completion of “Explosive Situation” in Wu Zi Mu's Las Venturas mission line. Travel to the Hunter Quarry—denoted on the radar by a bulldozer icon—and step into the red marker outside of the site office at the top of the quarry to get started. There are seven quarry missions in all. You must complete all seven to attain the 100% completion stat. The Hunter Quarry will become an asset once you have completed the seventh mission.
 |
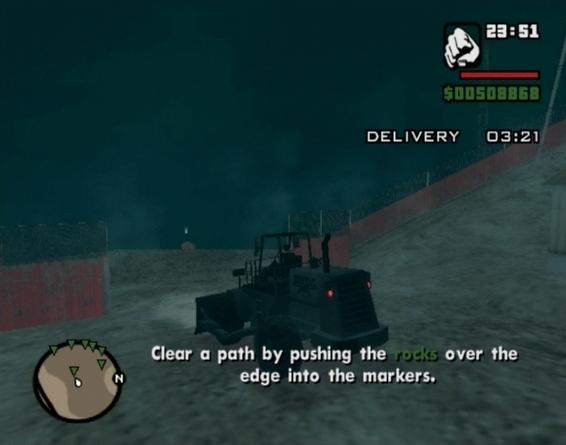
Mission 1: Use the dozer to move the seven boulders to clear the way for the shipment coming through. You have a time limit to contend with here, so you'll have to keep moving. Each of the boulders is marked on your radar with a green icon; pay close attention to the form of the symbol (i.e., is it pointing up, down, or is it a square?). If the icon is a square that means the boulder which is represents is on the same level as you currently are. If the icon is pointing up or down, the boulder is above or below you. Make note of how the icons change while you pursue each boulder so you can then decide which one to go for next. Never drive the dozer over the ledge to save time, as it is very possible that the vehicle will end up on its side or upside down, thereby forcing you to abandon it and fail the mission. Always descend using the slopes.
 |  |
Mission 2: Four bombs have been planted around the quarry; you must locate them and push them into a nearby red marker where they can then safely detonate. The bombs appear on the radar as green blips, and the safety zones appear as yellow blips. As soon as you have pushed the bomb into the red marker, move away from the bomb's blast radius to avoid an untimely death. The last bomb is arguably the toughest; the dozer is too tall to fit beneath the lower end of the steel beam connected to the grinders, so it's quite possible that the bomb or dozer may become stuck if you aren't careful with your maneuvers. Luckily each bomb has a fairly generous detonation time of two minutes, so even if you do mess up at first you should still have time to correct your mistake.
 |  |
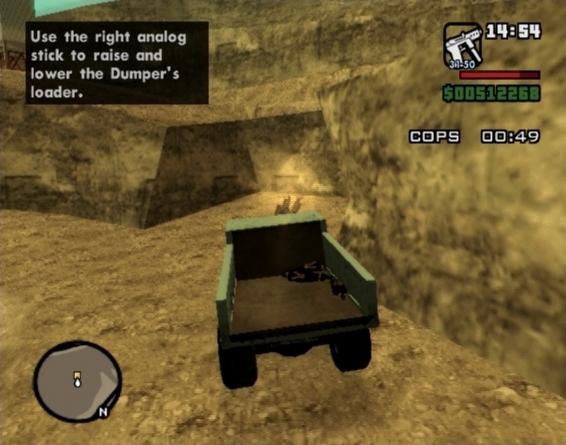
Mission 3: Make sure you have an SMG before attempting this mission. The guys who planted the bombs you had to take care of in the last quarry mission are trying to escape. Get in the Dumper that is parked next to the site office and start after them. All you have to do is kill them before the time limit is up, so simply drive up next to them, fire away with your SMG until their Dumper catches fire. After the bomber's getaway vehicle explodes, take out any survivors to complete the mission.
 |  |
Mission 4: The bodies of the dead bombers have been placed in a Dumper at the other entrance. You must fetch the Dumper and dispose of the bodies to avoid unwanted attention from the authorities. So, hop on the Sanchez next to the site office and zip over to the other side of the quarry. When you reach the Dumper, get in and start back towards the quarry's main entrance. The three bodies in the back of the Dumper are not tied down or anything, so a collision will likely result in the bodies falling out the back of the truck. If any of the bodies fall out, the mission is failed, so drive carefully. Since the traffic on the way to the quarry can be exceptionally slow, you'll probably have to drive on along the shoulder of the road.
 |  |
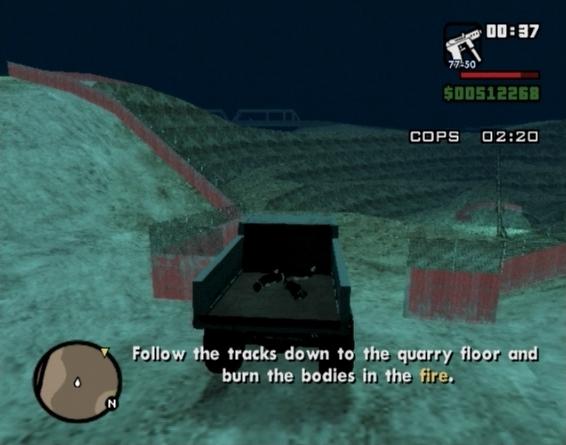
Once you have made it back to the main entrance, you then must drive the Dumper down to the incinerator while still keeping the bodies in the back of the truck. This is where things get difficult, because even the slightest bump will jar the bodies out of place. If you notice the bodies moving in the back, immediately brake and wait until the cease. Accelerating while the bodies are moving will cause them to fly out the back, so keep an eye on them to avoid this occurrence. Take your time and do not accelerate when going down a slope. Unfortunately you can't be overly cautious due to the time limit, but hopefully you had at least two minutes left by the time you reached the main entrance. When you reach the fire pit, back up towards it and dump the bodies using the Analog Stick/Thumbstick.
 |  |
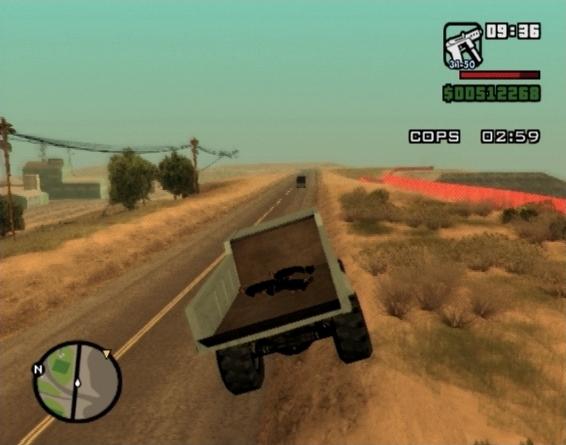
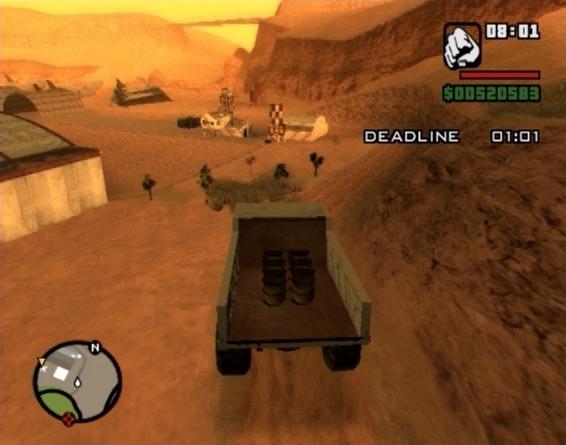
Mission 5: You must transport the bombs in the Dumper to the Verdant Meadows air strip. Too much movement will cause the bombs to come loose, resulting in a deadly explosion. The greatest risk here is the other drivers on the road, especially oncoming traffic. Avoid merging into the left hand lane, as the drivers there will usually be traveling at high speed. The yellow marker on your radar alone probably isn't sufficient to guide you to Verdant Meadows, so refer to your map and memorize the route that leads to the dirt path that will take you down to the Verdant Meadows air strip. You have three minutes to make there.
 |  |
Mission 6: Here you have to remove the explosives from the track to spare the oncoming train. This seems like a difficult task at first, but if you simply speed north down the tracks you should be able to knock all of the explosives out of the way. If the explosive still remains on the radar however, you will have to go back and nudge it off of the tracks. Just continue traveling north until you reach the last barrel, then get off of the tracks to avoid getting hit by the train.
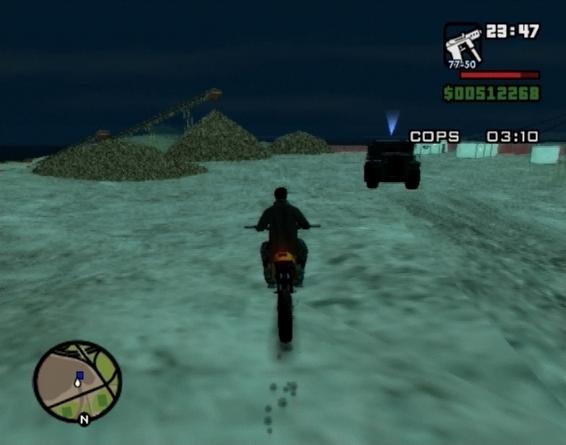
Mission 7: You must dispose of the cop's body to avoid unwanted attention from the authorities. Make your way to the bottom of the quarry on the Sanchez that is parked near the site office. When you reach the spot, get in the Dozer parked there and use it to move the cop's body and vehicle towards the crane. Next, get in the crane and use it to move the cop into the nearby Dumper. With that done, you'll have to get the Dumper back up to the main quarry entrance.
As with the bombers' bodies you had to handle, the cop can become jarred loose in a similar fashion, so you'll have to carefully make your way up the slopes. Remember to break immediately if you notice the body start to move. When you reach the main entrance, back up into the red marker and then use the Analog Stick/Thumbstick to dump the body into the water.
No comments yet. Tell us what you think to be the first.