The Best-Laid Plans
Gears of War 2 Walkthrough and Guide
Gears of War 2 Guide - Act 4: Hive
Chapter 5: The Best-Laid Plans
Move up to the top of the stairs and grab the ammo box to the left. Start towards the arched doorway to trigger an ambush. Drones and Palace Guards appear in the windows around the center platform, and unfortunately something will drop your cover. Hug up against one of the walls below the first set of attacking enemies and take cover behind the torch by the gate. After killing the enemies on one side, switch over to the pillar at the opposite end and take the others out as well.
After the fight, follow your squad over to a path that runs alongside the palace. Eventually you'll encounter a Bloodmount, a Palace Guard, and some Tickers. Take cover behind something and clear the way before moving on. You'll then come to a lift that brings a Kantus and Palace Guard up to your level.
Palace Guards are the toughest variant of Drone and can wield a variety of weapons including the Gnasher, Torque Bow, and Hammerburst.
Collectible (1/2): Before getting on the lift, continue down the path and look at the foot of the steps in front of the second gated door that you pass by for the collectible (Locust Invasion Map).
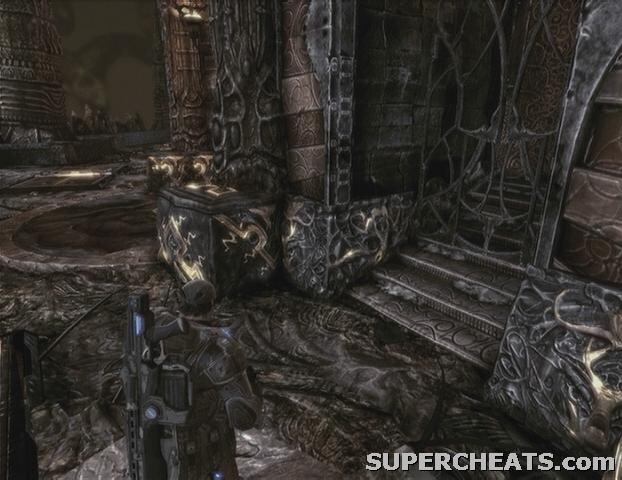 Collectible 1/2 | 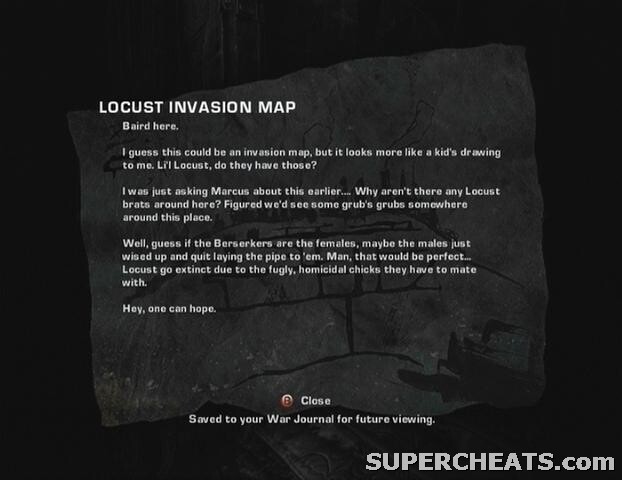 Locust Invasion Map |
When you have the collectible, step onto the lift and hit the switch to start moving. Ignore the Bloodmounts in the cells and just pull the lever at the gates. Here you can either choose the Upper Path or the Lower Path. You won't miss anything by choosing one path over the other, so for the sake of following this walkthrough, pick the Upper Path.
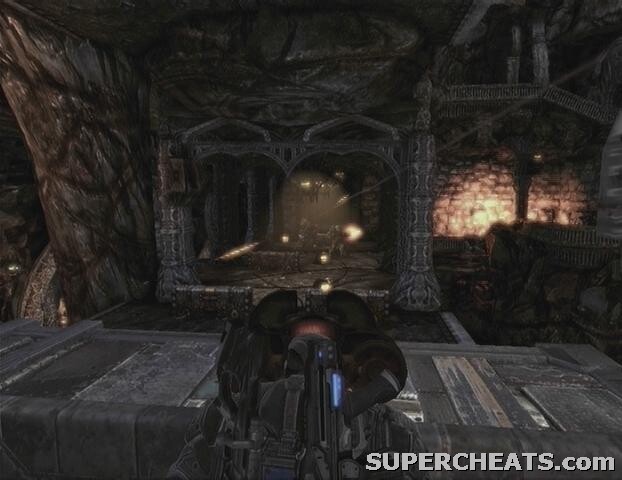
Upper Path: Help Baird and Dom fight off the enemies below from the windows. Careful though, as there may be a Grinder in one of the windows across the way. Head down the steps at the end of the corridor, move down this hallway and turn into the large room through one of the tall, arched doorways on the right. Stand on the switch in the middle to open the gates and reunite with the rest of your squad.
Follow the others over to a spiral staircase outside.
Collectible (2/2): Go up the stairs across from the spiral staircase, then move through the corridor that you come to and down the stairs at its end. The collectible (Trinity of Worms Artifact) is on the floor at the bottom of these stairs.
 Collectible 2/2 | 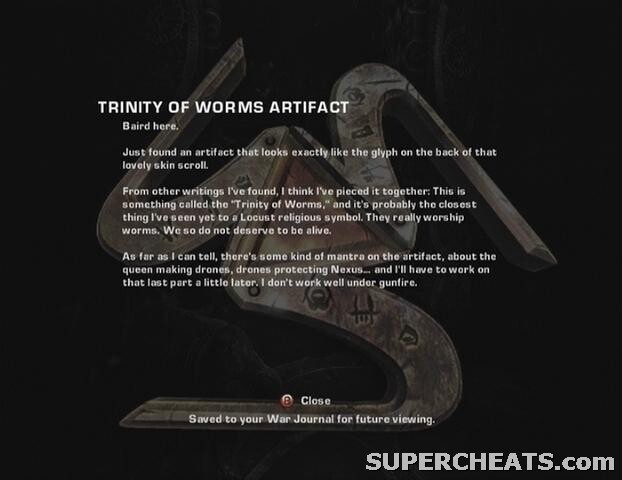 Trinity of Worms Artifact |
When you're ready to move on, step onto the staircase outside, but collect the two ammo containers in the area to your left before continuing down. You'll meet some Palace Guards and Tickers as you climb down the stairs, so take cover behind the columns on either side of the steps when you meet resistance. Some of the Palace Guards are carrying Torque Bows, so be extra careful.
 |
At the bottom of the stairs you'll come to a large room containing some more enemies. There's a Torque Bow user among them, so if you're carrying a Longshot you may want to hang back outside by the doorway. Clear this room of enemies to complete the chapter.
GoW 2 Cheats, Hints and Walkthroughs
No comments yet. Tell us what you think to be the first.