Rolling Thunder
Gears of War 2 Walkthrough and Guide
Gears of War 2 Guide - Act 1: Tip of the Spear
Chapter 3: Rolling Thunder
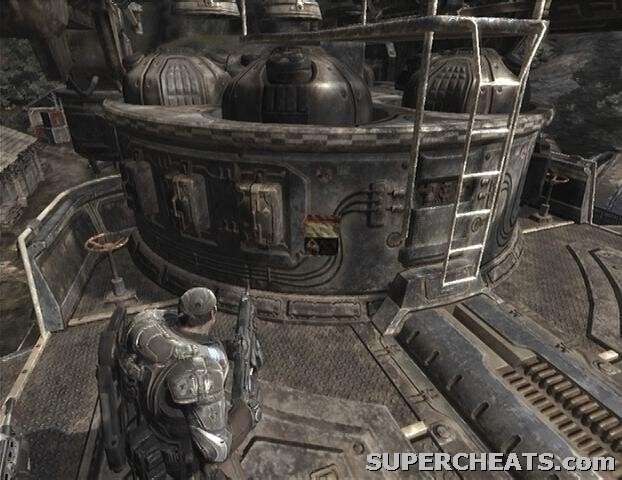
Collectible (1/2): At the start of the chapter, turn around and you'll find the collectible (Grindlift Notice) posted next to the ladder at the back of the platform.
 Collectible 1/2 |
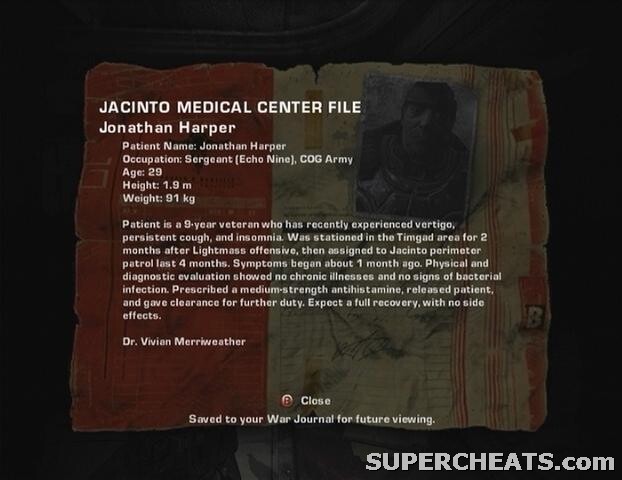 Grindlift Notice |
You're job here is to defend Betty the assault derrick from the Locust as you move towards Landown. At first the fleet will come under attack by a Nemacyst Mortar strike. Ignore the Chain Gun for now because it's much easier to shoot down the mortars with a Lancer. Position yourself by to the turret platform and hit the Nemacyst before they reach the vehicle. The assault derrick can only endure a few hits from the mortars, so your aim must be spot on if you're going to make it through this.
[img=a1c3-1.jpg]
When the Reaver appears, quickly climb up the ramp, hop on the mounted turret and fire at the handler and gunman aboard the Reaver that is flying along the left side of the assault derrick. Pay attention to the bar beneath the gun icon in the top-right corner of the screen. This bar signifies the turret's heat level; when it's full you'll no longer be able to fire until the gun cools down. Holding the RB button quickly empties the bar.
Once the Reaver has been dealt with, the vehicle will come to a stop. Something has gone wrong, so your next task is to protect Dizzy while he tries to repair the assault derrick. There's a collectible nearby and enemies are fast approaching, so you'll have to grab this one quickly.
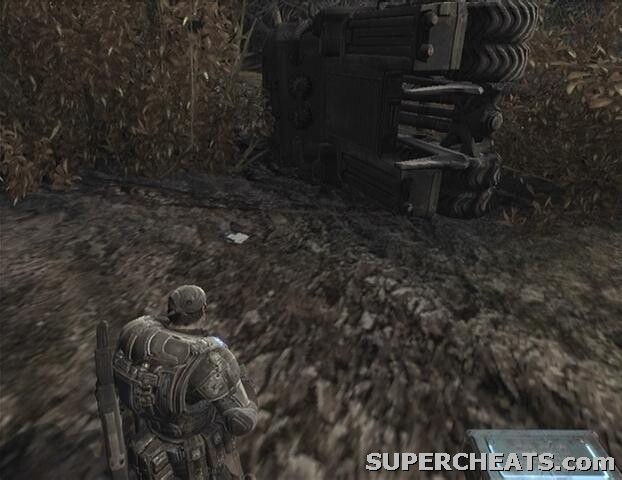
Collectible (2/2): As soon as you gain control over Marcus, turn left and move towards the ammo boxes and overturned truck in the distance. The collectible (Munitions Requisition Form) is nearby.
 Collectible 2/2 |
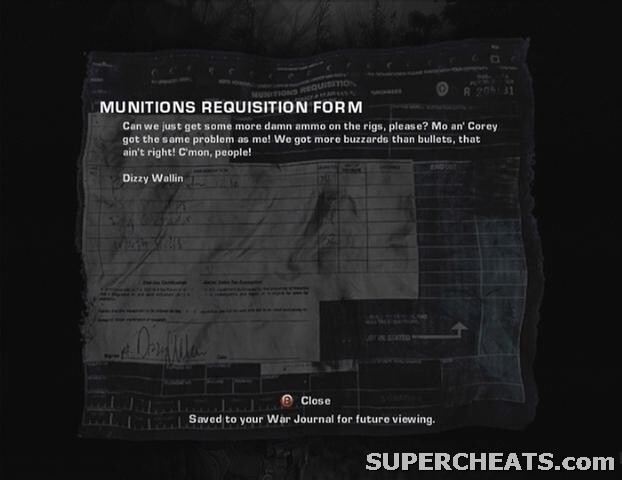 Munitions Requisition Form |
Pick up the Frag Grenades near the ammo boxes and collectible before taking cover behind the overturned column by the standing column up ahead. Lob a Frag Grenade in the first emergence hole to seal it up, and then quickly clear out the Locust that managed to climb through before the next hole appears. Another emergence hole will open up nearby, so use your last Frag to quickly close it.
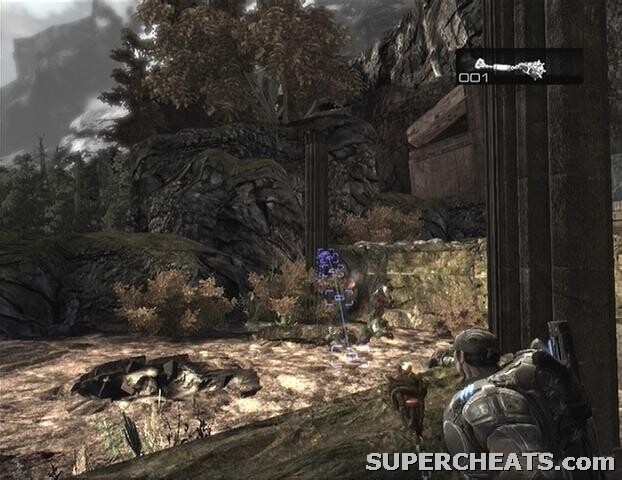 |
Be sure to steer clear of the standing column, as it eventually falls on its side and will squish you if you're standing in its path. When it does fall however, take cover behind it because some more enemies will than appear on the ridge across from it. Another hole will open up near the closed ones and unfortunately you lack a Frag Grenade to quickly close it. However by this time you should soon hear Marcus yell “Get to the rig!” at which point you can roadie run back to Betty to leave this area and complete the chapter.
GoW 2 Cheats, Hints and Walkthroughs
A friend and I were dealing with the same problem during Co-op. What we finally did was he continued on insane and I changed my setting to Casual. Took a whole 2 minutes to get past that check point compared to the almost hour and several deaths were previously experienced.
Hope this helps.
Good luck and happy gaming!
~ Mz Impish Nymph
I'm playing on insane mode and I just spent 45min trying to defend the damned Betty... (got mad and quit the game after that) The mortars aren't a big deal but I never seem able to kill the damned Reaver T___T
Anyone here that's actually managed to do this on insane? And if so... Any tips? :3