Road to Ruin Walkthrough - Guns Blazing
Gears of War 2 Walkthrough and Guide
Gears of War 2 Guide - Road to Ruin Walkthrough
Guns Blazing
Choose the “Go in Guns Blazing” option following the opening cutscene to approach this chapter as you would any other in Gears of War.
Objective: Proceed through the next set of gatehouse doors.
Climb up either of the ladders on the sides of this area and pull the lever at the top. Dom will automatically climb up the opposite ladder and pull the lever on that side to open the gate below. With that done, drop down the ladder and Roadie Run to one of the pieces of cover beyond the gate.
You’re outfitted with a Lancer, a Gnasher Shotgun, a Snub Pistol, and two Frag Grenades. Use your Lancer to blast any Drones visible from your cover, and then move up to one of the torches. There’s a Flamer among the enemies in this area; he’s likely to charge your cover, so gun him down before he can get close enough to roast you, falling back if necessary. Aim for the tank strapped to his back if possible; by doing so, you can puncture the tank, causing it to eventually explode.
When all of the nearby Drones have been dealt with, move up to the container just beyond the first torch. You’ll have to kill the Drone on the Troika emplacement in the middle of this area to move on. Ensure that there aren’t any Drones nearby before moving up to the second torch up ahead. Whilst the gunner is not focusing on you, move again to the container just up ahead. From here, you should be able to land a Frag Grenade just below the Troika on the platform. With any luck, the launched Frag Grenade will blow the gunner apart when it goes off.
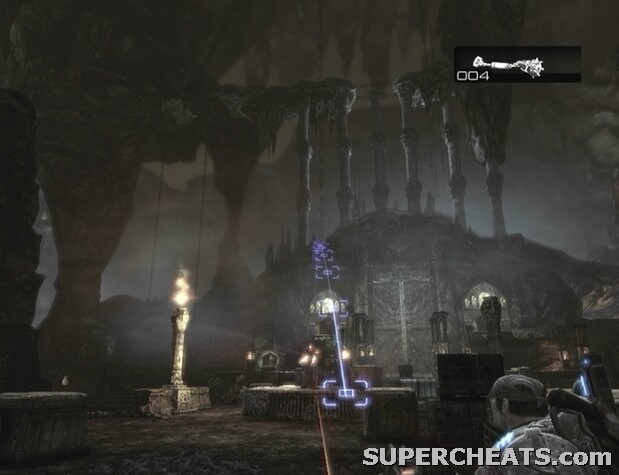 Lob a Frag Grenade below the Troika on the platform to blast the gunner to pieces. |
With the gunner down, proceed past the platform to trigger the appearance of another group of enemies from the gatehouse at the opposite end of the area. Though you can climb up onto the platform and man one of the Troika emplacements yourself, doing so may not be in your best interest, as there’s a Boomer among the enemies, and you would be a sitting duck if on the platform. Take cover behind one of the containers further up, and hit the Boomer with a Lancer while he’s reloading. If you have a Frag Grenade left, you could throw that, too. Keep an eye out for Bolters.
Once the Boomer and accompanying Drones have been taken care of, strongly consider swapping your Gnasher for the Boomshot, and proceed through the first gatehouse door at the far end of the area. When you reach the door, climb up the ladder to your right and pull the lever at the top. Look around for a box of ammo before dropping back down. If you head up the opposite ladder, you can find some Frag Grenades as well.
Objective: Cross the river to the next set of gatehouse doors.
When the door opens, gun down the standing Grenadier further ahead, and then Roadie Run to the stack of bricks on the right. You don’t want to go in too deep yet, as there’s a Flamer behind the railing further up. Use your Lancer to kill the Flamer and Drones behind the railing up ahead. There should be a Grinder coming up the steps by the time you’ve dealt with them, so if you picked up that Boomshot in the previous area, switch to it now and blast him when he gets a bit closer to your cover.
 Use your Boomshot to take out the Grinder. |
Once the area is clear, look around for the Longshot dropped by one of the Drones and swap it with your Boomshot. When you have the Longshot, pick up the ammo container to the left of the stairs. Make your way over to one of the low walls further down the steps and use your Longshot to pick off the Drones across the river. When the stairs at the other end are clear, move down to the Turn Wheel at the bottom of the steps. Grab hold of the Turn Wheel and use it to raise a bridge across the river.
Before crossing the bridge, head back up the steps and pick up the Grinder’s Mulcher. Then, cross the bridge to trigger another batch of enemies. Two Bloodmounts, a Grinder, and some Drones will come through the gatehouse door. Not a good combination. Rather than continuing up the steps to face them, fall back to the other side of the bridge and take cover behind the low rock wall across from the Turn Wheel. Hold LT to mount the Mulcher on the cover, and wait for the Bloodmounts to appear. Continuously fire at the Bloodmounts while they descend the stairs and attempt cross the bridge. Keep an eye on the bar in the top-right corner of the screen and be sure to press and hold the RB button before the Mulcher gets too hot.
With the Bloodmounts out of the way, you can either wait for the Grinder to appear so you can use the last bit of Mulcher ammo to kill him, or move up to a closer piece of cover and take him down from there. If you have any Longshot ammo left, use it to pick off the Drones from across the bridge.
 Use the Mulcher to kill the Bloodmounts before they can cross the bridge. |
When the stairs are clear, make your way to the top. Before heading through the gatehouse door, turn left to spot a lever. Pull the lever to lower a piece of cover that was blocking the way into an area with an ammo container. Grab the ammo container, and then proceed through the door, climb up the ladder to your right, and pull the lever at the top. You can find a Boltok Pistol up here as well.
Objective: Proceed through the locust torture area to the next set of gatehouse doors.
After pulling the lever, drop down the ladder and wait for the door to open. Then, immediately Roadie Run to one of the pieces of railing beyond the door. Use your Lancer to gun down the Drones in the opening area, and then switch to your Longshot. Head back to the start of the area, turn right at the door, and look across the Imulsion; you should be able to spot some Drones across the walkway, particularly a Flamer. Hit the tank strapped to the Flamer’s back with your Longshot to set it off.
Keep your Longshot equipped and use it to pick off the Drones across the section of the walkway further up. You’ll likely be able to spot an approaching Butcher, but don’t waste any ammo on him, as he can be dealt with easily enough using the Lancer once he’s close. When there aren’t any enemies in sight, proceed down the walkway. Remain vigilant, as there may be one or two you’ve missed. As you move down the walkway, look around for the Flamer’s Scorcher; when you’ve found it, swap it with your Longshot. There are a couple of ammo containers along the way, so keep an eye out and pick them up to fill your Lancer.
Continue down the walkway, keeping an eye out for any Drones, and fall back when you spot the Bloodmounts and Boomer coming from the door to the left of the next gatehouse. Head back down the walkway and be ready for them with your Lancer equipped. Try your best to knock off the two Beast Riders from before they get too close, ideally while they’re preoccupied with attacking Dom. Alternatively, if you have a Frag Grenade, you could try throwing one as they approach.
 Roast the Bloodmounts with the Scorcher. |
If one or both of the Bloodmounts get dangerously close, switch to the Scorcher and use it to roast the creature. Continuously back away to keep out of range of the Bloodmount’s swipes. On the Hardcore or Insane difficulty levels, a single slash from a Bloodmount is enough to do you in, so be especially careful. Killing a Bloodmount with a Scorcher is significantly more difficult if the rider is still in place, as he will fire at you incessantly while you back away. However it doesn’t require much fire from the Scorcher to kill the mount, and once the rider is on the ground, you can fry him, too.
With the two Bloodmounts out of the way, take cover along the walkway and wait for the Boomer to appear, if he hasn’t already. Equip your Lancer and hit the Boomer with blindfire from behind cover to bring him down. Swap your Scorcher for the Boomshot, and continue to the gatehouse door at the other end of the walkway.
Both Dom and Marcus must pull the levers on the Locust emblem panels to open the gate. Unfortunately, a Drone appears from the outlook above, and pulls a lever to drop the two into the Locust jail below.
Objective: Fight your way out of the Locust jail.
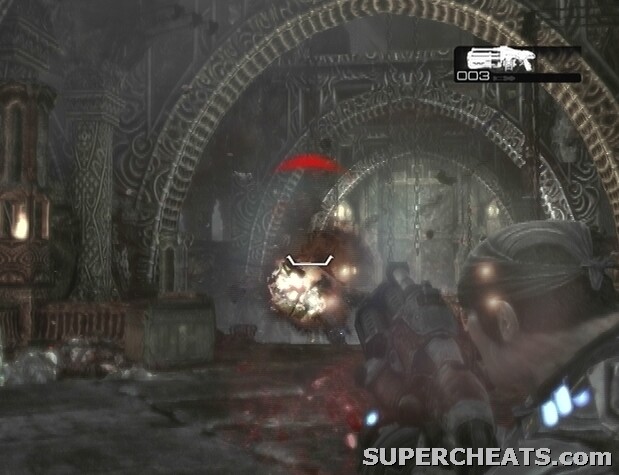
While Jack works to unlock the door, take cover below the barred window on the right and fire at the Butcher and Drones when they appear. If you have a Frag Grenade, you can throw it through the bars as well. Once Jack has unlocked the door, make sure the cell block is clear, and then kick it open. A group of Wretches will appear, so equip your Pistol and use your melee attack to beat them down. When the way is clear, be ready with your Boomshot equipped, and head up the curved steps. If you don’t have a Boomshot, Frag Grenades will suffice.
 Fire at the Butcher and Drones through the barred window. |
When you reach the narrow corridor, fire the Boomshot at the Drones coming down the stairs at the other end. With any luck, the shot will have taken out two or three of them. More are on their way, so take aim with the Boomshot, or be ready with a Frag Grenade. Once all of the Drones have been dealt with, head up the steps and wait for Jack to unlock the door. Kick open the door, and then proceed into the next area.
Objective: Get past the Brumak on the bridge.
Start toward the bridge; as soon as you see the door at the other end of the bridge begin to open, turn back and take control of the nearby Troika. Aim at the Brumak’s face and continuously fire until the bar in the top-right corner of the screen is nearly full. At that point, release RT and hold RB. While holding RB to cool the Troika, hold down RT to start it up to begin firing again immediately after. Continue doing this, and you should be able to bring the beast down before it sends a barrage of missiles your way.
The Brumak’s corpse is blocking the way, so you’ll have to find another way around. Head down the curved steps at the other end of the walkway. Move through this empty area and you will eventually encounter an ally.
After the brief cutscene, pick up the Mulcher by the doorway. Proceed through the doorway, and take cover behind the barrier. Hold LT to mount the Mulcher, and fire at the Drones and Wretches coming down the walkway. Take the time to shred the Wretches crawling along the ceiling, as you’ll have to get out of cover to kill them if they manage to get behind the barrier. When all of the enemies on the walkway have been dealt with, turn back to the door your came through. Use what’s left of the Mulcher to kill the Butcher and Drones that appeared, and then follow your allies to a ladder.
Objective: Follow the Locust highway.
Once up the ladder, move closer to the Drones in the distance and get behind cover. Use your Lancer or other weapon to clear away the Drones, and then look among the bodies for a Longshot. Swap your secondary weapon for the Longshot, and proceed into the next area. Take cover behind one of the columns along the corridor, and use your Lancer or Longshot to pick off the Drones at the other end.
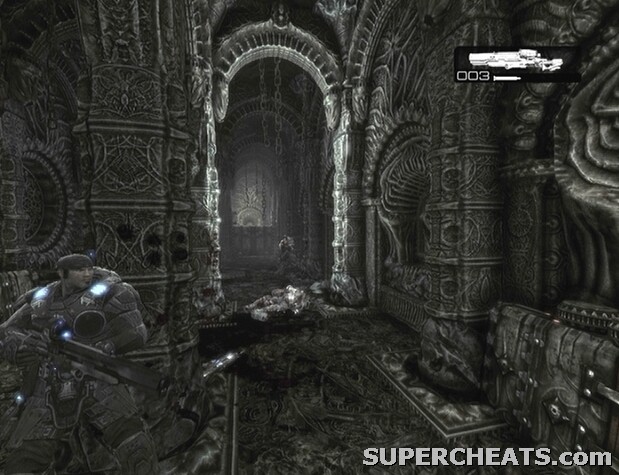 Fight your way to the next area. |
When the corridor is clear, move to the other end, and pull the lever to lower the barrier blocking the way. Pick up the ammo container along the way, and continue into the next area. Pick up the ammo container and Frag Grenades, and then pull the lever to lower the tall pieces of mechanized cover.
Objective: Fight your way into Nexus.
Pull the lever up ahead to raise the cover nearby, and hang back here with your Longshot. Pick off the Drones as they pop out from the cover at the other end of the area. Soon, a Kantus will appear. At this point, you’ll have to watch out for the Tickers he summons, as they’ll most likely make a beeline for you. When a Ticker is nearing, switch to your pistol and bat the creature away with a melee attack. Then, shoot the overturned Ticker to set it off.
Once the first batch of enemies has been cleared, another Kantus and a couple of Drones will appear from the doorway on the far right. The Gnasher-wielding Drones may take cover along the railing across from your cover giving them a clear shot, albeit with a weapon that’s inaccurate at long-range.
 Hang back with your Longshot and kill the enemies by the gatehouse in the distance. |
When there is only one or two enemies left, move up to some cover closer to the gate. A sizeable group of enemies will appear when the large, adjacent door opens. You’ll need to pull the lever to bring the cover back up, as all of it will lower once that door opens. There are two Bloodmounts among the enemies; if you’ve taken cover far enough from the gate, you should be able to take them out with your Lancer. As soon as they appear, concentrate your fire on one of them and don’t let up, as they will likely be distracted by your allies. If you’re low on Lancer ammo, an ammo container can be found in the area to the left of the gatehouse.
As the reinforcements dwindle, a Reaver will appear and land in the middle of the area. Get behind one of the low, mechanized pieces of cover and blindfire at the Reaver with your Lancer equipped. With your allies’ gunfire combined with yours, the Reaver should fall in no time.
GoW 2 Cheats, Hints and Walkthroughs
No comments yet. Tell us what you think to be the first.