Intestinal Fortitude
Gears of War 2 Walkthrough and Guide
Gears of War 2 Guide - Act 2: Denizens
Chapter 6: Intestinal Fortitude
Collectible (1/2): At the start of the level, turn left and look for the collectible (Car Gold Magazine) in the corner.
 Collectible 1/2 |
 Car Gold Magazine |
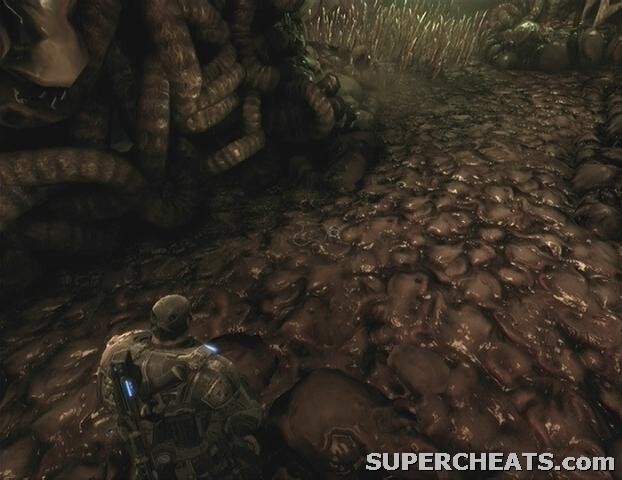
Wade through the Riftworm's intestinal juices until you reach the large digestive teeth. The first couple are easy enough to make it past; just wait until right after the tooth has hit the plate before roadie running and rolling to the safe space between teeth. Do the same for the second tooth. The third tooth is placed on an angle, but don't try to cross its length. Stand in the corner and wait for it to chomp down, then roadie run and roll over to the next safe spot.
To cross this next section you must roadie run continuously until you are at the other end. If you run into a wall you're mash, so steer clear of the low walls to avoid getting stuck. The next set of teeth aren't much harder to pass. For the first pair, rush through while they are opening, but do not try to pass the second just yet. Wait until the second tooth begins rising before dashing over. Do the same for the next two teeth to make it out alive.
Once you're through, move on until a cutscene is triggered. Afterwards, stand at the top of the slope and gun down the white critters before they can reach you. Avoid touching the green spikes throughout this level, because you'll take damage while standing on them. Move further ahead to trigger a cutscene.
Collectible (2/2): You'll have to move fast if you're going to escape the wall of debris. As soon as you gain control over Marcus, hug the wall on the left (but avoid the green spikes) and look for the collectible (COG Tag) in the corner. You should have just activated a checkpoint recently, so it's not a big deal if you don't find it before the wall of debris reaches you. If you do die after picking it up, there is no need to pick it up again.
 Collectible 2/2 |
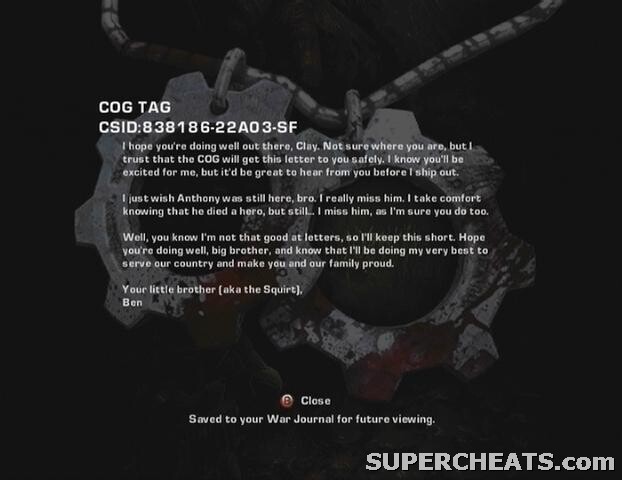 COG Tags |
Roadie run away from the tumbling wall of debris until you reach the first flesh opening. Blast the flesh opening with gunfire and then roadie run through. Avoid the green spikes because they'll deal a large amount of damage when touched. Ignore the white critters, but melee them away with your Gnasher if they won't let you through. Use the Lancer's chainsaw bayonet to cut open the flesh wall you come to and then quickly pass through.
When you reach a dead-end, press the Y button to focus on the teetering vehicle up above. Hit it with gunfire to knock it down, creating a bridge over the poisonous spikes. When you reach the second flesh wall, cut it down with the Lancer's chainsaw bayonet to escape the wall of debris.
In the next area, take the path to the left, move up to the first acid nozzle, and shoot it to disable it for a short period of time. The acid jet will soon come back to life, so move past the patch quickly. There are two acid jets blocking the next patch; switch to your Gnasher and blast the two nozzles in quick succession, then roadie run over the acid pool to the next section. Do the same for the next four acid jets to make it across. Pick up the Lancer ammo by the corpse and proceed into the next area.
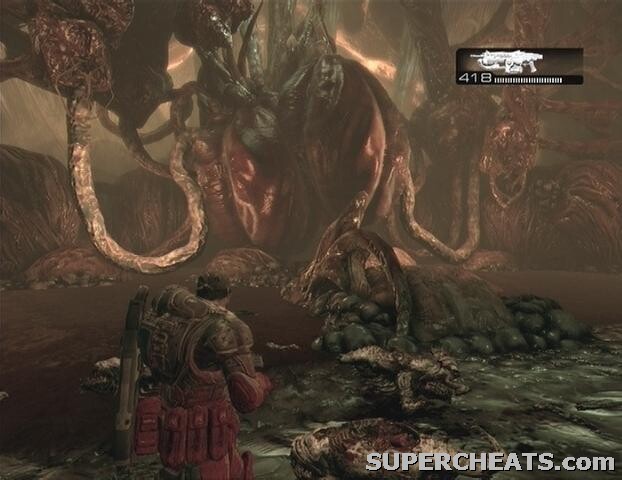
You have to make it through the stomach fast, since there is poisonous gas in the air that will slowly kill you. The key here is to always head down the lighter path. When you reach the end, use the Lancer's chainsaw bayonet to cut through the stomach lining. Follow this next path to its end and cut open the flesh wall with the chainsaw bayonet. Quickly cut through the two arteries on either side of the Riftworm's heart and then run up the slope across from it. The chamber quickly fills with blood, so you'll drown if you're not quick enough.
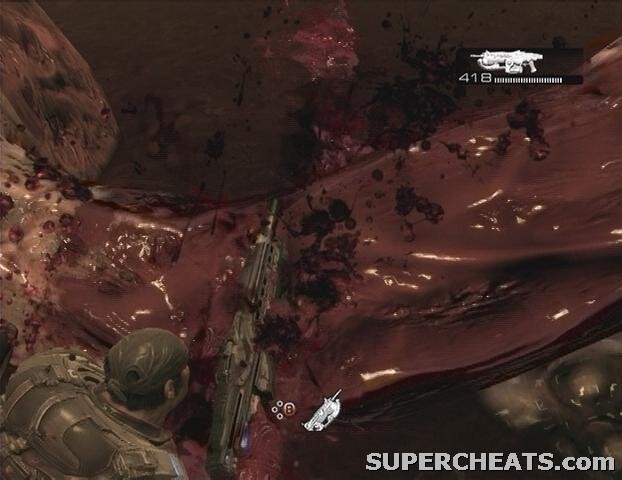
Unfortunately the Riftworm has four hearts, and you've only stopped one of them. You'll need to cut down the other three to kill this beast. Continue down the next path and cut through the flesh wall to reach the second heart. There are three arteries to cut with this one; waste no time moving on to the next, because the chamber is quickly filling up with the worm's blood. When all three arteries have been cut, move on down the path. Cut through the flesh wall to reach the final chamber which houses the last two of the Riftworm's hearts.
There are white critters to contend with here, but waste no time with them once you've cut the first artery. As soon as the first heart has been stopped, move on to the next on the other side and cut its arteries as well to complete Act 2.
 |
 |
GoW 2 Cheats, Hints and Walkthroughs
how do u get througt the intestines