Roadblocks
Gears of War 2 Walkthrough and Guide
Gears of War 2 Guide - Act 1: Tip of the Spear
Chapter 5: Roadblocks
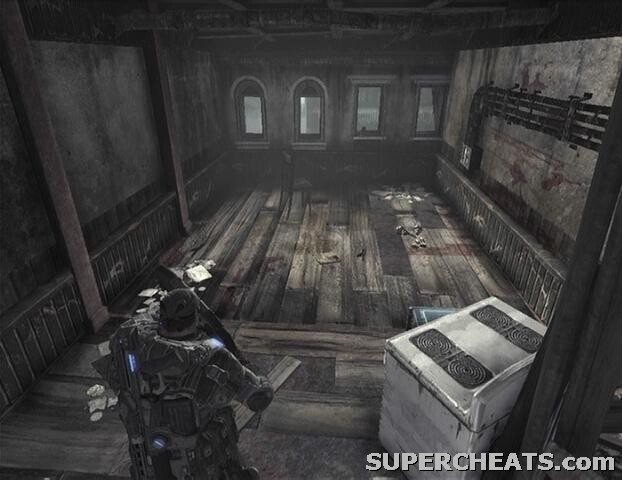
Give the door to the left a few kicks to open it. Take the Gnasher from behind the counter if you aren't already carrying one.
Collectible (1/4): Hop over the counter and climb up the stairs behind it. The collectible (Jacinto Sentinel Newspaper) is on the floor in this room here.
 Collectible 1/5 |
 Jacinto Sentinel Newspaper |
Grab the collectible, Frag Grenades, and ammo box in the room upstairs, and then climb back down the stairs, hop over the counter, and continue on into the next part of the bar to meet some Tickers. These enemies explode when killed, and can also self-detonate if they're close enough to you or one of your allies. If you can't kill a Ticker from afar, the best way to deal with one is to melee it—which knocks them away from you and prevents them from detonating—and then fire at it from a safe distance. Don't melee a Ticker while it's down though, as that will just cause it to explode. Just make sure that you don't have your Lancer out before mashing that melee button because using a chainsaw on a Ticker isn't the best idea!
 |
Take cover beneath the opening in the wall and blast the Tickers with your Gnasher before they can reach the doorway. When the way seems to be clear, step outside, but keep on the lookout for stray Tickers. You'll know a Ticker is in the area due to the distinct ticking sound they emit. A wooden fence on the other side of the road will soon be blown open by a Ticker. Kill the final Ticker to complete the current objective and then continue past the fence. Head down the alleyway between the two houses and use the Lancer's chainsaw bayonet to cut down the wooden planks in your path. If you don't have a Lancer, there is one in on the floor behind the houses, otherwise a few normal melee attacks can accomplish the same.
Take cover behind the sandbags here and fire at the Tickers that appear. You should be safe from their blasts from behind the sandbags, but just don't let one get behind the cover. They tend to self-detonate when they get close enough, even if you're on the other side of a piece of cover, so fighting these guys off shouldn't be too much of a problem.
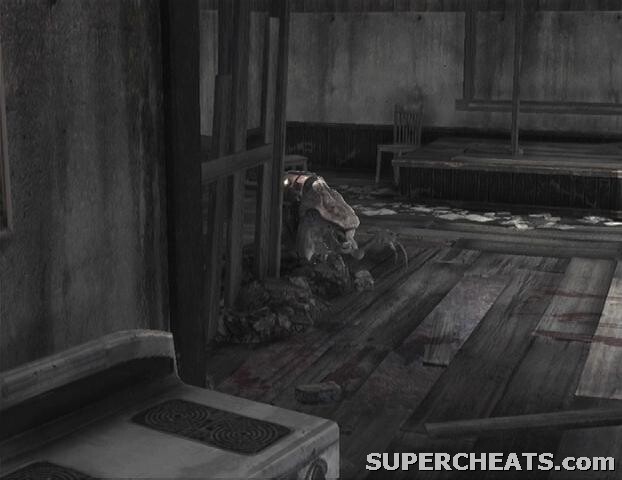
Collectible (2/4): The collectible (Memorial Inscription) is in the small gravesite across from the start of the path that leads up to the Imulsion station. It is the plaque below the statue there.
 Collectible 2/4 |
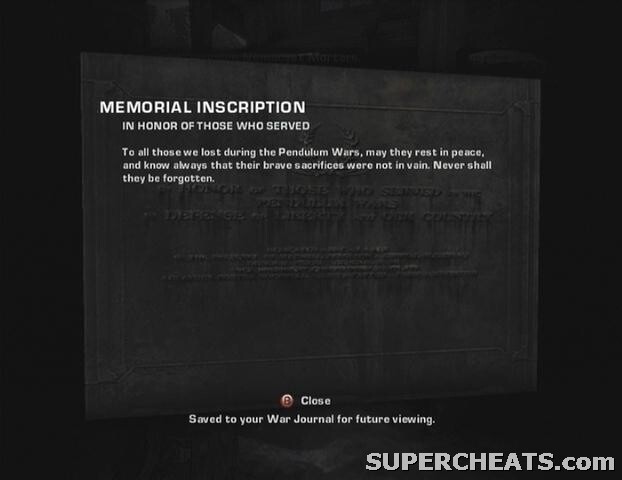 Memorial Inscription |
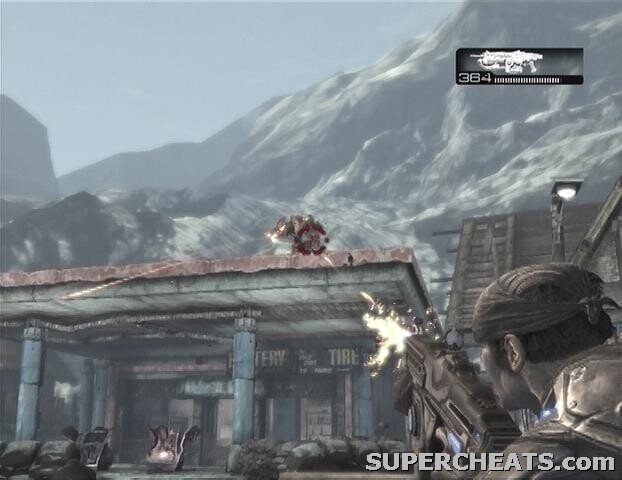
Once you have the collectible, head towards the Imulsion station and take cover behind the cement block at the top of the slope to the right. A Troika gunner is soon revealed to be on top of the station. Wait until the gunner takes aim at one of your friends before popping up from cover and firing at his side. With the gunner down and out, sit tight until the tower to the far left with a second Troika gunner in it is demolished by an allied assault derrick.
 |
Collectible (3/4): Enter the small room at the back of the Imulsion station. The collectible (Truck Driver's Note) is on the ground here.
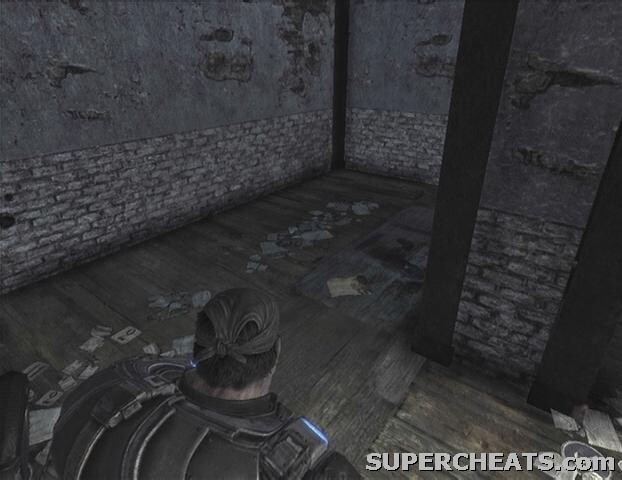 Collectible 3/4 |
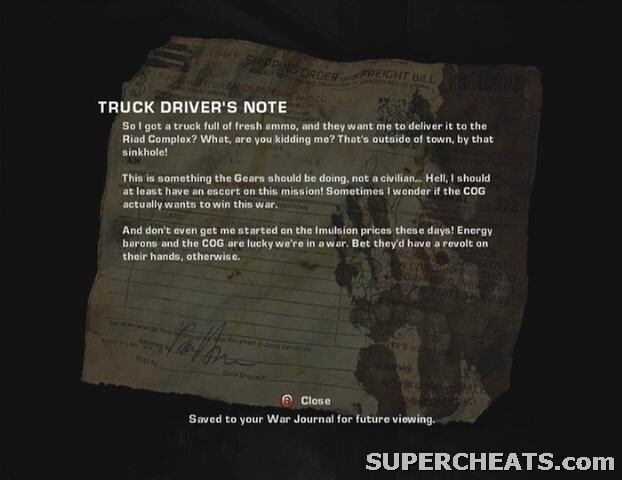 Truck Driver's Note |
After picking up the collectible inside the station, hop over the railing along the building next to the station and move through the gap at the other end. Make your way over to the giant tunnel in the distance and pass through the open fence at its mouth. This tunnel is full of Tickers, so switch to your Gnasher and melee away any that get too close for comfort. Your allies will fire at the Tickers too, which can be dangerous since they tend to detonate those nearby. For this reason your best bet upon spotting a Ticker is to simply back away and fire your Gnasher at it.
Keep to the left of the tunnel and eventually you will come to some steps. There's a collectible nearby, so don't head up those steps just yet.
Collectible (4/4): A small room to the left of the steps along the sidewalk holds the collectible (COG Tag).
 Collectible 4/4 |
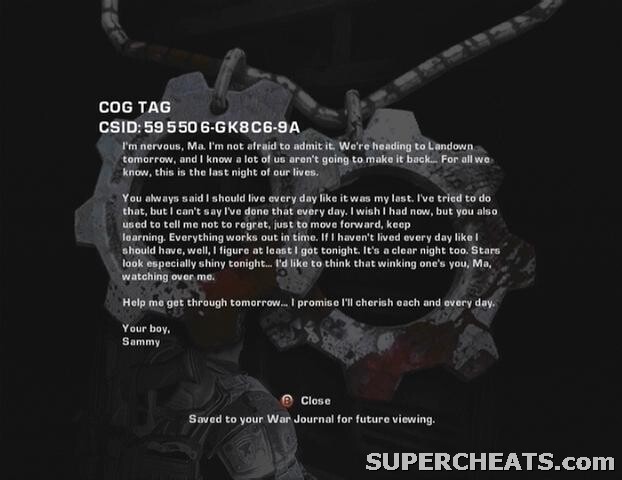 COG Tag |
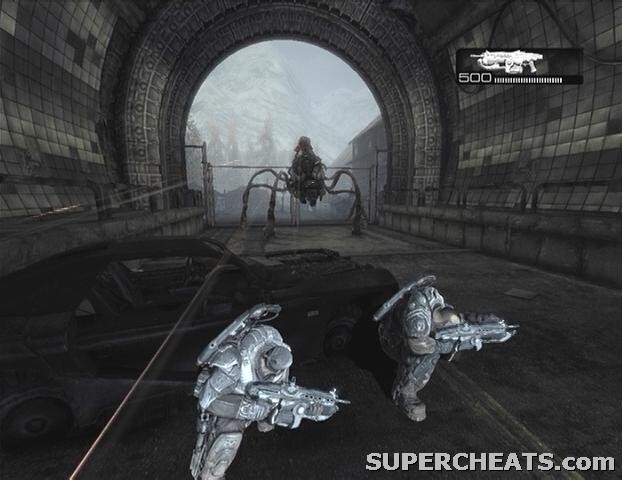
When you have the tag, continue up the steps, proceed through the doorway, and move through this area and out the doorway at its end. Blast the Tickers as you move down the remainder of the tunnel and take cover behind the car near the exit. A Reaver will soon appear and ground itself at the end of the tunnel; switch to your Lancer and fire at the Reaver until it falls. With the way clear, exit the tunnel and start down the street.
 |
Partway down you're given the choice between the Hotel route and the Rooftops route. For the sake of following this walkthrough, choose the Rooftops path by pulling RT.
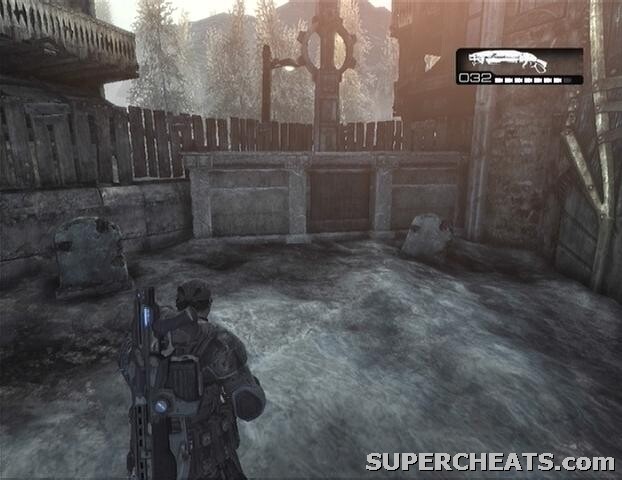
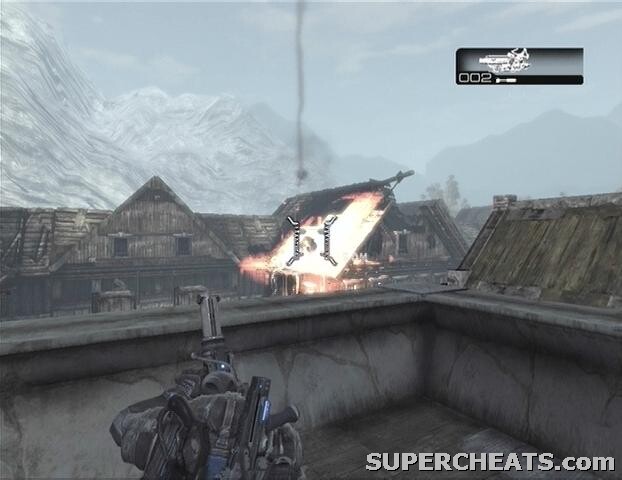
Rooftops Path: Get behind a piece of cover and kill off the two Drones at the end of the way Climb up the ladder around the corner and use the Lancer's chainsaw bayonet to silence the Mortar Drone on the rooftop if he hasn't spotted you. Pick up the Mortar and move along the roof until you have a clear view of the bombed out hotel across the street. Take aim at the roof of the building at the far right end, hold the shot with RT until it reaches about 110m, and then release it to create an opening.
 |
With that done, climb back down the ladder and wait while Jack opens the door across from it. Kick open the door, move through the building, and take cover behind the sandbags outside. Kill the Drones in this area and then take up the Mortar on the ground. A Brumak soon emerges from the tunnel; you must defeat it before it manages to destroy Betty with its missiles.
It takes a solid three mortar hits to down this beast, but luckily from this position you're close enough to the Brumak to not have to worry too much about firing distance. Try to time the first mortar strike as the Brumak steps out from the tunnel; don't hold down RT for too long (75m-80m) because you don't need all that much distance. The Brumak will stand on the spot for a moment when it first steps out from the tunnel, so hit it with a mortar strike again here (70m-75m). When the Brumak is right up against your cover (the railing along the rooftop), you need only hold a mortar shot to 55m-60m to reach. If a third mortar strike doesn't bring the Brumak down, either try for another one or quickly switch to your Lancer and hope it's at least close to dying.
The chapter ends once the Brumak falls.
GoW 2 Cheats, Hints and Walkthroughs
No comments yet. Tell us what you think to be the first.