Hornet's Nest
Gears of War 2 Walkthrough and Guide
Gears of War 2 Guide - Act 4: Hive
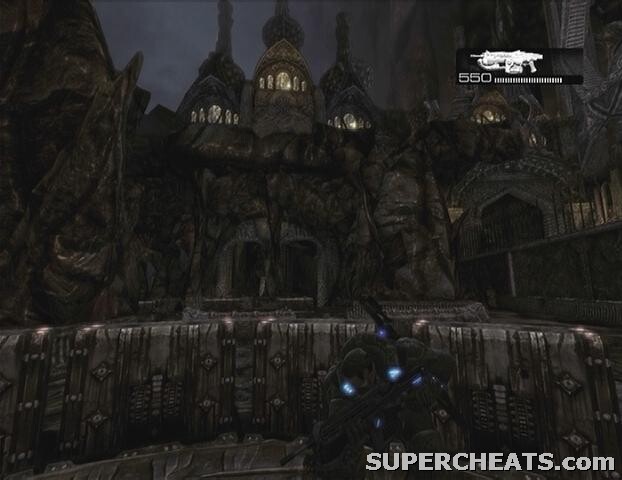
Chapter 3: Hornet's Nest
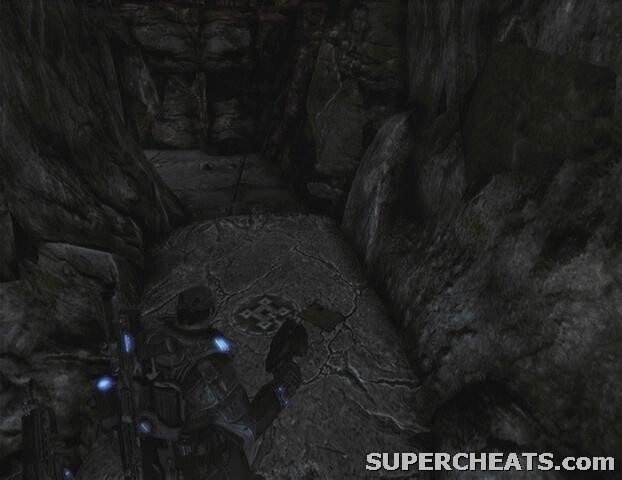
Collectible (1/2): At the start of the level, move to the end of the first room and head down the steps there. After climbing down the steps, turn right and follow this corridor to its end. The collectible (Locust Jailer Document) is on the ground around the corner.
 Collectible 1/2 |
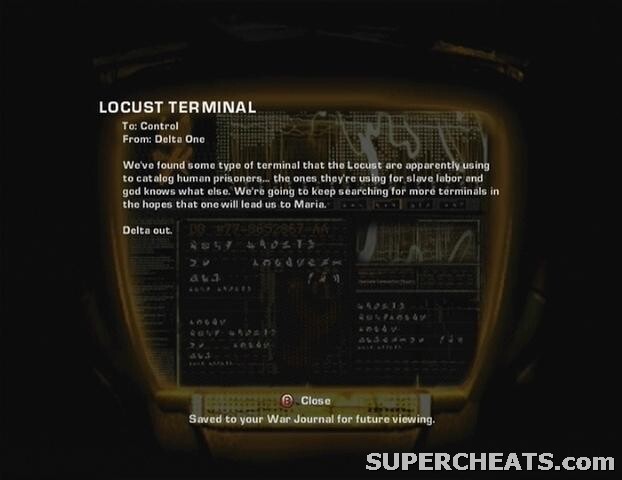 Locust Jailer Document |
Once you have the collectible, continue down the corridor and kick in the large door you come to. After the cutscene, dash ahead and grab some cover below the walkway and leave Dom to deal with the Drones above. If you have a Longshot, sit here and pick off the Drones that rush down the steps up ahead. There's a Theron Guard in the tower across the way; remember to keep your head down if you spot him charging a shot. More Drones will enter through the passage way to the left. Try to use the Locust Explosive there to your advantage by firing at it as they come.
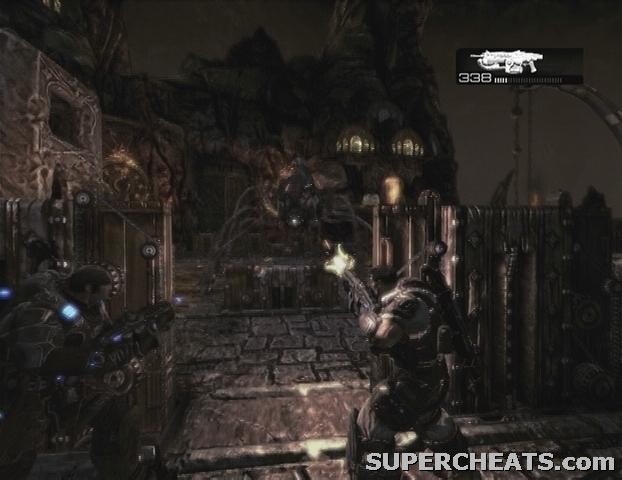
When the way is clear, move out from cover and make your way over to the switch in the tower at the top of the stairs. A pair of Flamers and a trio of Theron come through the door that the switch opens, so take cover along the stair railing. Remember, puncturing one of the tanks on a Flamer's back will cause it to promptly explode, taking the Flamer with it. You'll know the Flamer's time is near when you can see fire emitting from the tank. Be sure to keep your distance to avoid taking damage from the explosion.
 |
When the way is clear, head down the steps and proceed through the door below the stairway that the switch opened. Pick up the ammo container across from the doorway before taking cover behind the low wall to the left. Kill off the Grenadier and Bloodmount that attack before moving up. Take out the Drone that storms through the doorway and then head through.
In the next area, immediately pull the lever across from the doorway to bring up more cover at your end. A Drone soon appears over on the walkway to the right at the far end of the room (when the POI icon appears); he's going to pull a lever that will lower your cover, so take him out before he succeeds. If he does manage to pull the lever, just pull the lever on your end again to bring the cover back up.
 |
You'll soon be faced with a Reaver, so try to take out the Drones at the other end of the room quickly. Keep behind the tall cover and concentrate your fire on the Reaver until it falls. After the first Reaver, another swoops by and knocks down the tower to the left, scattering rubble across the room. The pieces of rubble fall in a convenient pattern, allowing you to use them as cover.
As the giant door at the other end of the room parts, two Grinders will step through. Move up to one of the closer pieces of cover if you haven't already. Before moving past the giant door, read the paragraph about the collectible below since you'll need to get to this one quickly.
Collectible (2/2): After passing through the giant door, roadie run up the steps, and then turn right and continue up the steps there to spot another lowering door. Roadie run and roll to make it past this door before it closes. The collectible (Human Finger Necklace) is on the floor just beyond this door.
You should have hit a checkpoint just before this area, so if you don't make it past the door, pause the game, reload from the last checkpoint, and try again.
 Collectible 2/2 |
 Human Finger Necklace |
Once you have the collectible, hit the switch by the door and man the Troika there. Gun down the Butchers, Flamer, and Drones before stepping off of the Troika and moving further up. Another group of enemies will enter the room from the back, so take cover behind one of the cement blocks.
When you hear the battle end sound effect, proceed up the steps at the back of the room. Continue to the end of the hall and turn into the room on the left to find an ammo box and a couple of Frag Grenades.
There's a Flamer on the bridge beyond arched doorway partway down the hall. If you can manage to shoot the tank on his back, it will explode, killing the Flamer and taking the bridge down with it. When the Flamer has been dealt with, head through the archway and crouch behind the railing to avoid taking fire from the enemies to the left. When you hear the battle end sound effect, get over to the other side of the walkway and go up the steps there.
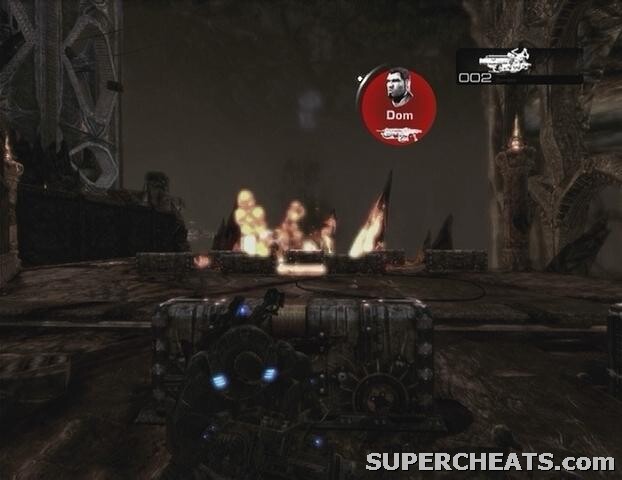
Grab the ammo container along the way and head through the arched doorway. Pull the lever up ahead, and then take the nearby Frag Grenades if you have room in your inventory. Move up to the mechanized cover and start picking off the enemies in the distant fort. Once they've been dealt with, hop into the circular formation of cover to trigger a cutscene.
 |
After the cutscene, quickly pull the lever to bring up some cover, grab the nearby ammo container, and then take cover along the fort and start picking off the Drones in the distance. A Reaver soon enters the fray; immediately fallback if it waltzes up to your cover because it can deal a considerable amount of melee damage. Try to take out the Drones around the fort quickly, because you'll need some room to move around when the second Reaver shows up. After the first Reaver falls, another soon takes its place. Just keep switching from cover to cover as necessary to keep your distance from it.
When the second Reaver falls, a Mortar Drone will appear at the gate behind the fort. Kill this guy off quickly, but if he manages to launch a mortar strike, hop out of the fort and run off to the side to avoid being gibbed. Kill this last Drone, pick up the dropped Mortar if you wish, and then make your way over to the lever in the distance. Pick up the Frag Grenades, pull the lever, and then take cover.
 |
If you brought the Mortar along, launch a strike at around 80m, and another at around 90m to clear the enemies behind the cover up ahead. Be careful though, as there is another Mortar Drone among them. Finish off any enemies that manage to survive the strike before moving up to the next set of cover.
Pull the lever off to the right to bring up some more cover. There is yet another Mortar user at the very last row of cover on the far right here, so take him out with the Longshot if you're carrying one. Hit one of the Locust Explosives to set it off, hopefully taking one or more enemies with it. Don't move too far ahead, because once the enemies in this area are all dead, the gate will lower and you'll be faced with two Grinders. Stay back behind the tall piece of cover with the lever behind it for best results. Keep an eye out for mortar strikes and Tickers as you battle the Grinders.
Once the area is clear, continue up the steps off to the right of the large door. Pick up the ammo container and Frag Grenades at the top of the stairs before pulling the lever next to the gate to complete the chapter.
GoW 2 Cheats, Hints and Walkthroughs
No comments yet. Tell us what you think to be the first.