Priorities
Gears of War 2 Walkthrough and Guide
Gears of War 2 Guide - Act 4: Hive
Chapter 1: Priorities
Start down the path and you will soon reach a series of archways. Pass through the archways to trigger a cutscene. Afterwards, head through the archway up ahead, walk down the hallway, and hit the switch at its end to activate the lift. You'll come to another lift at the end of this walkway, so hit the switch to take it down to the next area. Turn the handwheel to lower the floodgates in the middle of the room, then hop over the railing and take cover behind one of the platforms.
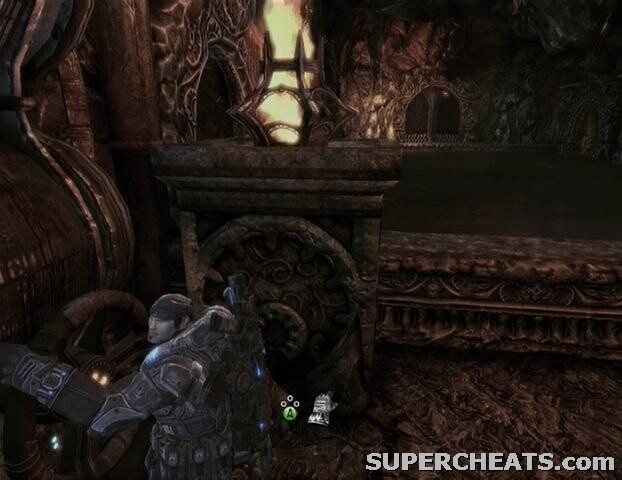 |
A group of Drones enter through the door at the other end of the room, and one of them immediately takes to the handwheel on the wall to your left. He's trying to open the floodgates. Kill this guy quickly to avoid being washed away. If you have a Frag Grenade on hand, just toss it over to take him out, and hopefully one or more of the others. Once he has been dealt with, duck back behind cover to avoid taking fire from the other Drones that came in with him. When the remaining enemies have been eliminated, make your way over to the other side and walk down the hall to reach another lift.
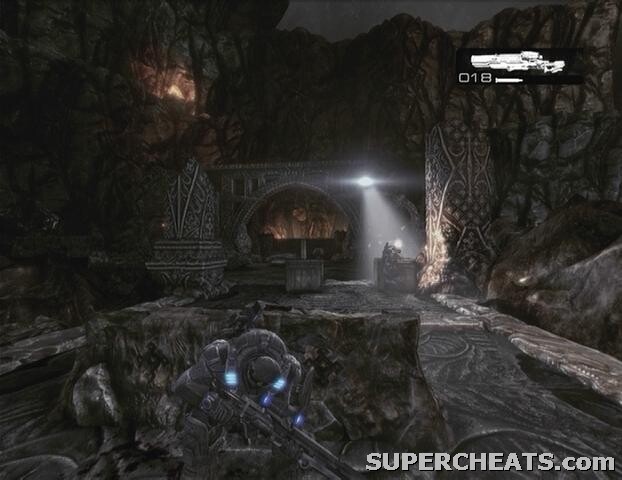
There's a Longshot and a box of ammo straight ahead as you step off of the elevator. When you're ready, head through the archway and take cover behind the pile of bricks. A few Wretches and a Mauler enter the area. Kill the Wretches and Mauler from afar, and then make your way to the other end of the area. Pick up the ammo container and Frag Grenades at the start of the bridge before taking cover. There is a Troika up ahead, as well as a few Drones and a Theron Guard. Try to blind-throw a Frag Grenade to take out the Troika gunner, and if you succeed, pick off the others with the Longshot. One or more of the Drones may be packing a Lancer Assault Rifle, so back up to avoid being cut in half if one makes a beeline for you.
 |
When the enemies have been dealt with, pick up any ammo they left behind, and then pass through the archway off to the left. Do not activate either of the terminals here just yet! One of them serves as a collectible, and if you activate the wrong terminal you'll have to restart the chapter to get it.
Collectible (1/1): After passing through the archway, activate the Locust Terminal to your RIGHT. You'll know it's the collectible because the icon at the bottom of the screen will be a magnifying glass rather than a switch.
 Collectible 1/1 | 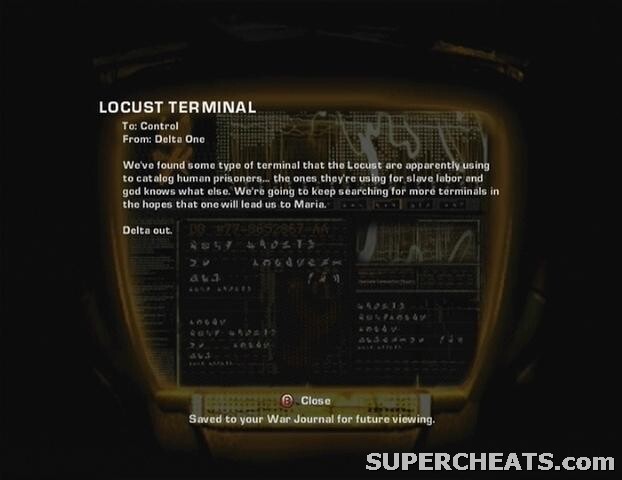 Locust Terminal |
Once you have the collectible, activate the Locust Terminal to your left to trigger a cutscene. Study the symbol that is flashed on the monitor during the cutscene, as it marks the section of cells where Maria is being held.
GoW 2 Cheats, Hints and Walkthroughs
You missed one at the third terminal.