Chapter 25C: Blades Drawn

To complete this chapter, you have to defeat the boss in the far eastern room. Your army will be split to two. There are also three necessary dragon veins to the north, middle, and south. You have to activate all of these in order to release all the locks along the path. Divide your troops as you normally would, each with one healer and/or backup healer. Your most powerful units should be evenly split to provide the necessary tanking and offense.
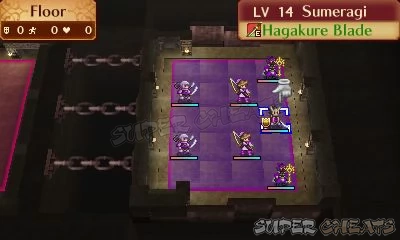
Once ready, you have to move your units in the moving room to transport them to the rooms where the enemies and dragon veins are located. There are only six spaces in each of the rooms so you’ll have to pair up units to have enough room. Once the rooms have moved, I suggest saving the game first so you can restart in case you messed up with your positioning. The rooms will move every turn, giving you access in one of the two available exits. The northern moving room gives you access to the northern dragon vein, the south gives access to the southern dragon vein and finally both moving rooms gives you access to the center dragon vein.
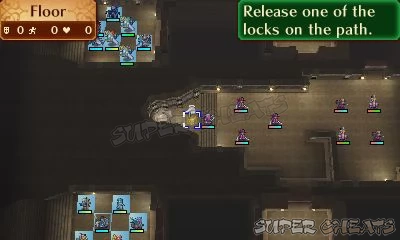
The enemies will have the attack advantage as soon as you leave the moving rooms so position your characters so that your tanks can block the enemy movement and your healers/ranged damagers can retaliate from behind your tanks. Passive area-of-effect abilities in these formations will help a lot, especially those that reduce damage and heal nearby allies.
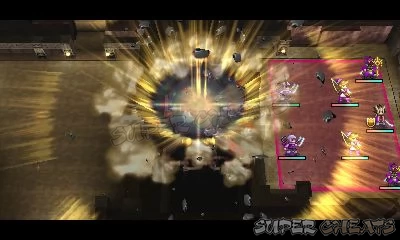
There are no turn restrictions here so heal up and clear the enemies first before moving to the dragon veins to activate them. When one of your groups are done activating the dragon vein on the hall they’re in and cleared the enemies there as well, you can regroup and have them help the other group. The southern hall has onmyojis which is capable of one-shot kills to your low-RES characters like tanks, while the merchants nearby can easily take out your fliers. Save your game before moving your units so you can ensure the safety of your units when dealing with these dangerous enemies.
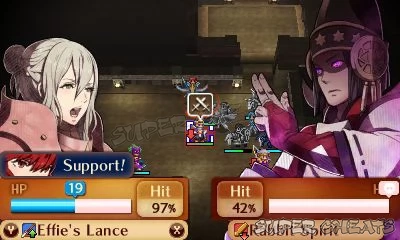
On the fourth turn, enemy reinforcements will appear on the northern hall. At the 12th turn, more enemies will appear from the southern hall. At the end of the 14th turn, reinforcements will appear on the NE corner. More enemies will arrive to the SE. The boss and his guards will not leave the room unless your units are within their attack range.
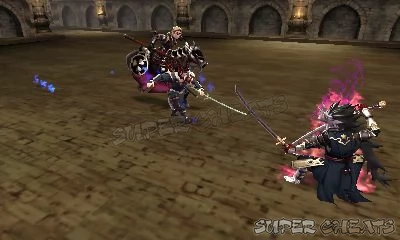
It’s better to regroup your units so you can have more available attackers that can get rid of Sumeragi’s guards or soften him up for the finishing blow. Sumeragi is very dangerous, and the fact that his guards are capable of focus-attacking any one target should be enough for you to be wary when making your move. Pairing up your most powerful characters will ensure their survival and effectiveness. If you have your whole army standing by, you can take out his guards for extra EXP. You can lure them by staying within their attack range while staying out of Sumeragi’s attack range. Otherwise, you have to focus your attacks on him and finish him to complete the chapter.
Anything missing from this guide?
ASK A QUESTION for Fire Emblem Fates
Comments for Chapter 25C: Blades Drawn
Add a comment
Please log in above or sign up for free to post comments- Basics
- My Castle
- Seals
- Marriage and Offspring
- Main Story
- Birthright
- Conquest
- Revelations
- Paralogues
- Classes
- Skill List
 Join us on Discord
