Lone Shadow Longswordsman
Where is this boss located?
This boss is located inside the cavern where you first started the game, in Ashina Reservoir. To reach it, start from the sculptor’s idol then jump over the wall to the left. There’s a branch there that you can grapple.
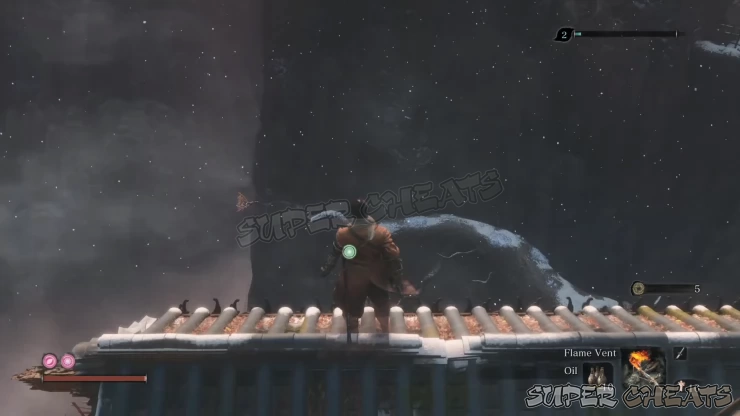
Grapple to the next branch and quickly turn to the left where you’ll find a spotter that will immediately make noises to alert nearby enemies. Take him out quickly.
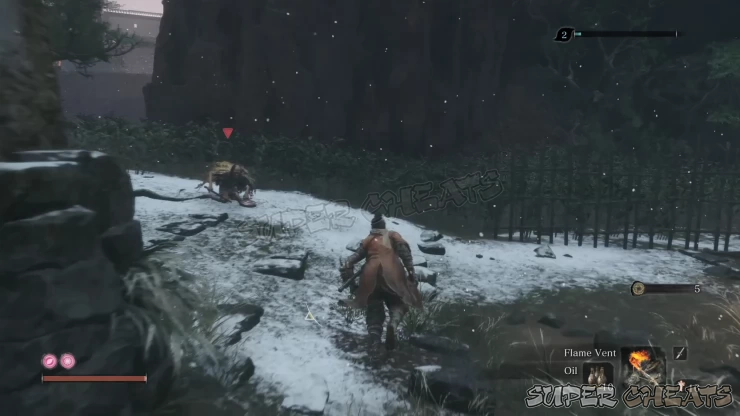
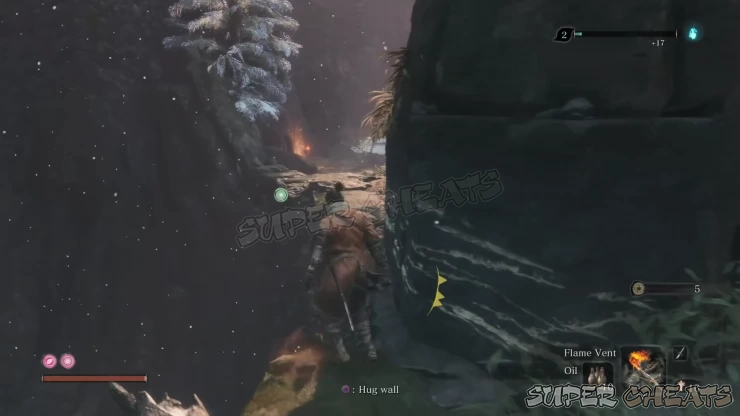
From there, head to the edge of the cliff past the bushes to see a grappling point there. Continue past the cavern’s opening and look down to find the black shrouded figure below. He won’t be hostile during the first time you talk to him but if you attack him, he’ll be permanently aggroed and you’ll have to defeat him first in order to get into Ashina Depths.
How to defeat this boss?
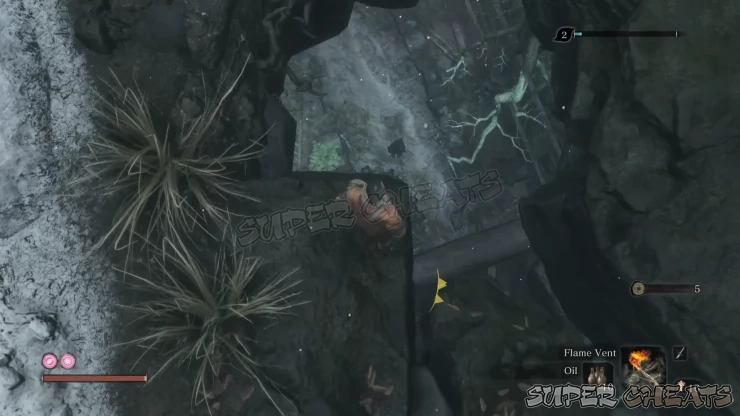
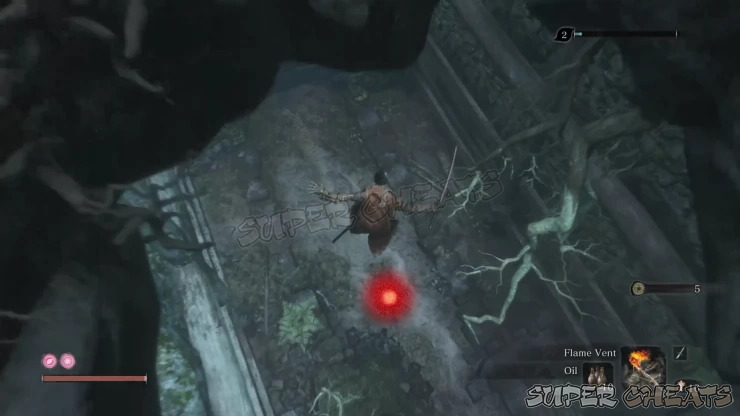
He won’t be hostile initially. You can actually talk to him and leave peacefully. Due to the narrow corridor where you’ll fight him, it’s recommended to land a deathblow on him to make the battle faster and easier. You can get a jump on him from the opening directly above him. You won’t be able to sneak behind him since he’ll notice you immediately. Dropping from above is the only way to deal a deathblow on him.
You can’t perform a deathblow when you’re locked on on him from above. You have to drop directly above him without locking-on to him for the red deathblow dot will appear. If you failed to do this successfully, disengage, escape the cave and try again.
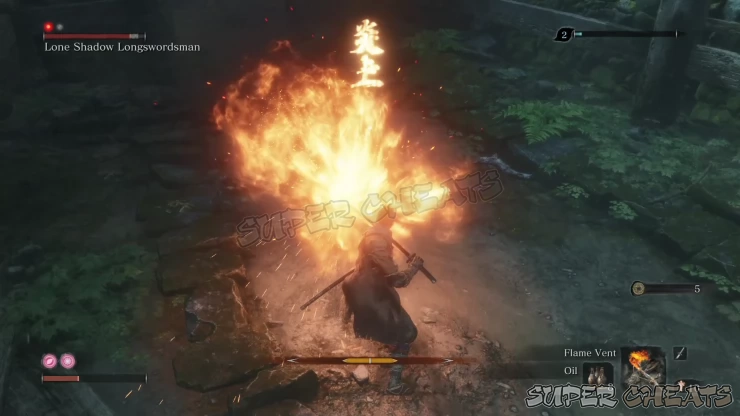
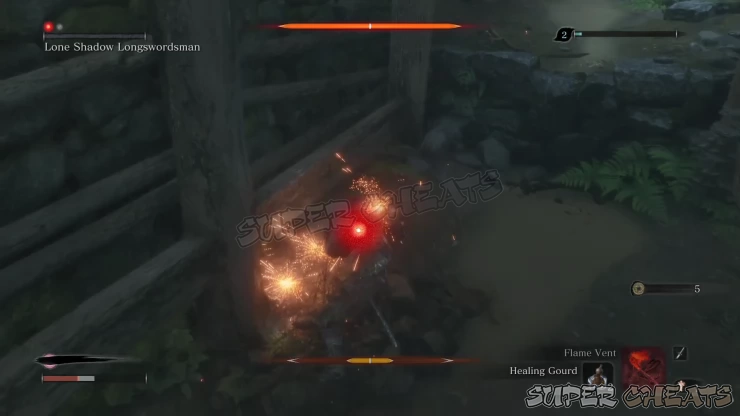
Similar to Seven Ashina Spears - Shikibu Toshikatsu Yamauchi, you can use the Oil + Flame Vent combo to disrupt his attacks and land some free shots.
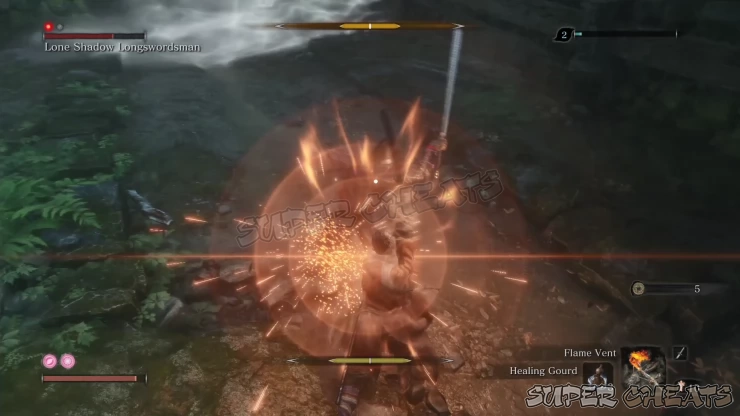
He has a lot of attacks that can heavily damage your posture gauge so parrying these attacks will help preserving your posture while damaging him in return. Don’t bother blocking his posture-breaking kicks and heel drops.
Due to the cramped quarters, healing up can be tough. You can actually escape to the surface to heal up then go back down again to continue the fight. Don’t stray too far to prevent his HP from resetting.
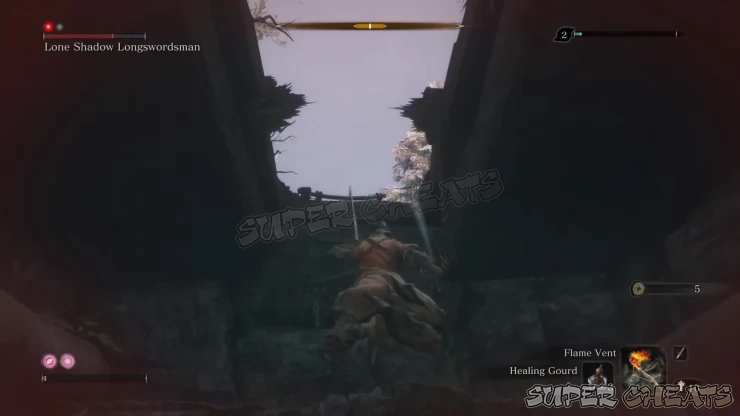
If you successfully landed a deathblow on him, this battle can end fairly quickly. Just avoid fighting him in really tight quarters and always try to keep him visible so you can anticipate his attacks and react accordingly.
Boss Drops
* Scrap Magnetite
* Prayer Bead
Video Walkthrough

Comments for Lone Shadow Longswordsman
- Exploration
- Combat and Survival Tips
- About Death
- Character Progression
- Gourd Seed Locations
- Prayer Bead Locations
- Merchants
- Bosses
- Base Prosthetic Tools
- Prosthetic Tool Upgrades
- EXP Farming Locations
 Join us on Discord
