SideQuest - Spark of Life
Talk to Muria before leaving to the Kingdom of the Dead to get this quest. The enemy she wishes to be vanquished is located inside the optional dungeon called The Scar. You'll only be able to fully explore it once you have acquired the Soul Splitter ability as part of the story.
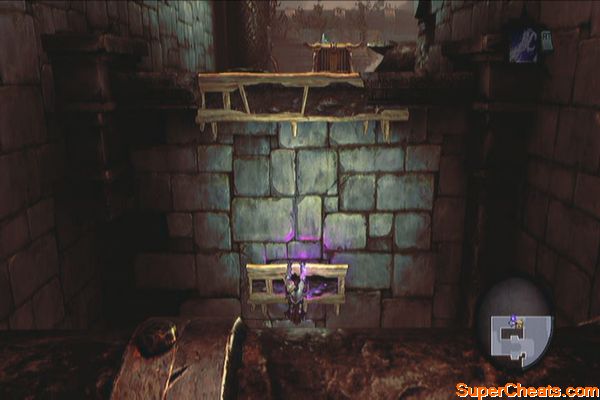
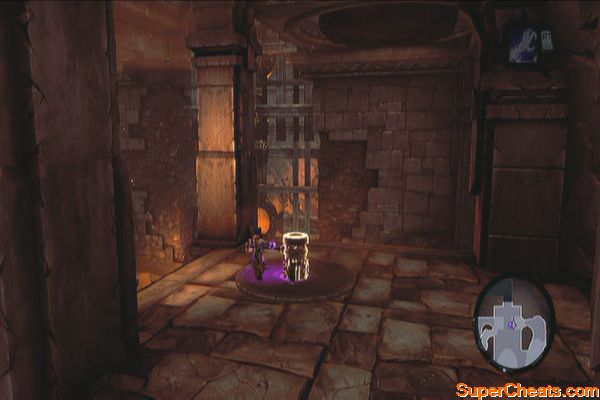
The Scar
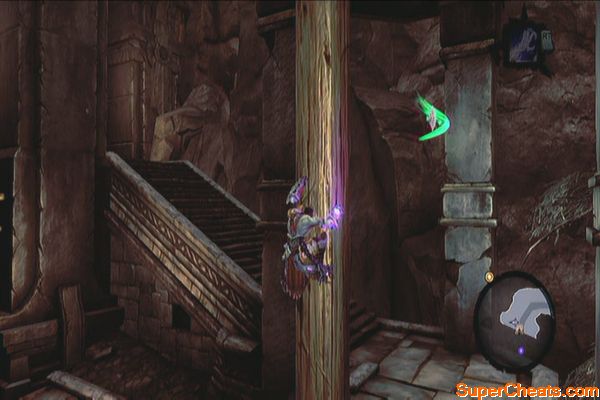
Before entering the Scar, look for the Stone of Power overhead, above the deathgrip hoop. It will be challenge to hit it here so just swing to the wooden post, grab the Boatman Coin and head to the entrance. From there, you should be able to get a good view at the stonebite. Shoot it once you're able then enter the dungeon.
|
|
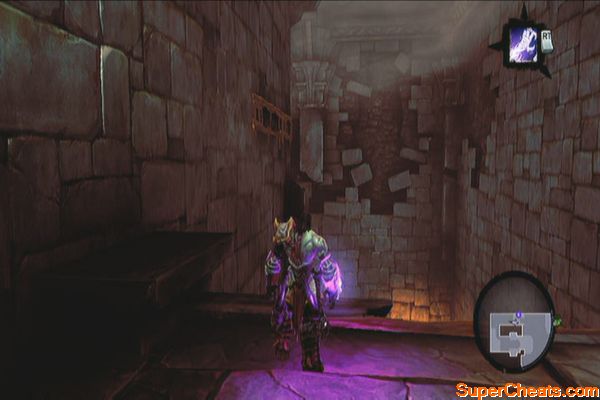
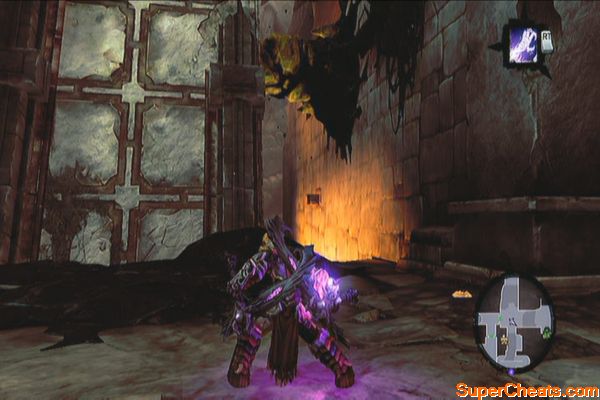
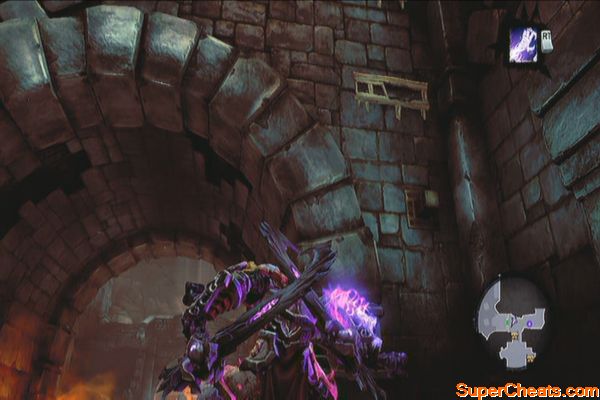
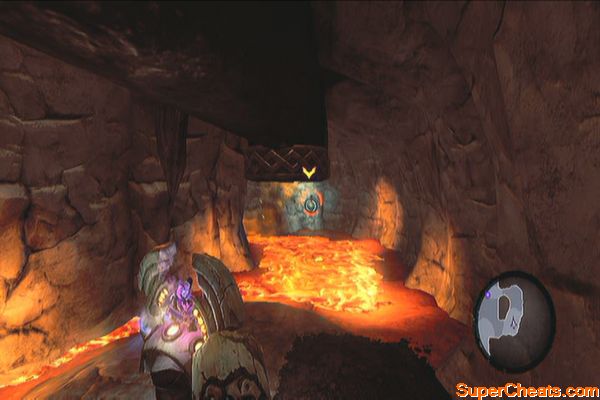
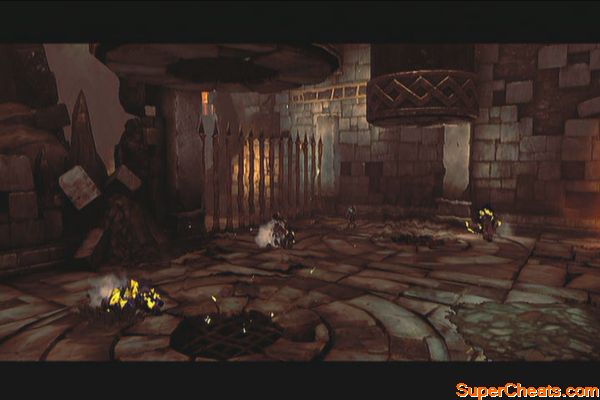
Go downstairs and turn around to find some wooden pegs on the wall. Wall-run to the hand-hold, shimmy to the right to find a chest. Backtrack and head to the next door afterward. After the scene, you have to defeat several constructs. After defeating them, follow the path until you find a hole you can fall through. In the lower level, destroy the stinger hive then wall-run in the narrow corridor to reach the other side.
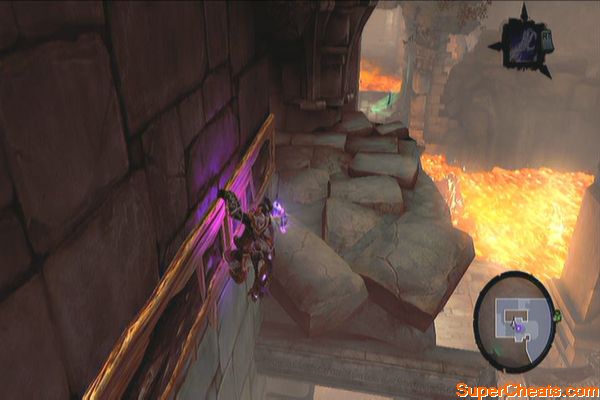
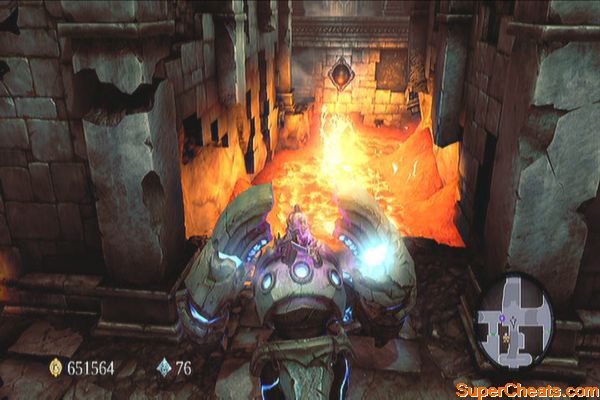
Once there, head to the circular pit to the left and make your way up as the lava below rises.
Lava Rising
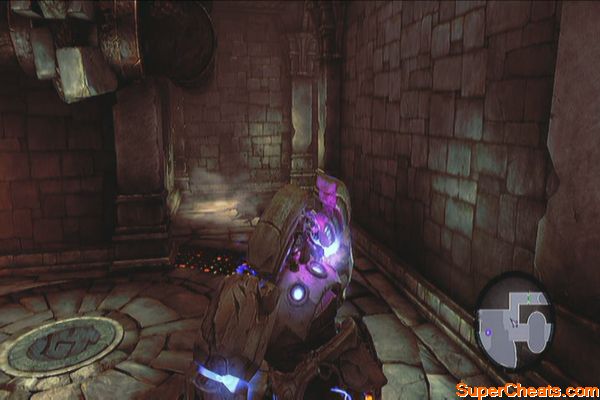
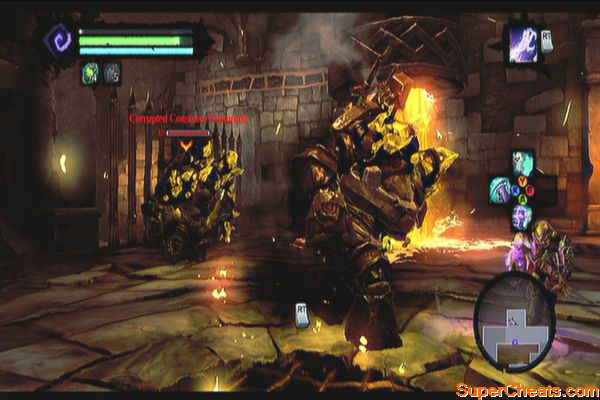
After reaching the upper level, head to the room to the south then activate the custodian. You can use it to defeat the construct warriors then cross the lava-filled floors to reach the other side. Destroy the crystals and the enemies then park the construct on the hole. Extend its arm so you can reach the other side.
Swing to the next ledge then follow the path and swing across using the deathgrip hoops above. Wall-run until you reach the other ledge which has the Skeleton Key chest and a Boatman Coin. Grab the key BUT BEFORE jumping off to get the Boatman Coin, look around to find a hand-hold to the west.
Follow the hand-hold until you find a Book of the Dead page. Now backtrack jump off to grab the Boatman Coin and land back on the chain.
Clear the nearby passage of crystals and go through the door. Swing to the other side then go through the door to the east this time. Defeat the constructs that will appear then wall-run to the east, past the raised bridge. Open the locked key to the south afterward.
In the next room, you have to move from pillar to pillar before they sink in to the lava. Make your way to the next ledge then continue through the door.
Pillars
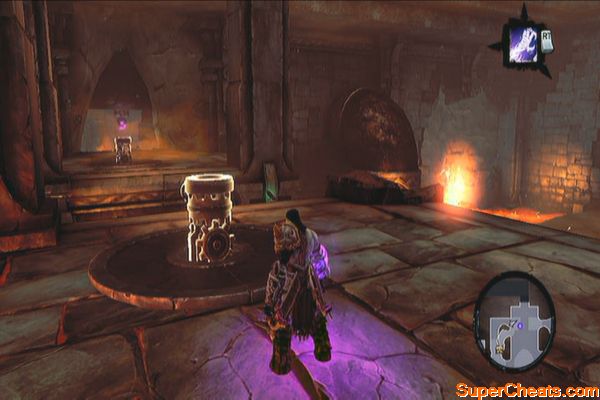
Defeat the initial wave of constructs then climb the wall in the southwest corner of the door where you came from to loot a chest. Jump down and approach the custodian. More enemies will appear so take them out as well.
After the battle, climb the wall using the wooden pegs in the northwest corner then wall-run to the right until you reach a balcony where a lever is. Pull the lever then jump down and finish more enemies. Loot the dungeon map from the other chest then activate the custodian. Ride the custodian to the northeast then destroy the crystals along the way.
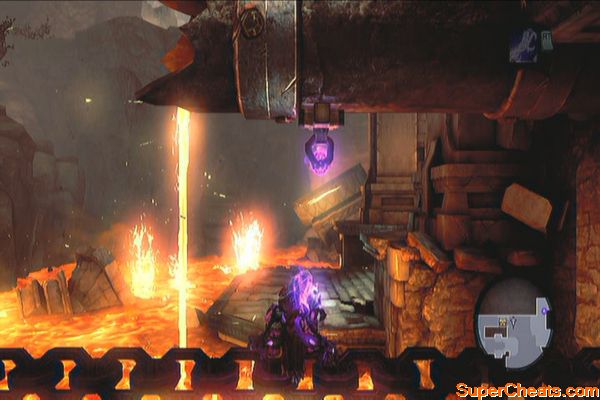
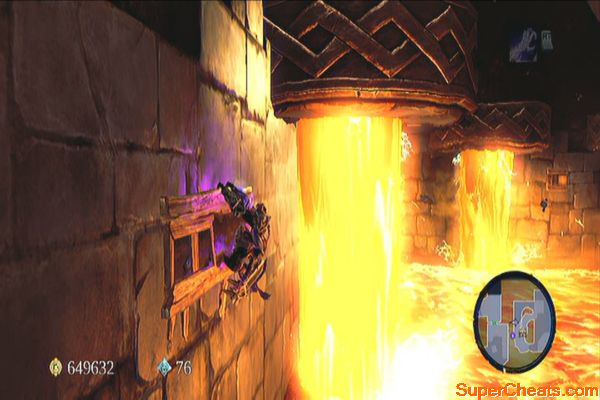
Now go past the lava-filled floor to the west and park the construct in the hole. Disembark then wall-run, time your movements as the lava flow from the nearby pipes stop. Continue this until you reach the platform with the turn-lever. Turn it to remove the first bar of the gate.
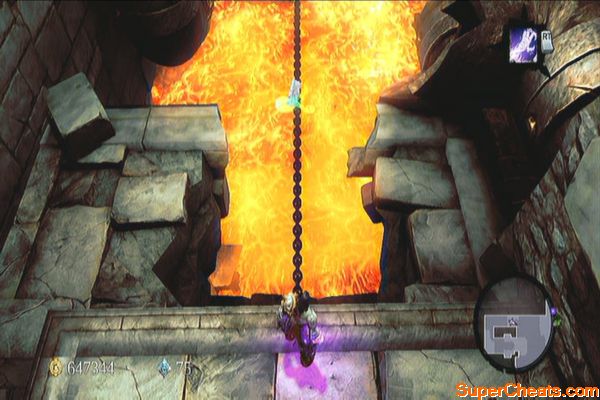
Turn around and go to the southwest, looting the chest along the way and jumping back to the custodian. Ride to the eastern side of this room this time. Park the custodian on the wall then extend its arm. Mount the chain then make your way to the other side, carefully avoiding the lava flows from the pipes along the way. Swing to reach the platform and spin the next lever afterward. Return to the custodian and ride north past the gate.
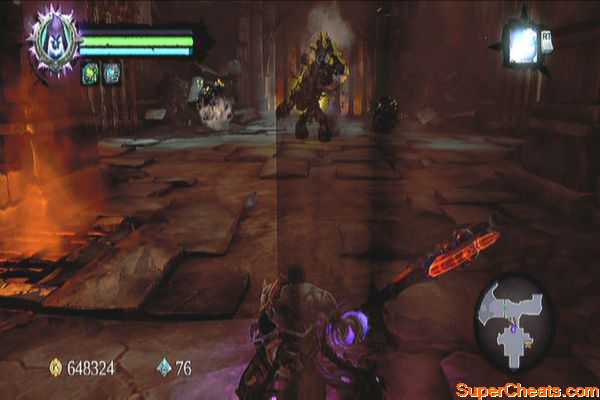
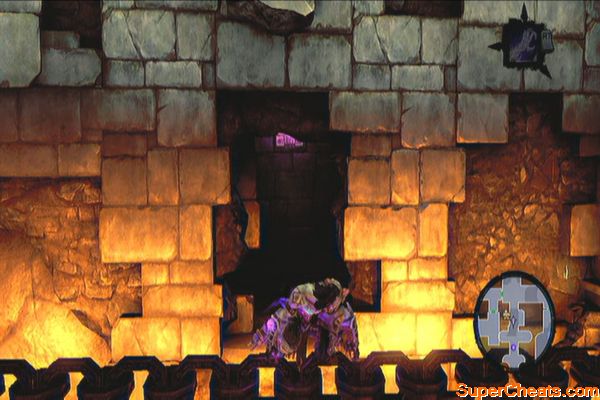
Dismount from the construct then climb the nearby wall past the gate. Defeat the first wave of enemy constructs. After dispatching the first wave of enemies, the pipes will start releasing lava. At the same time, two more champions will appear. Defeat them to unbar the door. Mount the custodian and cross the lava to the west.
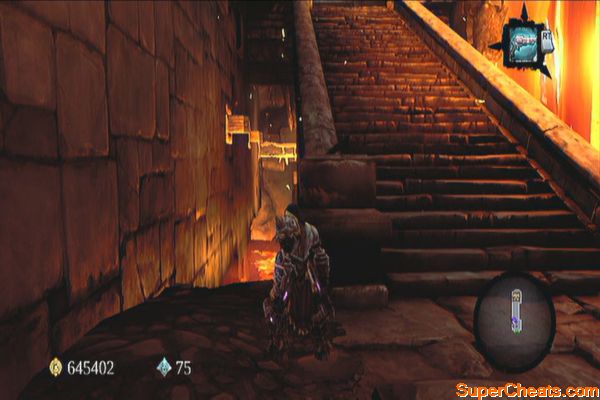
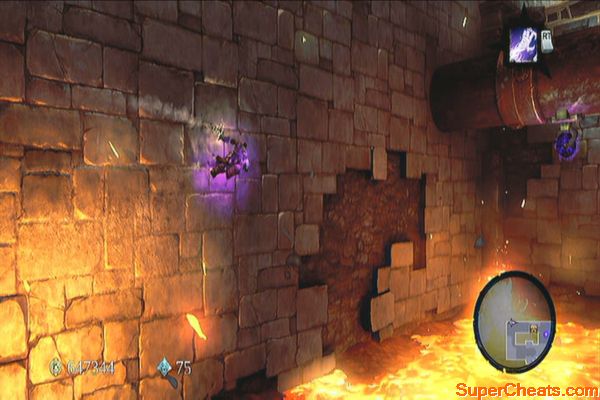
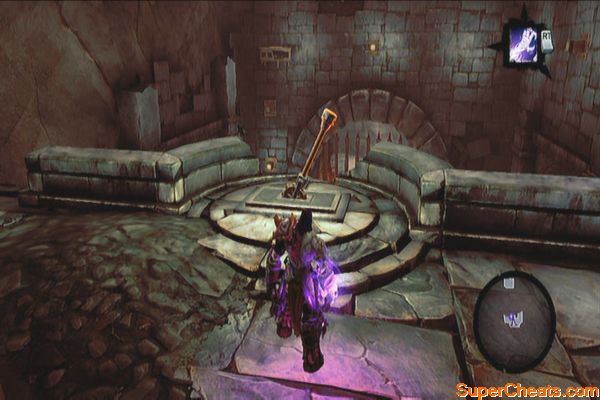
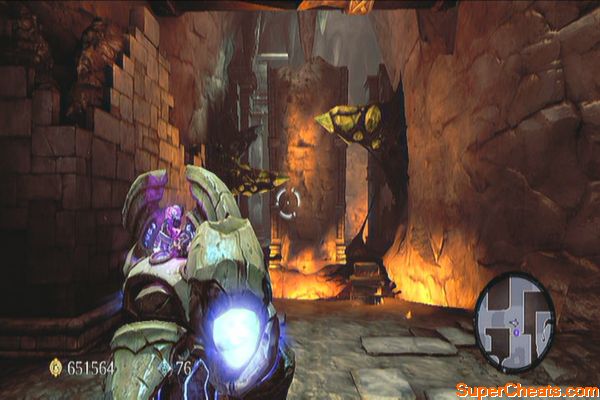
Destroy the crystals blocking the stone bridge then cross it. Now head to the south and park your custodian there. Extend its arm then cross the chain halfway and look for an opening on the wall to the west. Jump and deathgrip the hoop to get inside then make your way to the upper ledge. Swing across to reach a chest. Jump back to the chain and continue walking to reach the stairs at the end. Enter the door and loot the two chests along the way.
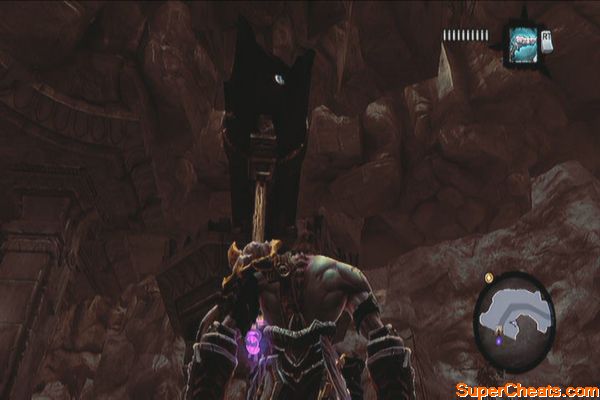
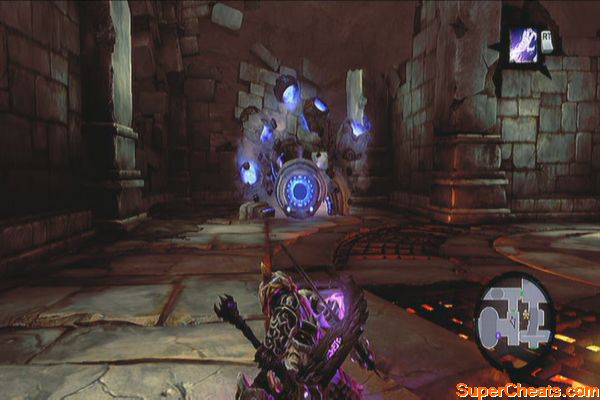
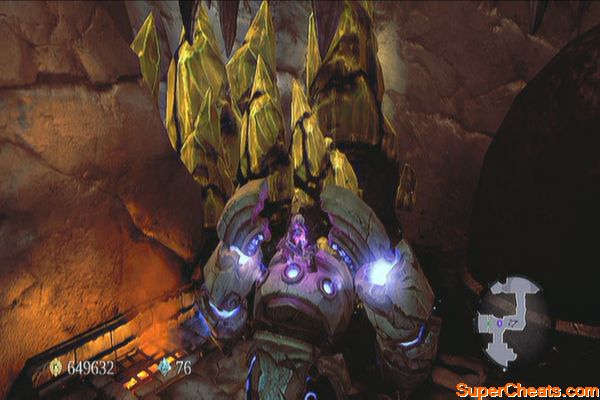
Boss: Ghorn
This boss will start with the basic attacks. You just have to be careful when it deconstructs itself as an explosion will follow. Aside from that, it can also summon reinforcements and make lava bubbles pop from where you're standing.
Putting down the mad construct
Is there anyway to get out of dungeon to get health, am stuck in scar, fighting two champions with no life
Is there any way to fix the glitch when the construct disappears at the end of the dungeon???
theres a button you have to press for special finishing move/kill animation. The same as activate i think - target them and press F (keyboard) to kill them
Is anyone else having problems killing Ghorn, I get hime down to zero health and he just will not die. I have taken him down to zero health and ran around dodging him waiting for him to die. Is there something I am missing about the fight that needs to be done to kill him?