Judicator
You may return to Ostegoth to trade the relics you found and to upgrade your equipment as well. Fast-travel outside the Phariseer's Tomb then ride to the southern gate. Step on the summoning circle and summon the Phariseer. Send him to pull the lever to the north.
Once the gates are gone, head south first the climb the wall. Turn around to find a Boatman Coin. Climb the wall back again and follow the path until you find a hand-hold. Shimmy around the corner to reach the chest in the other ledge.
Drop down and follow the path to find a Soul Arbiter's Scroll in the nook along the way. Exit to the Spine and turn to the right to find a climbable wall. Climb the wall to find a chest on top. There's also a Stone of Power located above the hand-hold you used to climb.
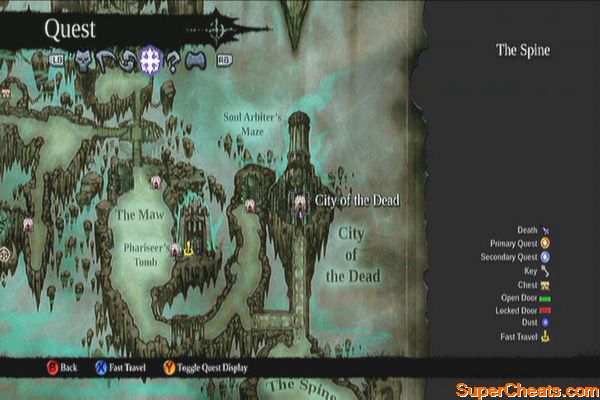
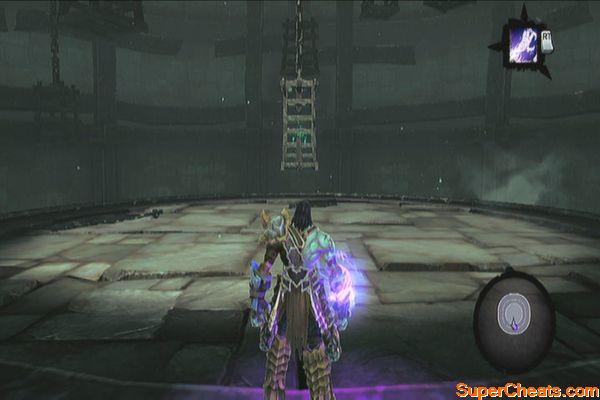
The Spine
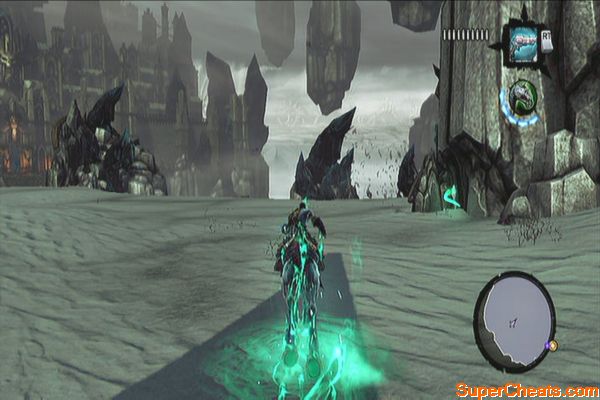
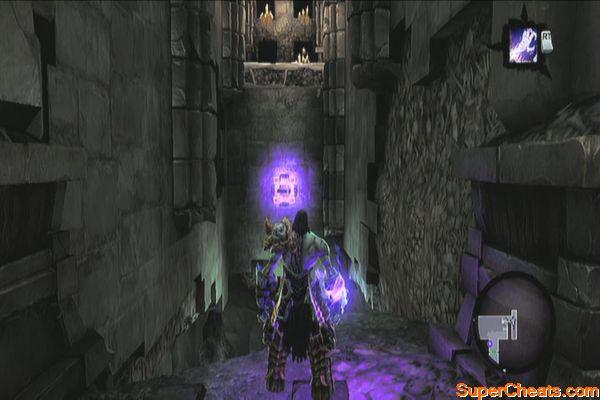
Summon Despair and ride north to register the Soul Arbiter's Maze to your map. You don't have to attempt this optional dungeon unless you collected all Soul Arbiter's scrolls so just turn around and look for the Relic of Etu-goth at the edge of the eastern cliff near the Maze's entrance. Ride to the southeast this time and cross the bridge. Continue to the easternmost deck to find a Book of the Dead Page.
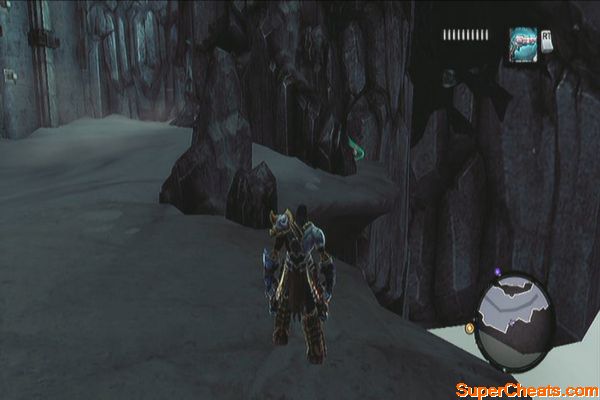
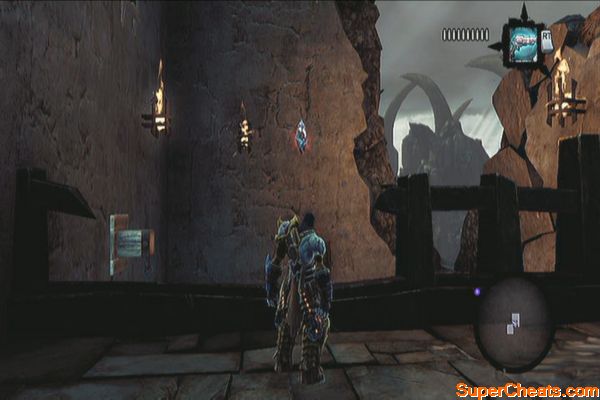
You can find the City of the Dead to the north but you don't have any business there at the moment. You can however, head there are register it on your map so you can fast-travel to it later on. Head south to the Judicator's Tomb. Before entering the place, search the rock cluster to the northwest to find a Boatman Coin.
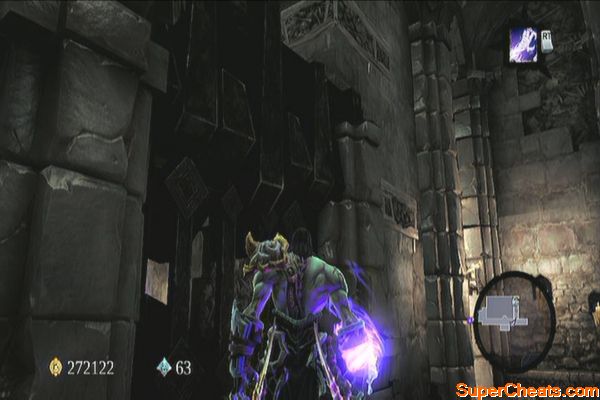
There's also a ruins to the east. Ride there and take the uphill path once you've reached the fork. Disembark from Despair and look for the Relic of Renagoth in the corner near the edge of the cliff. Climb the wall in the southern side of the ruins and follow hand-holds and growth until you reach the interior. Wall-run to reach a chest in the first ledge.
Now turn around to find a Stone of Power in the opposite wall. Drop down to the hole and you should see the Boatman Coin ahead. Grab it using your deathgrip. Make your way to the Judicator's Tomb once done.
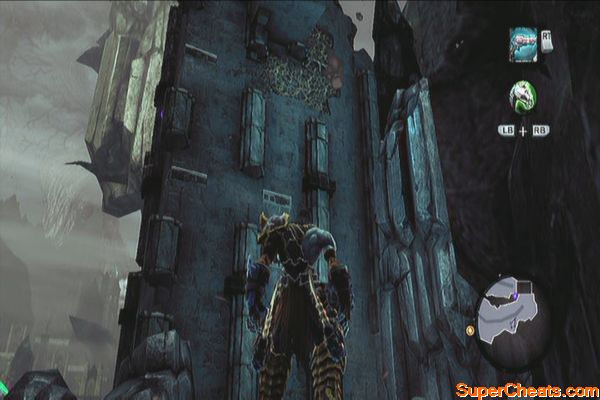
Judicator's Tomb
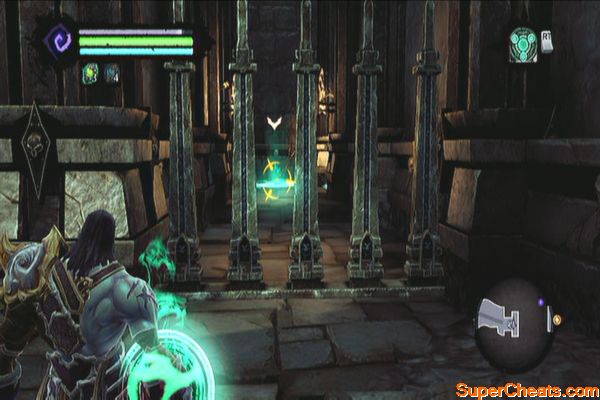
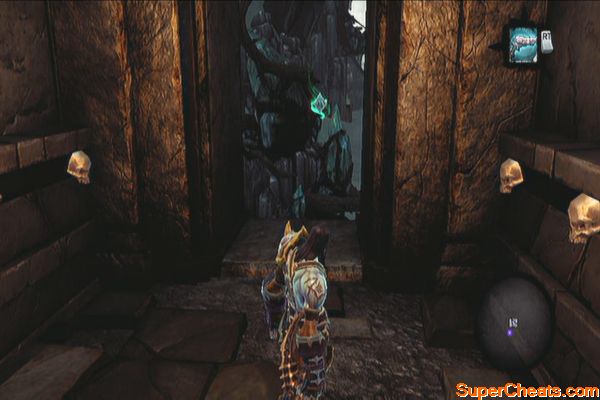
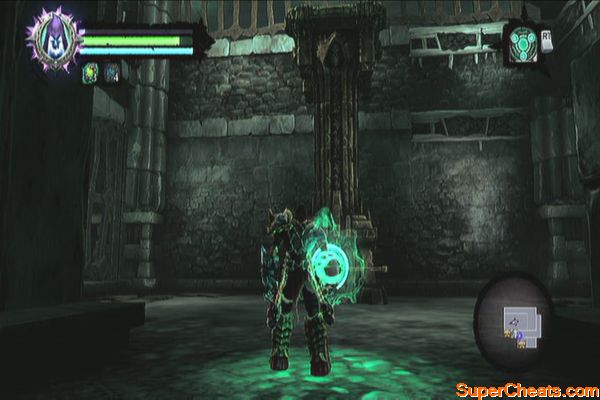
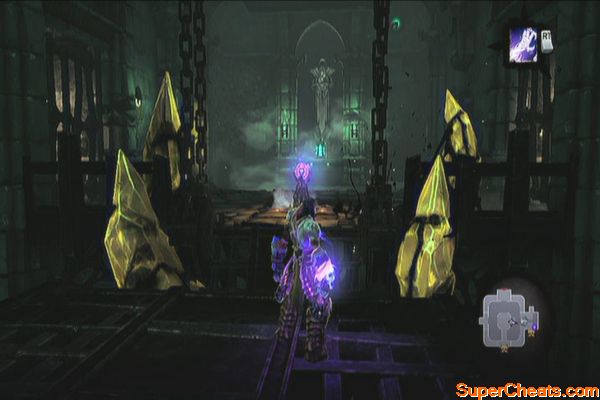
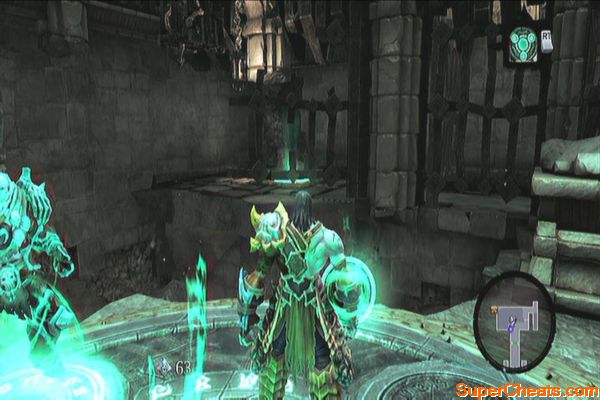
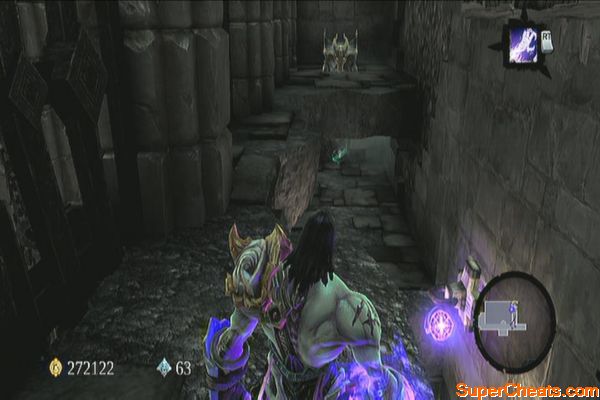
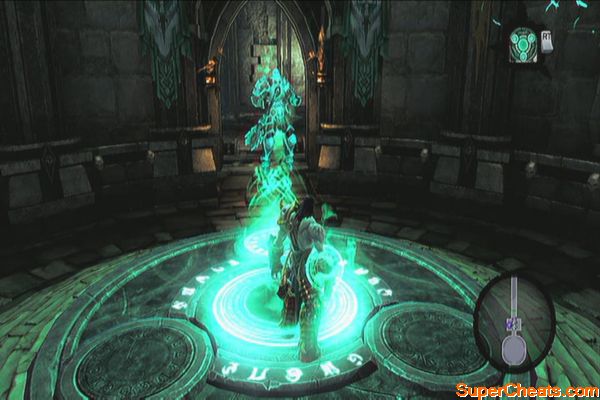
Head inside until you find a caged lever. Enter the alcove to the west and summon Phariseer there. Order him to pull the lever and unbar the southern door. Enter the next chamber then look up to find a Stone of Power on the hanging cage.
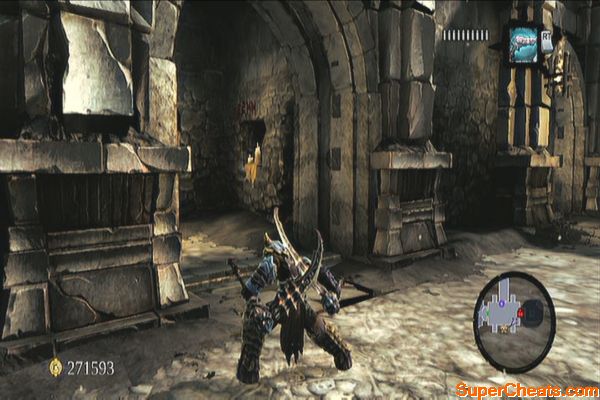
Head to the west and destroy the weapon racks to loot some weapons. You'll encounter undead prowlers as well. Take them out and pull the lever. Order the Phariseer to trigger the pressure plate in the southern ledge to raise the platform. Next, go to the main pit and pull the pillar and place it in the middle of the two platforms. Climb back up and head to the southern ledge.
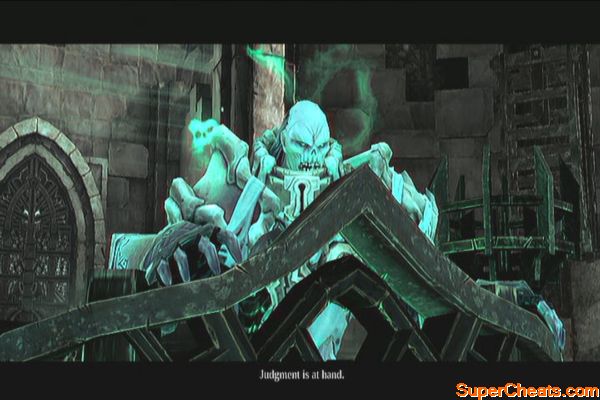
Go behind the pillar to the right to find a Soul Arbiter's Scroll, then loot the chest on the other side. Don't worry about the two chests in the pit for the meantime then continue through the south door. Approach the Judicator and he'll ask you to find three lost souls before he agrees to hear the pleas of his lord.
The First Soul
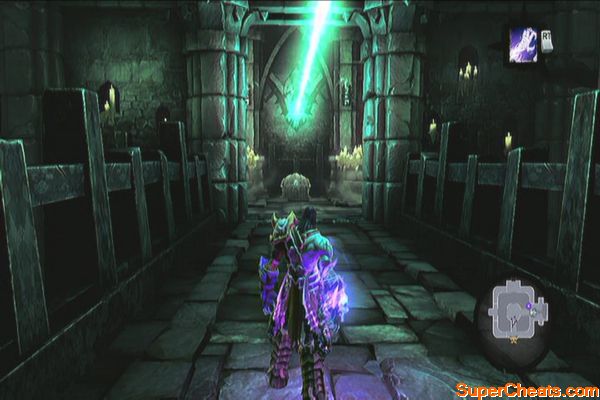
Go through the door to the west, cross the bridge and continue to the next chamber to fight the Lich and his hosts.
Lich
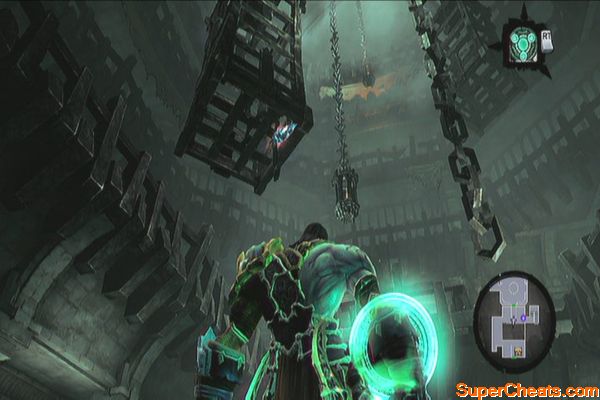
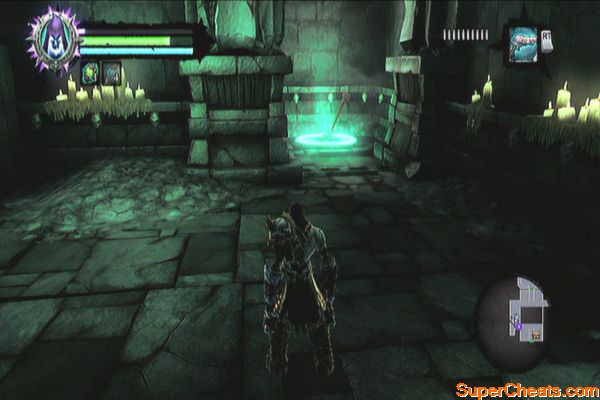
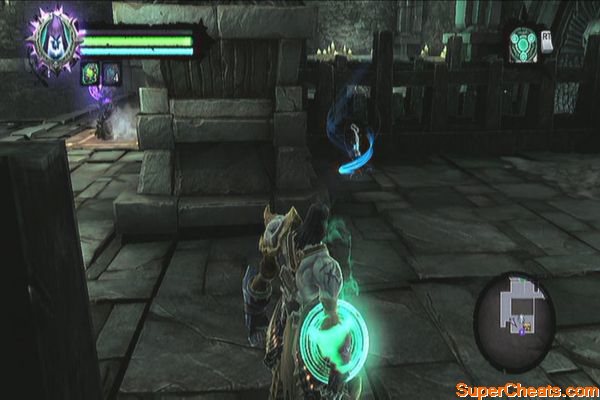
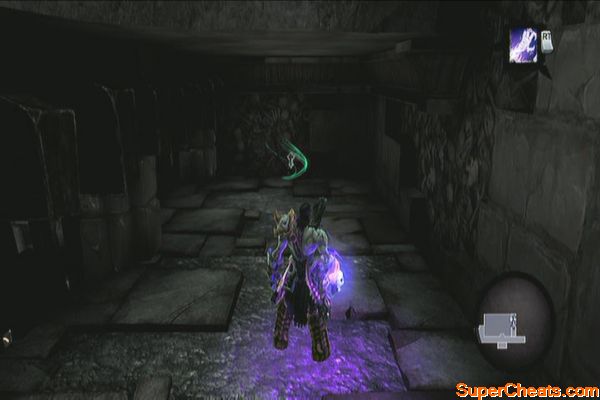
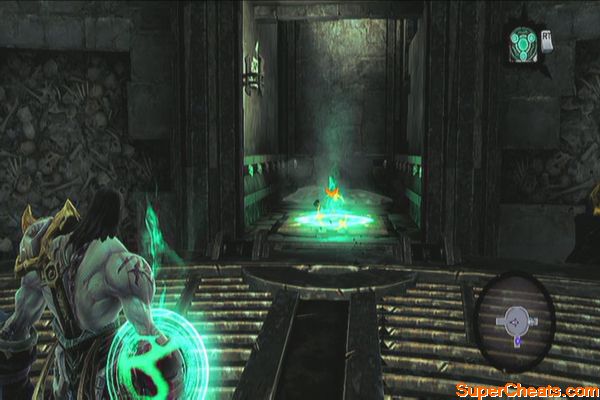
After defeating the Lich, exit through the next door and follow the path. Use the summoning circle then enter the next door. Order Phariseer to step on the pressure plate across. Cross the bridge then order Phariseer to trigger the pressure plate to the east this time. Only half of the bridge will be raised, due to the obstruction caused by the crystals. Switch to deathgrip and use it on Phariseer to pull yourself towards him.
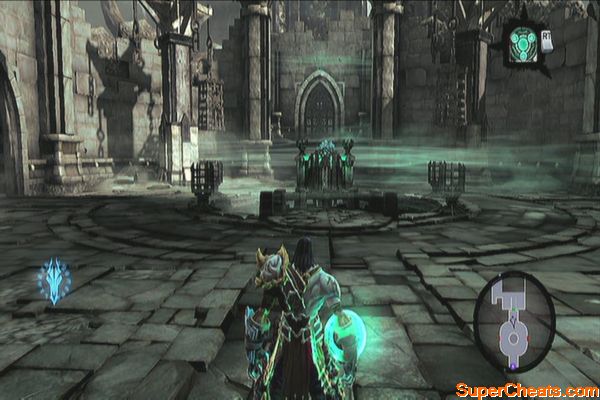
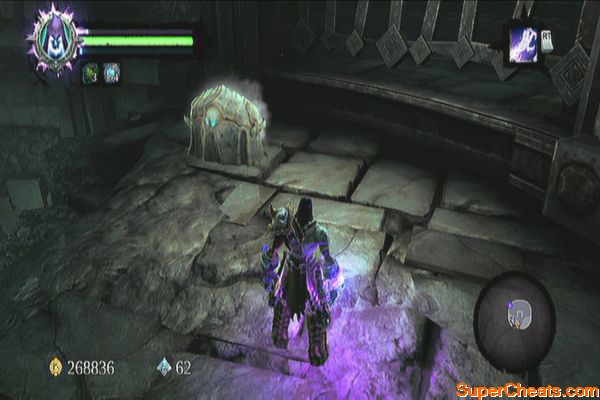
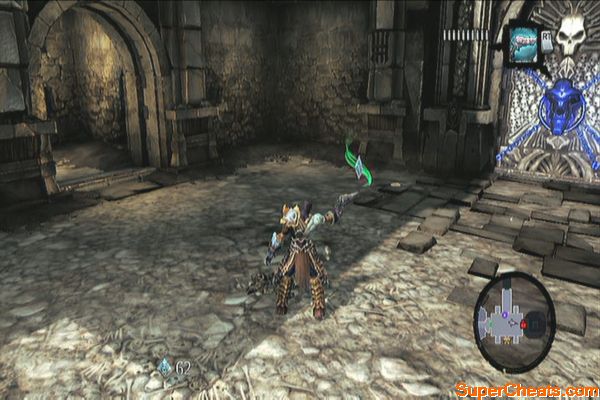
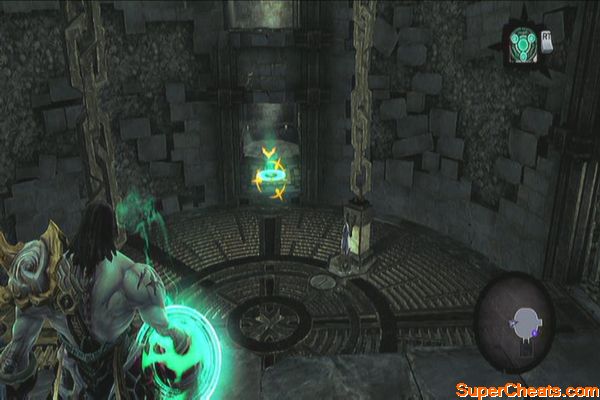
Look to the left to find a shadowbomb inside the crevice on the wall. Use it to destroy the crystals. Look to the south to find a chest containing a Dungeon Map as well. Now grab the lantern nearby and place it on the statue in the middle.
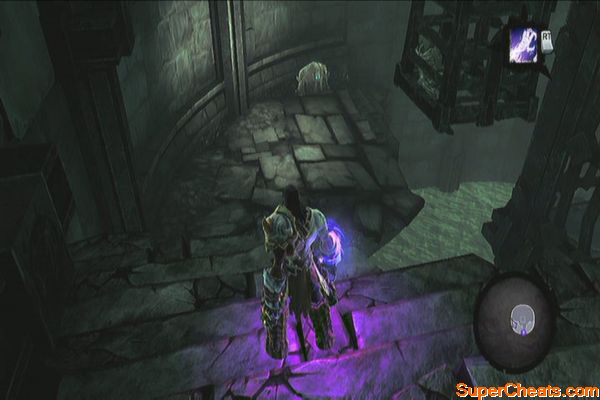
Rotate the statue to the south to loot the chest there. Now rotate the statue to the north and order Phariseer to step on the pressure plate so you can pass through. Exit the door next.
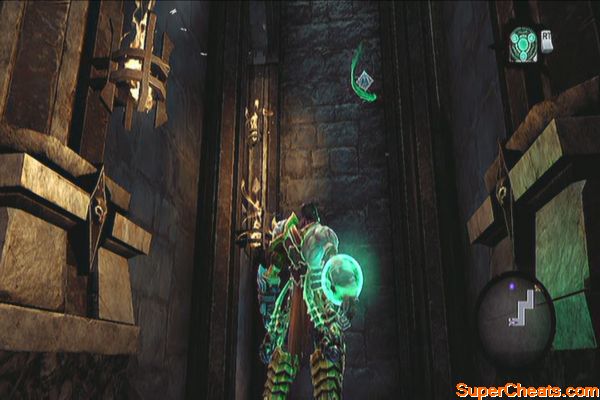
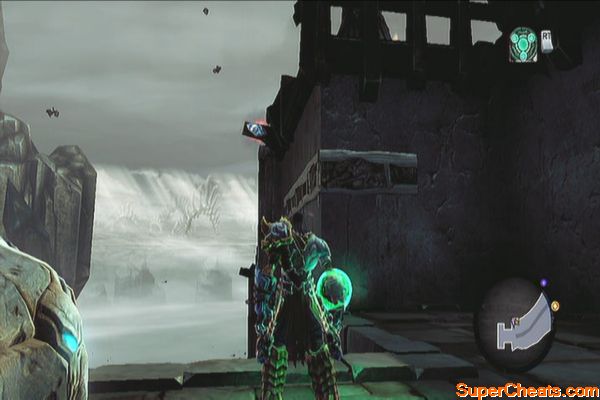
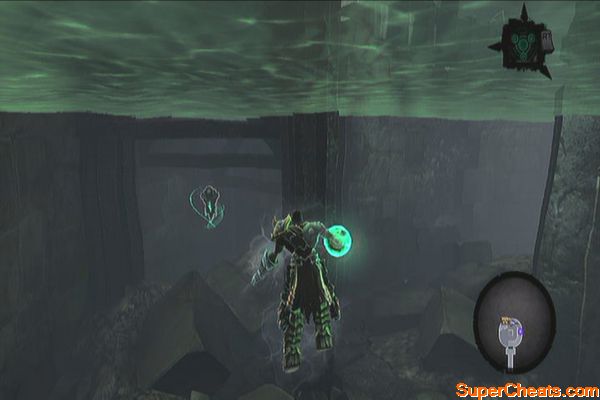
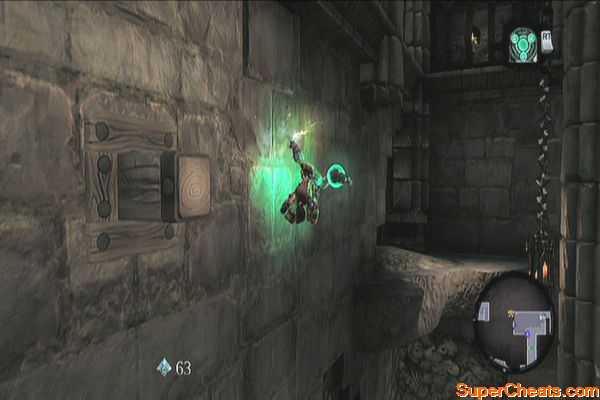
Continue to the next tower. Before ascending, dive in the water to discover a Relic of Khagoth. Climb the wall next then ready your deathgrip.
Use it to reach the tower, then go around the corner and jump down to reach a ledge with a chest. Loot it then look behind you to find another chest on a lower ledge. Jump down to reach it.
Jump down to the bottom and climb the tower again and make your way to the top. Collect the first soul and you'll have to fight a Lich, 2 undead champions and some lesser minions. Defeat them all then exit the tower. Jump from the broken railing in the bridge to return to the Judicator.
The Second Soul
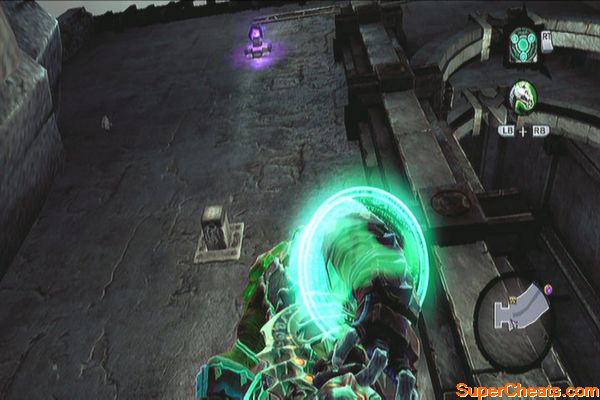
The eastern door opens up this time. Go there and head to the open area. A group of undead prowlers and Skeletal Champions. Get rid of them and a large powerful enemy called the Tormentor will appear.
Battle to reach the second soul
This enemy is very slow and you can quickly defeat it by using a combination of fast scythe, heavy weapon hits and skill attacks, like a fully upgraded Teleport Slash.
After killing the tormentor, destroy the crates to the northeast to find a Boatman Coin. Enter the alcove to the southeast and check the blood writing on the wall to get a Soul Arbiter's Scroll. Loot the chest in the area then proceed north.
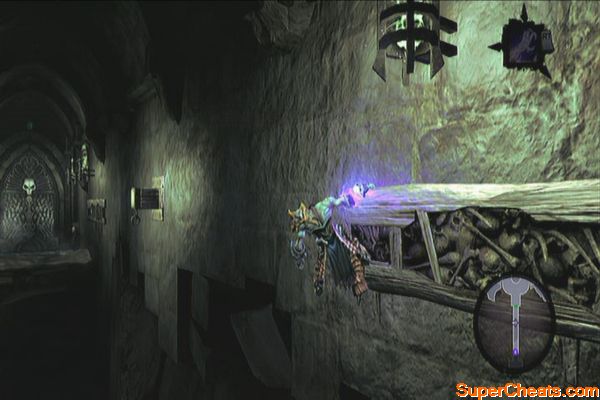
Summon Phariseer and order him to stand on the pressure plate to the northeast. Wall run from the southwestern wall to reach the ledge with the chest.
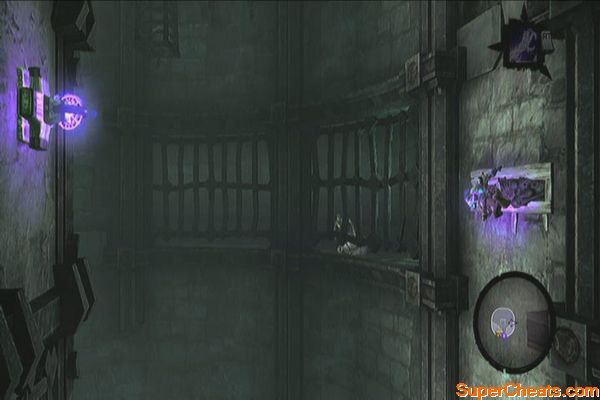
Prepare your deathgrip then wall-run. As soon as you cross the wooden peg, use the deathgrip to grab the Phariseer and pull yourself towards him. Enter the narrow corridor behind then turn to the left to find a Book of the Dead.
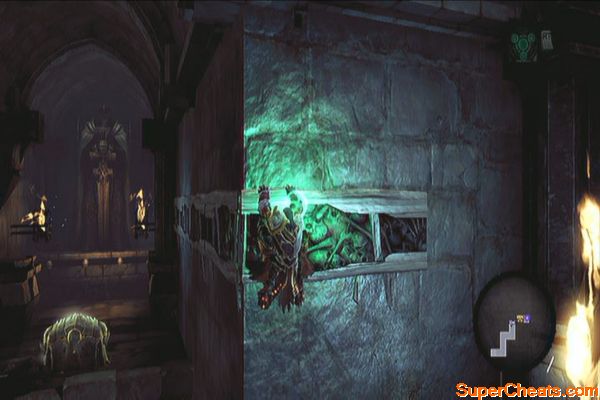
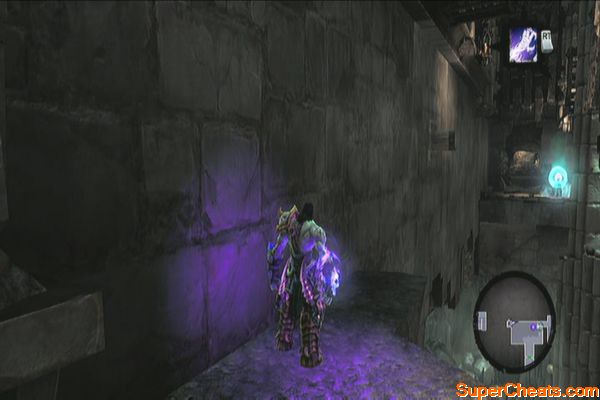
Next, jump to the pit and quickly use deathgrip to grab the deathgrip hoop. Head to the lever and pull it to reveal a deathgrip hoop in an enclosed corridor. Backtrack and you should see some hand-holds on the wall to the left. Climb up and go around the corner to reach the inner corridor.
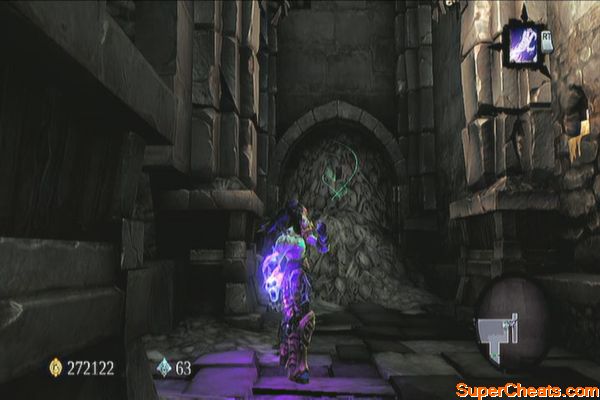
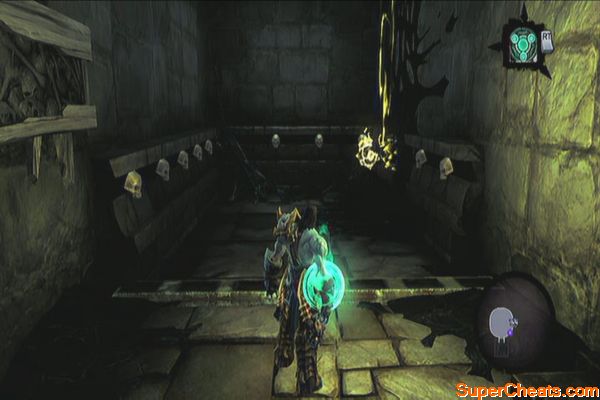
Loot the chest the drop down to find a Relic of Etu-goth. Drop-down through the hole, then climb up with the help of deathgrip to grab the hand-hold above. Return to the main path and exit to the western door this time. A bunch of skeletons will ambush you; get rid of them and enter the next chamber.
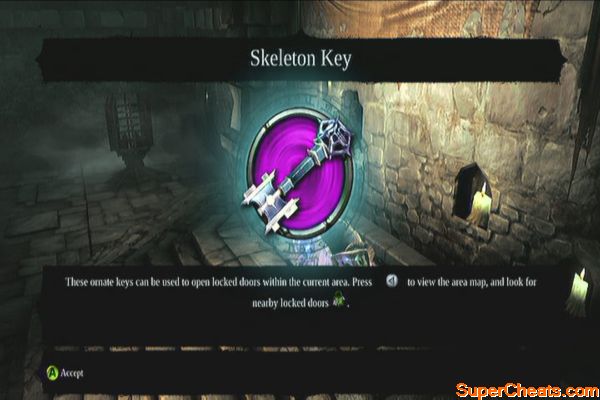
Loot the chest to the south to get the skeleton key then loot the one to the north as well. Backtrack to the previous area and drop through the hole in front of the lever.
Head back to the area where you fought the Tormentor and get rid of the enemies roaming there then open the door to the east. Dive in the water to get a Boatman Coin. Make your way up and collect the second soul. After getting it, you'll have to defeat two skeletal champions and an undead stalker.
Undead Stalker
Jump to the southeast to land on a ledge containing a chest. You can look down and jump to the next ledge to get a Book of the Dead page. In case you miss the landing, make your way to the central tower, then shadowgrip the hoop north until Death hangs on the hand-hold. Instead of jumping backwards, tilt your controller to the right and jump from there to land on the ledge with the Book of the Dead. Return the soul to the Judicator.
The Third Soul
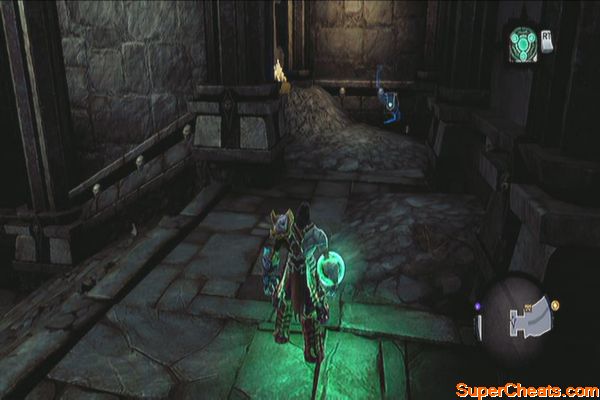
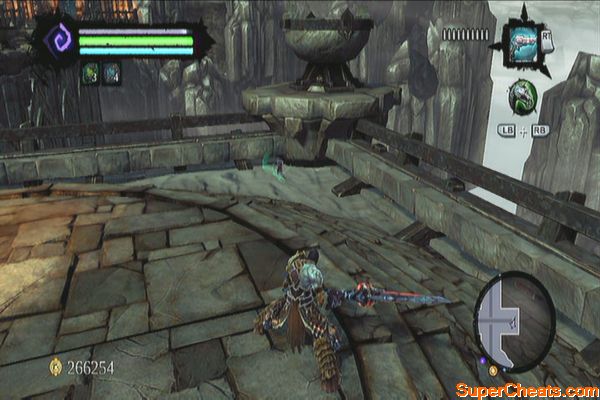
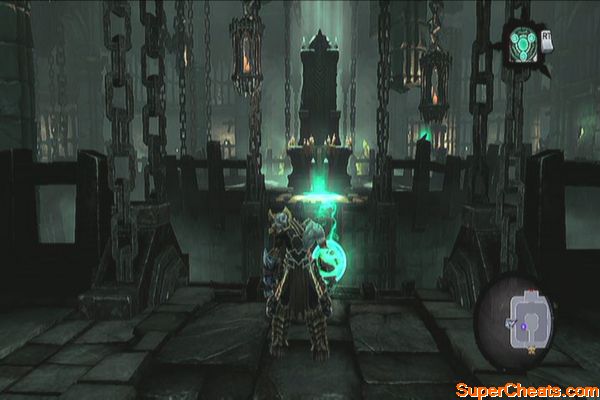
Take the southern door this time and wall run to reach a summoning circle. Summon the Phariseer then head to the lift and defeat the Undead General there.
Lift Battle
Next hit the crystal marked “II” to ascend. However, a large block of crystals will halt the lift. Have Phariseer step on the western pressure plate then climb the wall to the east, ignoring its pressure plate. Go up the ledge and then wall run to the left until you reach the western ledge. Now order Phariseer to step on the eastern pressure plate this time.
Grab hold of the hand-hold next and continue up where you need to wall-run again to the east. Upon reaching the eastern ledge, grab hold of the shadowbomb and blast the crystal below. Once the elevator stops, exit to the southern door.
Now dive down the water to find a Boatman Coin. Go upstairs and climb the ledge using the deathgrip. Turn around and find a Book of the Dead page here. If you've been following the guide, this should be your 20th. You can take a quick detour to visit Vulgrim and sell the chapter, then visit the Death Tomb at the bottom of the Lair of the Deposed King to get your loot.
When ready, head to the chamber and collect the third soul. As you leave, the skeleton in the middle will writhe and call forth a lot of skeletons. You can focus and attack the skeleton in the middle directly as the spawn of enemies won't stop until you do so. Destroying it will summon the Bone Giant.
Bone Giant
After defeating it, look up before leaving the chamber to find a Stone of Mystic. Return to the elevator and hit “I”. Head back to the Judicator to deliver the last soul and complete the tomb.
Your next destination is the Gilded Arena but before going there, we can now loot the two chests we ignored earlier in the main pit, near the tomb's entrance. Head to the summoning circle and summon the two dead lords. Go downstairs to the east and have them step on both pressure plates. In case they get stuck or they can't follow you, return to the summoning circle and summon them again.


No comments yet. Tell us what you think to be the first.