Boatman Coins
These can be traded to Vulgrim.
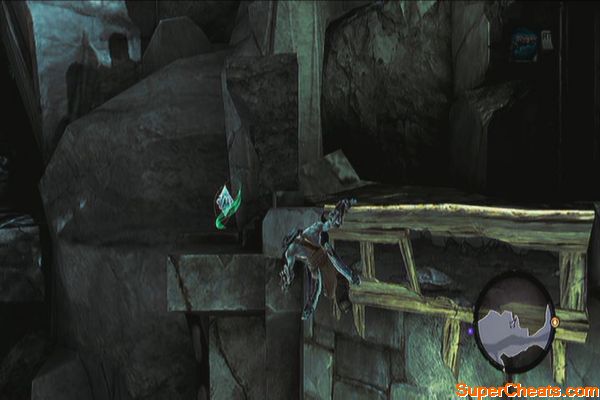
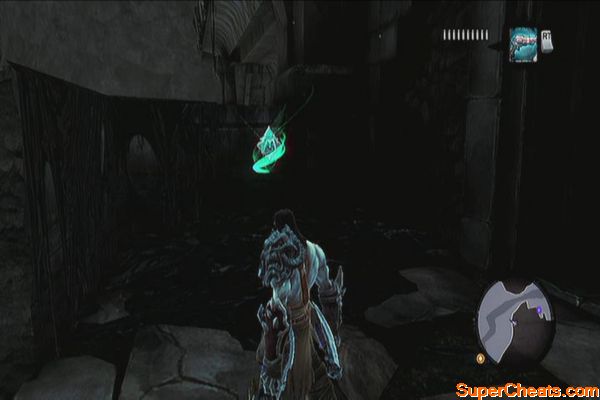
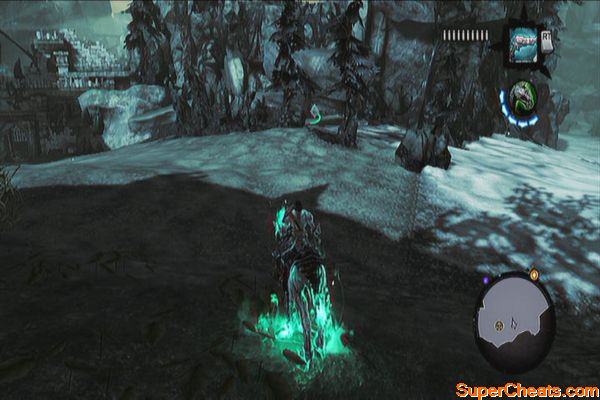
This sections lists the locations of all the Boatman coins in the game. We're it's not obvious we've added extra information.
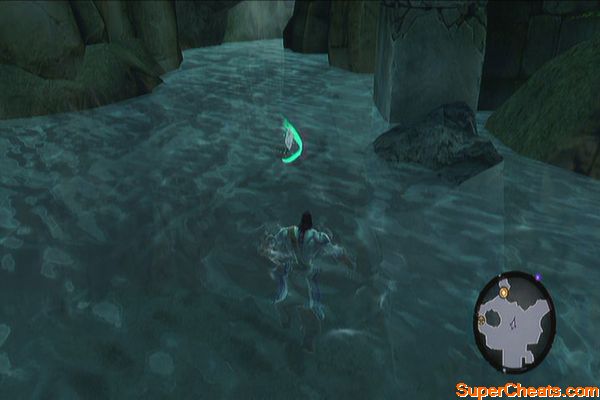
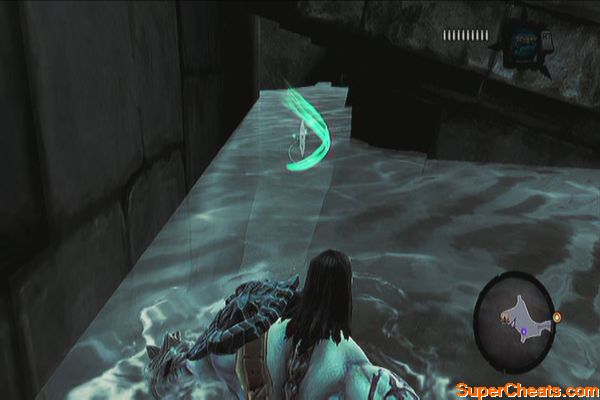
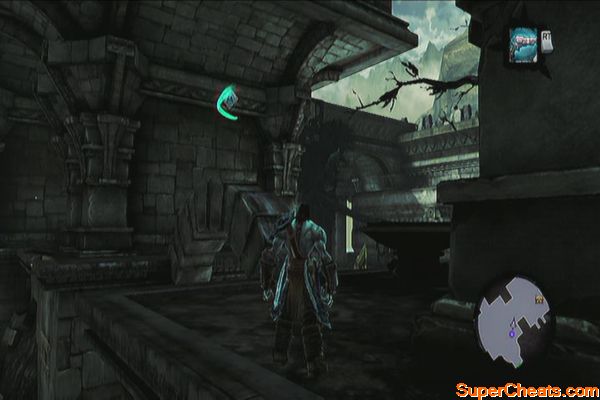
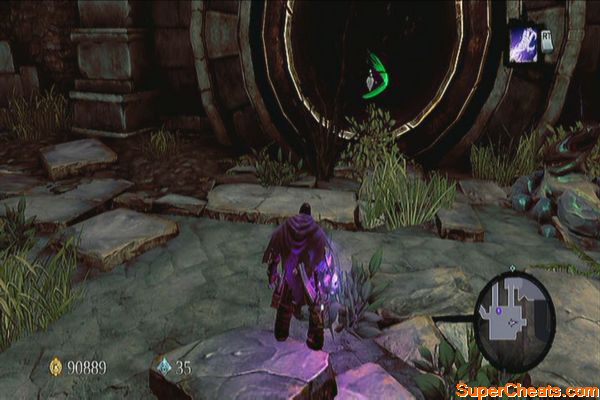
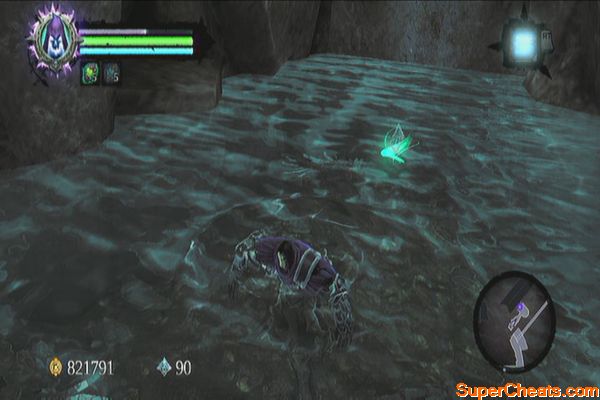
1. Underwater, in the pool along the path after leaving the Forge for the first time.
2. Stonefather's Vale, west gate.
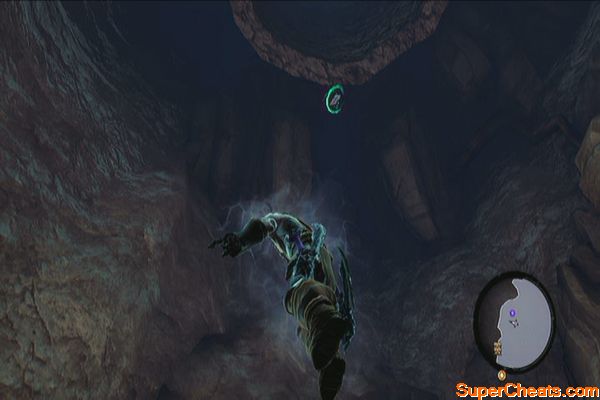
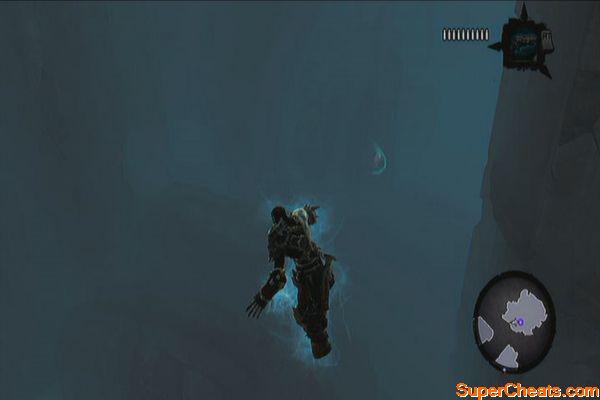
3. Weeping Crag, underwater.
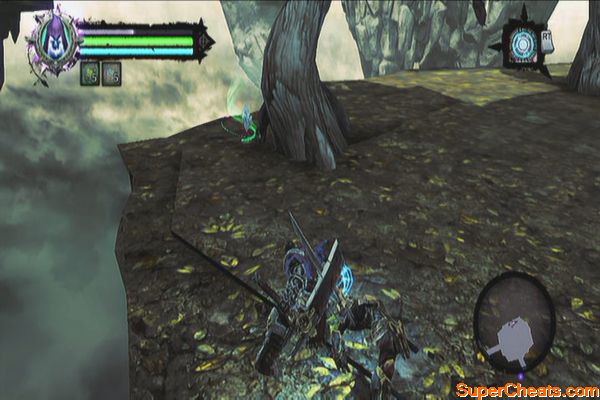
4. Southwest corner of Baneswood
5. Northeastern ruin of Baneswoood, inside one of the barrels/urns to the left of the stairs from the entrance.
6. Southeast trail of Baneswood, to the left of the chest by the cliff.
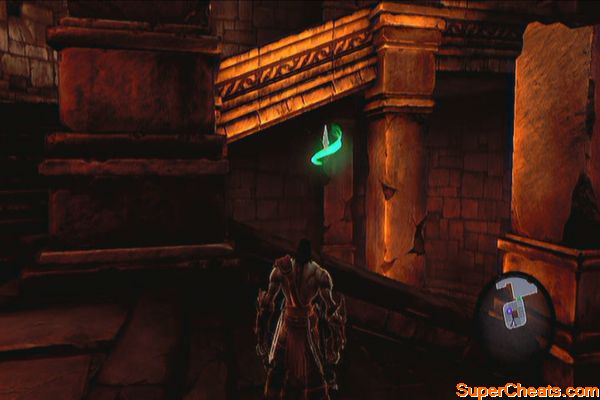
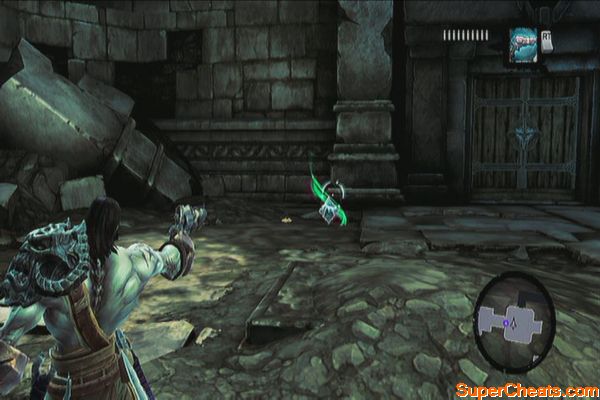
7. As you enter the Charred Pass, check the log to the east to find a boatman coin inside.
8. (Charred Pass) Dive inside the well to the west. You should find this behind the piping.
9. (Cauldron) Upon reaching a fiery chamber with broken floors, check the ramp to find this coin.
10. (Cauldron) Random destructible object in the stalker arena. Just destroy the items there until you get it.
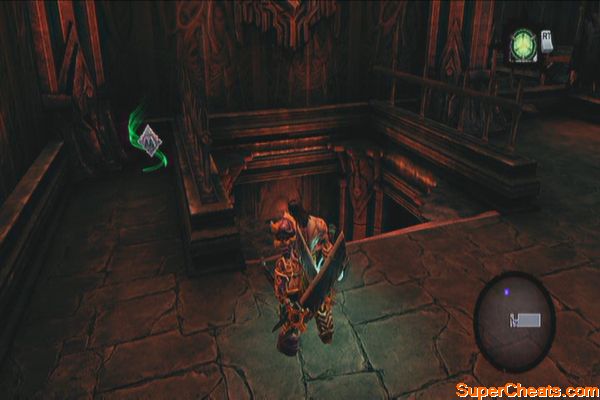
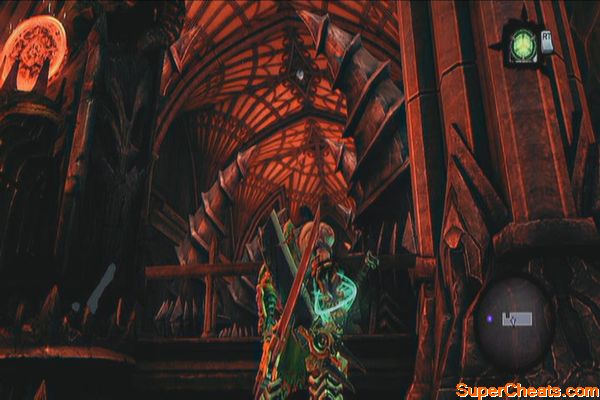
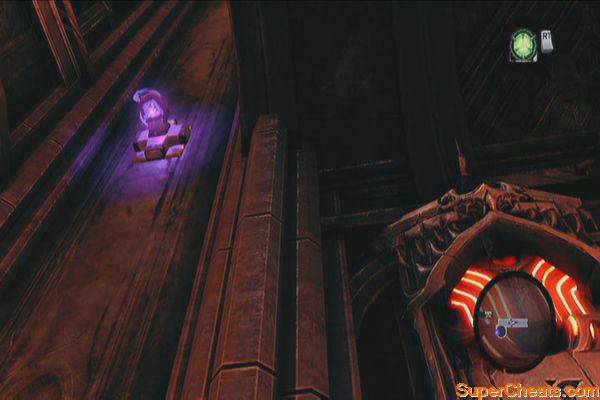
11. (Cauldron) After unlocking the first purple locked door using the skeleton key, you'll find yourself in a small room with a blue ball you need to push to the hole. Once you can climb and reach the hand hold to the left wall, stay there then focus-jump. This will allow Death to leap backwards and reach the floating coin.
12. (Cauldron) After unlocking the second purple locked door using the second skeleton key, turn left immediately to find some destructible objects. Destroy them to find the hidden coin.
13. (Cauldron) Before leading the dungeon, you'll come across a staircase where the coin is floating in the middle. It is impossible to miss.
14. (Shadow Gorge) Found behind the fallen bridge near the Shattered Forge to the north.
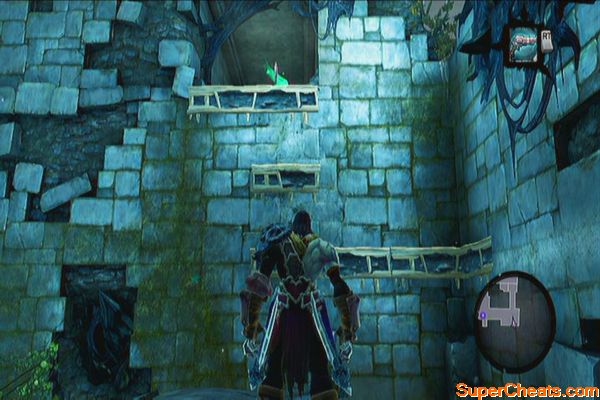
15. (Shadow Gorge) Found in the ledge you'll climb after destroying the crystals, to open the gate.
16. (Shadow Gorge) After clearing the gate tower ambush, exit then look to the right.
17. (The Fjord) Near Blackroot's location. You need to perform a jump charge to reach it.
18. (The Fjord) Underwater, near the pier ruins south.
19. (The Fjord) Follow the eastern trail and continue northeast until you reach a small keep. Check the small space to the right past the chest to find this coin.
20. (The Fjord) On your way to the southeastern trail, you'll find a cliff with black trees, just to the left of the ruins. There's a floating boatman coin near the edge of the cliff; jump down to collect it.
21. Drenchfort: In the main basin/area, head west and look down. The coin should be on the lower ground.
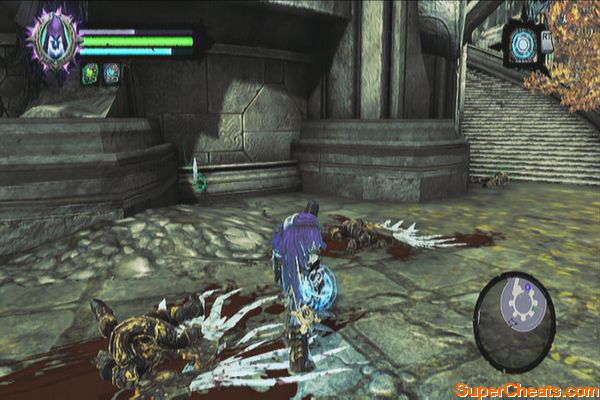
22. Drenchfort: Go to the bottom of the basin and follow the tunnel south. You'll get the coin at the end.
23. Drenchfort: In the area where you need to place two blue balls in the holes (one is enclosed in a gate), you should find the coin floating above the arc of the gate.
24. Drenchfort: After getting ambushed by enemies, destroy the clutter to find the Boatman Coin in one of them.
25. Drenchfort: After opening the main watergate, you'll have to return to where you got the Skeleton Key to activate another lever. There's a boatman coin floating near the hand-holds.
26. Shattered Forge: Dive in the water in the main area. The coin should be immediately visible there.
27. The Nook: In the area where there is a stinger hive, destroy the objects near the well to the northeast for a Boatman Coin
28. The Nook: In the submerged area, follow the stairwell underwater to find this.
29. The Lost Temple: After defeating the Construct Sentinel, destroy all the objects around to find a boatman coin
30. The Lost Temple: Once you've reached the area with a sunken bridge, dive to the water to find this.
31. The Lost Temple: After wall-running past a floorless corridor, turn around to find this.
32. The Lost Temple: After performing a vertical climb and reaching a plaza, look for this coin behind the eastern tree.
33. The Lost Temple: After defeating the Tainted Construct Champions in the large hall before the boss area, destroy all clutter in the area to find this coin.
34. The Foundry: In the entrance, located in the southwest corner.
35. The Foundry: This is found in the underwater cavern where a submerged custodian is located. It's found along the way so it's really hard to miss.
36. The Foundry: In the large room with water, ignore Karm's offer to toss you for now; jump to the water and swim south a bit. Turn around and you should find a peg on the wall. Wall-run on it and follow the hand-hold around the corner then wall-run to a post and drop to the ledge. Follow the tunnel and you should be back in the same room where the out-of-reach Boatman Coin (36) is.
37. The Foundry: After reaching the wide, open room with a Custodian is parked, destroy the objects in the northeast corner to find this.
38. The Foundry: In the area where the second Heart Stone is located, dive past the lever to find a Boatman Coin near the tunnel.
39. The Foundry: Found underwater to the east.
40. The Nook: This is found in the fiery basement. Deathgrip is required to get this.
41. Baneswood: Head to the ruins in the middle of the map to the east. Climb up the northern half of the ruins then cross the wall in the middle using an extended wall-run with the help of the deathgrip. This will allow you to reach the other half of the ruins. Loot the chest and follow the ledge around to find a Boatman Coin. (40)
42. The Fjord: (Deathgrip required) Head to the Fjord and go the harbor ruins which you can't explore earlier. Check the eastern side of the ruins and you should find the deathgrip hoops there. Scale the wall to reach the balcony and defeat the prowlers. Peek over the edge to find a Boatman Coin
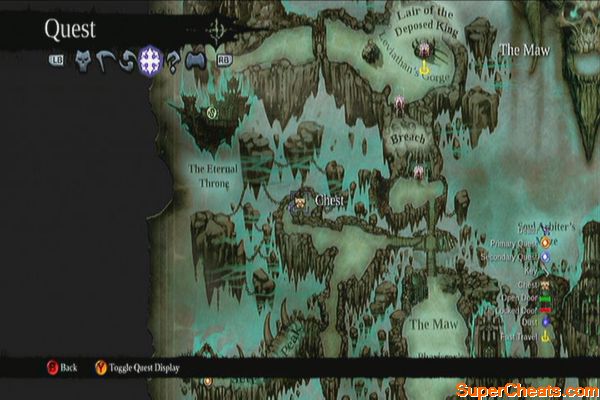
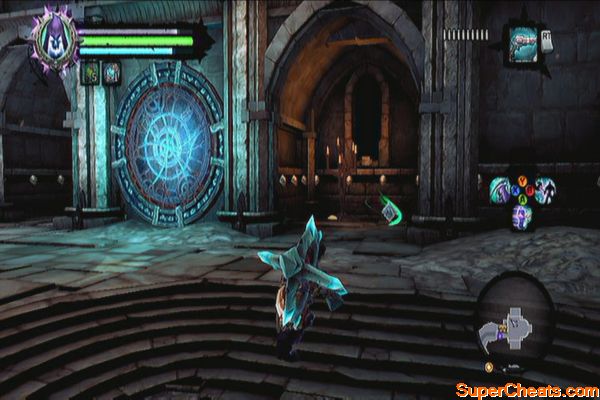
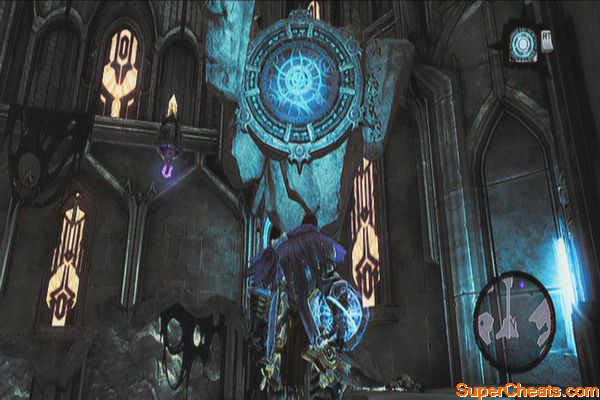
43. Lair of the Deposed King: After getting the Skeleton Key, perform a vertical wall-run to reach the Boatman Coin (43) overhead. Backtrack to the stairwell then enter the first door.
44. Lair of the Deposed King: After wall-running across the pit, destroy the boxes on the ledge to find this coin.
45-46. The Breach: After passing through the locked door, follow the path until you reach a cliff. Jump down and take out the skeletons then exit the door. Look immediately behind you to find a boatman coin (45). Continue to the next room and destroy all skeletons. Search the statue to the east to find yet another Boatman Coin (46).
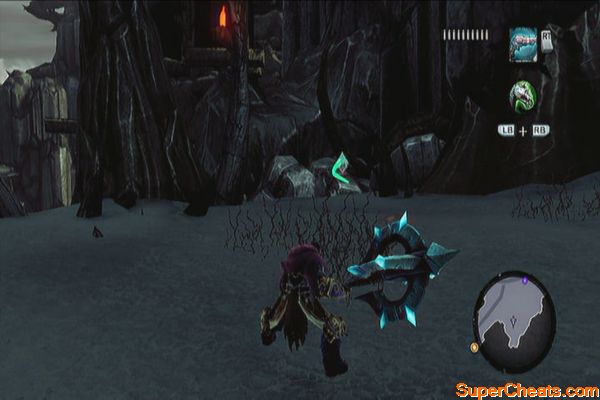
47. The Maw: From the southern exit of the Breach, cross the hanging bridge and turn to the east to find a Boatman Coin near the edge.
48. The Maw: There's a unmarked ruin to the northwest portion of the map, past the bridge. Once there, destroy the boxes in the northwest corner to find this.
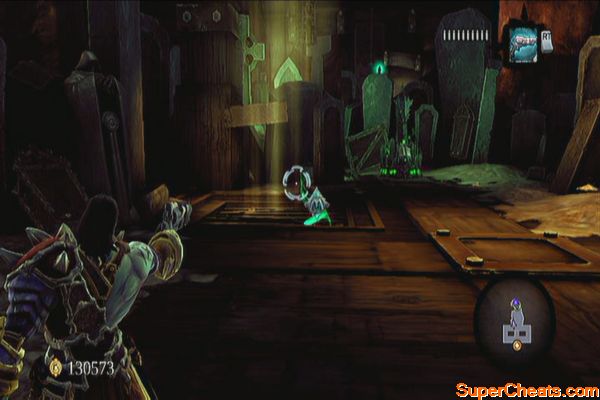
49. The Maw: Before passing the arc leading to Serpent's Peak, get the Boatman Coin (49) by the southern edge.
50. Eternal Throne: Head to the cargo hold and destroy all boxes.
51. Gilded Arena: You'll find this immediately after entering the lantern room, on top of the pile of rubble. Very hard to miss.
52. Gilded Arena: While trying to get the second animus stone, you'll have to wall-run to the west to get this coin along the way.
53. Gilded Arena: After getting the second animus stone and before leaving the area, you'll have to scale a high wall. Climb the ledge to the east and destroy the clutter to find a Boatman Coin on the other ledge. Reach it by wall-running on the eastern wall.
54. The Maw: On the way to the Phariseer's tomb and after crossing the bridge south, you'll find two ruins; The Sentinel's Gaze to the east and an unnamed tower to the west. Enter that tower. Turn to the right and go downstairs north then turn to the right again to find a Boatman Coin.
55. Sentinel's Gaze: Outside the entrance, left side of the stairs behind a large thorn.
56. Sentinel's Gaze: Found in the main area's northeast corner.
57. Phariseer's Tomb: Head for the lift and strike the crystal to activate it. Upon reaching the bottom floor, go downstairs and look to the left to find a Boatman Coin.
58. Phariseer's Tomb: After the elevator is sabotaged by the Phariseer and reaching the lowest floor, go to the left and use the hand-holds then back-leap to get the Boatman Coin.
59. Phariseer's Tomb: After defeating the undead general and some wraiths in a room full of pillars, go to the southeast corner to find a Boatman Coin.
60. The Maw: This is found inside the large gate south of the Phariseer's Tomb. Once the iron grates are removed, head south first the climb the wall. Turn around to find a Boatman Coin.
61. The Spine: Check the rock cluster northwest of the Judicator's Tomb.
62. The Spine: Found in the high ledge on the unnamed ruins to the east of the Judicator's Tomb.
63. Judicator's Tomb: After defeating the Tormentor, destroy the crates to the northeast to find a Boatman Coin.
64. Judicator's Tomb: In the same room of the second soul, dive underwater to find this.
65. Judicator's Tomb: After blasting the crystal blocking the elevator, you'll find yourself in the next room with a pool and broken stairs. Dive underwater to find this. This path leads to the third soul where you need to fight the Bone Giant.
66. Boneriven: Past the third gate, in the nook to the north.
67. Boneriven: On the way to the fourth gate, found along the narrow passageway. Check the last nook.
68. City of the Dead: In the rotating bridge, after using one soul to pull the lever, switch to the other soul to collect this coin to the northeast.
69. City of the Dead: In the bridge where you need to use a bomb to activate the push-switch, find a vine-covered wall and follow it to reach the boatman coin.
70. City of the Dead: When you reach the balcony with a single pressure plate, soul split away from the pressure plate and have one soul step on the pressure plate to reveal some hand-holds and hoop. Scale the wall to reach the switch. Push it to unbar the other door. Now climb back to the post then wall-run to the left once. Stay there and switch to your other soul. Step off the pressure plate for that hand-hold to flip. Switch again to your other soul to get inside the secret chamber. Once inside, destroy the crates to the northwest to find a Boatman Coin. This chamber is where you'll find the first GnoMAD Gnome as well.
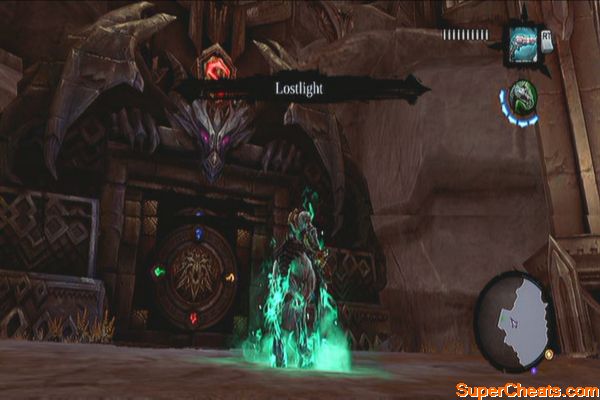
71. City of the Dead: After getting the Skeleton Key, swing using the deathgrip hoops to reach the chest on the eastern side. Now swing all the way back to get a floating Boatman Coin. In case you didn't catch it, just aim and pull it using your deathgrip.
72. Lostlight: Situated on top of the Death Tomb's entrance.
73. Lostlight: After talking to Nathaniel for the first time, you'll find this behind him.
74. Lostlight: On your way to the top of the Crystal spire, you'll find this in the trench near the shadowbomb pod.
75. The Scar: Found in the Scar's entrance.
76. The Scar: Floating past the ledge containing the Skeleton Key chest.
77. Earth: Behind a truck in the northwest corner.
78. Earth: In the starting area, head south to find it beside a room containing a chest.
79-80. Inside the third Death Tomb
81. Earth: Southwest corner, behind some cars
82. Earth: Found along the way in the sewer tunnel leading to the Eye of Arafel.
83. Earth: After getting the Eye of Arafel and meeting up with Uriel, look around the northwest corner of the opened gate to find this.
84. Earth: Move on and continue destroying the enemies along the way. Check the small room to the west along the way to get the Boatman Coin.
85. Earth: Inside the hotel ruins, before reaching the last trapped hellguard.
86. Ivory Citadel: Found to the eastern nook along the main path leading to the citadel's main area.
87-88. Ivory Citadel: Northern island, behind a broken wall. Wall-run to the next island and check the west corner to find the other one.
89. Ivory Citadel: Behind a small tree near the portal, near the tower
90. Ivory Citadel: Found along the way before reaching the stairs of the tower.
91. Ivory Citadel: After cleansing the second tower, you'll have to make your way to the next straightforward path. You'll eventually plunge to a very small pool on the corridor leading outside. Turn around after plunging to find this coin.
92. Ivory Citadel: This is found behind the webbings in the second ledge, as you activate portals and perform wall-runs to reach the next area.
93. Ivory Citadel: After reaching the underground cavern, jump to the pool to find this.
94. Weeping Crag: Found in the secret treasure trove accessible only by using the Voidwalker.
95. Black Stone: After entering, look behind the cluster of corruption crystals to the west.
96. Black Stone (past): After going back to the past using the Phasewalker for the first time, check the pillar to the right to find a Boatman Coin.
97. Black Stone (past) : Found in the secret chamber in the second floor. Follow the instructions below, after defeating the Legion Champions for the first time:
Head to the southeast door after the battle. In the next hallway, loot the chest to the left, then continue downstairs. Wall-run to the first platform and then wall-run again and bounce on the walls until you reach the hand-hold at the end. Climb up and ignore the chest in the middle for now. Continue along the corridor and defeat two enemies inside. Walk until you find a pit with a deathgrip hoop. Use it to reach a hand-hold above. However, don't climb up yet but drop down instead.
|
|
You'll grab a hidden hand-hold below. Shimmy to the right and enter the corridor. When you see the deathgrip hoop at the end, don't use it; instead look up to your right to find another hidden deathgrip hoop. Use it and perform a vertical wall-climb to reach a secret chamber containing a Boatman Coin, a Stone of Resistance on the ceiling to the south and a unique weapon called Demonflame Renders.
98. Black Stone (present): In the southeast platform beside the cluster of corruption crystals in the middle.
99. Black Stone (past): After defeating the maelstroms for the first time, follow the stairs south to find this.
100. Soul Arbiter's Maze: Destroy the objects to the southwest to find the last coin.


These are correct. You can have more then 100 if you started a new game+.. everything get carried over from your old file 😁
This is incomplete, I currently have 104 coins.
Are these in story mode order? Well, besides the last one.