Revive the Tower Heart
Overlord 2 Walkthrough and Guide
Overlord 2 Guide - Walkthrough
Revive the Tower Heart
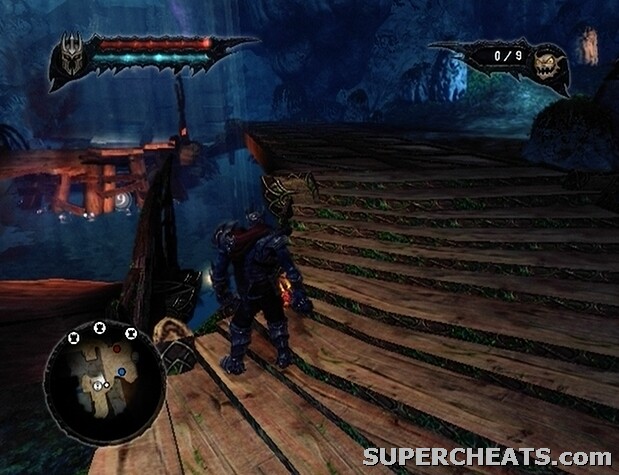
Follow the path to reach the Tower Heart.
Task: Go to the Sanctuary Depths
Command five of your Minions to pick up the Tower Heart and follow the marker on the mini-map to reach a lift. Stand on the lift with the Tower Heart to take it down to the Sanctuary Depths.
Task: Charge up the Tower Heart at the Shrines (3/4)
Have five of your Minions pick up the Tower Heart, and then follow the marker on the mini-map nearest to you and wait for the Minions carrying the Tower Heart to catch up. When the Minions drop the Tower Heart next to the shrine, face the shrine and hold the X/Square button to sap its power. When the platform collapses, look for a Spell Catalyst nearby.
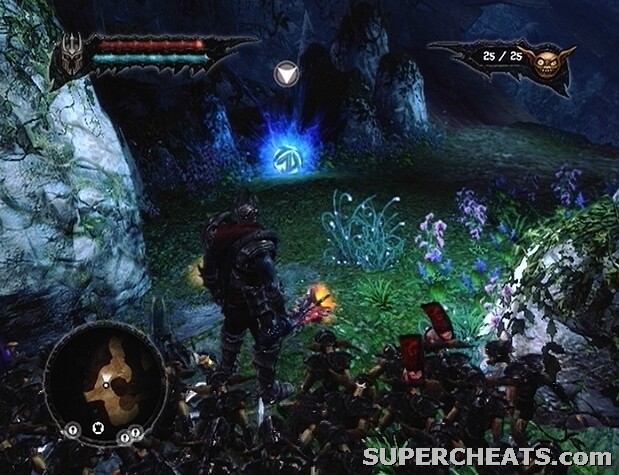 Collect this Spell Catalyst after charging the Tower Heart at the first shrine. |
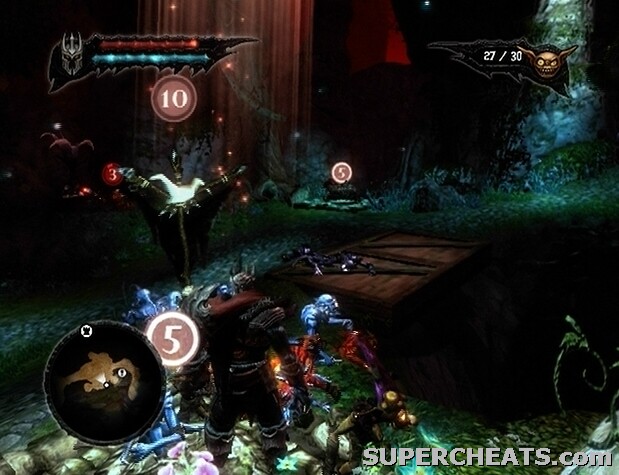
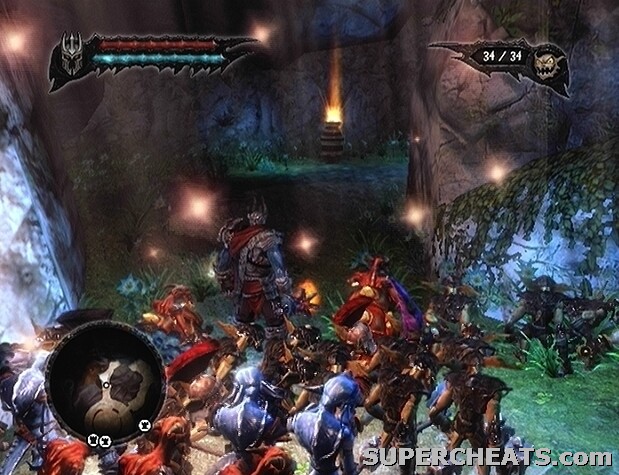
Continue east to find a Netherworld Gate. Use the Minion Gates to summon at least 10 Blues, and then fill the rest of the spots with Browns. A colony of Gnomes has taken the Tower Heart, and it is currently sitting atop a Gnome hole in the middle of the area east of the Netherworld Gate.
Removing the Tower Heart from the hole will unplug it, unleashing a never-ending tide of suicidal Gnomes. These Gnomes will latch onto you and explode; they deal a small amount of damage individually, but it can turn lethal if multiple Gnomes are involved. You'll need to plug the hole back up with something else; lead your Blue Minions to the body of water at the south end of the area, and order them to grab hold of the statue in the middle of it. The Blues will automatically push the statue over the hole to seal it.
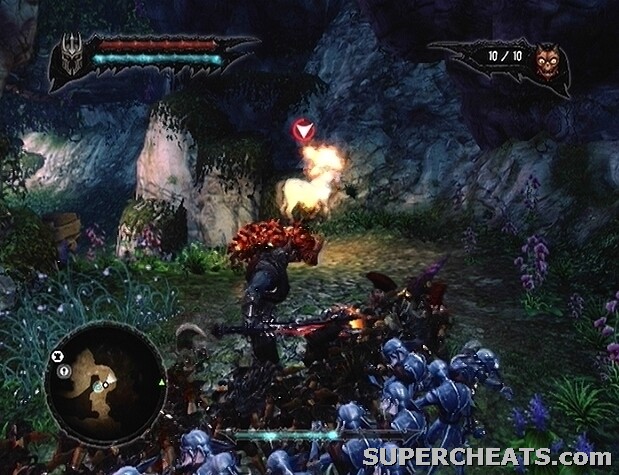
When the Gnomes have been dealt with, order five of your Minions to pick up the Tower Heart, make your way to the other end of the colony, and turn left at the top of the slope to reach the second shrine. With the Tower Heart in its place, hold the X/Square button to charge it. When the platform falls, you'll find yourself in a pit surrounded by flames. Set your Blues on a Guard Flag at the back of the pit and kill the Salamanders as they roll down the ramp.
After dealing with the Salamanders, follow the marker on the mini-map to spot the Tower Heart. Two Elves have taken the Tower Heart onto a lift; to force them back down, both of the switches on either side must remain pressed until the lift returns. Salamanders will continuously spawn from the holes across from each switch, so keeping your Minions on the pressure switch while dealing with the Salamanders can be a challenge.
Stand on one of the pressure switches; it might be a good idea to set your Blues on a Guard Flag right on top of the pressure switch, as they will only move to resurrect fallen minions or to attack an enemy that's right by them. If the Guard Flag isn't placed exactly on the switch, lock-on and use the Right Stick to move it. Sweep your Brown Minions to the switch on the other side; if you set them on a Guard Flag, they are likely to all run off as soon as a Salamander appears, so just continue to slightly move the Right Stick back and forth to keep them on the switch long enough to call the lift back down.
 Activate both pressure switches to call the lift back down. |
Kill the Elves once you've forced them off the lift. If the lift doesn't remain in place, you'll have to use the switches again. Before getting onto the lift, head north to uncover a Waypoint Gate. Since the boss you're about to face can crush your Minions like ants, it would be best to send most of your horde back to the Netherworld using the Minion Gates near the Waypoint to avoid losing your veterans. Summon a small group of Red Minions (at least 20), and then make your way back to the lift.
When the lift reaches the third shrine, command five of your Minions to pick up the Tower Heart and they will set it in place. Use your magic to sap the power from the shrine.
Task: Defeat the Salamander King
The Salamander King is by far the deadliest foe in the game. His massive size and ability to spit fire make taking down this beast a considerably difficult task, if only because he can halve your horde in an instant if you aren't careful.
After falling onto the half-pipe at the start, immediately sweep your Minions down the ramp to your left. Wait at the foot of the ramp for the Salamander King to jump down, and then move past him and walk around to the other end of the pool of water. When the Salamander King lands in the pool of water, move in and attack him until he gets up and leaps away.
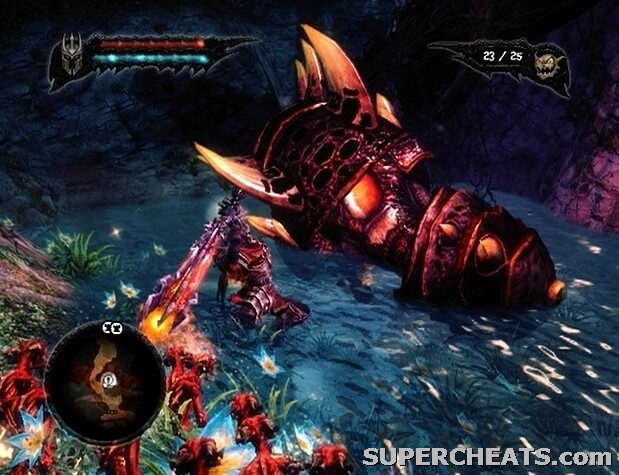 Lure the Salamander King into the water and then move in to attack while he's vulnerable. |
Follow the Salamander King into the next area. He will roll around the track a few times, and then hop onto the ridge at the other end of the area and spit fire onto the platform in the middle of the area. Wait until he's sitting on the ridge and then hit the pressure switch to raise the bridge to the center platform. Step onto the bridge and remain there until the Salamander King starts rolling around the track again. Quickly sweep your Minions ahead and cross to the center platform, because the bridge will collapse when the Salamander King rolls through it. If you're standing on the bridge when he rolls through, you'll die, and the same goes for any Minions there.
The Salamander King leaves flames in his wake as he rolls around the track, so this next part will be tricky if you don't have Red Minions with you, as only they can move through fire without being set aflame. Wait until the Salamander King rolls by the steps leading down to the track, then quickly sweep your Red Minions down the steps, up onto the ridge, and over to the pressure switch. Have your Minions wait by the switch until the Salamander King hops onto the ridge, and have them press it again if need be. He'll spit fire at the bridge while it's up, but just run through the flames and take the bit of damage.
Make your way down to the pressure switch and hit it to raise the bridge. Walk across the bridge, and then wait for the Salamander King to land in the pool of water. Wade over to the beast and attack him until he flees.
Continue down the path to reach a Netherworld Gate. Send your Red Minions back to the Netherworld, and summon some Blues (at least 10). Make your way to the next area to encounter the Salamander King once more. After he hits the ramp and flies to the other side, wait for the flames to clear before crossing to the steps at the other side. Walk over to the curved stairs at the other end of the walkway and wait on the last few steps.
 Use your Blue Minions to destroy the ramp supports. |
When the Salamander King hits the ramp and flies to the other side, wait until the flames clear, and then sweep your Blue Minions over to the other side and into the water. Further sweep the Minions over to the supports of the ramp on the other side to have them start attacking it. When the ramp dips into the water, walk over to the ramp and hit the Salamander King's tail a few times to finish him off.
When the dust clears, hit the Salamander King's head to uncover the Tower Heart. Since you've defeated the Salamander King, Salamanders can now be used as mounts by your Reds. Use the nearby Red Minion Gate to summon some Reds, and sweep them over to the Salamanders. Order five of your Blue Minions to pick up the Tower Heart before moving on.
Task: Charge up the Tower Heart at the Shrines (4/4)
Walk back over to the bottom of the steps at the east end of the area. Select your mounted Reds by holding RB/R1 and tapping B/Circle twice, and then use the Right Stick to roll them up the ramp and over to the pressure switch. Cross the bridge and keep your mounted Reds selected. Swept Salamanders will spit fire at targets, so send them along the ramp to the right to roast the Empire bombers there.
Move across the bridge and sweep your mounted Reds around the ramp on the left to take out the bomb-throwers below. Continue heading east to reach some Minion Gates and the last shrine. With the Tower Heart in place, hold down the X/Square button while standing by the shrine to sap its power.
Task: Go back to Sanctuary Town
When the shrine collapses, order five of your Minions to pick up the Tower Heart. There's a Mana Upgrade in a pool of water nearby, so have at least four Blues pick it up. If you don't currently have enough Blue Minions with you, there's a Netherworld Gate nearby, so you can move on ahead, summon some Blues from the Minion Gate, and return to this point.
 Use Blue Minions to collect this Mana Upgrade after charging the Tower Heart at the final shrine. |
Make your way into the next area and hit the pressure switch to raise the bridge. Sweep your mounted Reds across the bridge to kill the Empire archers, cross both of the bridges, and then start up the slope. Bombs are likely to be thrown your way, so be careful with your Minions. Stop by the Waypoint Gate to heal and restore mana if need be, and then continue into the next area.
Wait for the bombs that drop to go off, and then sweep your mounted Reds to roast the archers. There is a group of archers and soldiers in the middle of the pit in the next area, so roll your Salamanders around to burn them up. Try to keep out of range of the archers, as they can quickly deplete your health. When the pit is clear, smash the barrels and crates to find health potions if needed.
Look for a Dark Crystal container at the end of the path in the southeast corner of the circular room.
 Collect this Dark Crystal before moving on. |
Continue walking all the way back to the first Netherworld Gate, and head west from there to reach a ramp. Sweep your mounted Reds along the ramp and over to the pressure switch on the other side of the gap. Cross the bridge when it has been raised, and press the second pressure switch to raise another. Head up the spiral steps and onto the lift with the Tower Heart to return to Sanctuary Town.
Task: Bring the Tower Heart back to Queen Fay
Once up the lift, order five of your Minions to pick up the Tower Heart and start down the walkway. Take the curved steps down to the lower level of the town. A group of archers are stationed across the gap; walk behind the two statues, and order your Minions to push the statues up to crush the legion formation and shield yourself from a slew of flaming arrows.
Continue up the curved steps once the Minions have pushed the statues in place. There's a Dark Crystal nearby, and this one cannot be acquired after completing this quest, so follow these instructions carefully to ensure you don't miss it. At the top of the curved steps, head straight across to a second set of curved steps leading up. Take the steps up to reach a platform that is covered with baskets and other objects. Break open the barrel by the pillars at the back of the platform to find a Dark Crystal.
Unfortunately, if you're reading this after having completed the “Revive the Tower Heart” quest and missed the Dark Crystal on your way through, there is no way to return to Sanctuary Town to acquire it.
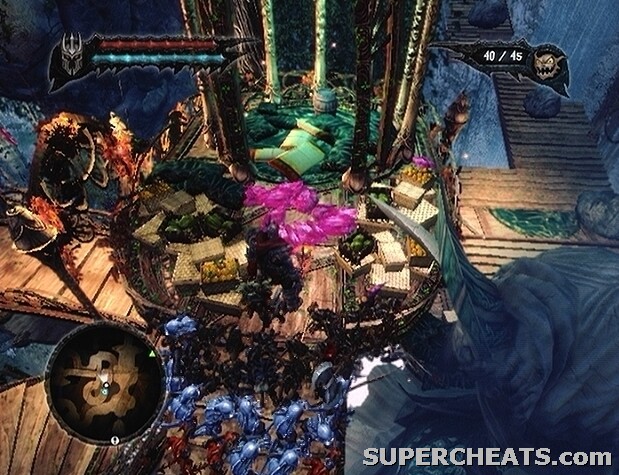 Break the barrel on this platform to find a Dark Crystal. |
At the bottom of the curved steps, turn right to spot a Centurion. Kill the Centurion, and then help the Elves take out the legion formation to the east. Continue east and head up the steps. Follow the trail beyond the steps to reach Queen Fay. When your Minions set the Tower Heart in place, approach Fay to trigger a cutscene.
Task: Drain Queen Fay to recharge the Tower Heart
After the cutscene, set your Brown Minions and Blue Minions on separate Guard Flags, then stand in front of Fay and hold the X/Square button to begin draining her power. Elves will attack you during this process, but your Browns should be able to fend them off. A couple of fairies will appear and carry Fay away. Call your Minions off of their Guard Flags, have five of your Minions pick up the Tower Heart, and start following the marker on your mini-map.
When you reach the Minion Gates, make sure you have at least 10 Red Minions with you before entering the next area. There are three Dryads that you need to kill to remove the vines blocking your progression. Use your Red Minions to set them into a recovery state, and then quickly destroy the flower that opens up to kill them and clear the way.
Once you have dealt with the Dryads, approach Fay, set your Browns and Blues on separate Guard Flags, and then start draining her power. When the fairies carry her away again, call your Minions off of their Guard Flags, have five of them pick up the Tower Heart, and start following the marker on the mini-map. Send however many Red Minions you have with you to mount the Salamanders that you come to, and then exit via the north path.
 Use mounted Reds to roast the Unicorns guarding Fay. |
Fay is in the middle of the next area, guarded by a couple of Unicorns. Use the Right Stick to sweep your mounted Reds around the Unicorns. Avoid the Unicorn's charge and continue sweeping the mounted Reds around to hit it with fire. When the Unicorns have been dealt with, approach Fay, set your Brown and Blue Minions on separate Guard Flags, and begin draining her power.
Start following the marker on the mini-map when the fairies swoop in to carry Fay away. When you reach the final platform, wait until your Minions set the Tower Heart in place, and then set each colour on different Guard Flags. Start draining Fay's power and continue to do so until the bar at the bottom of the screen has been depleted.
After the cutscene, you have the choice to leave Evil Fay as she is to increase your Domination tyranny rating, or cast the Evil Prescence spell again to overcharge it and kill Fay, which would increase your Destruction tyranny rating.
 Deplete the bar at the bottom of the screen to corrupt Fay (Domination), or overcharge the Evil Prescence spell after the cutscene to kill her (Destruction). |
I was blocked off after leaving during the salamander king too. As Steve said, teleport to the "wasteland sanctuary depths"
i was fighting the salamander king but i came off the game and when i went back on it there was no lift? please help because i cant move on with the game
I got passed everything but after I got to go back to sanctuary town I went back to netherworld tower and when I went back there wasn't any salamanders and now I'm stuck. Please help, I don't know what to do.
I finished killing the Salmander king (thingy), when the game suddenly froze. When I restarted I couldnt get my salmander rides back and I was stuck inbetween my tower gate and the ramp where i need to sweep through to return my tower heart. I've tried the last saved game location, but it automatically saved on the same spot when the pc froze. I now cannot finish the "into the depths" or "Revive tower heart" and "conquer queen Fay" missions. Is there any way to get a "salmander appear out of nowhere" cheatm, lol. Ive also went back to the "Wasteland mission" to see if I cant start over, but the bridge is broken, so cannot enter the fae realm. Otherwize I have to do everything over, so not in the mood for THAT, loosing everything and all. Please oh pretty please help
I died while I was fighting the Salamander king. I'm blocked off after going back to the tower. But when I retun the elves arn't there.. What am I suppose to do?
ps: Great walktrough!
Go to the Netherworld Gate and teleport to the depths from there...you don't have to fight the gnomes etc. again...just the 2 elves to get the bridge back down. Steve
were also stuck on at the part where u fight the salamader king....everything is blocked off after going back to the tower. any suggestions or is it a game glitch???
well decideing not to figjt the slamander in get some sleep now imstuck try to get back in fight him every thing is block off for some reason
Ok this might sound stupid, but what does the tower heart help the tower in overlord 2? Cos in overlord 1 was the main information. PLS answer or send me an e-mail on vladronatron"yahoo.co.uk