Become an Overlord
Overlord 2 Walkthrough and Guide
Overlord 2 Guide - Walkthrough
Become an Overlord
Follow the Minions over to the tattered bridge and press the A/X button to use the Overlord's axe to clear the barrels blocking your path. Continue following the Minions to discover the frozen Yeti. Use your weapon to free the Yeti from his icy enclosure. Once the Yeti is loose, a Minion Gate will appear.
To call Minions forth from the Minion Gate, lock-on using the LT/L2 button and press the B/Circle button. Holding the B/Circle button will continuously recruit Minions until you have either reached the maximum horde size or depleted the barracks. At this point you only have a few Brown Minions in the barracks, and a maximum horde size of 15. Call forth all five of the Minions, and set them to attacking the Yeti. Use your weapon to attack the Yeti yourself.
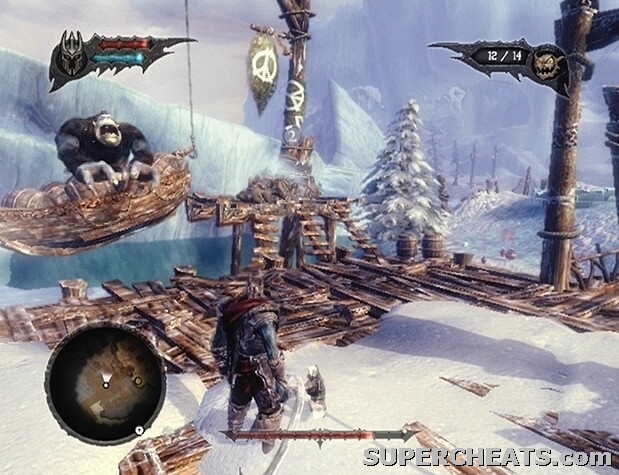
The Yeti will eventually hop over the gap, where he is out of reach of both you and your Minions. Hit the structure at the far end of the gap to set up a makeshift bridge. Sweep your Minions over the bridge and to the supports holding up the platform that the Yeti is sitting upon. When the platform falls, the Yeti will jump back over the gap and smash a barrier, allowing you to proceed out of the cavern.
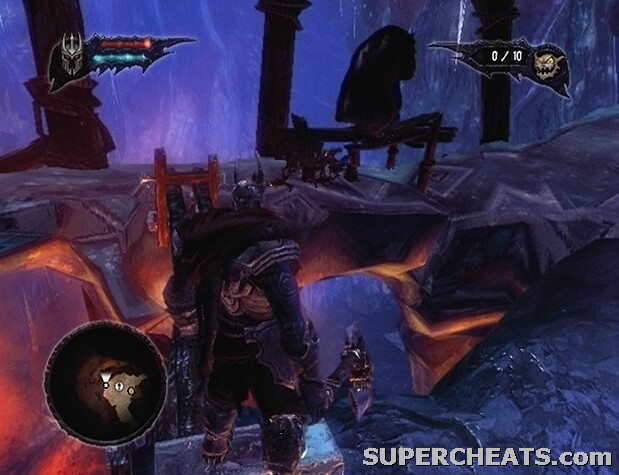 Set your Minions to attacking the supports of the platform that the Yeti is sitting upon to chase him back across the gap. |
Start down the path west of the Minion Gate. At the very start of the path, look for a structure to the right. There's a treasure chest below this structure that only your Minions can reach, so sweep them over to the chest to have them automatically open it and collect the bags of gold inside. Continue down the path to exit the cavern. Follow the mountainside path and you will eventually encounter a group of baby seals.
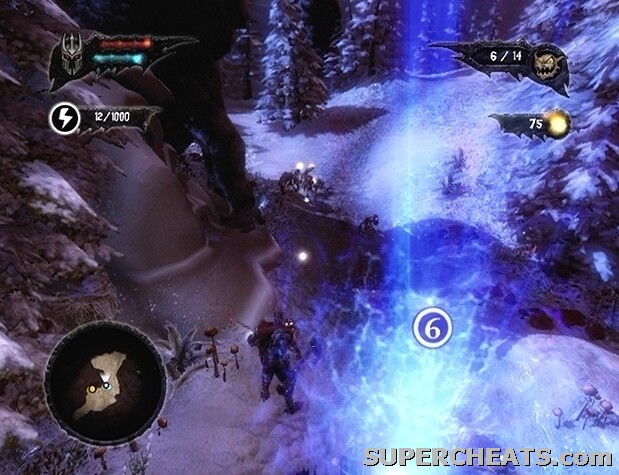
Task: Collect 30 Lifeforce Orbs
Your first task is to collect 30 Lifeforce Orbs. Each Lifeforce Orb is another Minion that can be called forth via a Minion Gate. There are four different Minion types, but you currently only have access to Browns, so you'll only see Brown Lifeforce Orbs for the time being. Baby seals yield Lifeforce Orbs when killed, so set your Minions to task. Brown Minions cannot swim, and are exceedingly prone to drowning, so take care when sweeping them near water.
Kill the seals that your Minions can reach and then continue down the path. Another Brown Minion Gate will appear just before the next batch of baby seals, so consider recruiting as many more Browns as are available at this time. There are plenty of baby seals in this next area, so quickly sweep your Browns through before they can retreat to the waters. You needn't walk over and collect the dropped Lifeforce Orbs yourself; just sweep your Minions over and one should pick it up and carry it back to you.
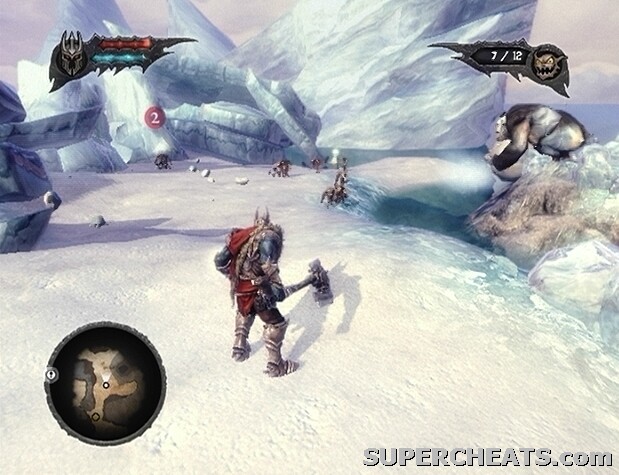 Gather 30 Lifeforce Orbs by commanding your Minions to kill baby seals. |
When the Yeti appears, he will take position on an ice formation, where he is out of reach. Ignore the Yeti and continue collecting Lifeforce Orbs. Be careful, however, as he will continuously throw large snowballs in an attempt to squash your Minions. To avoid losing Minions, be ready to sweep them out of the way if a snowball is headed for them. Eventually, the Yeti will hop back to land and smash the barrier blocking your path.
Start down the path cleared by the Yeti and keep an eye on your right; when you come to a dock, sweep your Minions there to open the two treasure chests and have them carry the gold back to you. Continue heading north to encounter a couple of manatees. Tap the B/Circle button to cast the Lightning Whip spell to flip one of the manatees over on its back, then use the A/X button to hack away and quickly kill it. Do the same to the second manatee, and then continue down the path. You'll soon encounter an untamed Wolf; lock-on with LT/L2 and press RT/R2 to send one of your Minions over to it.
There are many more Wolves in the camp further ahead. When you reach the camp, sweep your Minions over to one of the igloos and take to the Hunters yourself. Hunters will continue to spawn as long as an intact igloo remains in the camp, so clear them out as quickly as possible. The barrels and crates in the camp likely contain weapons and armour for your Minions, so sweep them through to have them break the containers open and then equip themselves with whatever happens to be inside. Several Wolves are being kept in igloos, so sweep your Minions over to them to have them hop on.
Head to the patch of land at the east end of the camp to spot a number of caged Wolves, as well as another igloo. Sweep your current minions over to the igloo to have it destroyed, and then smash the cages to set the Wolves free.
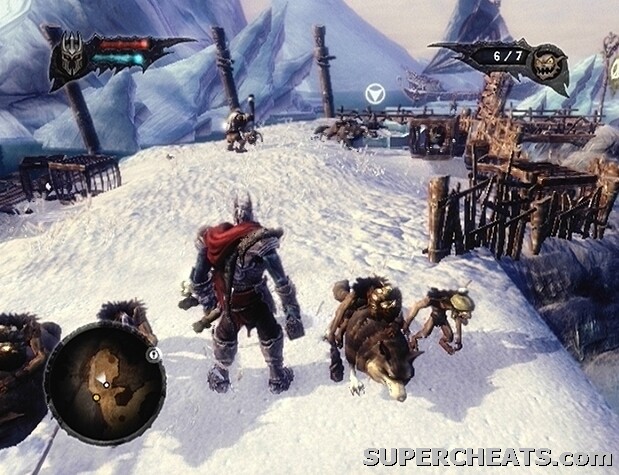 Free the caged Wolves and use them as mounts for your Browns. |
Destroy the igloo at the end of this section to uncover a wheel, which can be turned if enough Minions are set to the task. Turning the wheel will raise the bridge, allowing you to cross over to the next area, so send four Minions over to the wheel to have them turn it. Cross the bridge into the next area to trigger a cutscene.
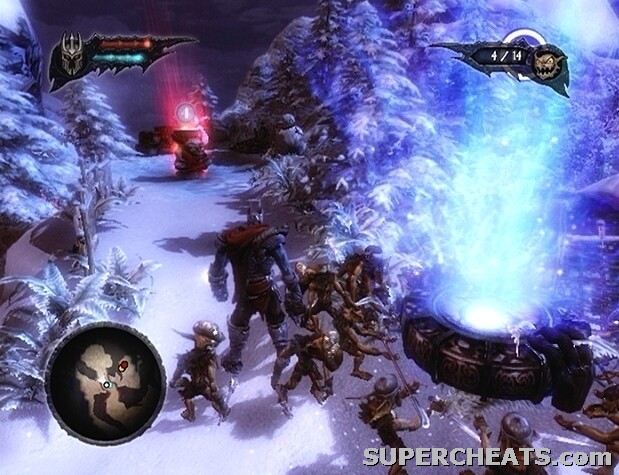
Some Elves have taken issue with the killing of baby seals; so inevitably, you'll have to kill them, too. The Elves are sparsely placed and quite weak, so your horde should be able to kill them with little difficulty. There is a large number of seals on the hill here, as well as a couple of manatees. Set your Minions to attacking the seals, and take out the manatees using the Lighting Whip spell and a few whacks from your axe. The Yeti is again present here, so sweep your Minions to avoid having them squashed by the large snowballs he tosses over.
There are more than enough baby seals in this area to make reaching the target of 30 Lifeforce Orbs possible. Even once you have attained the amount of orbs needed to complete the current task, sticking around and continuing to kill the seals is worth your while, since Lifeforce Orbs are an important commodity. Furthermore, killing 100 baby seals will unlock the Seal Slayer achievement/trophy.
When the area is completely clear of seals, cross the bridge back to the other area and make your way over to the barrier that was demolished by the Yeti. Sweep your Minions through the camp that you come to and be sure to destroy each igloo. Continue up the slope at the north end of this camp to reach another igloo. Don't slide down the icy patch here, as you'll fall back to the path below and have to walk back around. Continue down the path to encounter several harpoon throwers. Kill the Hunter along the path, and then sweep your minions over to the platform along the north side of this area to have them tear through the Hunters positioned there.
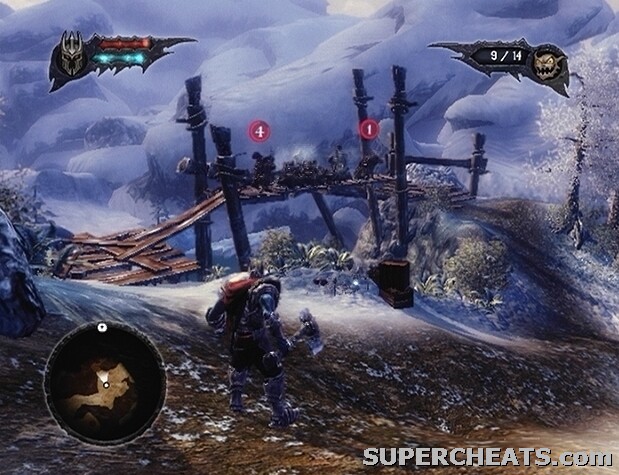 Sweep your Minions to reach the harpoon-wielding Hunters on the platform along the trail. |
Task: Enter the Sanctuary Cave/Locate a Spell Stone
Continue down the trail to reach yet another camp. This camp is quite large, so immediately set your Minions to demolishing the igloos there. When the camp is clear, follow the Yeti over to the platform at the east end.
The Yeti has turned hostile, so sweep your Minions over to him to have them start chipping away at his health bar. The creature will leap over to the boat hanging alongside the platform, forcing the two Elves stationed there to hop over to the main platform. Kill the two Elves, and then sweep your Minions over to one of the supports alongside the boat. Have your Minions destroy both of the supports to chase the Yeti over to the boat on the other side of the platform
Kill the two Elves that hop over to the platform, and then sweep your Minions over to one of the supports to have them break it. Do the same to the other support to force the Yeti back onto the main platform. Command your Minions to attack the Yeti, and join the fray yourself. When the Yeti's health bar has been completely depleted, he will flee the area with the Elves.
 Use your Minions to destroy the support columns on either side of the hanging boat to force the Yeti off. |
The entrance to the Nordberg Sanctuary is at the northeast end of the Hunting Grounds. Cross over to the land on the east side of the platform where you faced the Yeti and start down the trail. You'll encounter some Hunters and militia, so sweep your Minions through to set them to attacking. At the end of this path is the entrance to the Sanctuary Cave; unfortunately, your Browns will have to abandon their mounts here.
Task: Take the Spell Stone to Nordberg
A group of soldiers have made off with the Spell Stone, so you're going to have to follow them through the cave to get it back. Start down the path and sweep your Minions to the oblivious soldiers at the bottom of the slope. Continue on into the next area, kill the soldiers standing by the barrier, and then smash the barrier to clear the way. Continue moving forward to trigger a cutscene.
It seems that the troupe of soldiers tasked with carrying off the Spell Stone have been bested by a group of Gnomes, leaving the artifact unattended. Send five minions to carry the Spell Stone, and continue down the path.
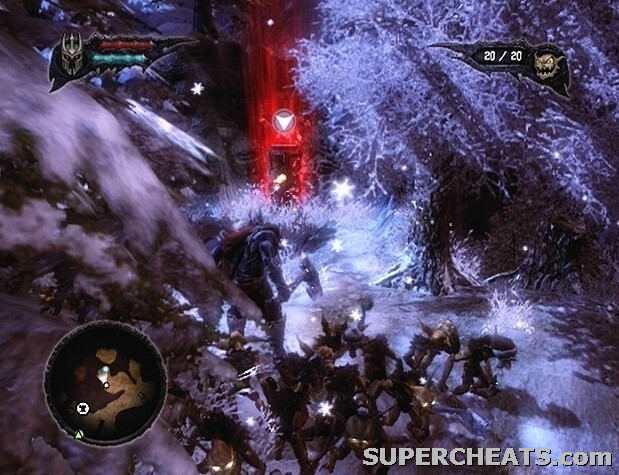
The Spell Stone immediately changes hands once you set foot into the next area; at this point, a new quest, entitled “Kill a thousand gnomes,” becomes available. This is a rather tedious side quest that entails exactly what its title suggests. Aside from the load of Lifeforce Orbs and Fairy Gems you are sure to collect by killing such a large number of these creatures, completing this quest will also yield the Gnome Grinder achievement/trophy. Don't bother undertaking this quest now, as it can be completed quite effortlessly at a later stage in the game. Refer to the “Kill a Thousand Gnomes” section of this guide for more info.
 Kill the Gnomes and take back the Spell Stone! |
With the Spell Stone back in your possession, continue down the path. You are sure to encounter more Gnomes, as well as a couple of soldiers. There is a Command Upgrade nearby, so don't move on too quickly. When you reach the bridge, before crossing, head south and follow the path as it curves west to find a Command Upgrade at its end. Order four Minions to carry the Command Upgrade, and be on your way.
 Collect the Command Upgrade before moving on. |
You need to find a Netherworld Gate to transport this stuff to the Netherworld. Delivering a Spell Stone to the Netherworld will unlock a new spell that the Overlord can then use, while delivering a Command Upgrade increases the maximum horde size by five. A Netherworld Gate will appear once you reach the area beyond the bridge, so make your way over there and allow your minions to transport the Spell Stone and Command Upgrade.
There is a Health Upgrade near the Netherworld Gate as well. Head west from the Netherworld Gate until you come to a fire barrier. While facing the barrier, turn left and step onto the hill there. Smash the wooden barrier here to reveal the Health Upgrade.
 Have your Minions carry the Health Upgrade to the Netherworld Gate to extend your health bar. |
Task: Subdue (3) and kill (3) villagers using the Target spell
The Spell Stone unlocks the Target spell, which can be used to kill or subdue villagers. To perform the Target spell, first lock onto a character, and then, while within range, hold down the X/Square button. Villagers can be subdued or killed using the Target spell; to subdue, release the X/Square button right as soon as the villager starts to get down on his or her knees; to kill, keep the X/Square button held down until the target's health wheel is completely depleted.
To complete the current task, you must use the Target spell to subdue three villagers, and kill three villagers. There should be a group of villagers just south of the Netherworld Gate. You can pin down a villager by locking-on and holding RT/R2 to have your Browns swarm him or her. Since they are a great deal faster than the Overlord and will often attempt to run, this is a good tactic to employ here.
Task: Travel back to the Netherworld
Once you have subdued three villagers and killed three villagers, return to the Netherworld Gate and teleport to the Netherworld Tower.
TYSM