Chapter 12
The Great American Savior of the Poor
Golden Gun Parts: RPG (3 parts), FMP
G3S (3 parts)
Clues: 6
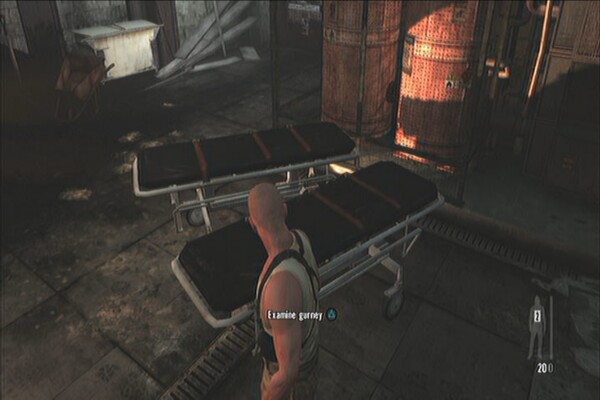
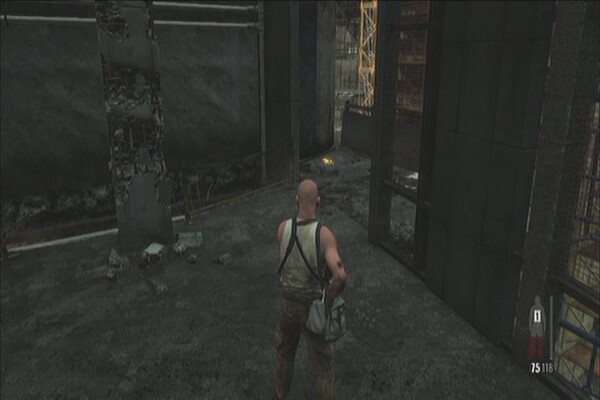
Continue along the corridor until you
see a scene. Once the thugs leaves, check the gurney in the middle
for your first clue. (Gurney)
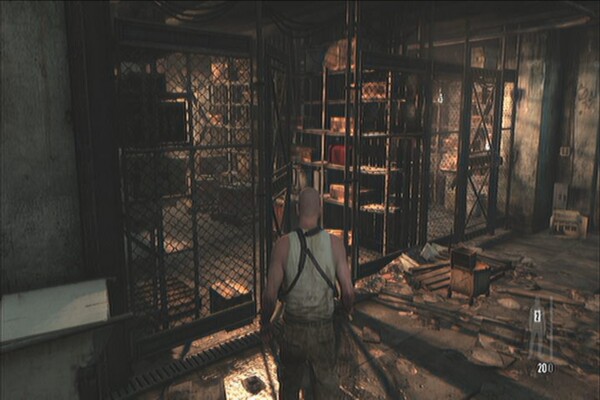
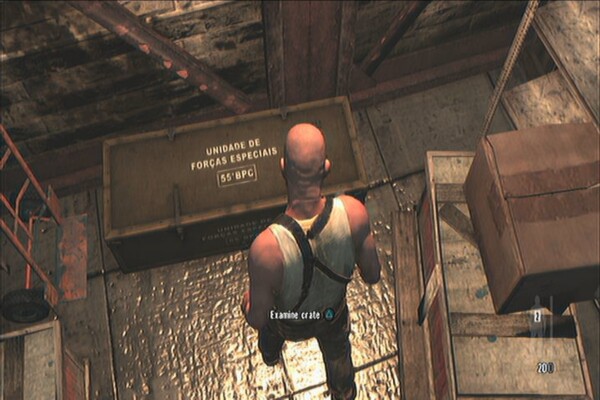
Go through the double doors then check
the storage space to the left. There's a painkiller on the shelf to
the left. Examine the ammo crate on the floor for another clue. (Ammo
Crate)
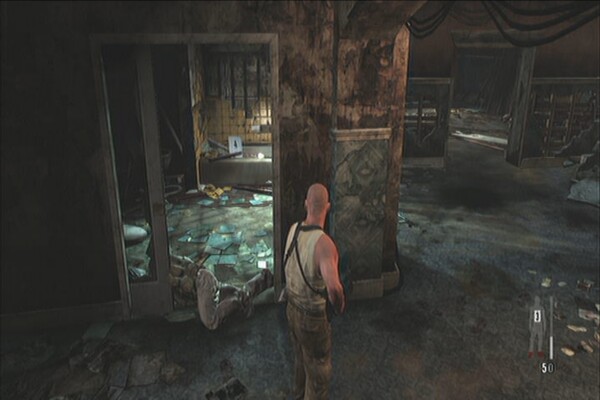
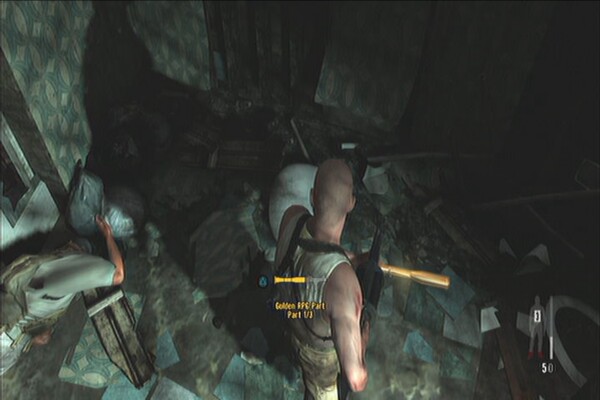
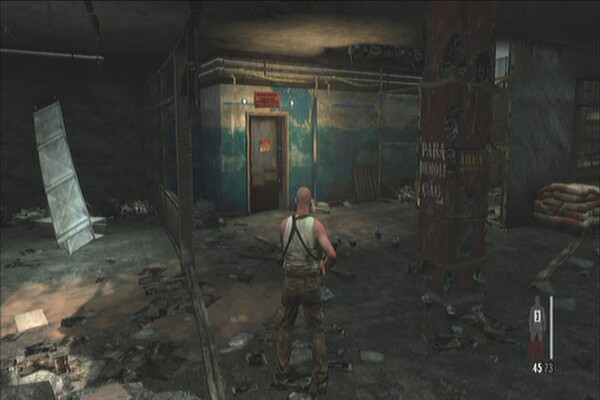
Head to the next doors for a scene.
After leaving the elevator, kill the two thugs then kill any enemies
that will respond. Check the broken bathroom to the left to find the
first gun part of the chapter. (RPG Part 1)
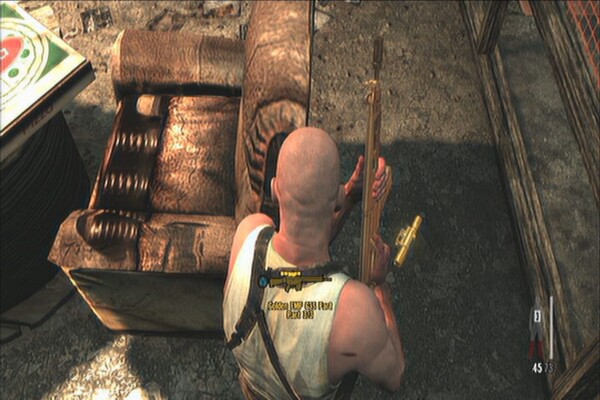
Move from room to room and clear it of
enemies. Continue until you reach the yellow metal gate. Press the
blinking yellow button to open it. Open it and take cover
immediately. Kill a few enemies then check the pushcart in the left
corridor. You should find another gun part there. (FMP G3S Part 1)
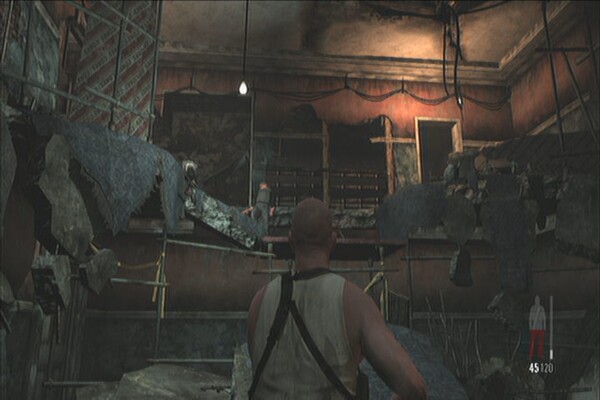
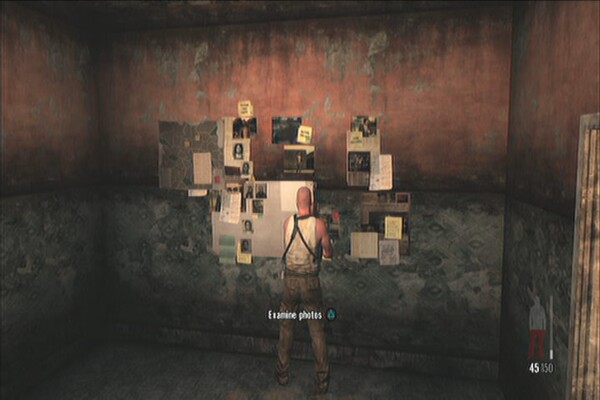
Continue to the next room and jump
down. Use the scaffolding to climb back up then enter the room to the
right to find some wall photos on the wall. Examine these for a clue.
(Wall Photos)
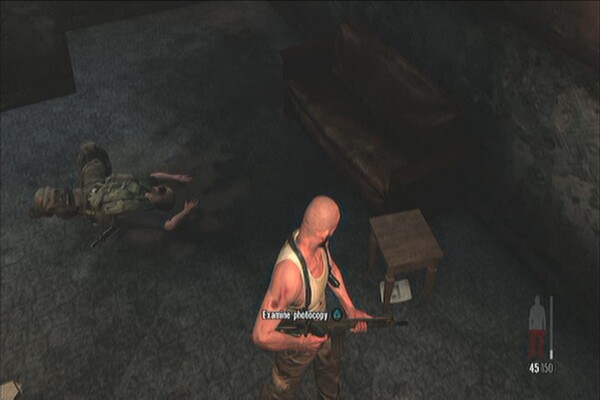
In the same room, check the piece of
paper under the small table beside the sofa for another clue (Passos'
ID Card)
Continue to the hallway to the left and
immediately take cover since there's three enemies waiting in ambush.
You can use bullet time to shoot the propane tank behind them to blow
the door open and kill them all at the same time. Before leaving,
check the room behind you to find a painkiller.
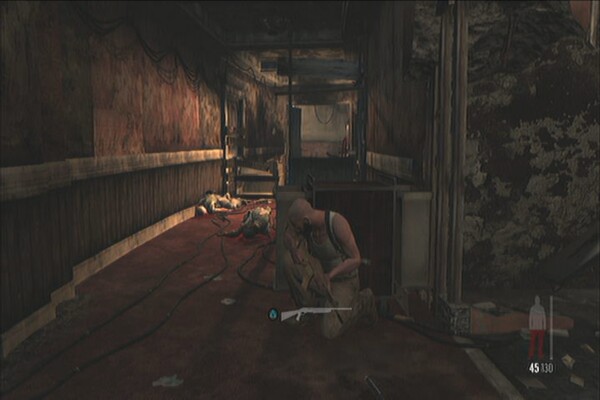
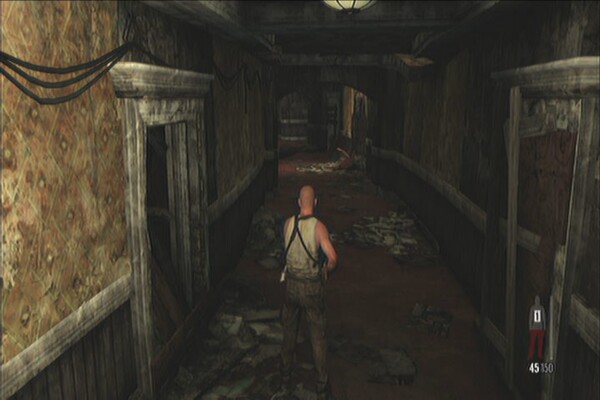
Continue through the blasted door and
upstairs. Enter the door again to find yourself in a hallway. Move
along and check the hole in the wall to your right to find a gun
part. (RPG Part 2) Continue to the next door for another scene.
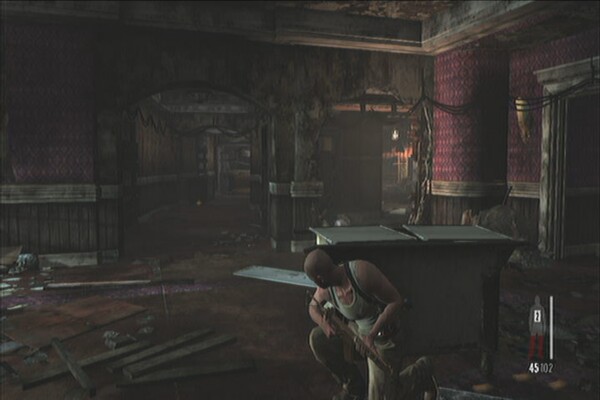
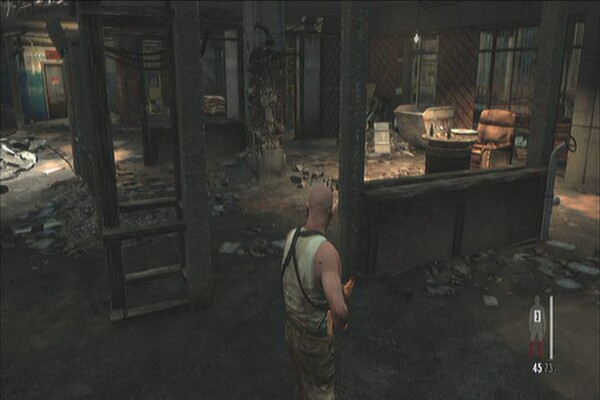
After the scene, you'll be in the upper
floor. Kill the guards then grab another gun part on the floor behind
the counter to the right. (FMP G3S Part 2)
Go past the pool and tennis court then
move around to the next area where more enemies are waiting. Kill
them off then enter the bar. Check the newspaper on the counter for
another clue. (Newspaper Article) Grab the painkiller nearby then
continue to the next door.
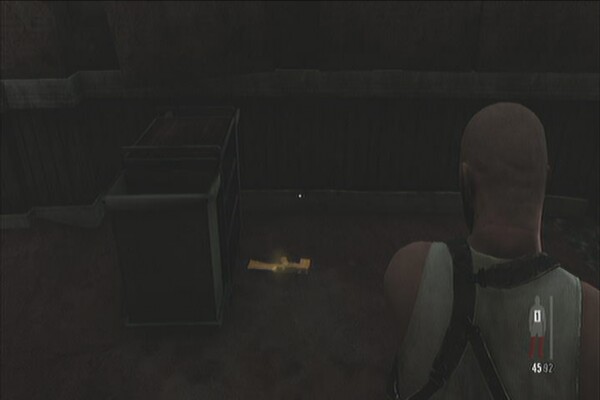
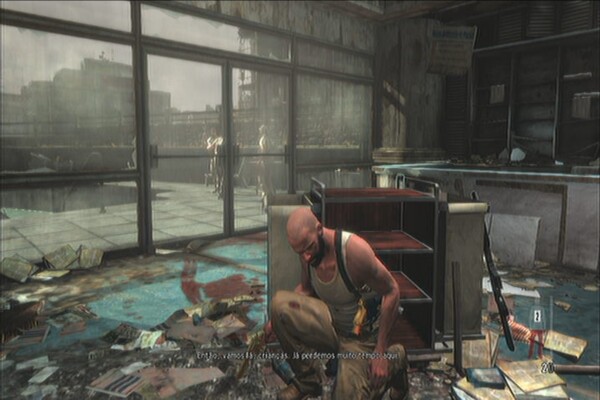
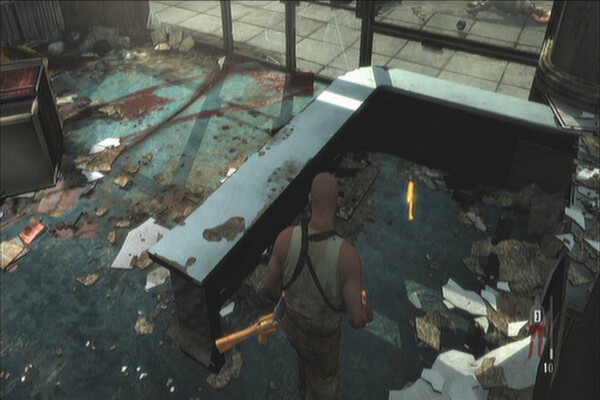
After the scene with the doctor,
continue to the next room. Head to the right and check the floor
behind the couch to find a gun part. (FMP G3S Part 3)
Continue ahead and enter the next room
to trigger a scene. After the scene, go back to the room to find two
painkillers, an ammo bag and another clue to the right. (Donation
Receipt)
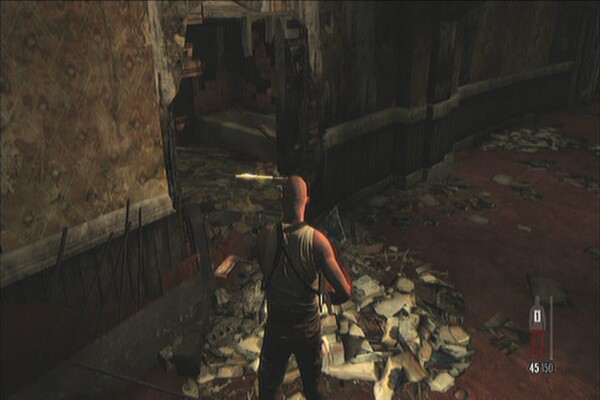
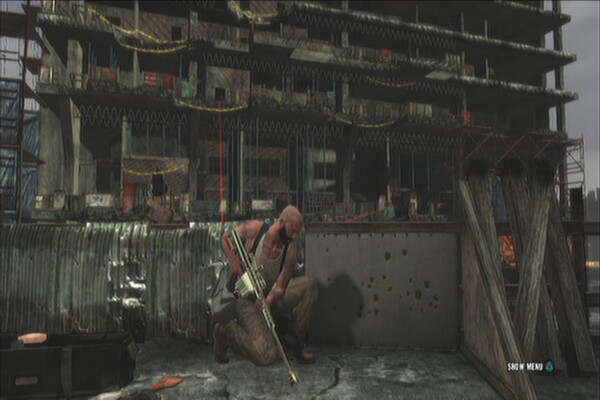
Exit the room and continue planting
explosives on the red pillars. After the scene, kill the remaining
enemies and go past the yellow gate. Continue along the wooden planks
and you'll finally meet some enemy snipers. Take them out one by one
before moving forth.
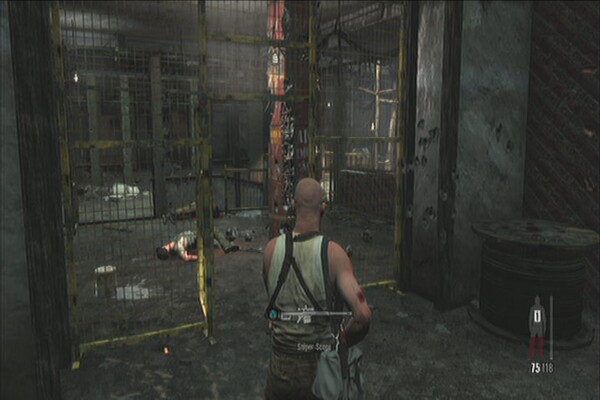
Go through the yellow gate and take out
more enemies. Some enemies will appear from behind so be careful as
well. Once done, from the gate, turn right to find the last gun part
in the corner. (RPG Part 3)
Continue planting explosives on the red
pillars until you plant the last explosive on the last pillar. After
the scene, you can attempt to unlock the “Sometimes You Get Lucky
trophy”. As soon as the checkpoint starts, stay in cover and don't
kill the nearest guy until the 12 second mark. Once you reach that
point, run towards him and perform a shootdodge. This timing will go
alongside with the tremor, giving you ample time to aim for the head
and unlock the trophy.
Sometimes You Get
Lucky
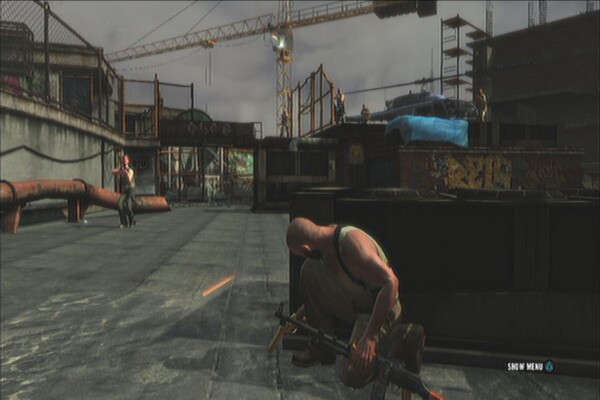
Continue fighting your way on the roof.
Once you reach some stairs and after the wall near it blows off, go
upstairs and check the room to the right to find a couple of
painkillers.
Continue to the open gate. Kill the guy
that will appear then head to the next door. It will get blown up as
well so step back and take cover since more enemies will appear on
the roof. After dispatching them, a heavy gunner will appear from the
other rooftop. Dig in and kill him to finish the chapter.


No comments yet. Tell us what you think to be the first.