Chapter 13
A Fat Bald Dude with a Bad Temper
Golden Gun Parts: G6 Commando (3
parts), Law (3 parts), MPK (3 parts)
Clues: 7
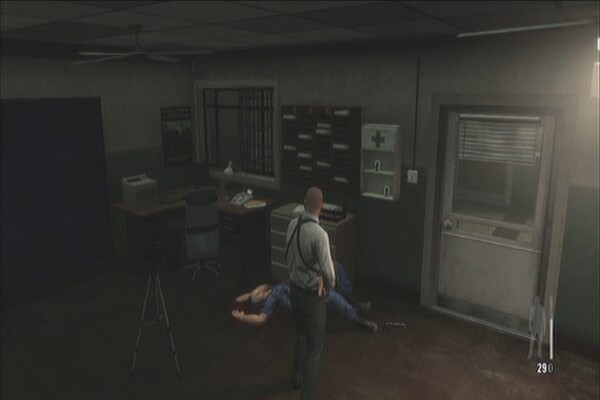
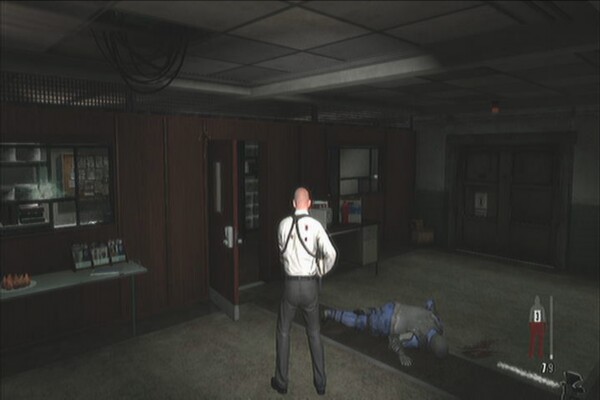
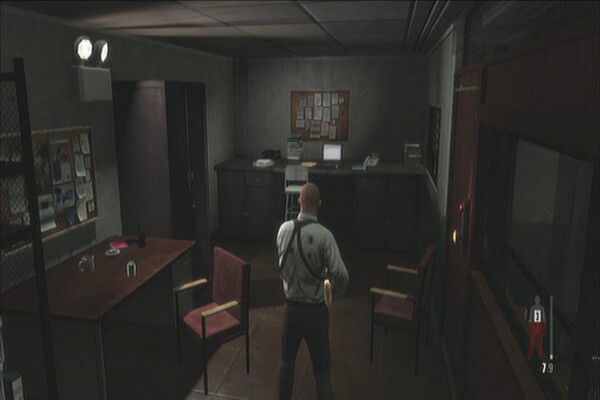
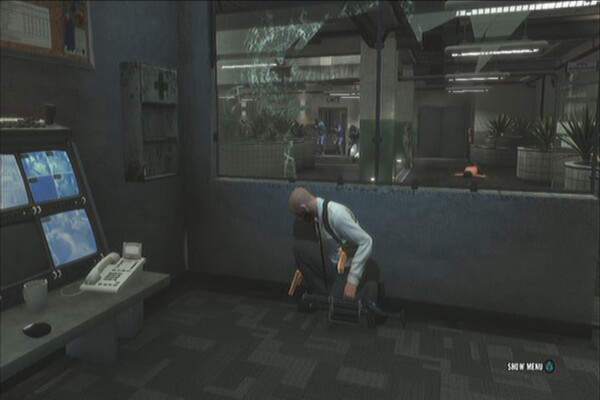
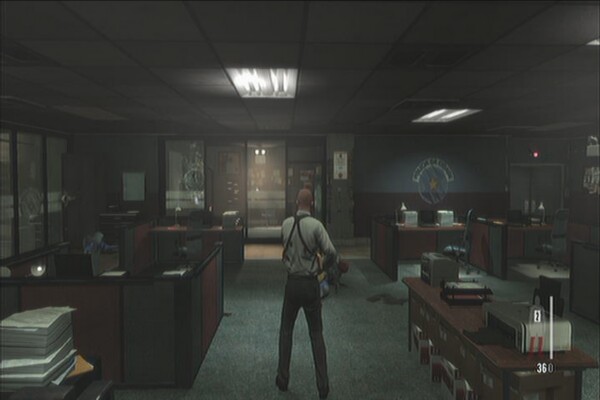
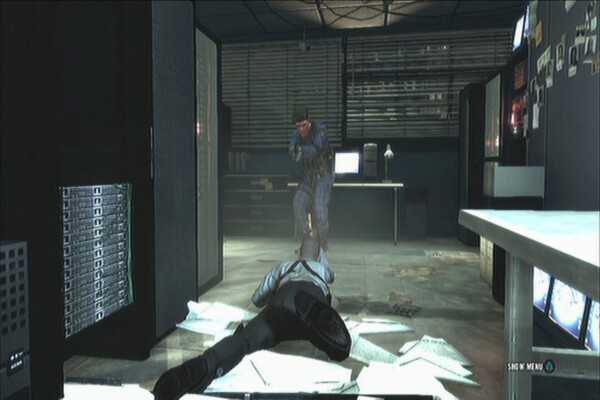
Take out the guard nearby, then take
out the other two inside the office. There are two painkillers in the
nearby first aid cabinet as well so don't forget to collect them.
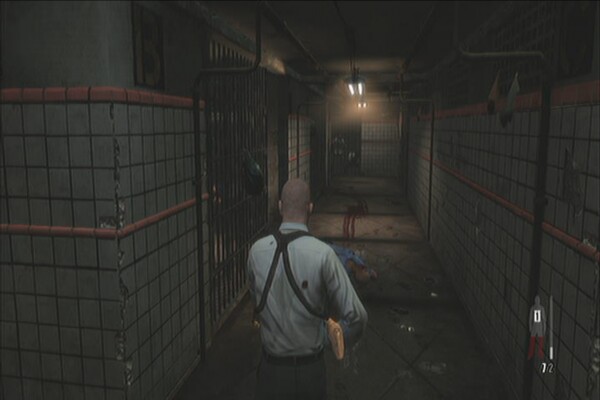
Approach the gate for a scene. After
the scene, go through the opened gate then immediately turn left to
find the first gun part of the chapter. (MPK Part 1)
Head right then kill the two guards in
the next corner. Enter the washroom to the right to find another gun
part in the corner. (LAW Part 1)
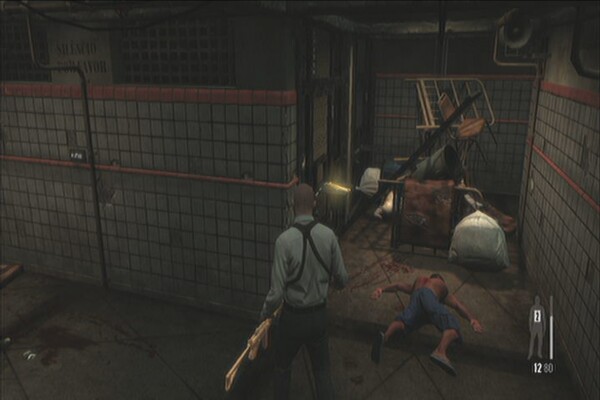
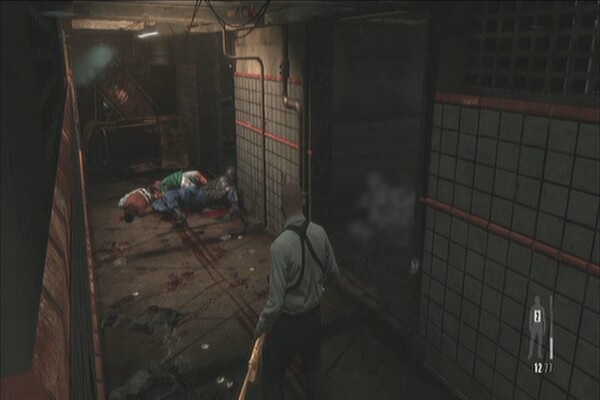
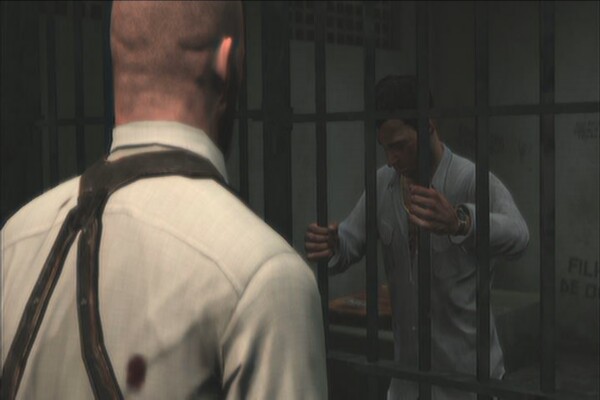
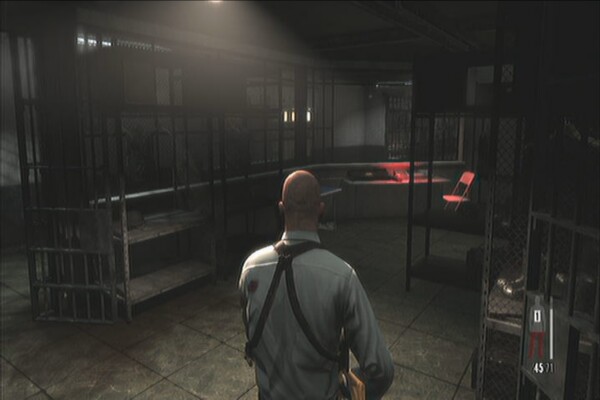
Continue following the opened cells and
corridors until you encounter a few more guards. Enter the open cell
to the right to find a painkiller inside. Here you'll hear a familiar
voice whining about. Backtrack to the corridor with a bloodtrail and
you should find the tourist shouting from the far end cell. Talk to
him for a clue. (Tourist)
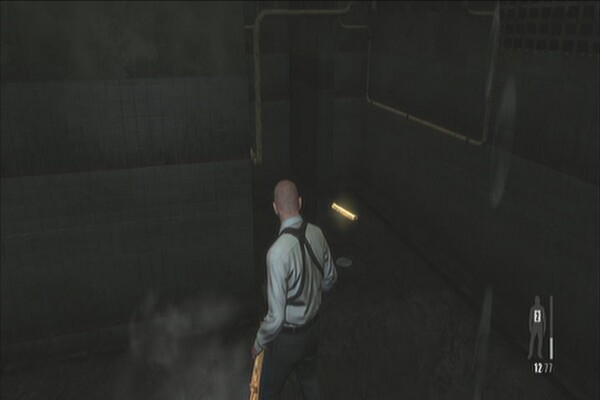
Continue along the path then exit
through the door. Stay behind cover as more guards pour in the room.
Once clear, enter the small room to the right to find a painkiller.
Continue to the red booth in the far end of the room to find yet
another painkiller. Examine the laptop for another clue. (Prison Log)
Activate the flashing button nearby to open the security doors.
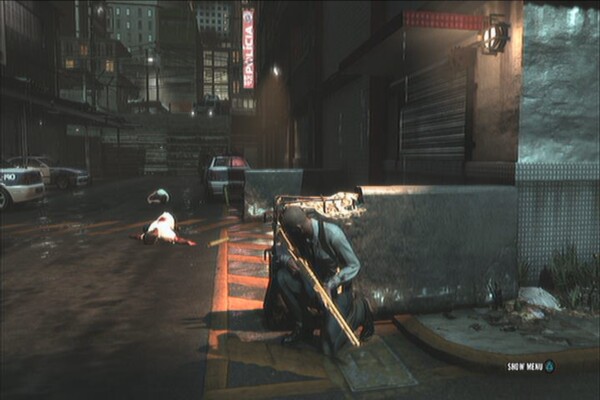
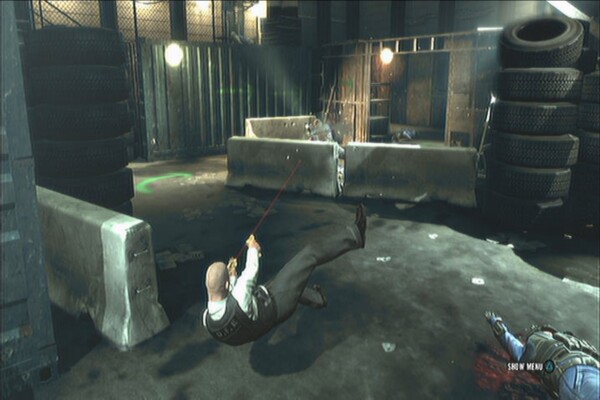
Exit the prison for a scene. Run and
grab the RPG then take cover. Wait for it to stop firing then blow up
the APC up the street.
After destroying the APC, more enemies
will arrive. Take cover and take them out. Head past the gate then go
left to find another gun part beside a garbage bin. (LAW Part 2)
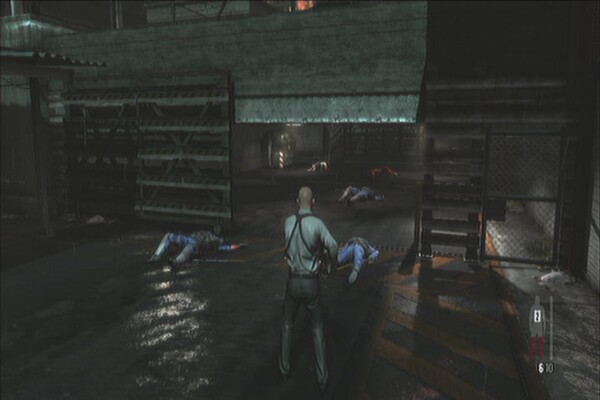
Head to the double door to the right
and a guard will appear. Take him out and continue upstairs to exit
the building. Kill the guards beating a prisoner then check the shed
behind you to find another gun part. (G6 Commando Part 1)
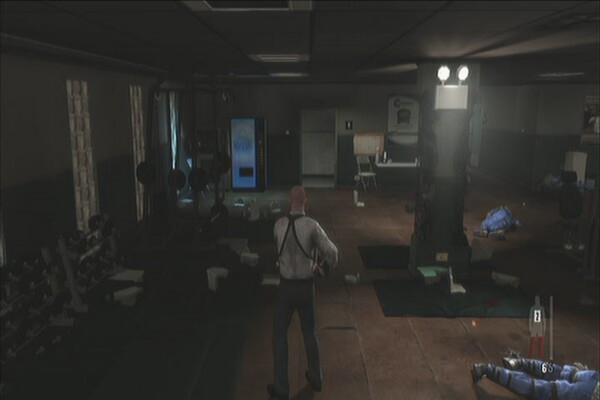
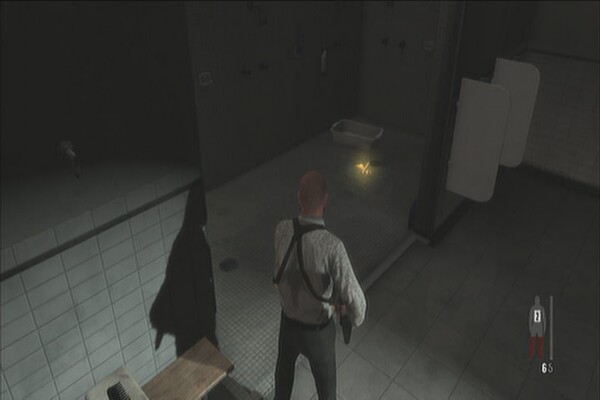
Move forth until you reach a locker
room. Find a painkiller from one of the open lockers there then go to
the gym room next and clear it. Once done, enter the men's bathroom
to find another gun part inside the shower room. (MPK Part 2)
There's also a painkiller in the
ladies' bathroom in the other side. Go through the red double-door
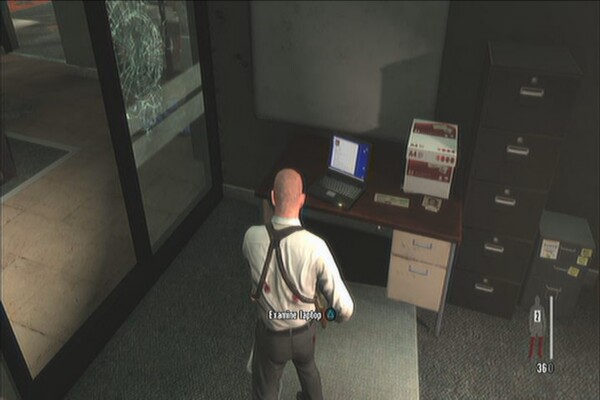
once done. Enter the office on the right side then check the note
near the computer monitor for another clue. (Promissory Note)
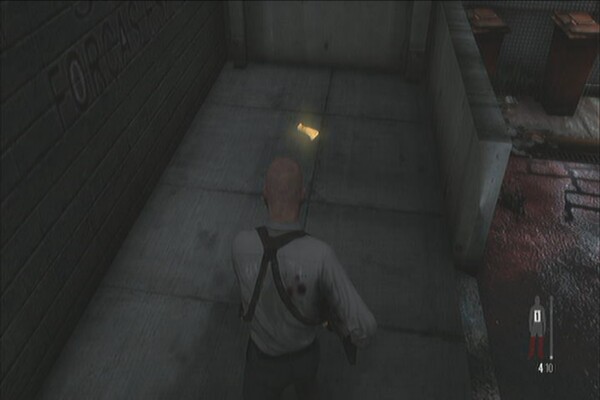
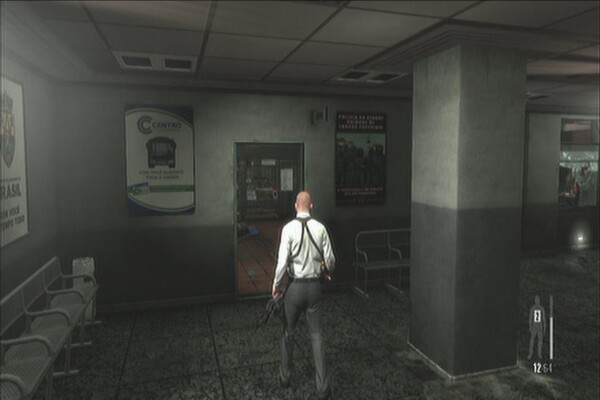
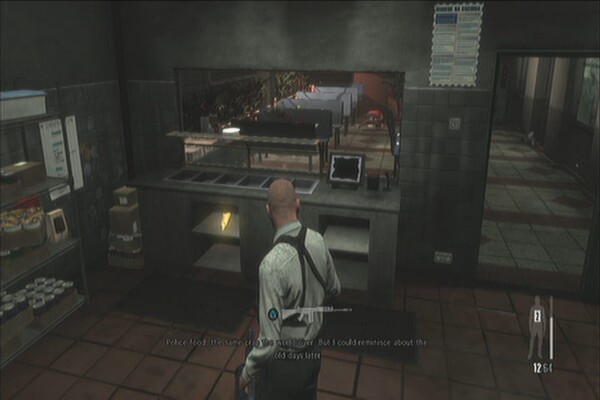
Now check the kitchen area of the
canteen to the left to find another gun part under the shelf. (G6
Commando Part 2)
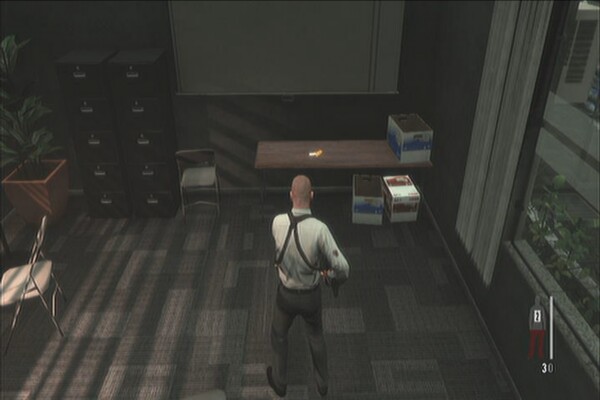
Head through the next double-door then
enter the conference room to the left to find another gun part on the
table in the far end of the room. (MPK Part 3)
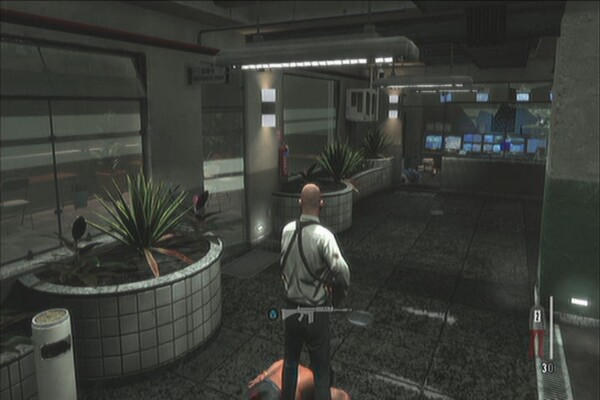
Now check the small reception area
across the conference room to find another gun part on the floor
behind the counter. (G6 Commando Part 3)
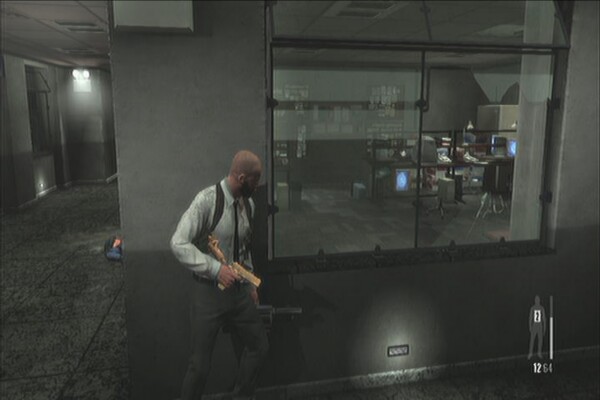
Head to the security room next for a
scene. More enemies will appear afterward. Stay in cover and take
them all out. Once cleared, enter the elevator and head to the fifth
floor.
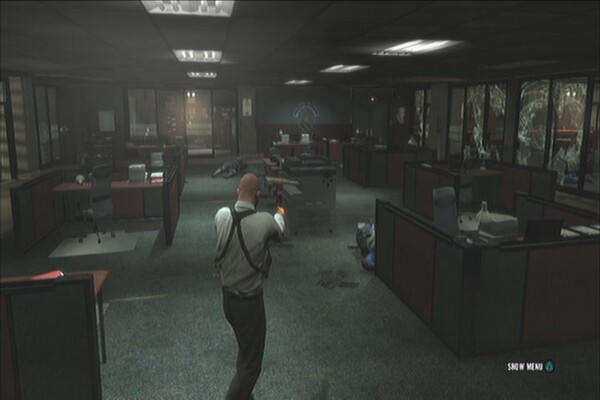
After the scene, kill the guard by the
counter then collect the painkiller in the room nearby. Head to the
next office room and start killing all the guards. A heavy gunner
will appear afterward. Stay in cover and aim for his unarmored parts.
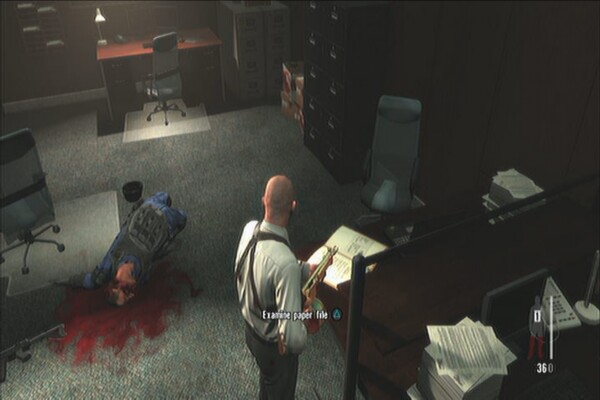
Enter the office room in the middle and
check the paper file on the table for another clue. (Political
Folder)
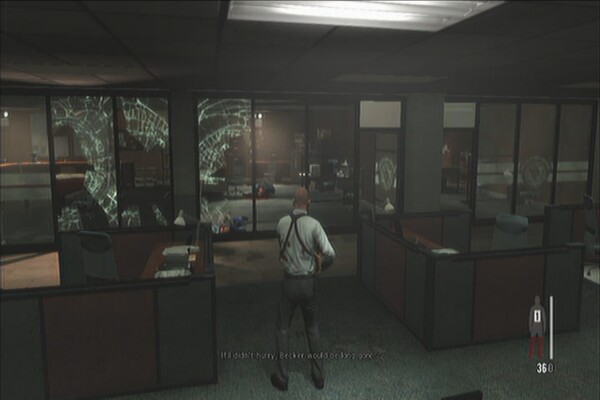
Next, head to the office room to the
left of the red-lit door and examine the laptop for another clue.
(E-File on Da Silva)
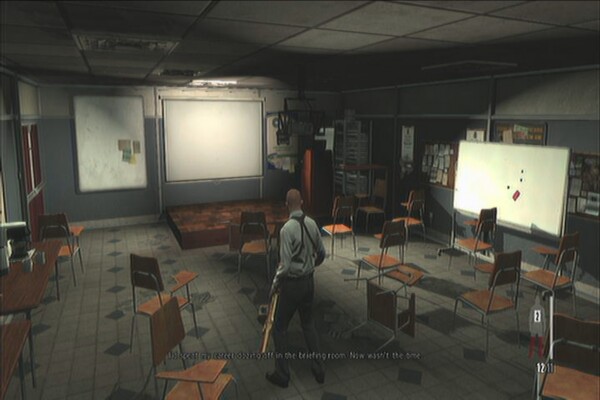
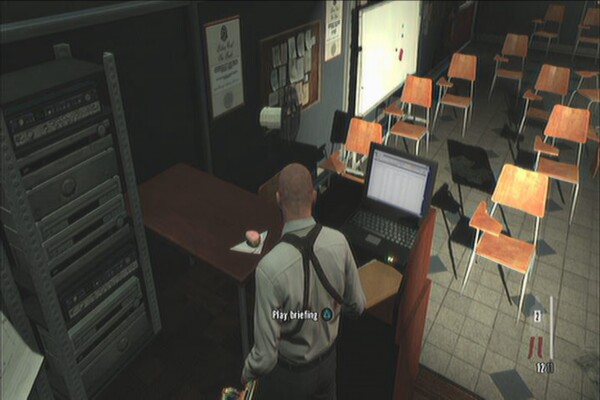
Approach the door for a scene. You'll
find yourself in a briefing room afterward. Check the laptop in front
of the display to play the briefing. Play through all the slides to
get this clue (Slide Show)
Exit the room and continue forth until
you reach the storage room. Take out all enemies then continue
upstairs. After the scene, shoot the vent open and climb up to escape
the gassed stairwell. After the scene, kill the guard immediately
after falling off the vent.
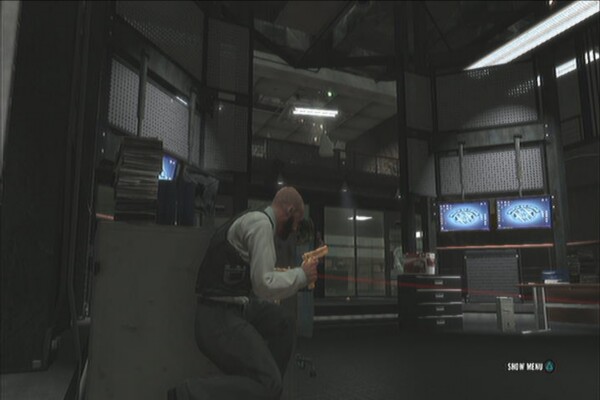
Approach the computer monitors for
another scene. Leave the security room then continue to the next
office area across the hallway. Clear the room then exit through the
door for another sequence. While riding the cart, kill all enemies
from across the window until you stop. If you have FREE AIM enabled,
you can unlock the “It was Chaos and Luck” trophy by killing all
six enemies across the building.
It Was Chaos and
Luck
More enemies will start coming in from
the armory so be prepared.
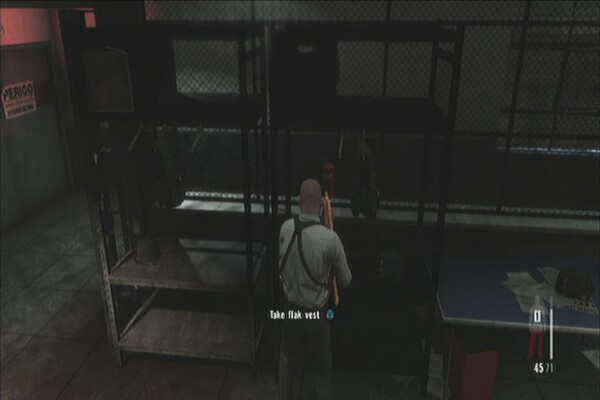
There's also an ammo bag along the
equipment rack to the left. After clearing the area, head inside the
armory. Continue to the next room where there's a flashing red
button. Before pressing it, check the vests hanging on the left side
for another clue. Max will also be able to wear this as well. (Flak
Vest)
Head to the next area and grab the
painkiller from the medical cabinet beside the red door. Continue to
the CQB training area and carefully move from cover to cover to avoid
ambushes.
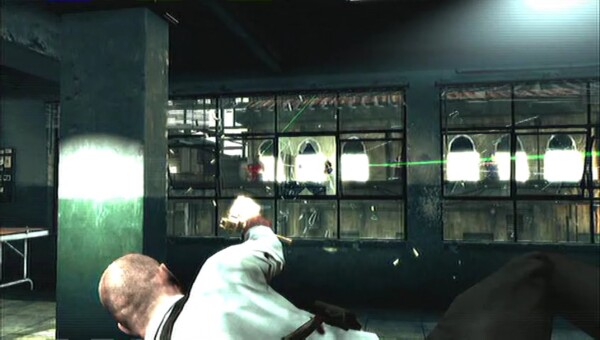
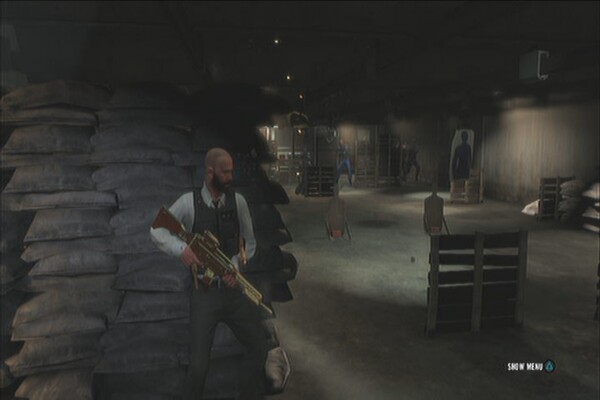
Continue clearing your path until you
reach the shooting range. There's a lot of enemies waiting there so
stay put and take them one one by one.
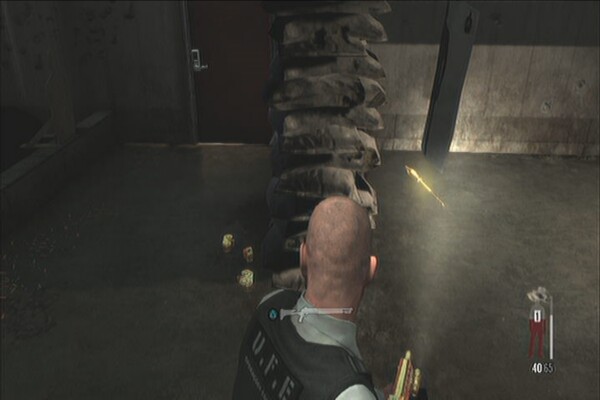
You should also find the last gun part
on the floor behind the first sandbag where you took cover. (LAW Part
3)
Continue forth and as you enter the
backroom, a heavy gunner is waiting for you so be prepared to take it
out. Grab the two painkillers from the first aid cabinet near the
sink then exit through the door. Continue upstairs for a scene.
After the scene, take cover inside the
nearby room to have a better cover and find a painkiller as well.
Take out the remaining guards for another scene. This time, you have
to fend off another attack. Take out the couple of guards on the
ground then shoot at the ceiling tiles overhead the main enemy.
Keep shooting at the tiles so that the
overhead lights fall on him. After that, more enemies will appear.
Take them out and move to another cover. Next, shoot at the
air-conditioning unit overhead. This force him to move up from his
cover and make him vulnerable. Land the finishing shot to kill him.


No comments yet. Tell us what you think to be the first.