10 :: Wrapped In Glory
Devil May Cry 4 Walkthrough and Guide
Devil May Cry 4 - Mission 10: Wrapped In Glory
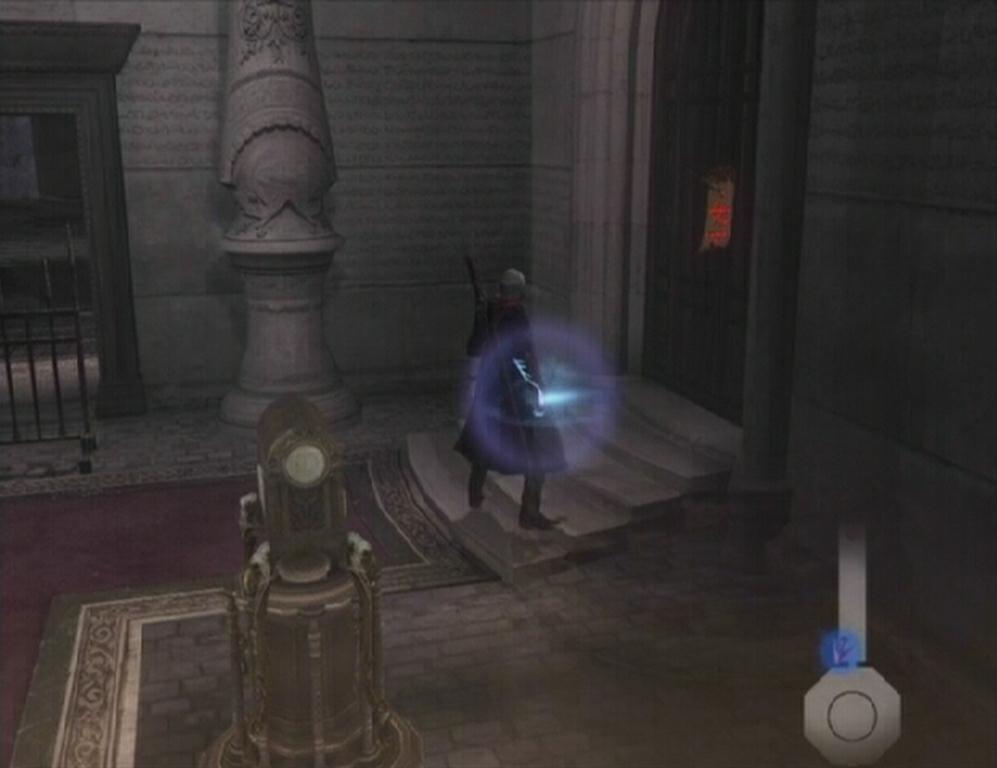
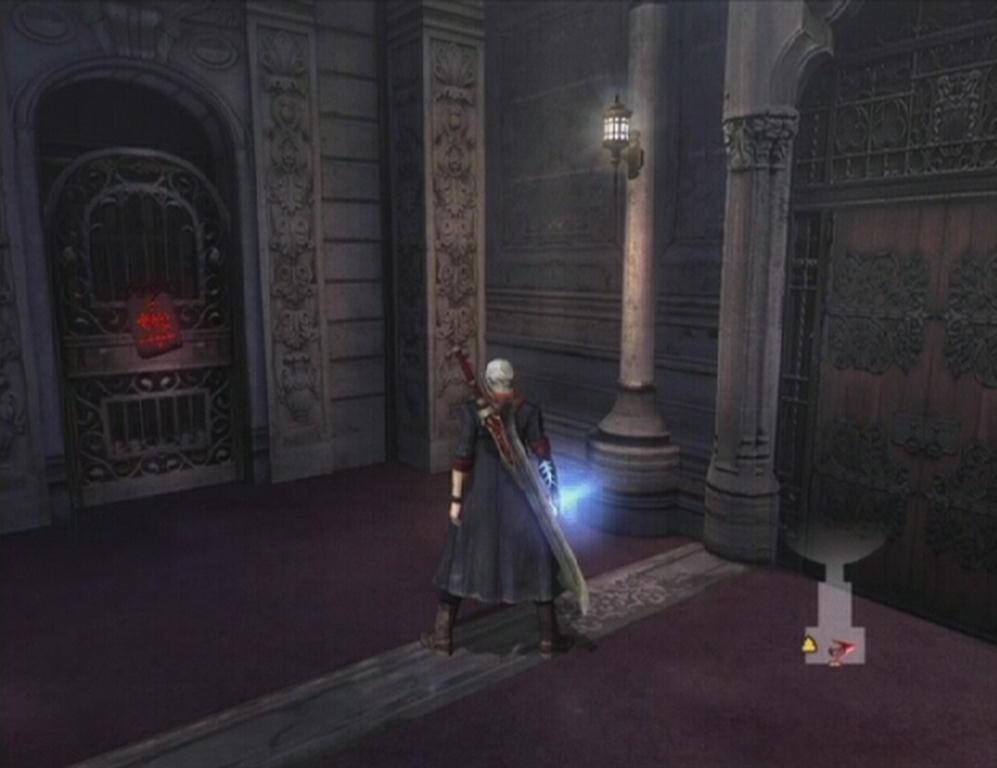
Exit Agnus' room to the Gauntlet and step into the elevator to trigger a cutscene. The new enemy that the cutscene introduces is a more powerful variant of the Mephisto enemy you have dealt with previously. The Faust's attacks differ from his lesser counterpart's; his claw swipes cover a wide-range as opposed to the pinpoint precision that the Mephisto usually use, which make his attacks much harder to dodge.
The Faust is sided by two Mephisto, so things could get ugly. The Faust's cloak is a bit tougher to remove than a Mephisto's, too. First, jump up into the air and use Buster on the enemy, then immediately start charging Blue Rose; as soon as you touch the ground, lock-on and hit the Mephisto/Faust with Charged Shot. If the cloak isn't removed entirely, use Snatch until the remainder is removed. Wail away on the vulnerable Faust/Mephisto once it's exposed.
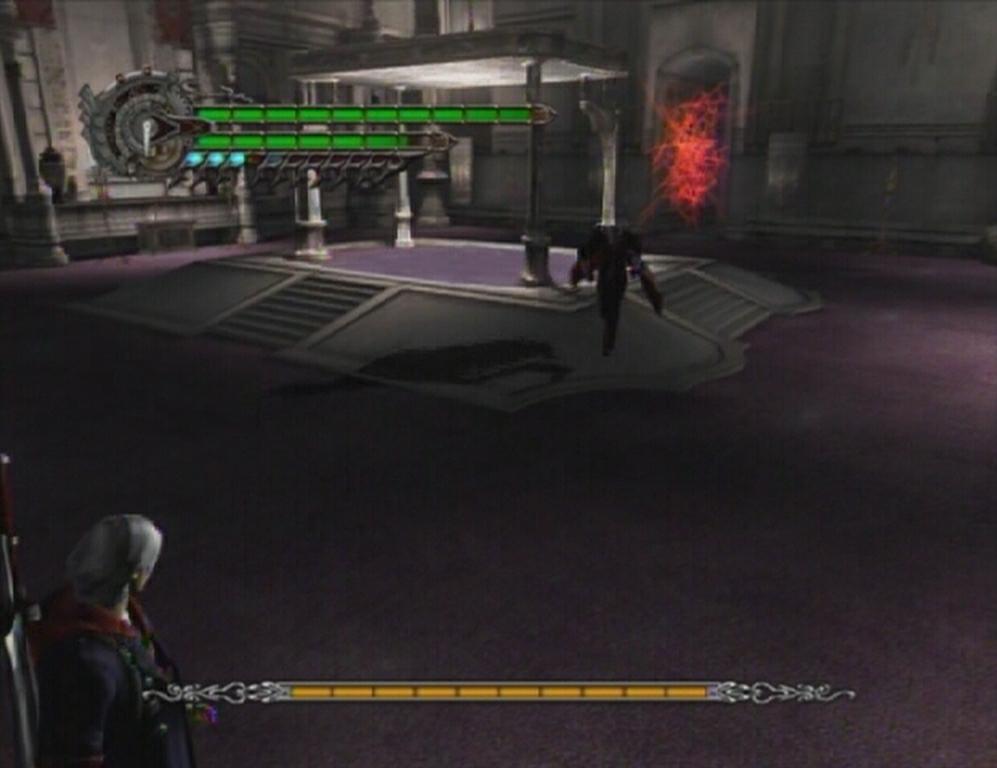
When the enemies have been dealt with, step out of the elevator and onto the platform. Hit the time-slow machine with Buster, then make your way past the lasers and onto the elevator at the other end of the platform. Attack the wheel on the elevator until the blue mesh blocking the dropdown is removed. Step out of the elevator, hit the machine, move to the first set of lasers and use the dropdown to reach the floor below.
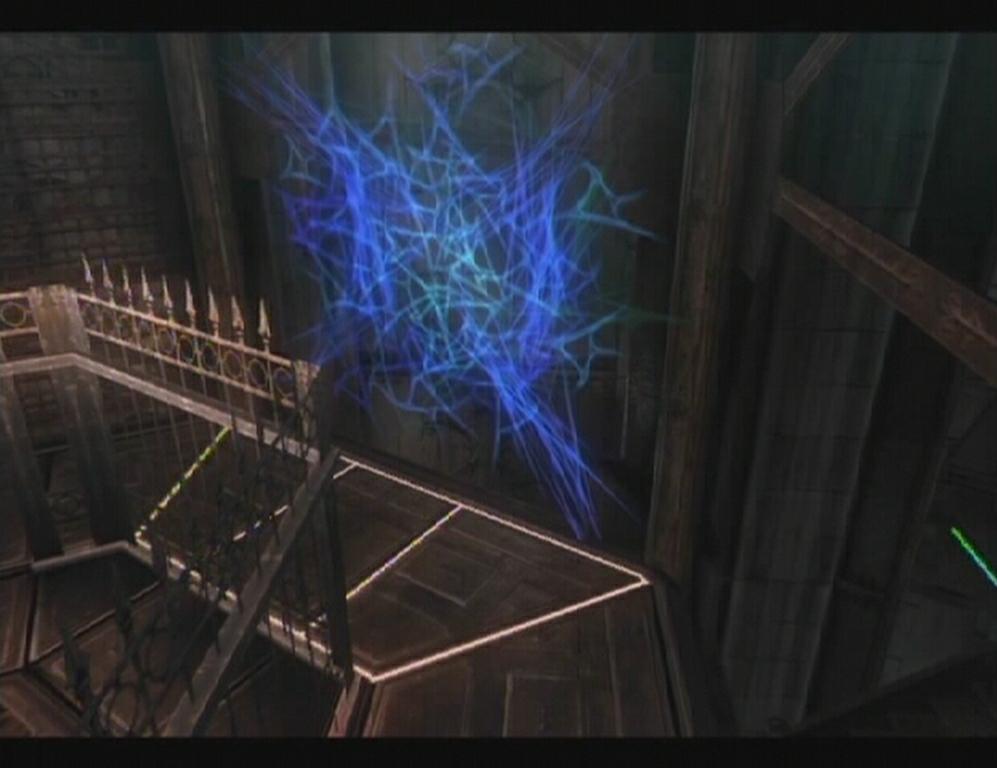 Blocked Dropdown | 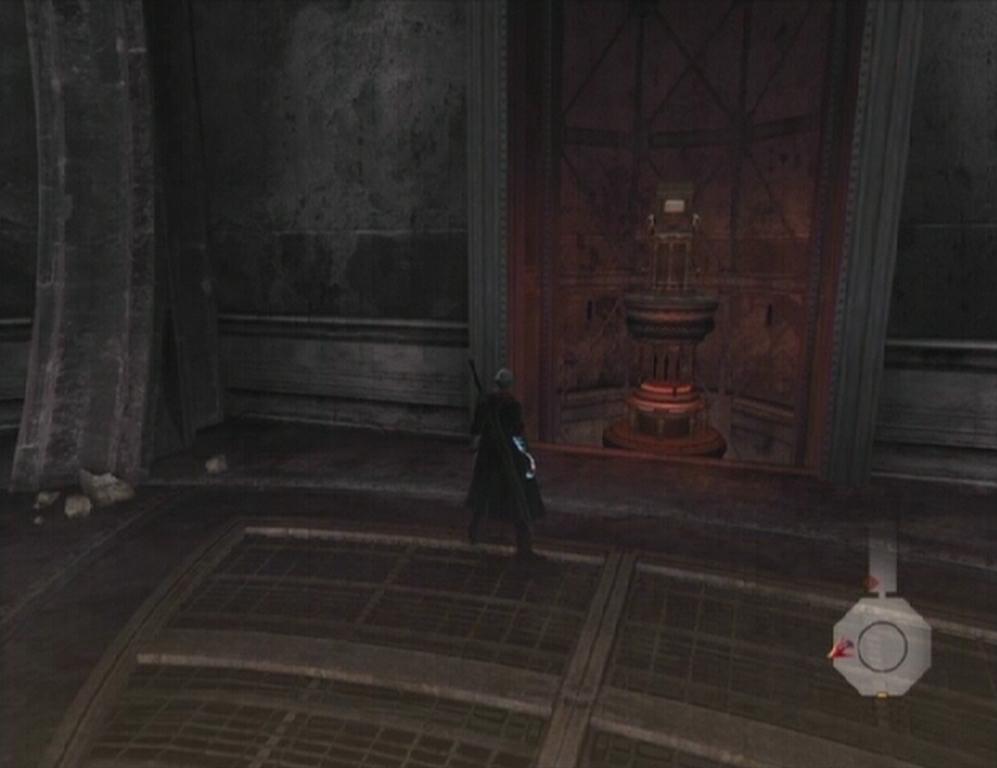 Time-slow Machine |
Key Chamber/Grand Hall
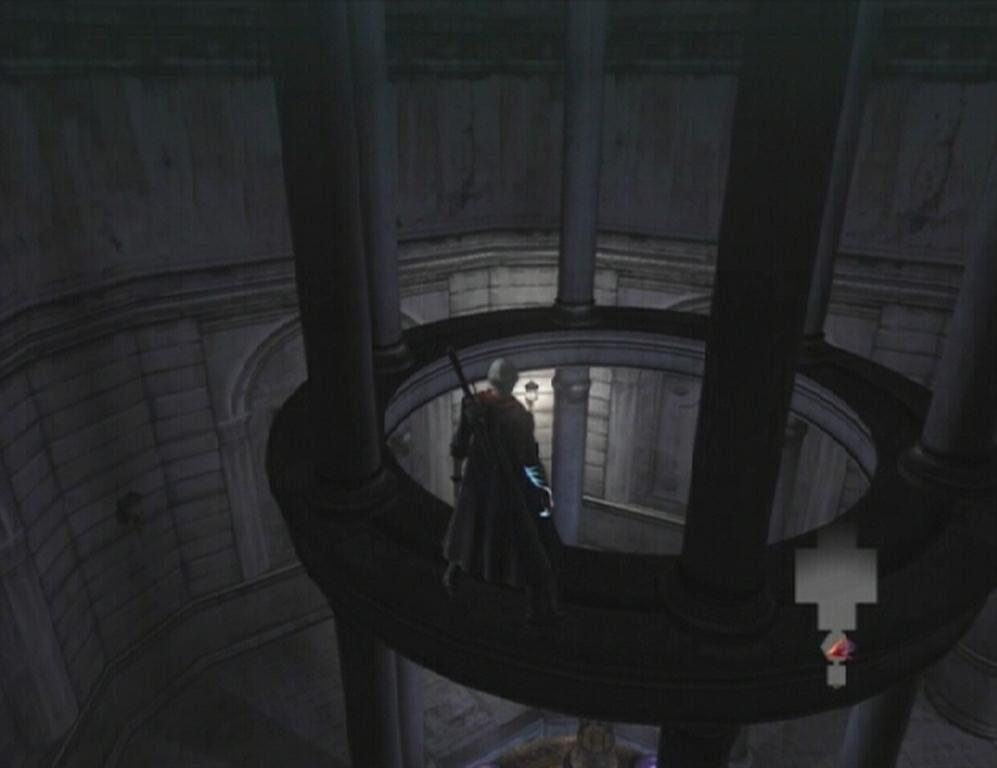
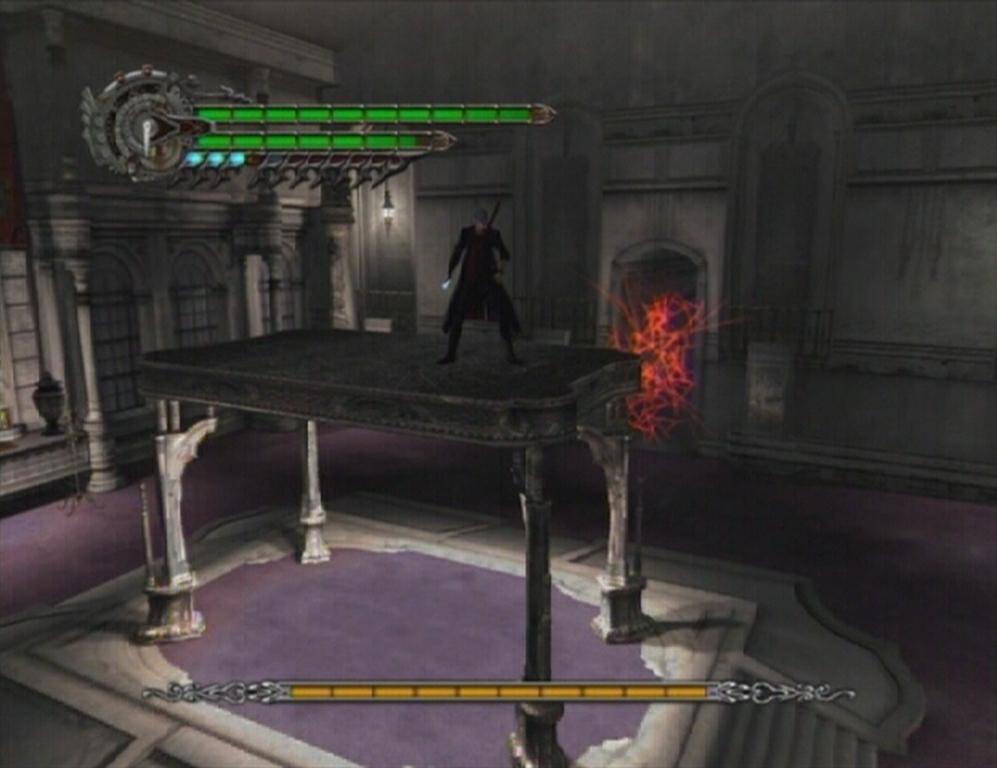
A group of four knights, headed by an Alto Angelo, occupy the Key Chamber. This could be a tough fight, as facing five enemies in this cramped chamber leaves very little room to move around. Luckily the machine in here can be activated to slow time, making facing the knights much easier.
The entire group can be wiped out at once with a simple tactic, but the Charged Shot skill is required to do so. Wait until the knights gather together and begin to form a mass of energy. Charge Blue Rose and as soon as the ball of energy comes hurtling towards you, blast it to send it back to them. This should destroy each of them and possibly earn you an SSS grade.
Afterwards, hit the time-slow machine, then slip past the lasers to reach the Grand Hall. Head up the steps at the northern end of the room and cross the bridge to the second HQ building.
Security Corridor
You must make it safely to the opposite end of this laser-ridden corridor. Having the Air Hike ability will aid you greatly here, but it is not entirely necessary. Use Buster on the machine to slow time, then start down the corridor. Some of the lasers must be hopped over, while others are high enough to be walked under. With Air Hike, you can simply jump over everything; just be careful not to touch one of the lasers on the way down.
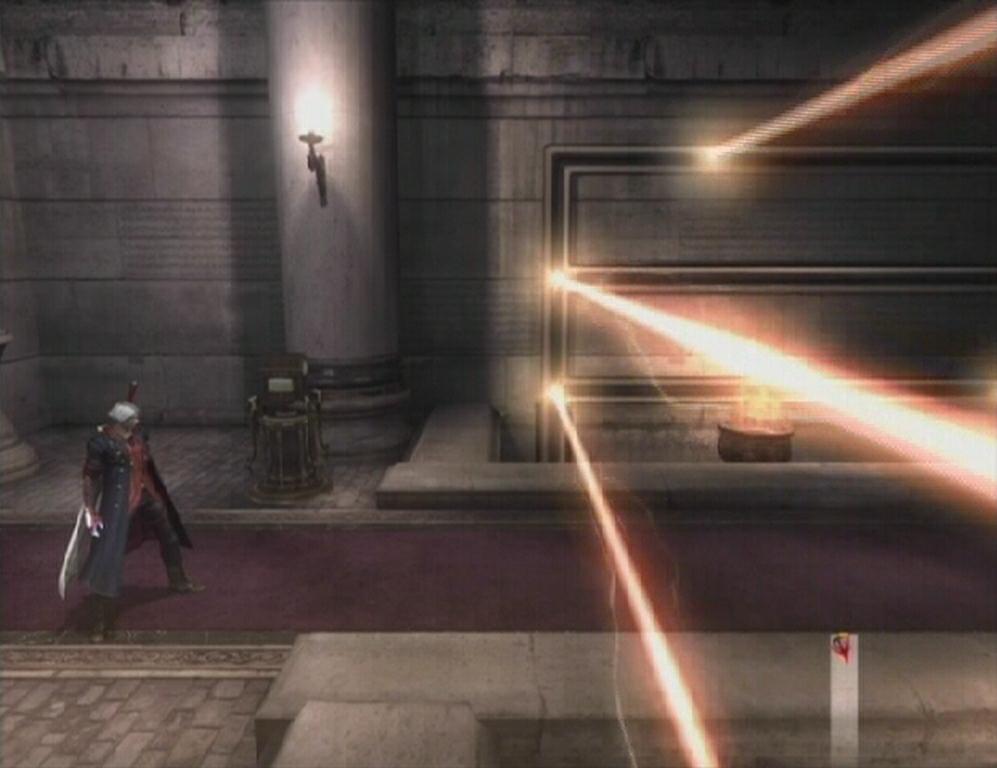 Corridor | 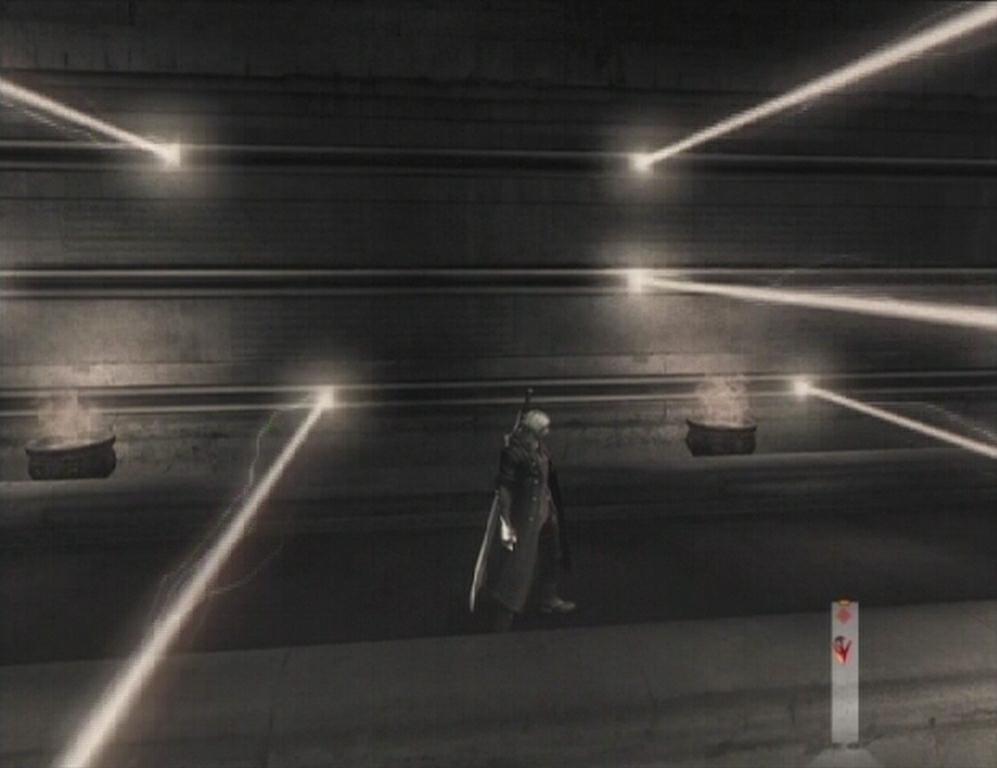 Lasers |
The parchment for Secret Mission 06 can be found at the other end of the corridor. Attempt it if you wish, otherwise proceed through the doorway up ahead. In the next room, drop down from the ledge to the floor below. Defeat the two Mephisto and the Faust that then spawns. Afterwards, approach the machine and examine it to part with the Key of Cronus to slow time. Scale the slowed blades until you are on the second one from the top. Jump onto the ledge on the south side of the room and proceed through the door there.
 Secret Mission 06 | 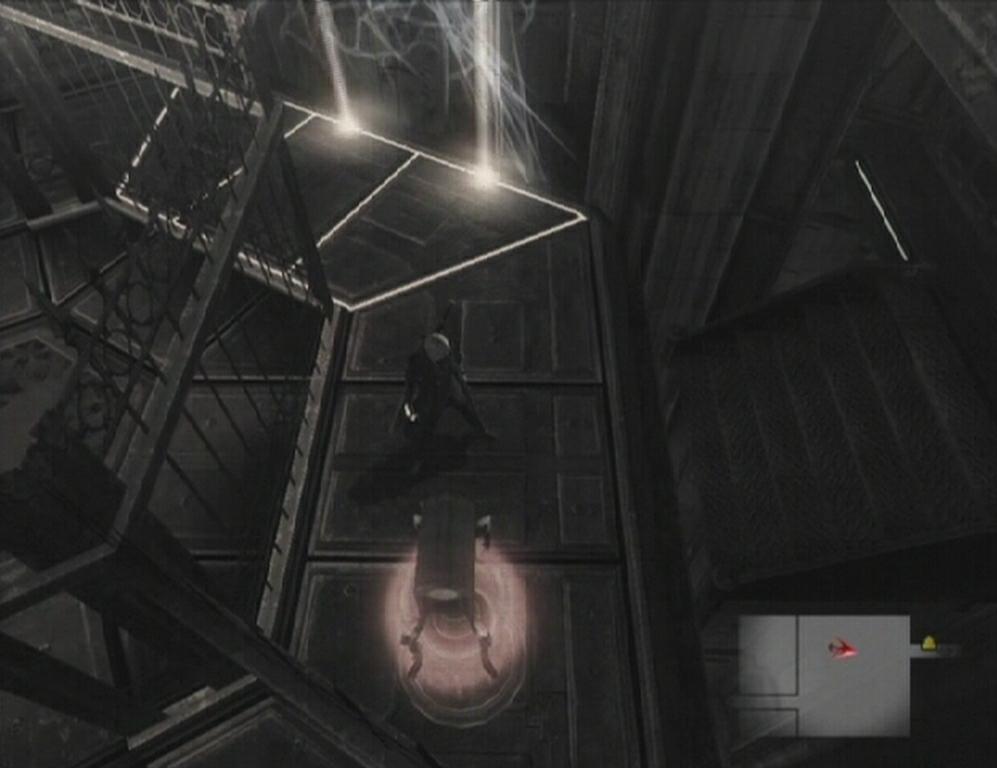 Time-slow Machine |
Experiment Disposal
Destroy the knights that spawn here and then hack away at the Red Orb cluster in the northeastern corner of the room until it shatters. Afterwards, approach the lift at the other end of the room
Blue Orb Fragment -- The Roulette Spin and Air Hike skills are needed to get to this one. Before (!) taking the elevator up to the Meeting Room, stand about halfway between the wall and the elevator. Next, normal jump and use Roulette Spin, then immediately Air Hike to reach the elevator's lowest frame. From here, normal jump inwards and, while in mid-air, turn around, use Air Hike and try to land on the frame above. The fragment is up here; use Air Hike to grab it.
 Elevator Frame | 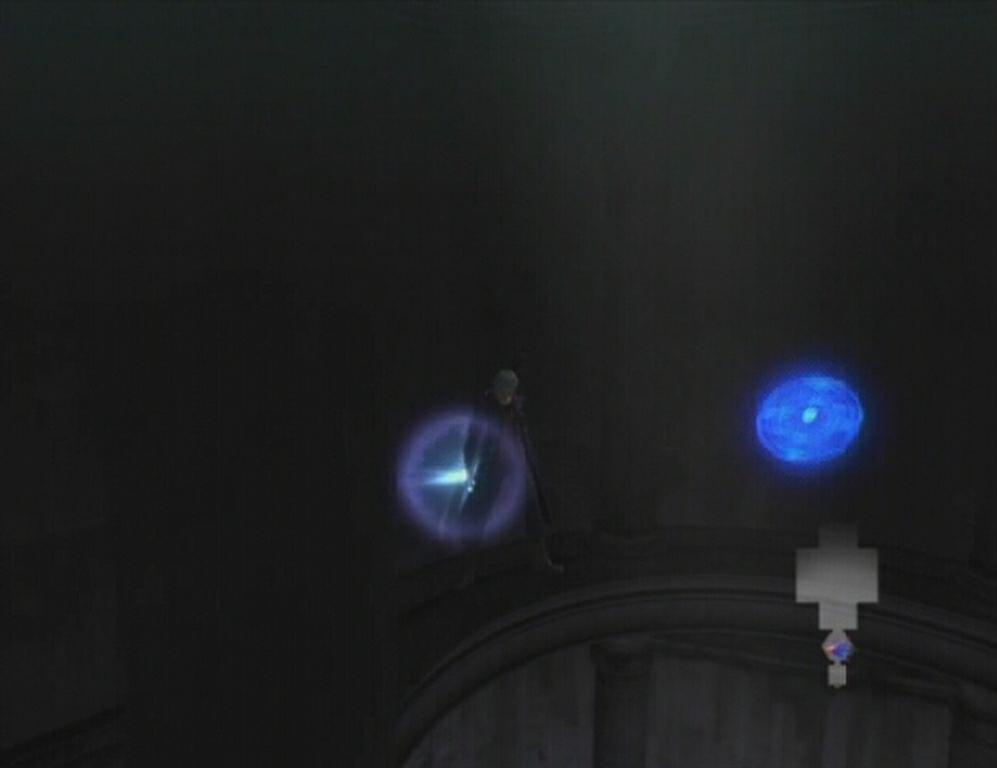 Blue Orb Fragment |
Examine the machine to set the Wing Talisman there. Take the lift up to the Meeting Room.
Meeting Room
Defeat the pair of Alto Angelos that appear and then head through the doorway at the south end of the room. There's a Divinity Statue just before the next room, as well as the Secret Mission 07 parchment. Attempt the secret mission if you wish; check out the 'Secret Missions' section for more info.
 Secret Mission 07 |
A boss battle takes place in the proceeding room, so use the Divinity Statue to purchase healing items and new skills. Smash the candelabras for Green Orbs to completely fill your health bar before heading through the door.
Ascension Chamber -- Boss Battle: Dante
You've faced Dante before, but this won't be anything like the fight that took place after the introductory tutorial; this is strictly a fast-paced, no holds barred affair. Dante's abilities are similar to Nero's, and on Devil Hunter difficulty at least, he won't use any weapons other than his blade and dual handguns. Blue Rose is nigh useless during this bout because Dante will almost always manages to use Ebony & Ivory to negate any gunfire you send his way.
Trying to inflict damage with Red Queen can be an issue too, as your strikes are usually met by Dante's Rebellion blade with a clash of steel. As if having the majority of your attempts to attack blocked with a similar attack wasn't bad enough, Dante is also faster, stronger and more nimble than Nero. However Nero does have one weapon that Dante does not, the Devil Bringer…
 Dante | 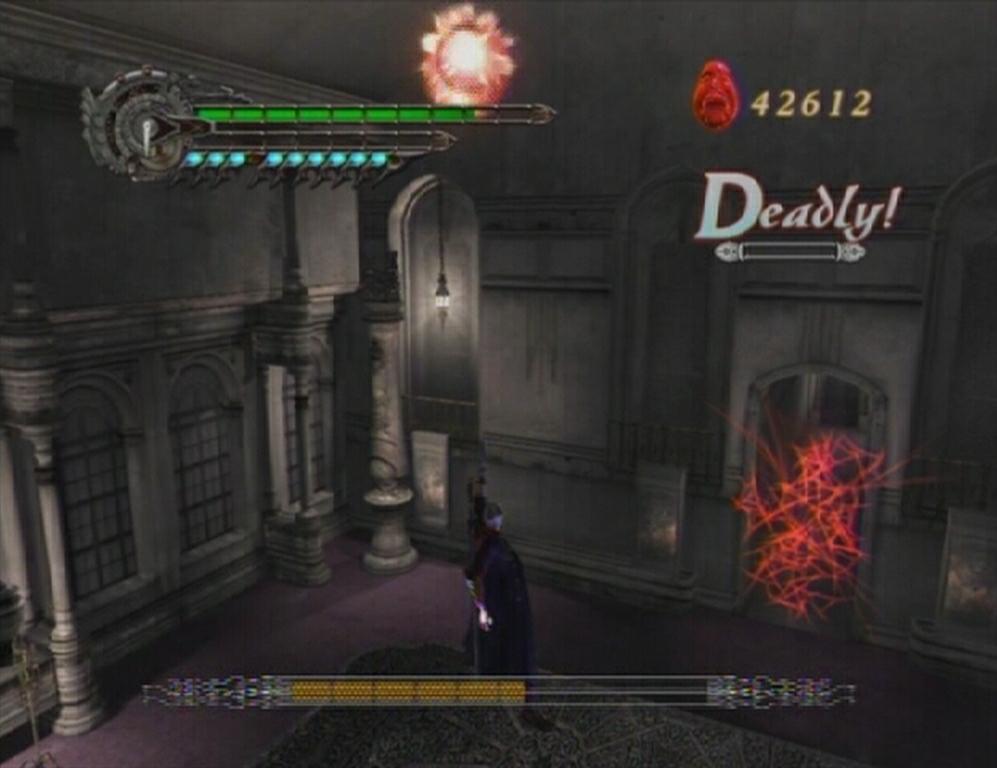 Dante |
As Dante does not have a Demon Arm of his own, Nero's will be the main tool used to best him. Dante is strikingly agile, but if you can manage to hit him with Snatch, he may slip up, allowing you to get a few hits in, which is at least something. If you do throw him off balance, immediately activate Devil Trigger and slash away until he recovers. Buster is among one of the most effective skills in your arsenal here, so hit Dante with it whenever the opportunity arises.
If you're low on health, the candelabras in the room may hold Green Orbs, so seek one out and destroy it to (hopefully) restore some health. That, or use any healing items you may have stored away in your inventory.
There is one simple and surefire way to defeat Dante, though it completely zaps any challenge from this battle. First, jump up onto the dais in the middle of the room, stand near the ledge, overlooking Dante, and wait until he jumps up to join you. Grab him with Buster while he's in mid-air to throw him back to the ground below. Dante can't block your attack while in mid-air, and it's very effective, taking out almost an entire bar. Use this tactic repeatedly for an easy win.
 Dais |
Devil May Cry 4 - Xbox 360 | Devil May Cry 4 - PS3
Thanks for the hints on defeating Dante. He was the toughest SOB in the game.