03 :: The White Wing
Devil May Cry 4 Walkthrough and Guide
Devil May Cry 4 - Mission 03: The White Wing
Now would be a good time to acquire some new skills with the Proud Souls you earned at the end of Mission 2. There is a Divinity Statue in the starting area, denoted on the mini-map by a yellow symbol. Some useful Red Queen skills are Streak, Split and Red Queen Combo C. For Blue Rose, purchase at least Charge Shot, as it can be used to knock back most enemies. The Air Hike and Speed abilities are also useful. Of course, you won't have enough Proud Souls to purchase all of these skills, as some of them are quite costly, so purchase the ones you can for now.
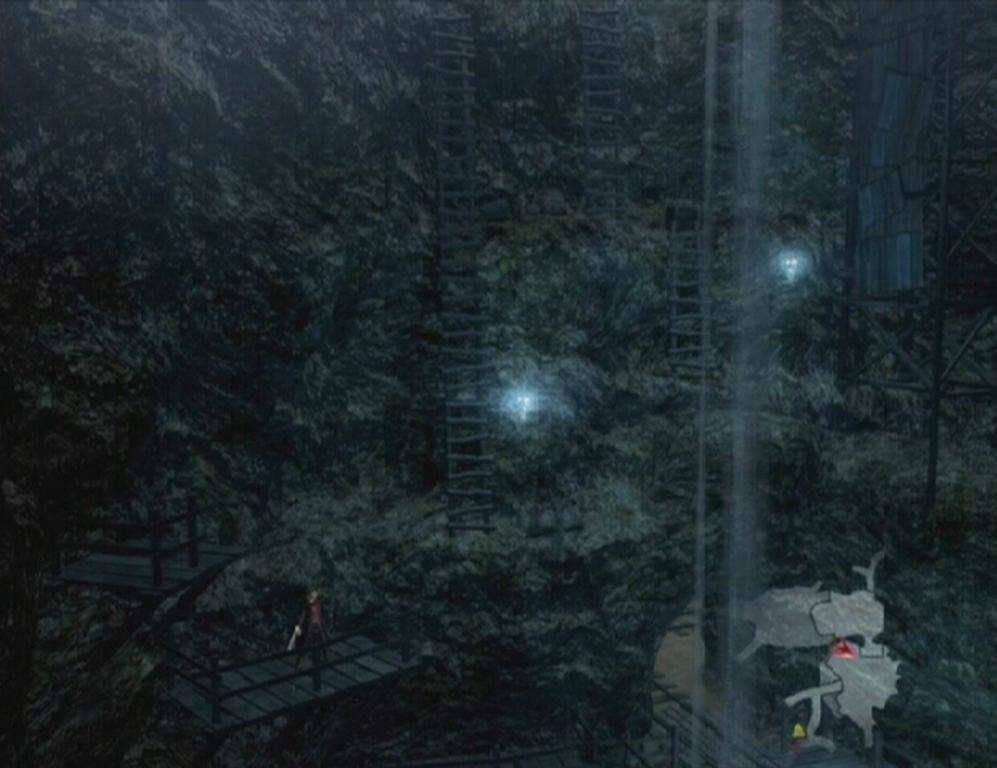
Second Mining Area
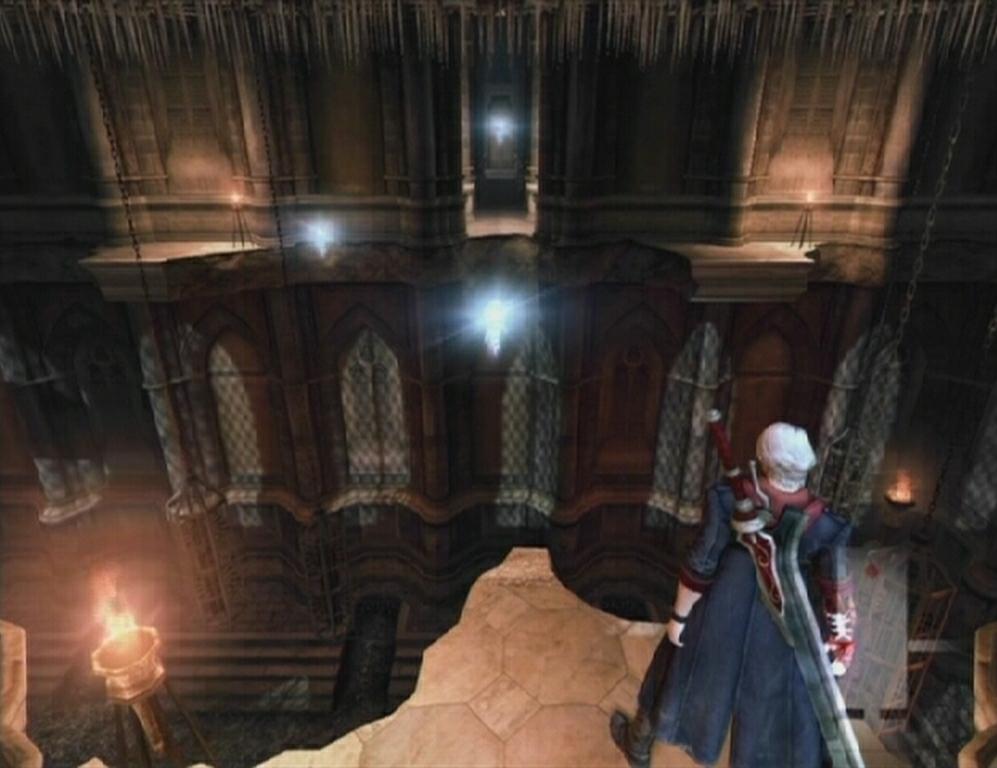
Start down the tracks and turn left when you reach the split. Smash the board at the dead end to reveal a Red Orb cluster. Pummel the cluster with quick attacks until it shatters, then turn around and follow the tracks into the next area. Jump up onto the wooden tower in the northwestern corner of the area and use Hell Bound on the Grim Grips and begin your ascent. Hold down the Lock-on button and aim towards each subsequent Grim Grip until you reach a small wooden platform.
 Red Orb Cluster |
 Grim Grips |
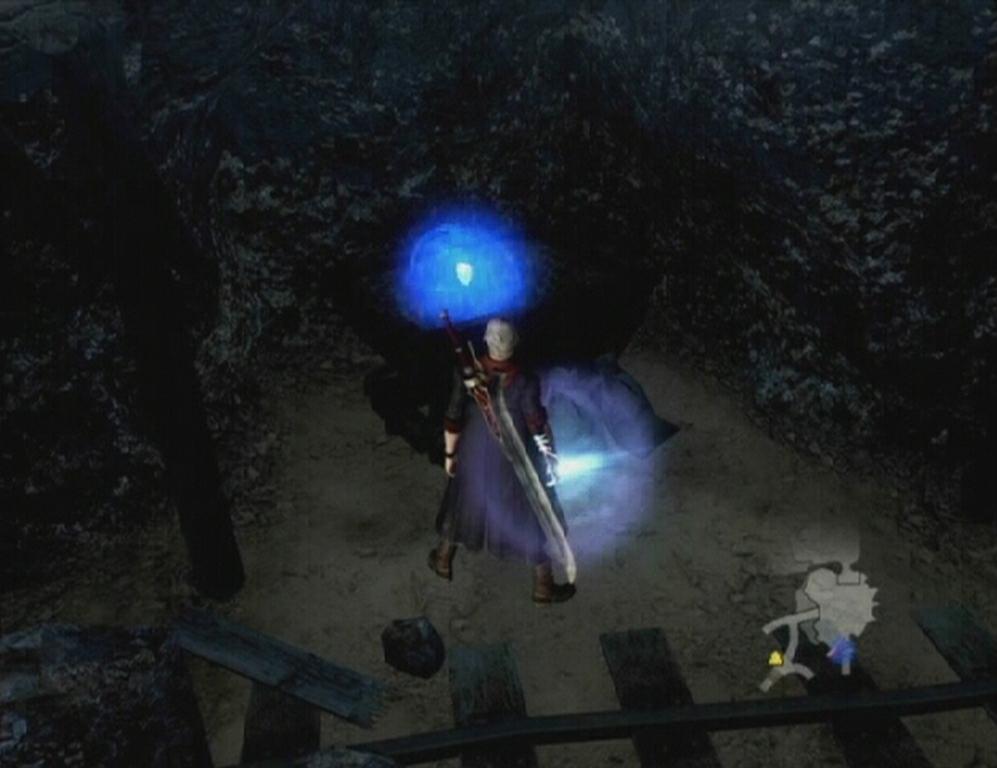
Blue Orb Fragment -- When you reach the tunnel entrance, hop onto the board to the left. From this platform, jump up onto the higher one. Here, use the closest Grim Grip to propel yourself towards the second. Grab hold of the second Grim Grip to swing towards the metal sheet and Kick Jump off of it. Immediately after using Kick Jump, grab hold of the Grim Grip above to reach a higher area with two more Grim Grips.
 Grim Grips |
 Blue Orb Fragment |
This next part can be tricky, you have to hit these last two grips bang on to get to the Blue Orb Fragment platform. After using the middle grip, immediately latch on to the final one and you should land directly on the platform. You really need to hit the last grip as soon as you can, or you'll just miss the platform.
Blue Orb Fragment -- The Roulette Spin and Streak 2 skills and the Air Hike ability are needed to reach this fragment. All of those skills together are quite costly, so you may have to leave this one alone for now and come back to it later. If you think you might have collected enough souls to purchase those skills if you had them all back, you could get a refund from the Divinity Statue at the beginning of the level. To get a refund, select the 'Cancel All' option on the Skill Up menu. You can purchase the abilities needed to get the orb, then return to the statue and get your old skills back.
 Secret Area |
 Blue Orb Fragment |
The secret area that holds the Blue Orb Fragment is across from the tunnel entrance that is reached by using the first batch of Grim Grips in this room. To get to this area you'll need to use mid-air attacks to cross the gap. First, stand on the wooden platform and face south. Next, use Streak 2 to propel Nero forward, then use Roulette Spin and immediately after that, use Air Hike. Hopefully you are above the platform, or at least close to it; use Roulette Spin again if necessary. This is a tough one to get and might require a few tries, but if you're using the right skills, you'll get it eventually.
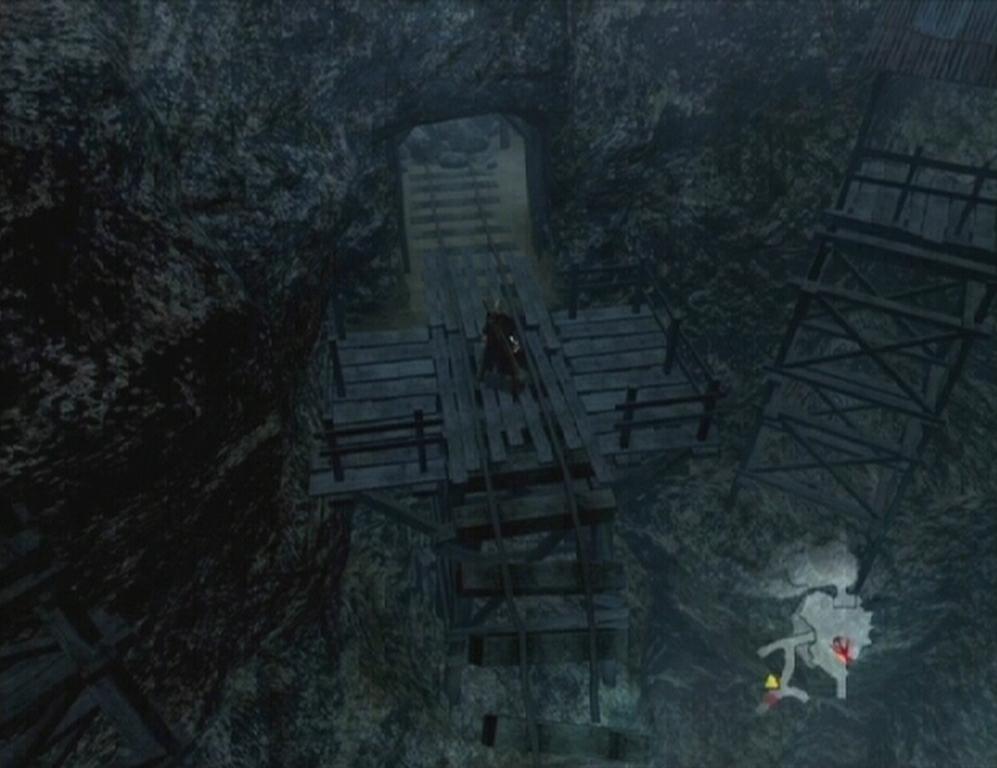
When you're ready to proceed, go through the tunnel entrance and clear out the Scarecrows that spawn. Afterwards, hop up the ledges at the northern end of the room. Turn left into the dead end and grab the Vital Star S there, then smash the board up ahead and follow the tunnel to its end.
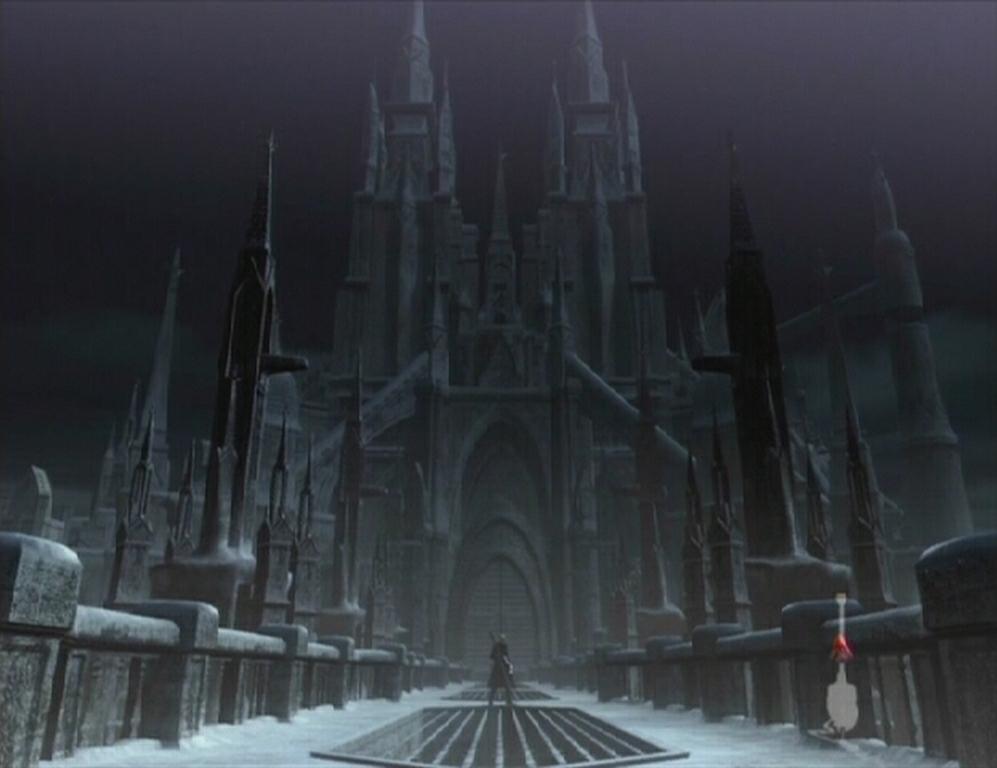
Fortuna Castle Gate
Travel down the snowy pass until you reach a broken bridge. A cutscene introducing a pair of Frosts is triggered at this point. These guys sure pack a punch, but they certainly aren't anything you can't deal with. They have a variety of powerful melee attacks and a few ice based ones that can freeze Nero. In the event of Nero being frozen solid, rotate the Left Thumbstick or Left Analog Stick until the ice veil shatters. Frosts are snatchable, so use Snatch to pull one towards you and then perform a devastating combo. Use Buster while on the ground and Nero will grab hold of the Frost and swing it around, possibly inflicting damage on the second if it's nearby.
Once your enemies have been dealt with, make your way across the Fortuna Castle bridge to trigger another cutscene. Afterwards, approach the large doors and enter the castle.
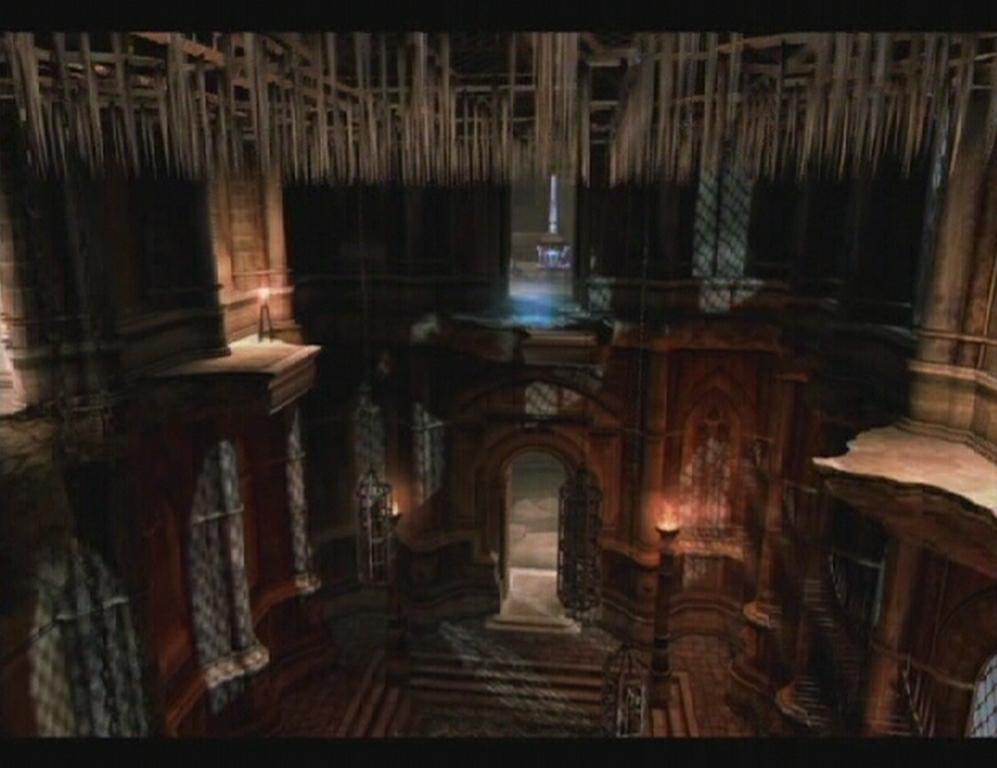
 Fortuna Castle |
Fortuna Castle -- Grand Hall
You don't yet possess the tools to break the coffin in the middle of the Grand Hall, so head through the door at the western end of this area to enter the Large Hall. Start down the hall and turn left as soon as you can. Go through the door here to reach the Torture Chamber. A large group of Scarecrows spawns in the middle of the chamber, fight them off until the red mesh blocking the doorway disappears, then go through that doorway and head up the stairs.
Torture Chamber
Through the doorway at the top of the stairs, you find yourself on the second floor of the chamber. Latch onto the grip at the other end of the chamber to reach that platform. Another grip will appear; use it to reach the side platform. This is where things get tricky; you must make it to the upper doorway at the eastern end of the chamber, but the ceiling is lined with razor-sharp spikes, posing a significant threat. If you use the grip in such a way that Nero is propelled upwards into the spikes, he'll take some nasty damage and probably fall back to the first floor. Falling back to the first floor triggers another group of Scarecrows which you must then face in order to clear away the red mesh blocking the doorway. So by all means, avoid touching those spikes.
 Torture Chamber |
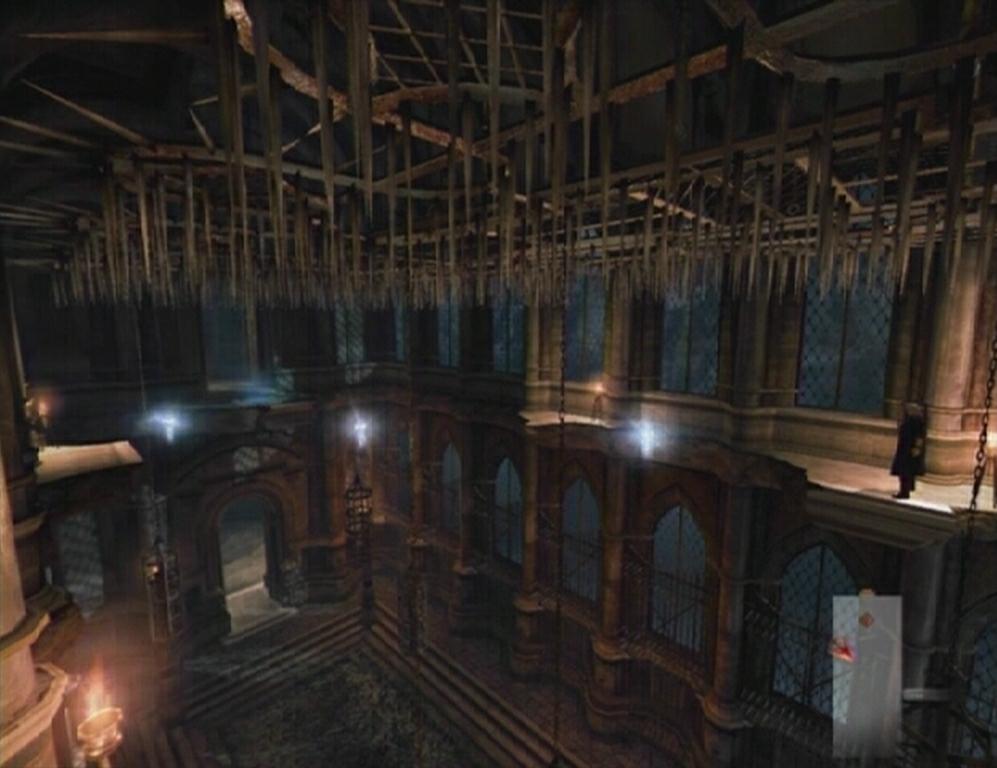 Grim Grips |
While standing on the northeastern platform, one stationary grip and another mobile grip must be used to cross to the platform at the other end of the chamber. Wait until the mobile grip is just about to line up with the platform, then grab hold of the stationary grip and immediately latch onto the mobile one. Be sure to use the second grip as soon as you are able to, because Nero may be flung into the spikes above if you let him fall too far. To cross the next set of grips, wait until the grip closest to you has just appeared, then grab it and the other two immediately after each other to make it safely to the next platform.
On this platform, the grim grip closest to you flickers in and out of existence. Wait until it has just appeared before latching onto it, then immediately use the second one to reach the last platform. To cross the final stretch, wait until the middle grip is about to line up with the one closest to you before latching onto the first, then quickly grab the final two to reach the doorway. Go through the door at the end of the corridor to reach the second floor of the Grand Hall.
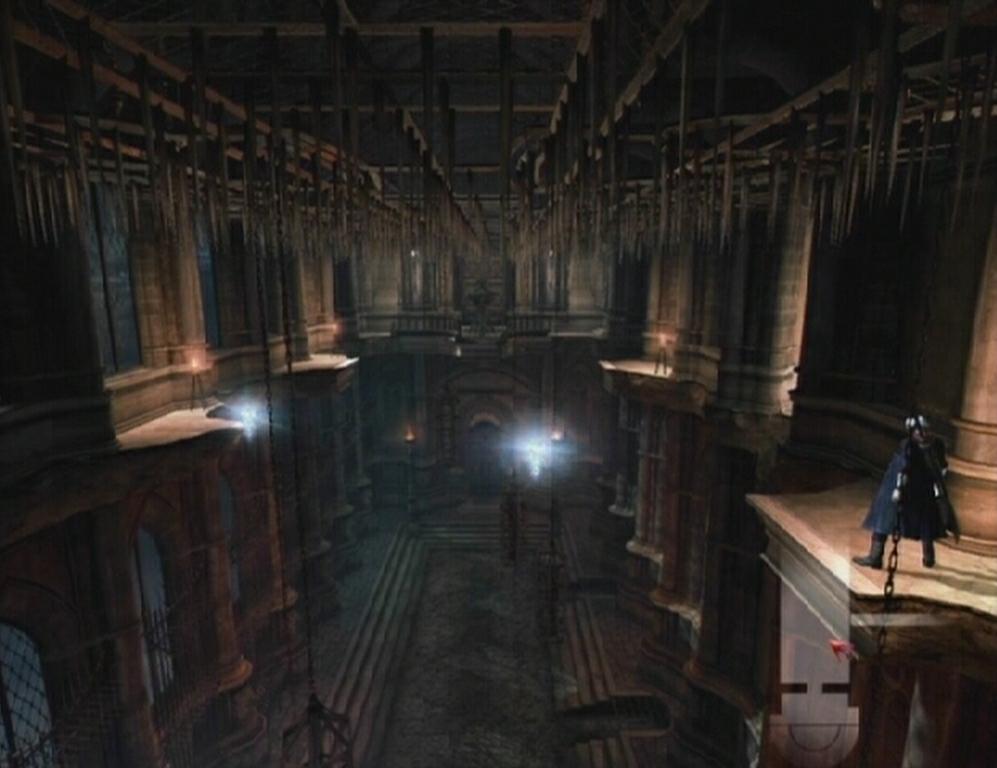 Grim Grips |
 Final Platform |
Fortuna Castle -- 2F
Move to the other end of the walkway and go through the only accessible door. You'll meet a pair of Frosts about midway down the courtyard walkway. Once the Frosts have been dealt with, move to the end of the walkway and head through the door there. In Foris Falls, make your way to the door in the northeastern corner of the area and head through.
Tip -- A Vital Star S can be found floating above the lamppost at the northern end of Foris Falls. To reach this item, Kick Jump off of the post's eastern face and land on top of it. Once you're atop the post, jump into the air and clip it to take the star into your inventory.
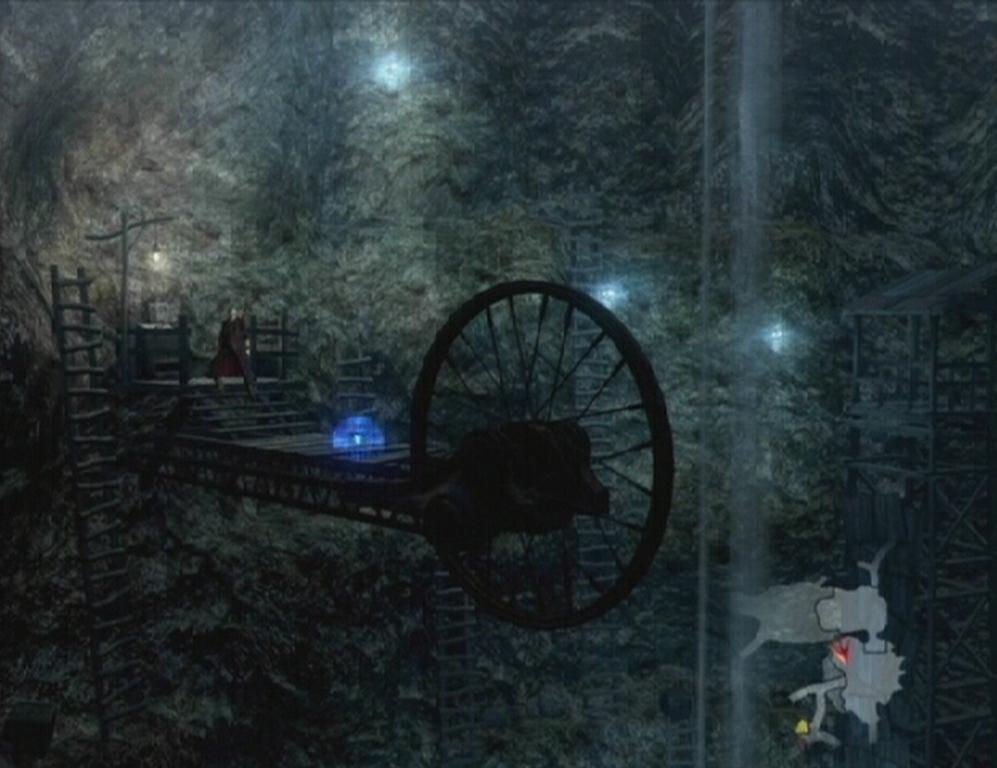
Head to the other end of the Central Courtyard's eastern walkway and go through the door there. Start down the walkway until you reach a blue wheel. Attack the wheel until the barrier surrounding the area falls.
 Wheel |
Blue Orb Fragment -- There is a large mirror along the eastern wall, just beyond the door. Hit the mirror until it shatters, revealing the Blue Orb Fragment in a small alcove.
 Mirror |
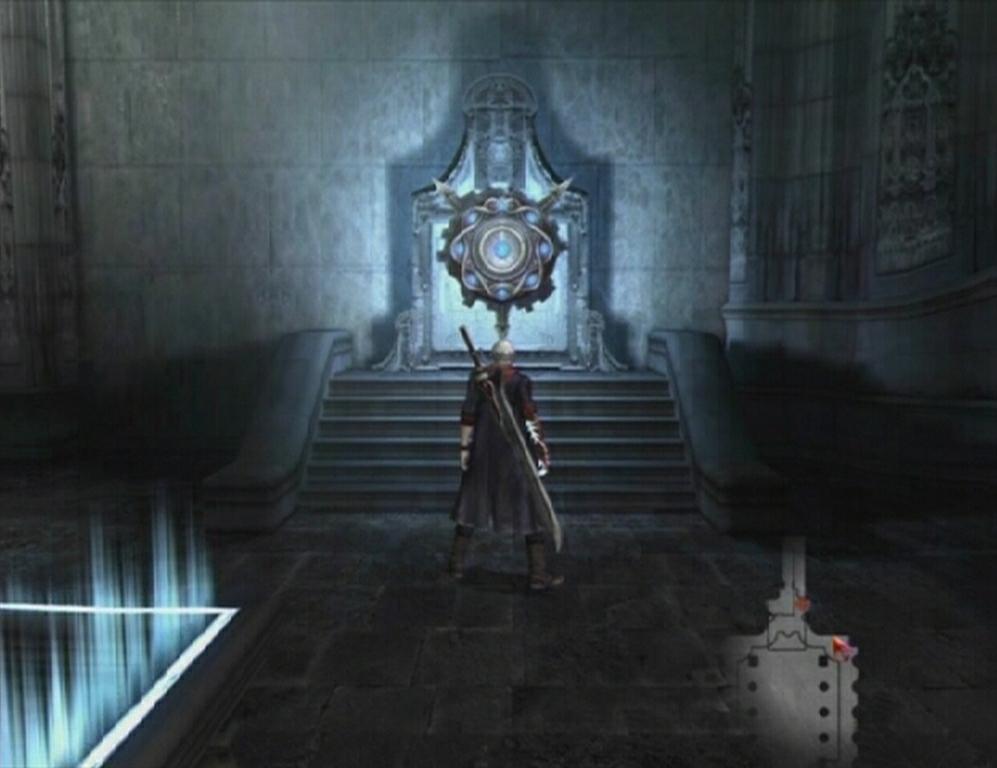
When you're ready to proceed, use the door along the eastern wall to enter the Gallery. Kill the Scarecrows that spawn to remove the red mesh blocking the doorway, then head through the door in the southeastern corner of the Gallery. Move to the opposite end of this section to find a Divinity Statue. Utilize it if you wish otherwise head through the doorway across from it.
Library -- Bianco Angelo
Upon entering the Library you'll encounter a new enemy. This isn't quite a boss battle, but this enemy may be tough this early on in the game. The Bianco Angelo carries a massive shield, wields a hefty lance, and is surprisingly agile. He can fly, too. The knight's lance can dish out some serious damage, so be ready to Side Roll out of the way if you notice your enemy readying a charge.
Charged Shot can be used to knock the knight back when its shield is down, which occurs when it's readying a charge or hovering in the air. This enemy is unsnatchable, so use Hell Bound to launch Nero towards it once it's been knocked to the ground. An effective combo against this enemy is High Roller into mid-air Buster. All together that's a Charged Shot knock down, Hell Bound towards the downed knight, and High Roller into Buster. While an effective tactic against one Bianco Angela, it can be difficult to pull off with more than one in the area.
 Divinity Statue |
The Buster skill can also be used while on the ground, though this is more dangerous because you have to wait until the knight lowers its shield to attack. Get behind your enemy with Hell Bound and use Buster before he can turn around. When you're facing a number of them, just use Hell Bound to get behind one and either slash away at its back, or use Buster to deal some heavy damage. The jars in this room contain Green Orbs, so break them open if your health begins to dwindle.
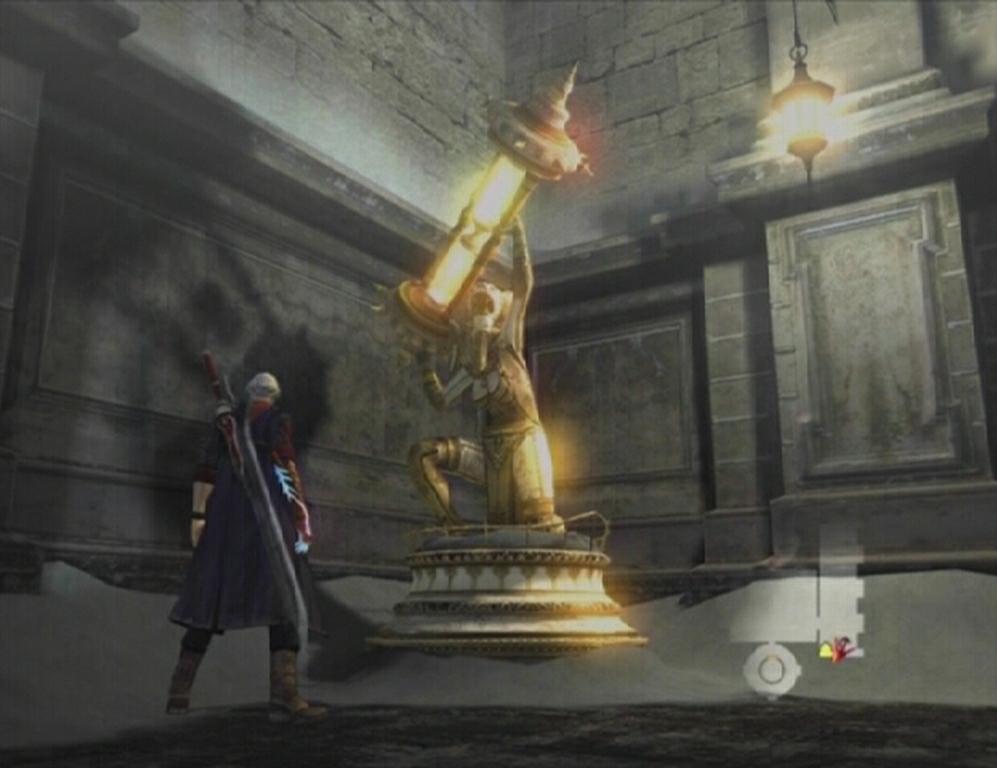
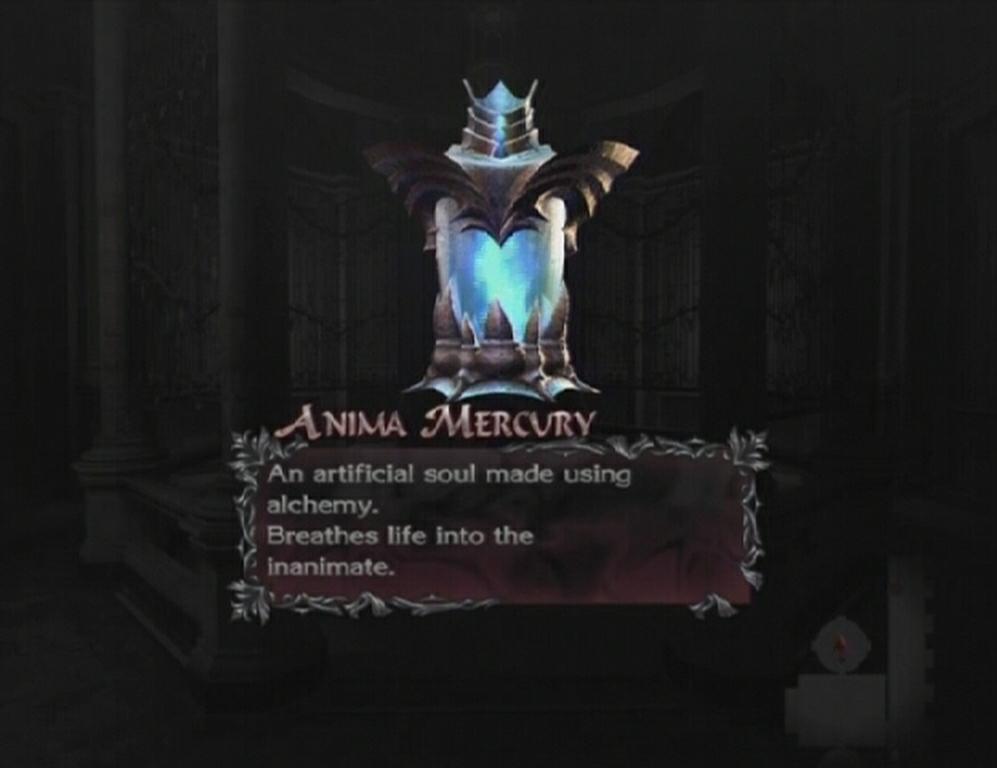
Once the white knights have been dealt with, examine the altar in the north room to obtain the Anima Mercury key item. Mission clear!
 Pillar |
 Anima Mercury |
Devil May Cry 4 - Xbox 360 | Devil May Cry 4 - PS3
you can use the snatch abilty on the BIANCO ANGELO and i found is the best way to defeat them but you have to wait for the sheild to go down