The Volcano's Fury
Monster Hunter Tri Walkthrough and Guide
The Volcano's Fury
Hunting Quest: Hunt an Uragaan
Unlock: Complete “A Bard's Tale,” “The Wrath of Rathalos” and the “One Chance” Villager Request.
Reward: 5600z
Contract: 550z
Time: 50 min.
Area: Volcano
Subquest A: Wound Uragaan's jaw
Reward: 1000z
Subquest B: Deliver 1 Wyvern Tear
Reward: 1400z
Uragaan is a large brute wyvern with a carapace harder than diamond and a chin the size of a boulder. Uragaan may seem insurmountable at first, but considering the monsters you've slain before it, with the right preparation you can take down this beast no problem.
As this monster is weakest against Water, craft yourself a weapon that deals Water elemental damage if you don't already have one. In solo play, the Lance and the Sword & Shield weapon types seem to work best against Uragaan.
The best Lance available to you at this point is the Spiral Lance , which boasts 322 raw power and 240 Water elemental damage. You'll need three Lagiacrus Tails to upgrade from Spiral Lance to Spiral Lance , so you may have to hunt Lagiacrus a few times before you're ready to go. A Lagiacrus Tail can only be obtained by severing and then carving Lagiacrus's Tail. You'll have a pretty good chance of obtaining this item when carving Lagiacrus's tail, so acquiring three shouldn't take too long.
 Uragaan is tough, but you've come far enough to down this beast. |
For a Sword & Shield, go with Royal Claw , which boasts 196 raw power and 210 Water elemental damage. The path to Royal Claw starts with Ludroth Nail. You'll have to hunt a few Royal Ludroths and Gobul if you don't already have the materials in your Item Box. Poison is also effective against Uragaan, so if that's more your style a good choice is the Shadow Saber (196 raw power and 270 poison). The path to Shadow Saber begins with the Hunter Knife; be sure to upgrade to Hunter's Dagger rather than Soldier's Dagger when given the choice.
If you have any interest in completing Subquest A for the extra 1000z or the high chance of receiving a Uragaan Jaw on the rewards screen at the end of the quest, you'll want to bring along a couple of traps and some barrel bombs. Completing Subquest A requires wounding Uragaan's jaw, which is difficult to do without the use of bombs because unless you're using a weapon with purple sharpness (which is only possible if you're using a cheat device or have reached the high rank quests in the online mode), all of your attacks on Uragaan's jaw will bounce off, dealing little damage and leaving your hunter vulnerable.
For the purpose of wounding Uragaan's jaw, bring one Pitfall Trap, one Shock Trap, two Barrel Bomb L, two Barrel Bomb L and two Barrel Bomb S. You can make the Pitfall Trap by combining a Spider Web with Ivy to make a Net and then combining the Net with a Trap Tool (buyable at the market) to make the trap. To make a Shock Trap, just combine a Thunderbug with a Trap Tool. You can purchase the barrel bombs at the market in Moga Village. Combine Scatterfish with a regular Barrel Bomb L to make a Barrel Bomb L . If you don't have any Scatterfish, they're a common catch when you dispatch the boats at the Fishery in Moga Village.
Uragaan's attacks are slow and lumbering but hit very hard, so you may want to bring more healing items than you usually do -- at least until you're familiar with Uragaan's move set. Bring 10 Mega Potions and perhaps 10 Potions too just to be sure. Since Uragaan has a sleep-inducing attack, you may want to bring along a couple of Energy Drinks as well. You can create an Energy Drink by combining a Nitroshroom with Honey. And don't forget Whetstones!
Once in the quest, remove the First-aid Meds, Rations, Map, Cool Drinks and Poison Daggers from the Supply Box before leaving camp. If this is your first time attempting this quest, Uragaan will be in Area 6 to start. After that, Uragaan will always spawn in Area 5. Make your way to the appropriate area to begin.
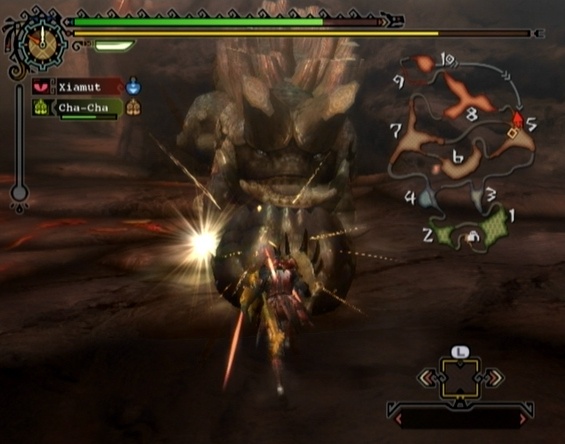 Focus your attacks on Uragaan's chest and stomach, otherwise your attacks will bounce. |
If you brought traps and explosives with you to wound Uragaan's jaw, start by setting a Pitfall Trap in front of Uragaan. Block Uragaan's roar if you can and then position yourself so you and Uragaan are on opposite sides of the trap. When Uragaan falls in the trap, plant to Barrel Bomb L by its head and then plant a Barrel Bomb S to detonate them. After the bombs go off, strike Uragaan's jaw with your weapon as many times as you can before it breaks free. Set your Shock Trap next and do the same, this time planting two Barrel Bomb Ls and then a Barrel Bomb S.
After using both traps and all of those barrel bombs, Uragaan's jaw should be in rough shape. You'll have to strike it with your weapon some more, but you should definitely be able to wound it over course of this battle. Your weapon will bounce but your attacks are doing damage, so keep at it.
Focus the bulk of your attacks on Uragaan's chest and stomach. This is the chink in its armour. If you're using any melee weapon other than a Hammer, you can sever the end of Uragaan's tail if you focus your attacks on that area. Hit Uragaan anywhere else and your strike will bounce.
Attack Uragaan's chest and stomach enough and Uragaan will eventually flinch, dropping a glittering spot nearby. Gather at this glittering spot for a chance to find a Wyvern Tear, which you can deposit in the Delivery Box at Base Camp to complete Subquest B. If you do find a Wyvern Tear, be sure to stop by camp and deliver it before you finish off Uragaan.
Though cutting Uragaan's tail has its perks (reducing the effectiveness of its tail whip move and granting you an extra carve), your effort is best focused on Uragaan's chest and stomach area -- at least for the first few hunts. Uragaan's tail takes quite a bit to sever, so just focus on its stomach and chest to avoid drawing out this fight.
 Uragaan's attacks are damaging, but easy to avoid. |
Compared to the other monsters you've faced thus far, Uragaan's move list is quite small. As well, all of its moves are quite easy to read and subsequently dodge once you've become familiar with them. However, Uragaan's attacks do hit very hard. As such, making it through this hunt without taxing your healing item supply requires patience. Don't get too greedy with your attacking; back out early to give yourself enough time to avoid Uragaan's upcoming attack. As long as you're some distance away, you'll be able to escape the attack unscathed.
Uragaan's most frequent attack is its chin pound. Here, Uragaan lifts its head back and slams its chin down in front of it. There are a couple of variations of this attack. The one you'll most often see is a double chin pound, where Uragaan pounds its chin to the right and then to the left. This attack may turn into a quadruple chin pound, so be ready. Before performing this attack, Uragaan will slowly lift its head back and to the left. The easiest way to avoid this move is to attack Uragaan from the side so you can keep away from its head. Keep in mind that these attacks do have an area of effect, which means you can take damage from the attack if you're too close, albeit not as much as a direct hit. The chin pounds can be blocked if you find yourself with no way of evading them.
The variation on the standard chin pound is a super chin pound, where the Uragaan rises onto its hind legs and then slams its chin down hard. This attack packs a wallop but is very easy to anticipate as long as you're not being careless. Get hit by this attack and there's a high chance your hunter will become stunned. You can reduce the amount of time your hunter spends in this state by quickly rotating the Left Stick and tapping the A button.
Another of Uragaan's attacks is its roll. For this attack, the Uragaan curls into a ball and rolls around the area. This move can be difficult to dodge because Uragaan can zip around the area quite quickly. Rather than panic running around the area, manually control the camera to focus on Uragaan and block if it's coming toward you. You can also dive out of the way to avoid taking damage if your hunter is panic running.
If Uragaan's stamina is low, sometimes it will collapse onto its side when it finishes rolling. Quickly move in if this happens and get as many hits in as you can. If you're wielding a Lance, use the Dash move to quickly close in on the overturned Uragaan.
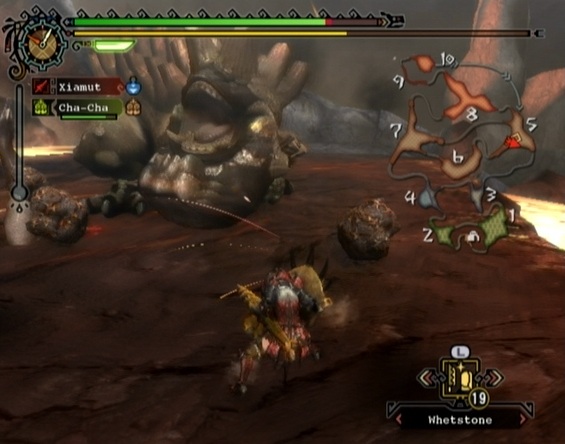 Watch out for explosive rocks thrown by Uragaan. |
In Area 6, Uragaan can use a special roll attack that lasts longer. Before performing this attack, the Uragaan will burrow into the ground and then appear on the ledge at the north end of the area. You can evade this attack by running to one of the area exits and waiting there until Uragaan stops rolling.
In Areas 7 and 5, Uragaan will occasionally roll into the lava and emerge with explosive rocks affixed to its body. The next time Uragaan uses its tail whip attack, it will spread these rocks in front of it. Then, Uragaan can detonate the rocks by pounding its chin on the ground. When Uragaan uses its super chin pound move, all of the rocks in the area will explode, so steer clear of these rocks once Uragaan shakes them off. If you're next to a rock and Uragaan is readying its super chin pound, you can use your shield to block the ensuing explosion by pointing your shield at the rock. Note that severing Uragaan's tail will prevent it from laying down explosive rocks.
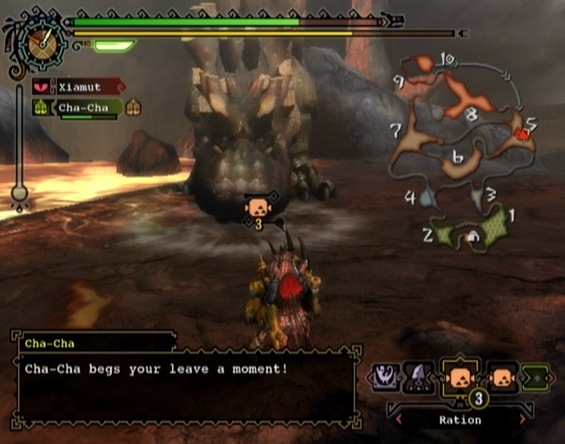
Uragaan also has two attacks that can induce a status ailment. Both of these attacks are performed the same way, but the gas cloud that Uragaan produces differs in colour and effect. For both attacks, Uragaan starts by standing on its hind legs. It then shakes its torso and a small cloud of gas will appear around it. Then, Uragaan lowers its head and arms to the ground and produces a large cloud of gas of the type observed before. The orange gas will knock your hunter back and may inflict Fireblight, which will drain your hunter's health over time. If your hunter is suffering from Fireblight, roll a few times to put the flame out. White gas will induce sleep. You can use an Energy Drink to prevent your hunter from falling asleep while he or she is drowsy. If Cha-Cha wasn't hit by the gas, he may run over and whack your hunter to snap him or her out it.
To avoid Uragaan's status ailment-inducing attacks, simply dash away when you spot the Uragaan beginning to stand on its hind legs. These attacks are very easy to see coming if you're paying attention.
 Uragaan can inflict the Fireblight and Sleep status ailments. |
Uragaan will limp when it's close to death and retreat to Area 6 to rest. It will sleep on the ledge at the north end of Area 6 where you can't reach it. However, Uragaan is a light sleeper and will awaken if you dash by. Continue battling Uragaan in Area 6 until it falls.
More Monster Hunter Tri Stuff
I need uragaan scrute so i need a best weapon to server uragaans tail